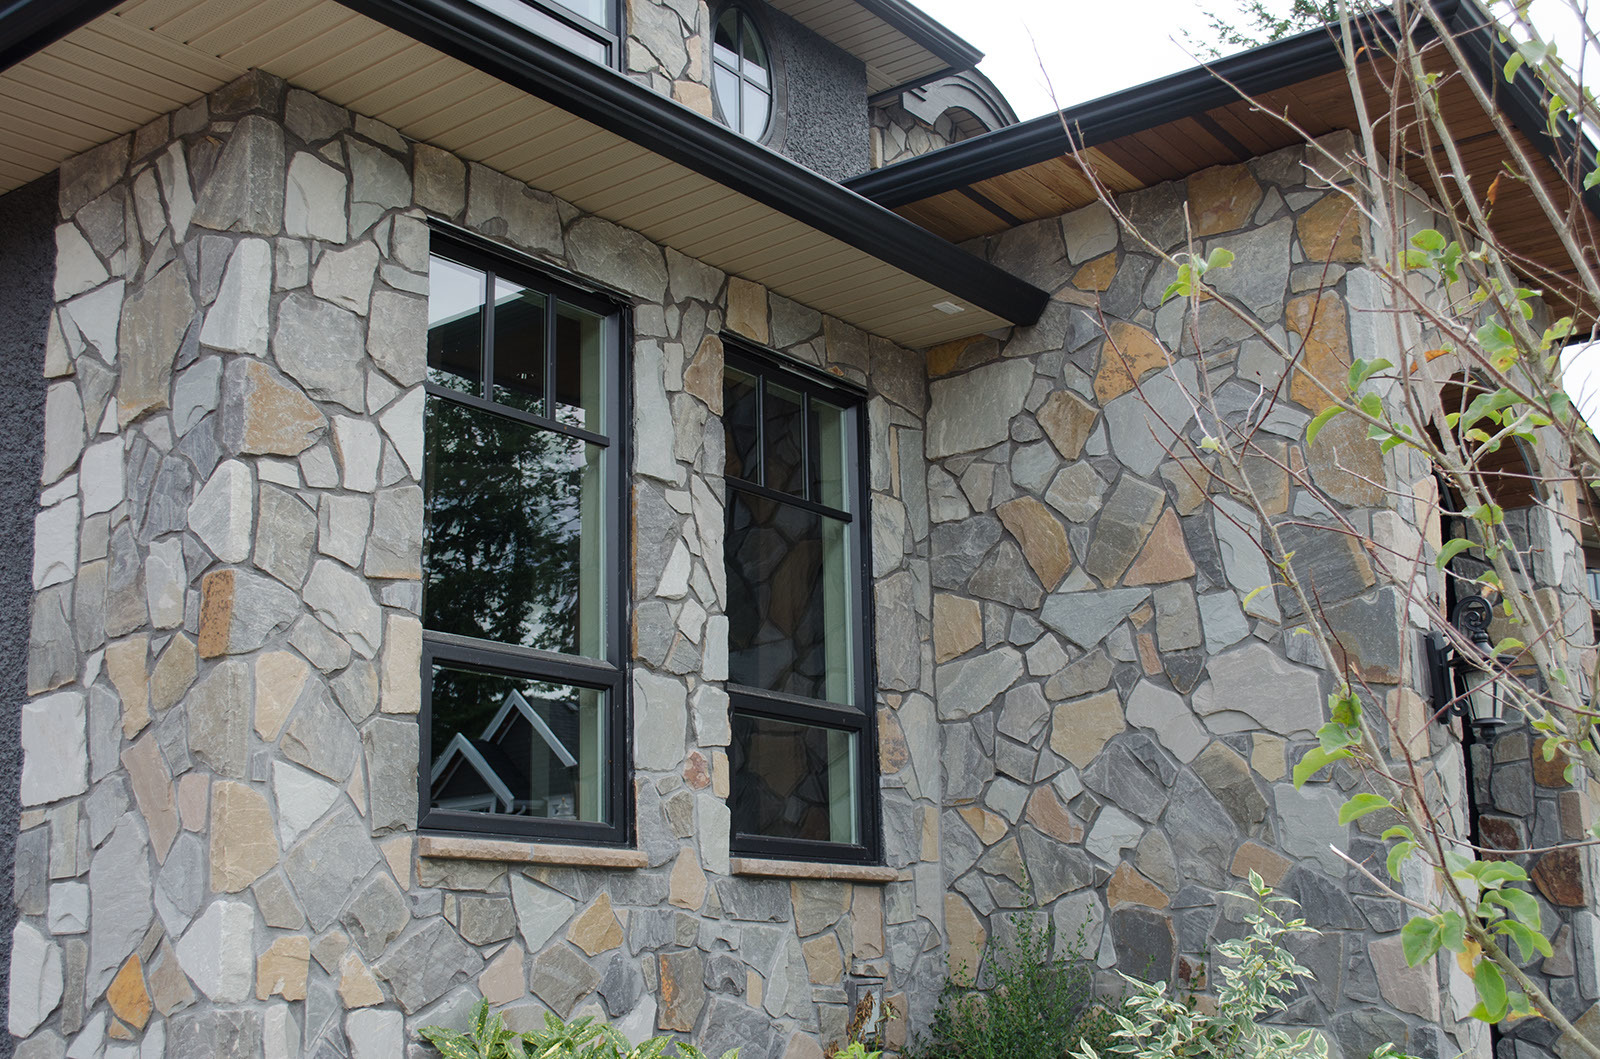
How to Build a Healthy Wall: A Step-by-Step Guide for Masons Preparing Stone Veneer Applications
Building a stone veneer wall—whether for exterior or interior surfaces—requires careful preparation to ensure longevity and durability. A properly prepared substrate wall will not only enhance the aesthetic appeal of the stone veneer but also protect it from elemental damage like moisture, temperature fluctuations, and general wear and tear. This guide will walk you through the essential steps masons should take when preparing the wall before applying stone veneer, as well as the reasons these steps help prevent long-term damage.
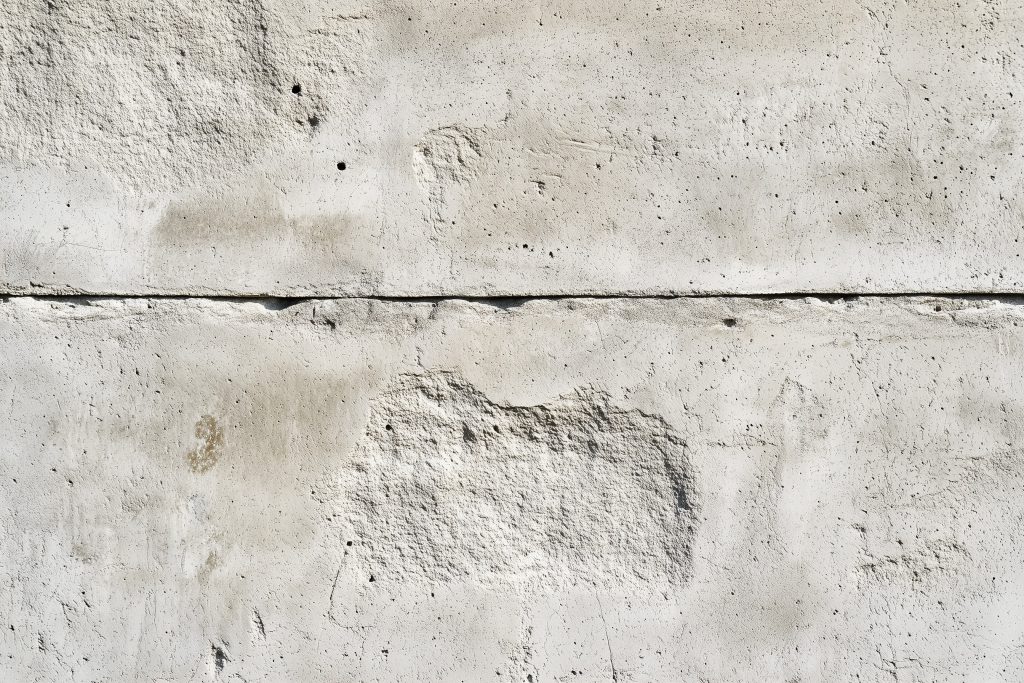
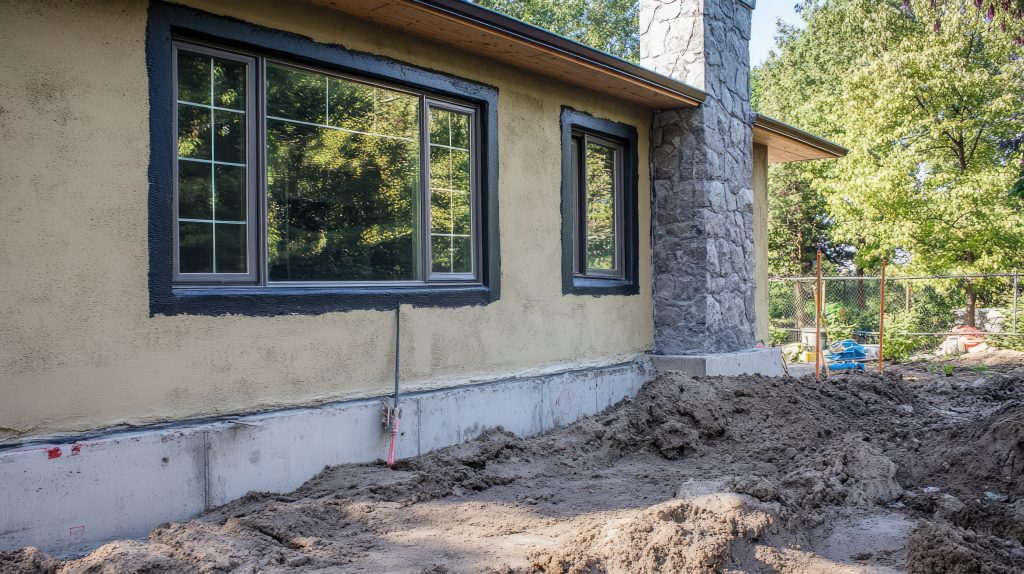
Step 1: Inspect the Existing Wall Structure
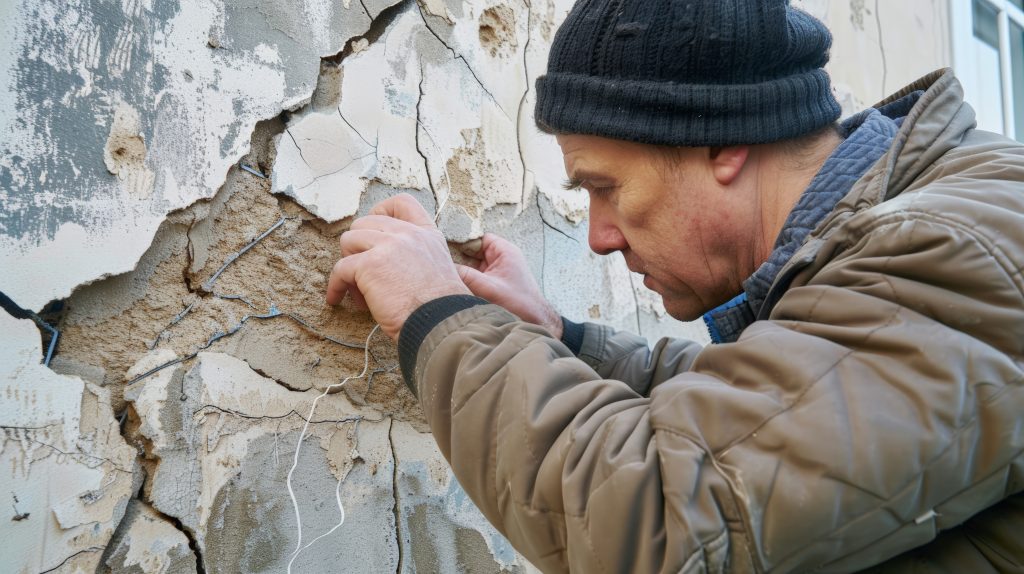
Castlestone offers a classic, refined aesthetic. It features stones that are typically rectangular or square with Before starting any work, always inspect the condition of the existing wall. Check for signs of cracks, water damage, or other structural issues that could compromise the surface integrity.
Why It’s Important:
Ensuring the wall is structurally sound forms the foundation of a healthy stone veneer application. A weak or damaged substrate can compromise the veneer’s stability, leading to issues like loosening stones or moisture infiltration. Fixing any issues upfront ensures that the veneer will adhere securely and remain durable over time.
Step 2: Clean the Wall Surface
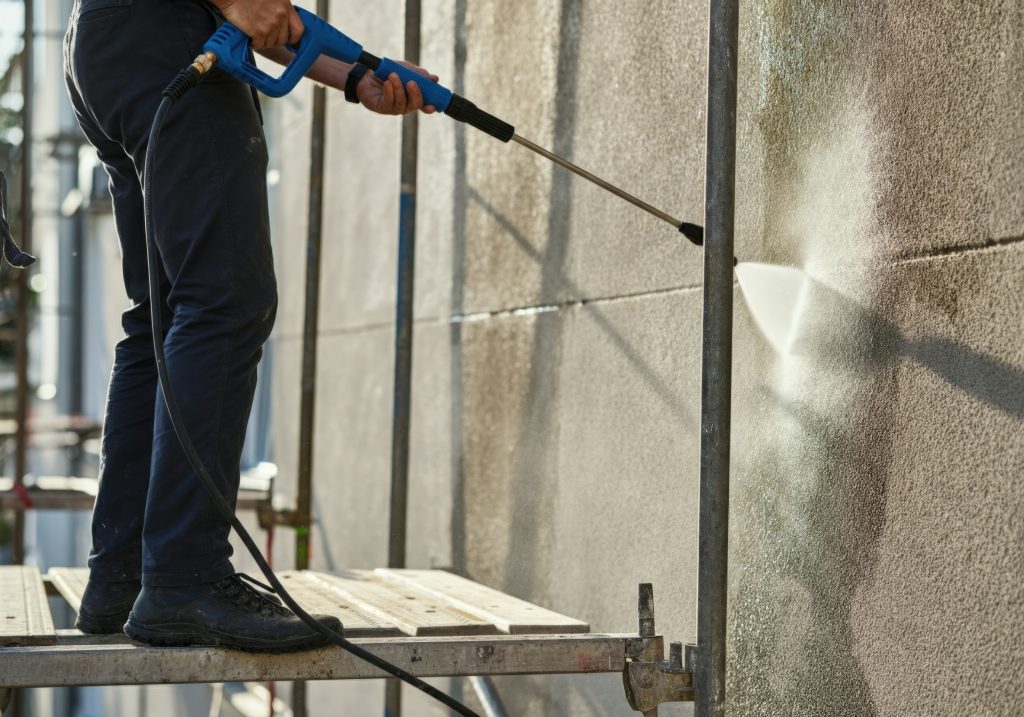
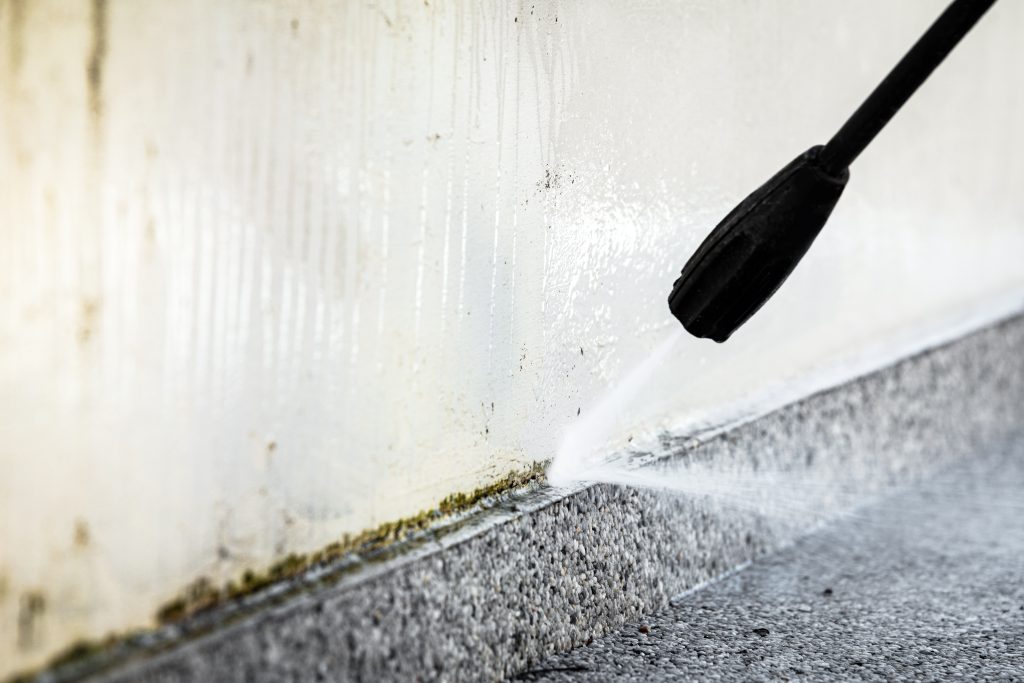
Next, clean the wall thoroughly by removing dirt, dust, grease, and oils using tools like a wire brush, pressure washer, or specific cleaning agents designed for masonry surfaces.
Why It’s Important:
A clean surface is vital for proper adhesion. Any dirt or grease can interfere with the bonding agents, making the stone veneer less secure. This step is key in ensuring that the adhesive or mortar holds the veneer in place, preventing future loosening or damage.
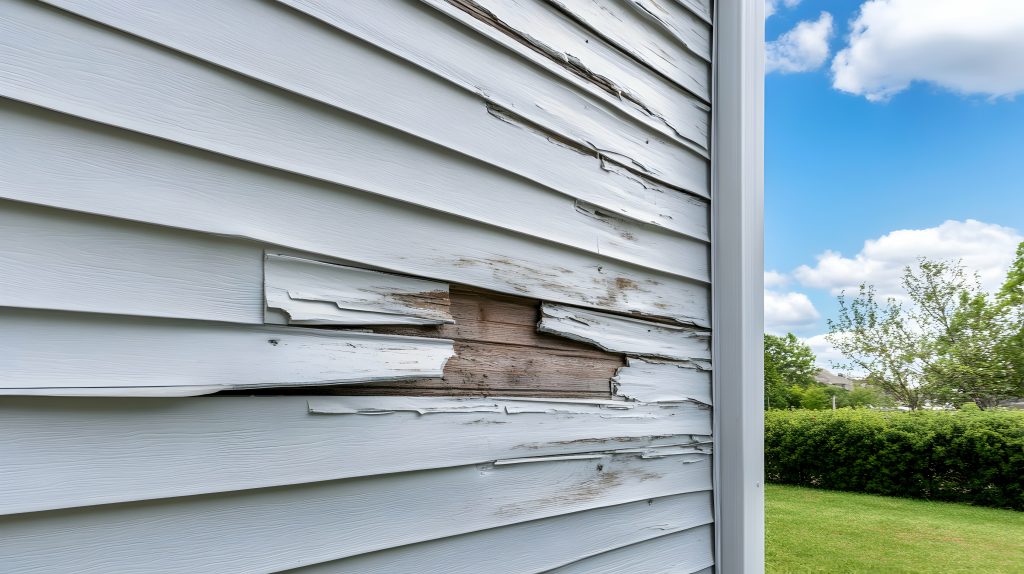
Step 3: Repair Any Damage
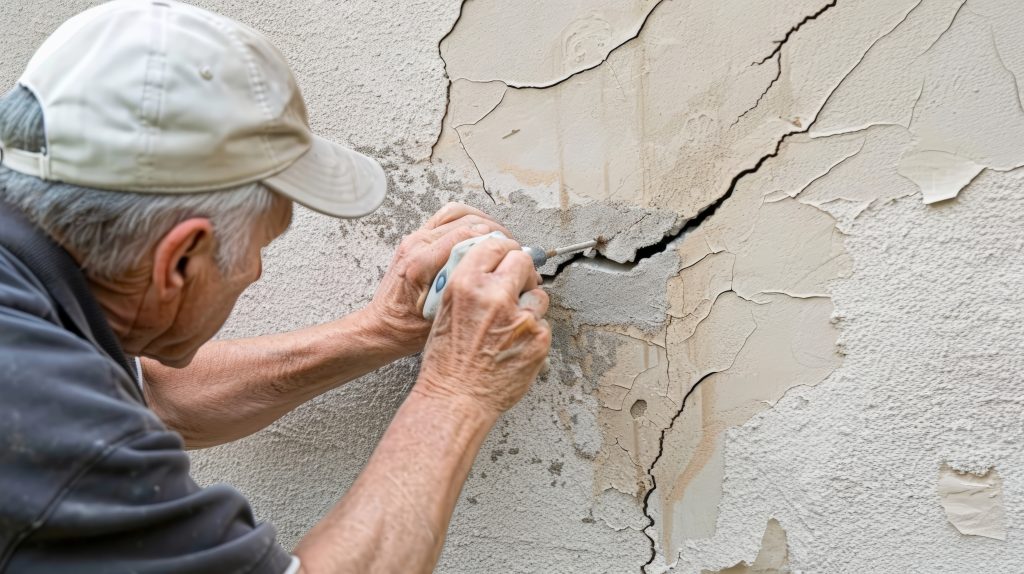
Ledgestone features long, rectangular stones stacked in a horizontal, layered fashion. These stones tend to If you notice cracks, gaps, or deteriorated sections of the wall, these must be repaired before moving forward. This may involve filling cracks with a suitable mortar or replacing damaged materials like rotting wood or compromised masonry.
Why It’s Important:
Unaddressed cracks or damage allow moisture to infiltrate the wall, leading to further deterioration. By repairing these areas, you create a solid base for the veneer, minimizing the risk of mold, mildew, and rot. Repairing the wall also enhances the wall’s overall strength, preventing the veneer from becoming dislodged or compromised over time.
Step 4: Apply a Moisture Barrier (for Exterior Walls)
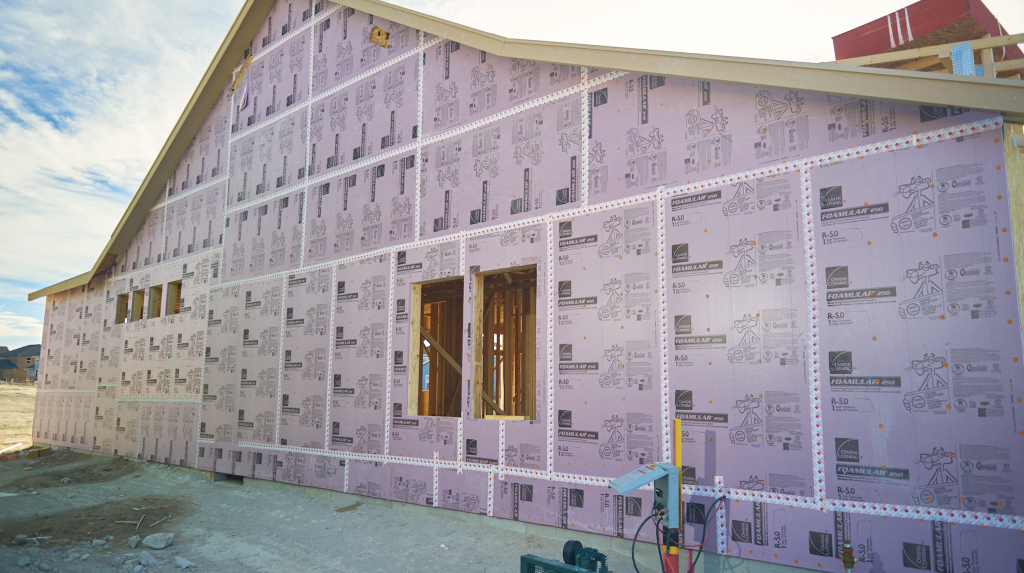
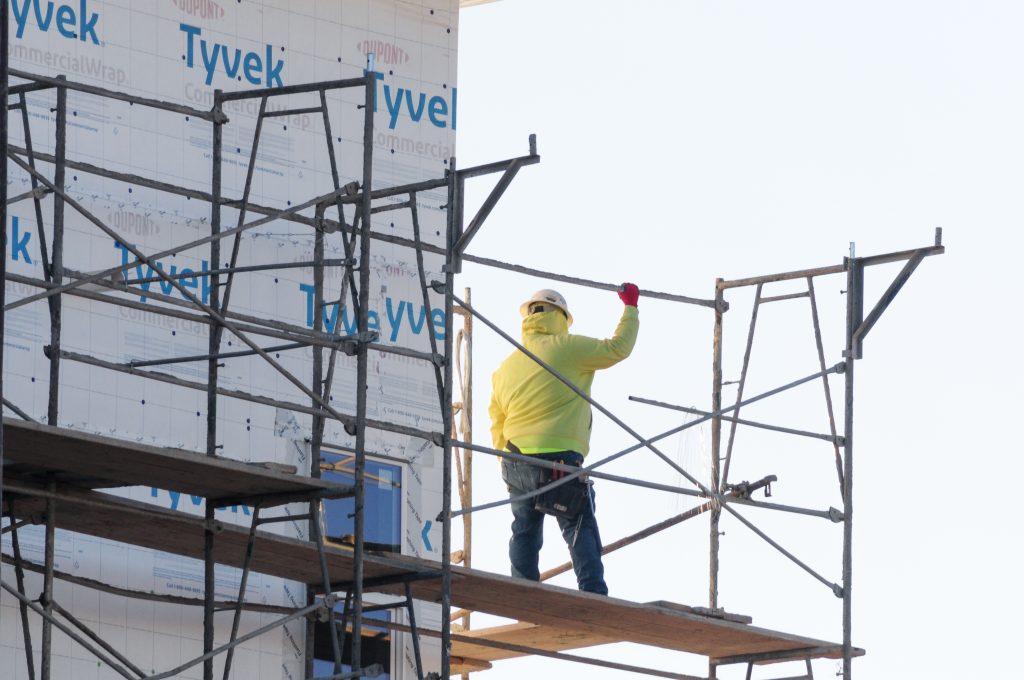
For exterior walls, it’s essential to install a moisture barrier before applying stone veneer. Moisture barriers can be vapor barriers or breathable membranes that help keep water out while allowing the wall to “breathe.”
Why It’s Important:
A moisture barrier is crucial for preventing water from seeping behind the stone veneer. Without it, moisture can lead to mold, mildew, or corrosion on the wall behind the veneer. By adding a moisture barrier, you help protect the substrate and the veneer from water damage, which can be costly to repair.
Examples of Moisture Barrier Products:
- Tyvek HomeWrap: This is a popular moisture barrier that resists air and water infiltration, while still allowing moisture vapor to escape, preventing the growth of mold or mildew.
- Henry Blueskin VP100: A self-adhering waterproofing membrane that protects against water infiltration while maintaining breathability.
- Grace Ice & Water Shield: Often used in roofing, this product is an excellent choice for protecting exterior walls from water intrusion.
These products form a protective layer that keeps water from seeping into the wall structure, preserving the longevity of both the substrate and the stone veneer.
Step 5: Install a Layer of Wire Lath (for Masonry or Concrete Walls)
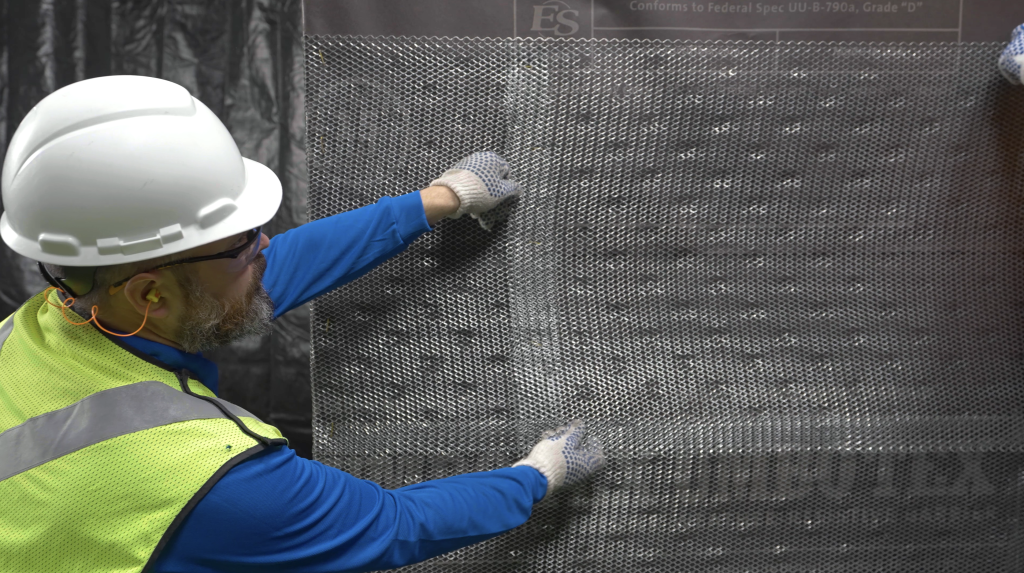
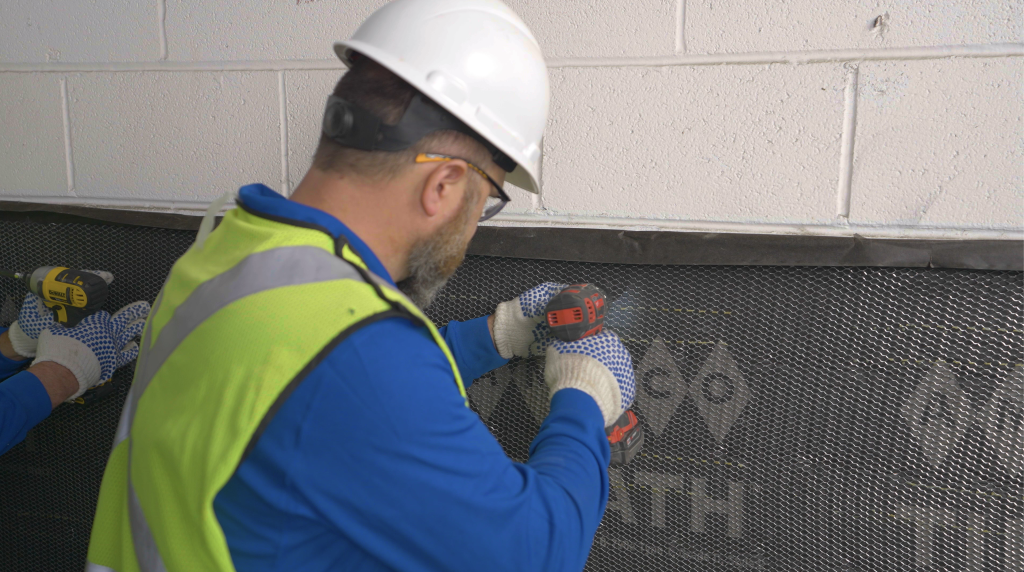
Roman Castlestone offers a sophisticated, classical look with a nod to ancient architecture. The stones tend For masonry or concrete surfaces, install a metal lath, also known as wire lath, over the wall. This is typically secured with masonry nails or screws to provide a stable, textured surface for the mortar to bond.
Why It’s Important:
The wire lath ensures that the mortar adheres firmly to the wall. Without it, there would be insufficient bonding between the stone veneer and the substrate. The lath acts as a foundation for the mortar, helping distribute pressure evenly across the wall and preventing the veneer from cracking or falling off over time.
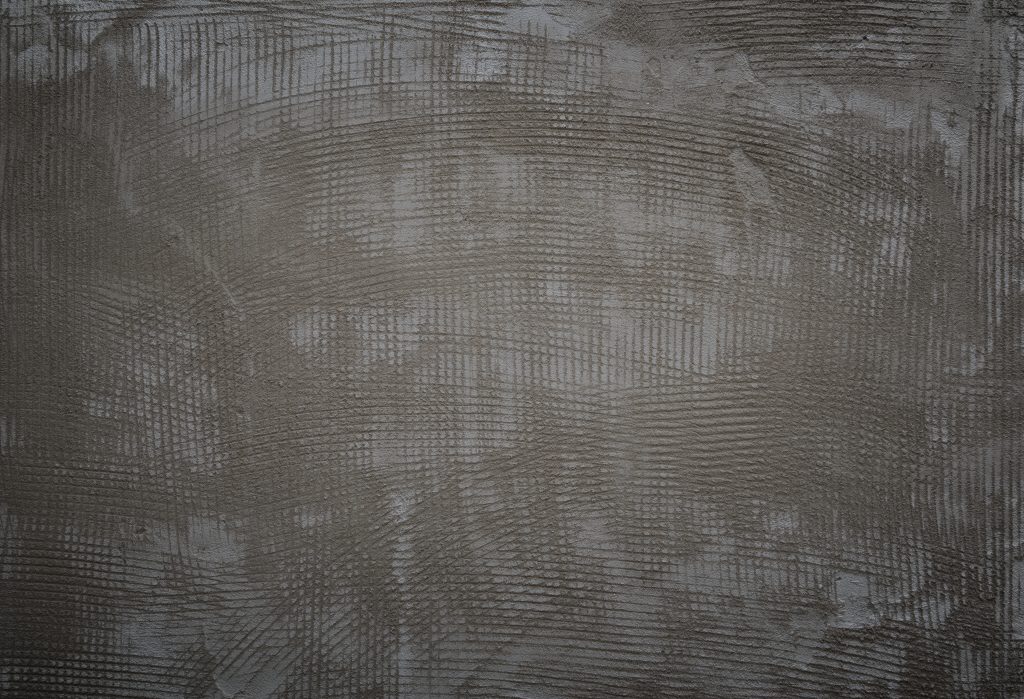
Step 6: Apply a Scratch Coat (for Masonry or Concrete Walls)
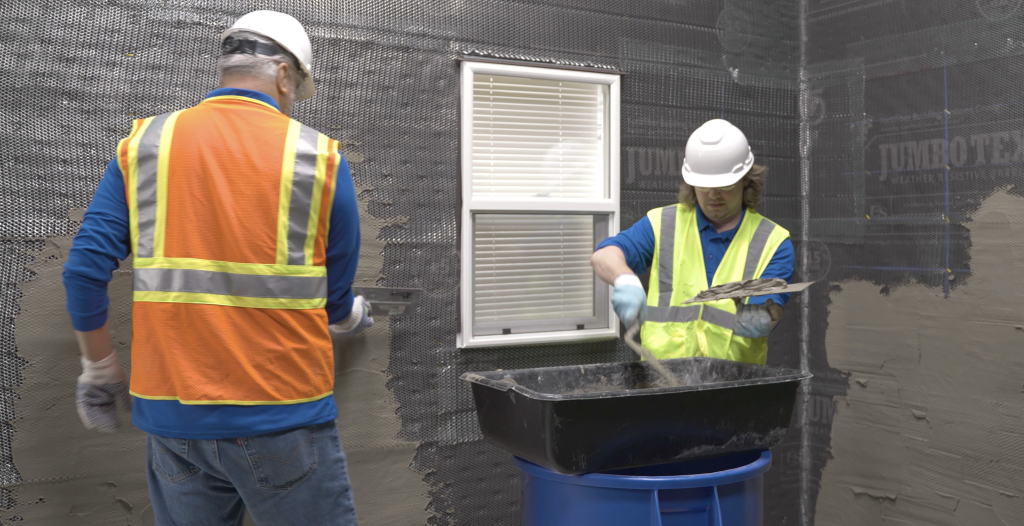
Overview: Microledge stone veneer is a smaller, more refined version of Ledgestone. The stones are thinner Once the wire lath is installed, apply a scratch coat—this is a thin layer of mortar that is smoothed and then roughened with a notched trowel to create grooves.
Why It’s Important:
The scratch coat improves the mechanical bond between the mortar and the stone veneer. The grooves provide added surface area for better adhesion, ensuring the veneer stays secure. This coat also acts as a moisture barrier, reducing water penetration to the substrate wall.
Step 7: Apply the Bonding Agent (For Wood or Drywall Substrates)
For wood or drywall surfaces, it’s necessary to apply a bonding agent or adhesive before the stone veneer is installed. A high-quality latex-based adhesive is typically used for these types of substrates.
Why It’s Important:
Wood and drywall are more vulnerable to moisture than masonry, making it essential to use a bonding agent to create a secure connection. The bonding agent will ensure that the stone veneer sticks properly to the wall, preventing any shifting or loosening over time. It also adds a layer of moisture resistance, protecting the wall from rotting or warping.
Step 8: Begin Installing the Stone Veneer
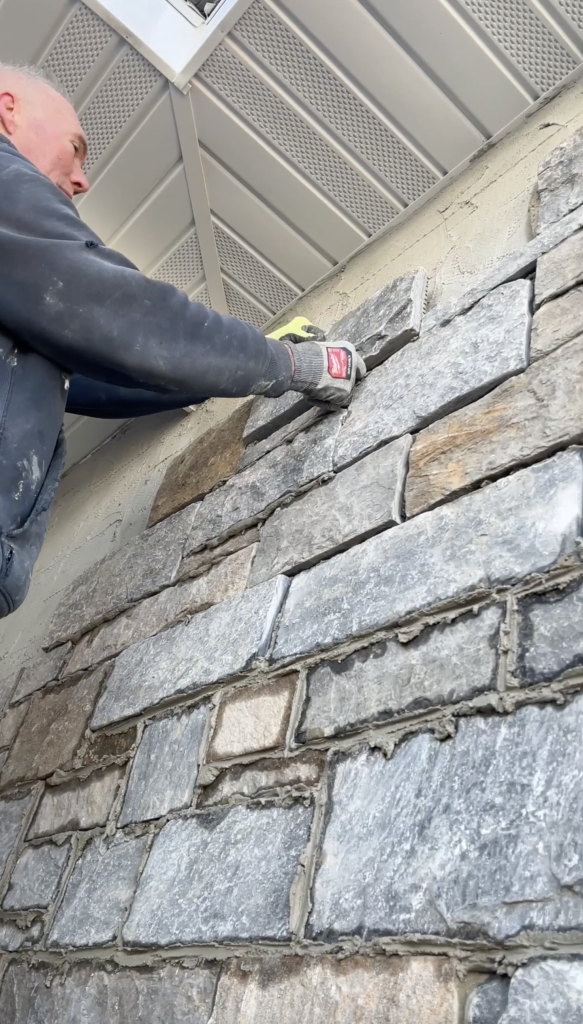
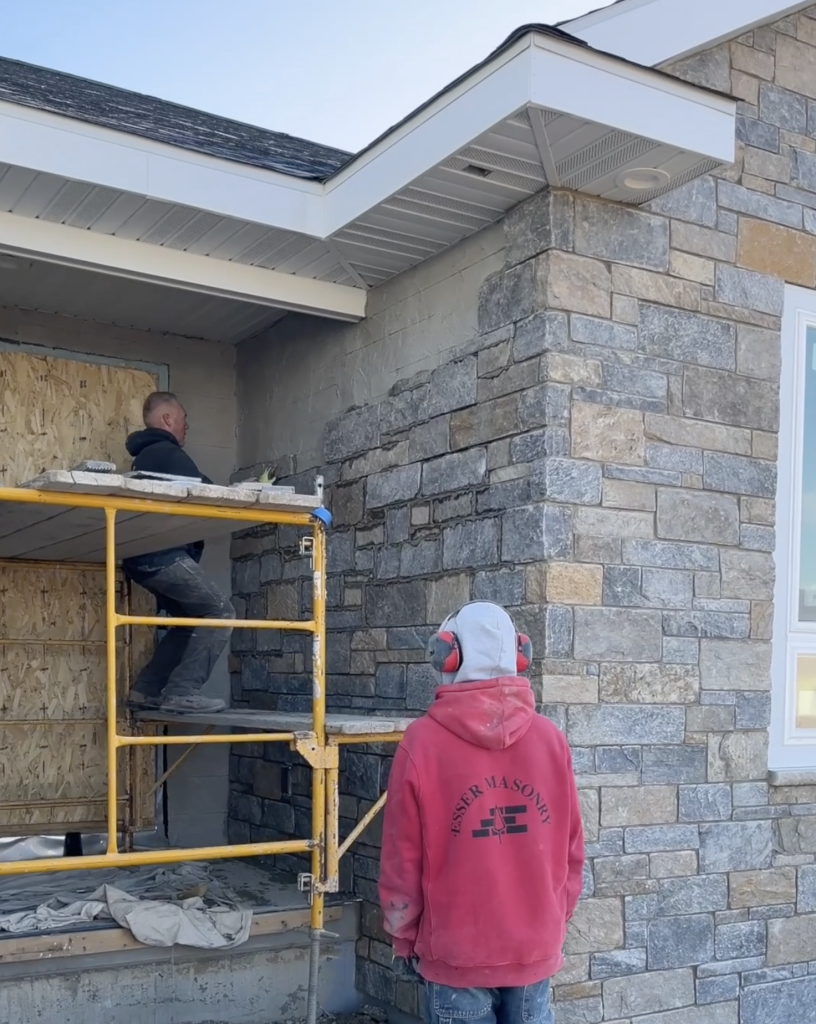
With all the preparations complete, you can now begin applying the stone veneer. Press each stone firmly into place using a mortar that’s appropriate for the type of stone being used. Make sure there are no gaps or loose stones.
Why It’s Important:
Proper installation is the final step in creating a durable and aesthetically pleasing stone veneer wall. Correctly placing each stone and ensuring it’s securely adhered will prevent issues like gaps, shifting, or stones falling off. These issues could expose the substrate to moisture, leading to long-term damage.
Conclusion
Building a healthy wall for stone veneer involves careful attention to preparation, from inspecting and cleaning the surface to applying moisture barriers and bonding agents. Each step is crucial to ensuring that the stone veneer adheres properly, stays intact, and protects the underlying wall from moisture, temperature fluctuations, and other elements. By following these steps and using high-quality materials like moisture barriers, wire lath, and bonding agents, masons can create a durable, long-lasting stone veneer installation that will stand the test of time.
For exterior walls, always use moisture barriers like Tyvek HomeWrap or Grace Ice & Water Shield to protect against water intrusion. With proper preparation, your stone veneer wall will not only look great but also remain resilient and functional for years to come.
Follow the link below for more industry insights from across the building products world.
