
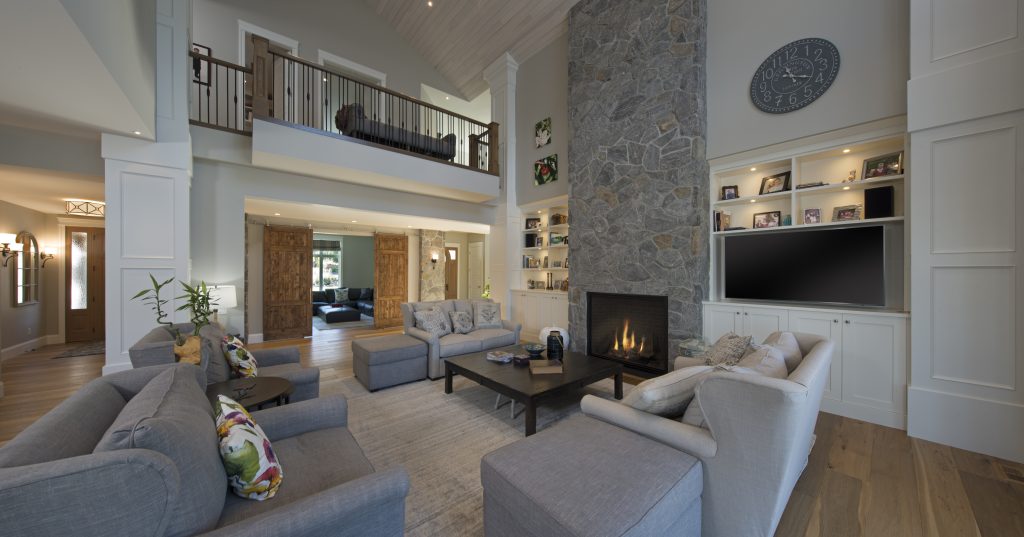
A Step-by-Step Guide to Stone Veneer Fireplace Upgrades
Ready for a decorative fireplace makeover? If that old brick fireplace doesn’t quite match your home’s new vibe, there’s no need to fret. Think of it as an opportunity rather than a challenge.
Swapping out the dated look for a stylish stone veneer fireplace is simpler than you might think. And guess what? In most scenarios, you can leave those bricks right where they are.
Sure, red brick fireplaces have that quintessential American charm. But, if yours looks a bit weary after years of cozy fires, it might be time for a change. While some folks opt for a quick brick fireplace makeover with heat-resistant paint, nothing beats the elegance and value boost of a natural stone facade.
Wondering about the how-tos? Whether you’re thinking of adhering stone veneers directly onto the bricks or using nifty tools for an extra-sturdy bond, we’ve got the lowdown. Take a look at your options and tap into Instone’s treasure trove of resources to guide you every step of the way.
Prepping for Interior Stone Veneer
Before you dive into your fireplace transformation, it’s essential to set the stage for a smooth installation. Start by laying a tarp around the fireplace area. This step ensures that any stray mortar or debris doesn’t play havoc with your floors.
Next, give those bricks some TLC. It’s important to remove any dirt, dust, or loose materials that could compromise the adhesion of the stones. A vacuum with a brush attachment should do the trick for most of the cleaning. For stubborn spots, a gentle wipe with a damp sponge will work wonders. And if you come across areas of the brickwork that are crumbling or a bit unstable, consider giving them a light sanding to create an even surface.
Choose Your Backing
Option 1: Metal Lath
Want to ensure that your stone veneer clings on like a champ? Enter the metal lath. This meshy marvel is not only strong but also flexible. Shape it around your fireplace, get it to hug those corners, and even trace out that fancy mantel.
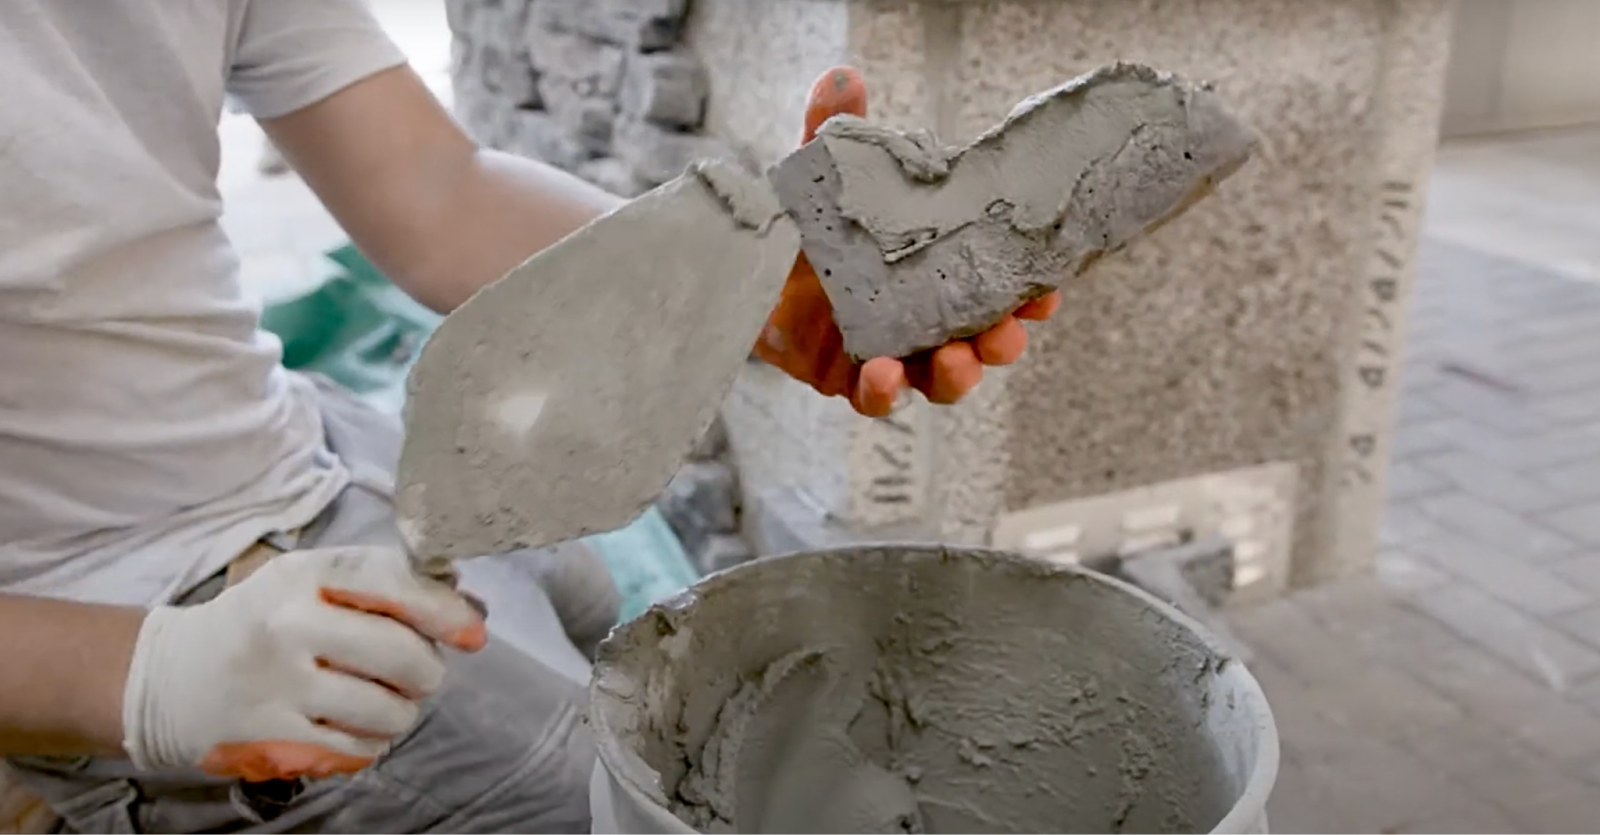
After drilling or nailing the lath into the bricks, you’ll want to apply a scratch coat over its entire area. Fill all of the gaps with mortar, build about ½ inch layer on top of the lath, and comb over it with the trowel’s teeth to create grooves for the stones to grip to. Once the scratch coat dries, you can begin applying mortar to the back of the stones and attach them to the surface.
Option 2: Cement Board
Want a simpler DIY? Then cement board might be your best bet. It offers a clean slate, making your veneer application smooth and easy. After fastening the cement board to your fireplace, you’ll want to spread a scratch coat, groove it nicely, let it dry, and then give it time to dry.
Then you can apply mortar to your stones and install them with ease.
Option 3: Direct Application
Got a fireplace in tip-top condition? Why not skip the lath or cement board and go direct? Apply the veneer straight onto the brick, but make sure those bricks are ready for the spotlight — means no crumbling faces, loose bricks, unstable cracks, or other substances on the fireplace that could weaken the bonding.
A tiny caveat: if your bricks have a paint job, it’s best to opt for either Option 1 or 2.
Get Your Materials Ready
Stone Veneer or Stone Veneer Panels?


Veneer Panels
In a bit of a hurry? Interloc natural stone veneer panels or Cultured Stone Pro-Fit faux stone panels might be your speed. These mechanically fastened panels simplify installation and reduce installation time.


Stone Veneer
If you choose traditional stone veneer take the time to do a little prep. Before you begin, make sure your stones are clean and lay them out in your desired pattern.
Be sure that you have all the necessary materials at hand. Always follow the manufacturer’s guidelines for installing your chosen type of stone veneer. In most cases, you’ll need your trusty trowel, type S Mortar, and a masonry saw before getting started.
For more detailed instructions, check out these comprehensive guides for Cultured Stone and Pangaea.
If you’re seeking inspiration for your fireplace makeover, take a look at these inspiration pages.
And if the DIY route isn’t your cup of tea, you can find a certified installer near you by searching our database.
Let Instone Make it Easy
Navigating the world of stone veneer fireplaces can be overwhelming, but don’t sweat it! Instone’s network of suppliers is ready to guide you. They’ll help you pinpoint the perfect method and materials tailor-made for your project. Ready to rock that decorative fireplace transformation? Contact Instone today for a dealer in your area.

1 comment
Comments are closed.
Transform your fireplace with stone veneer by cleaning the bricks, applying a metal lath or cement board, and adding a scratch coat. Then, attach stones with mortar for an elegant, durable upgrade to your space.