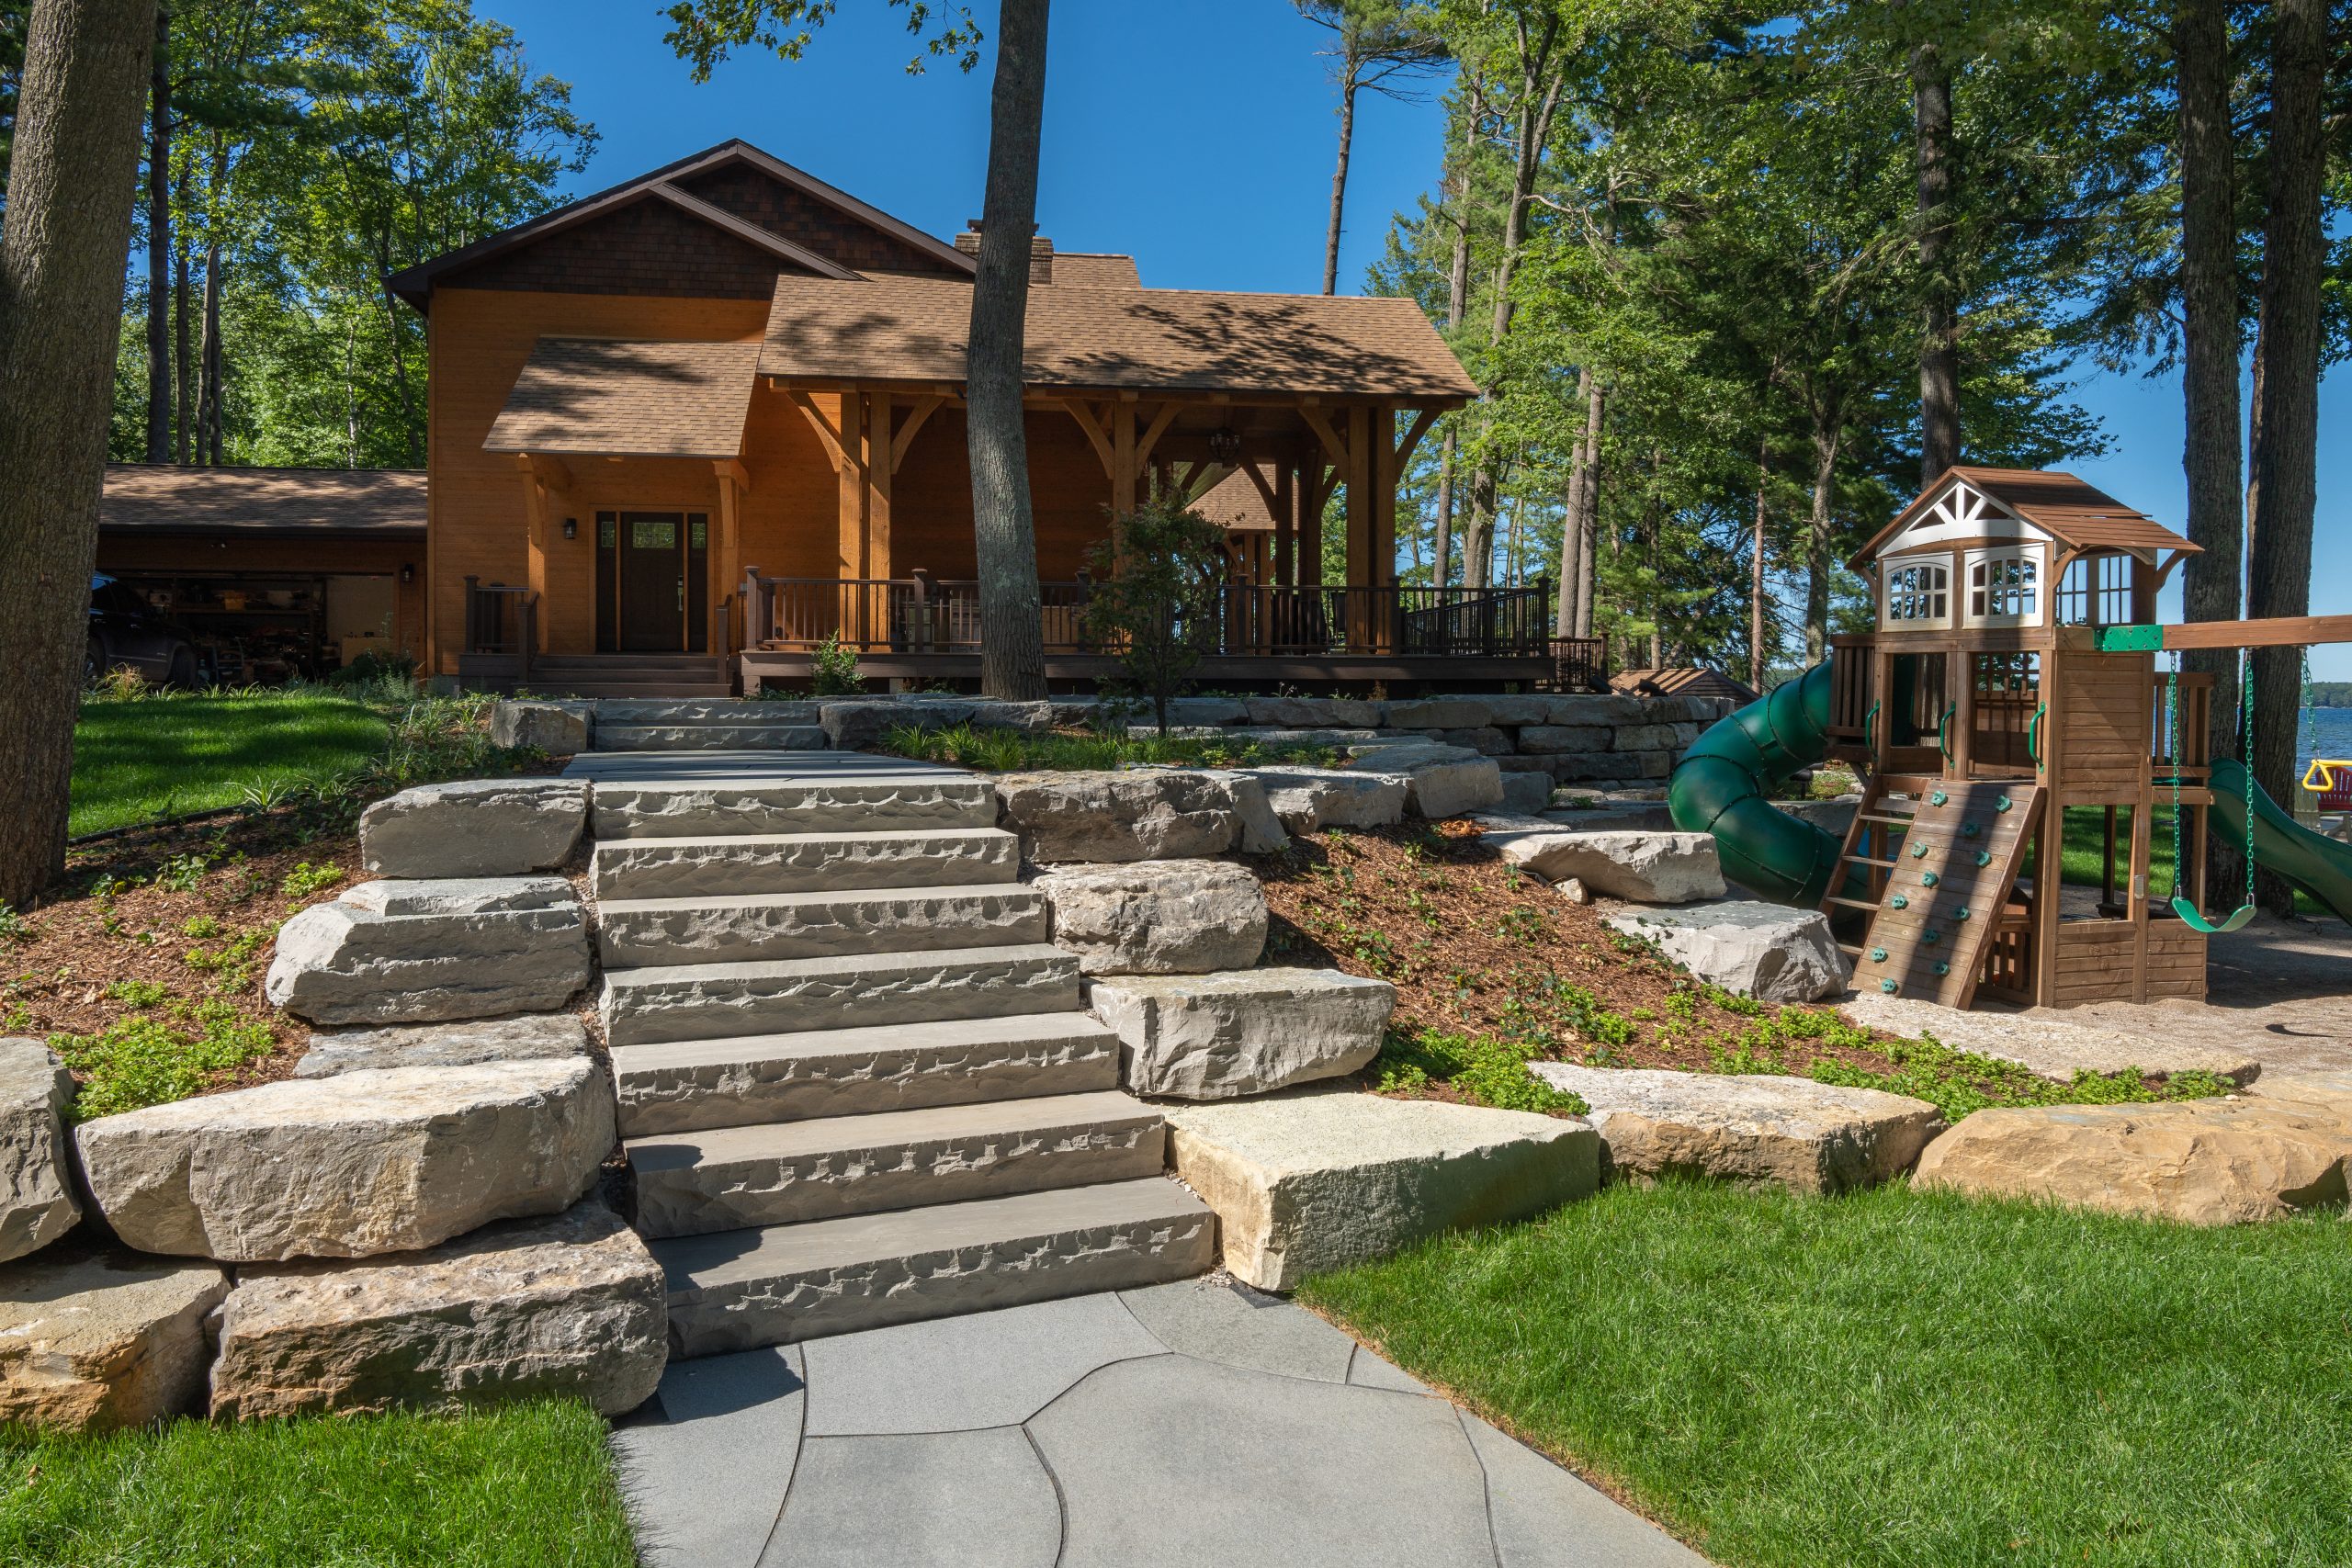
Why Polymeric Sand Matters: Installation, Common Issues, and How to Replace It the Right Way
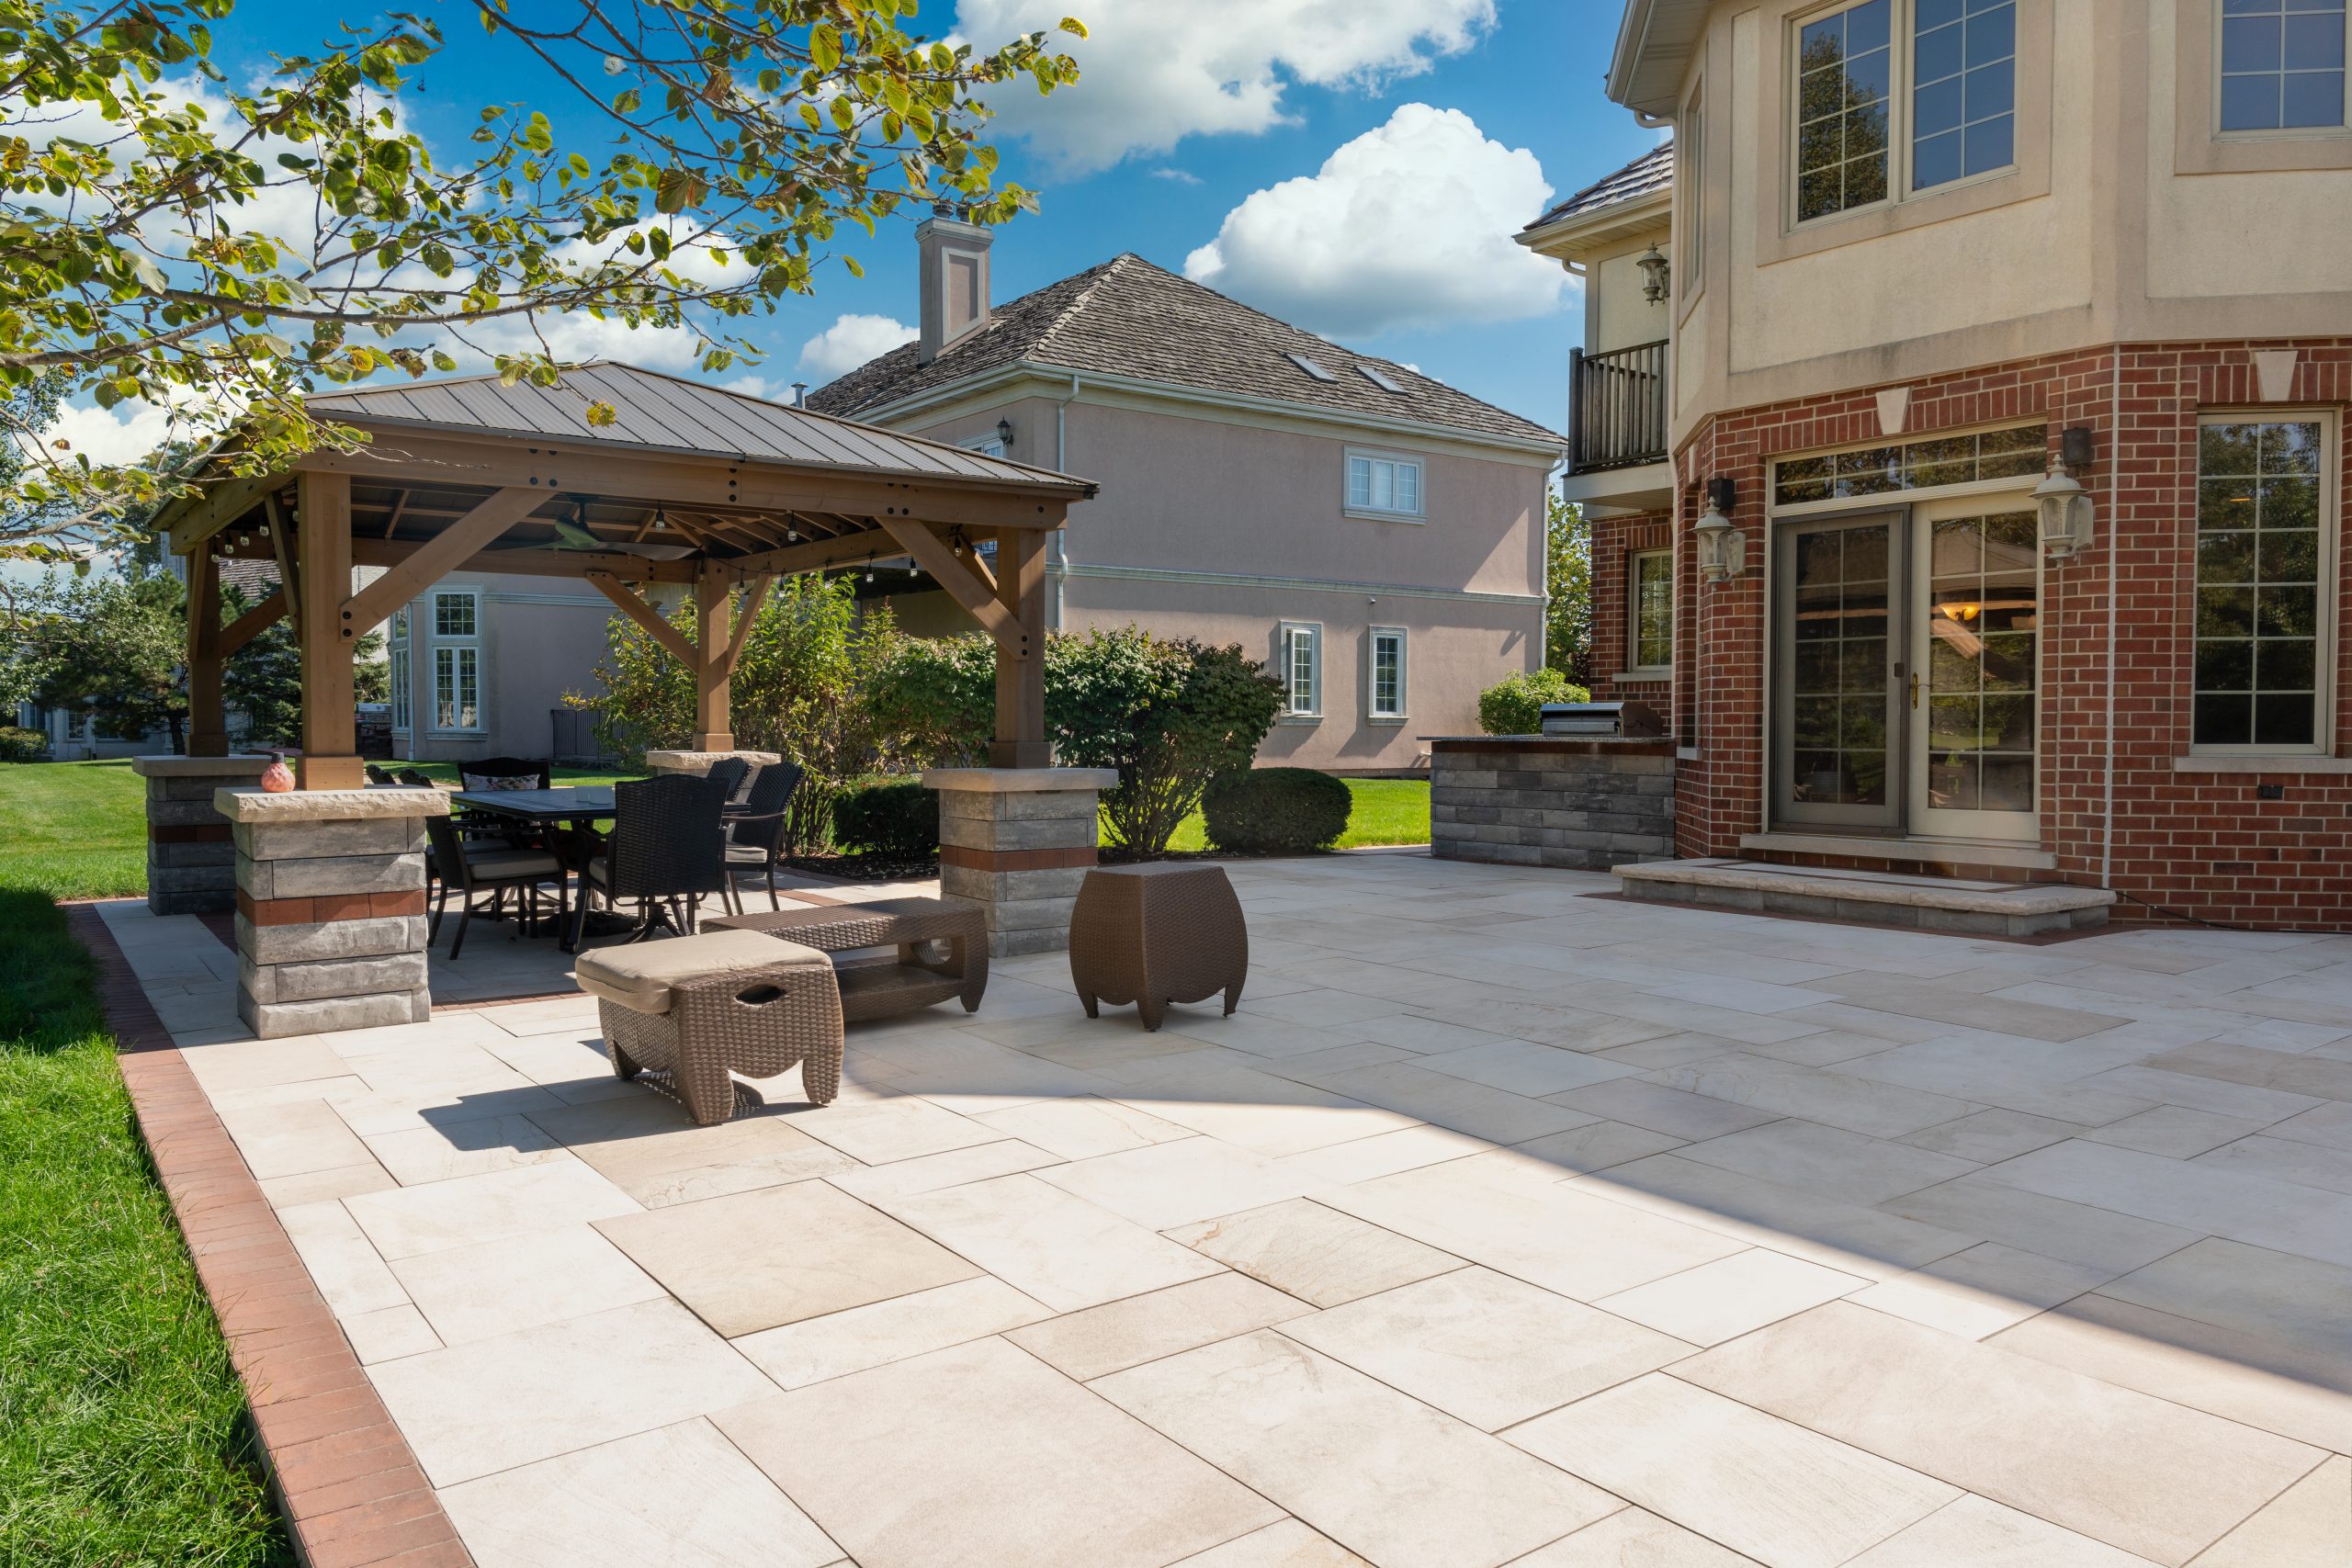
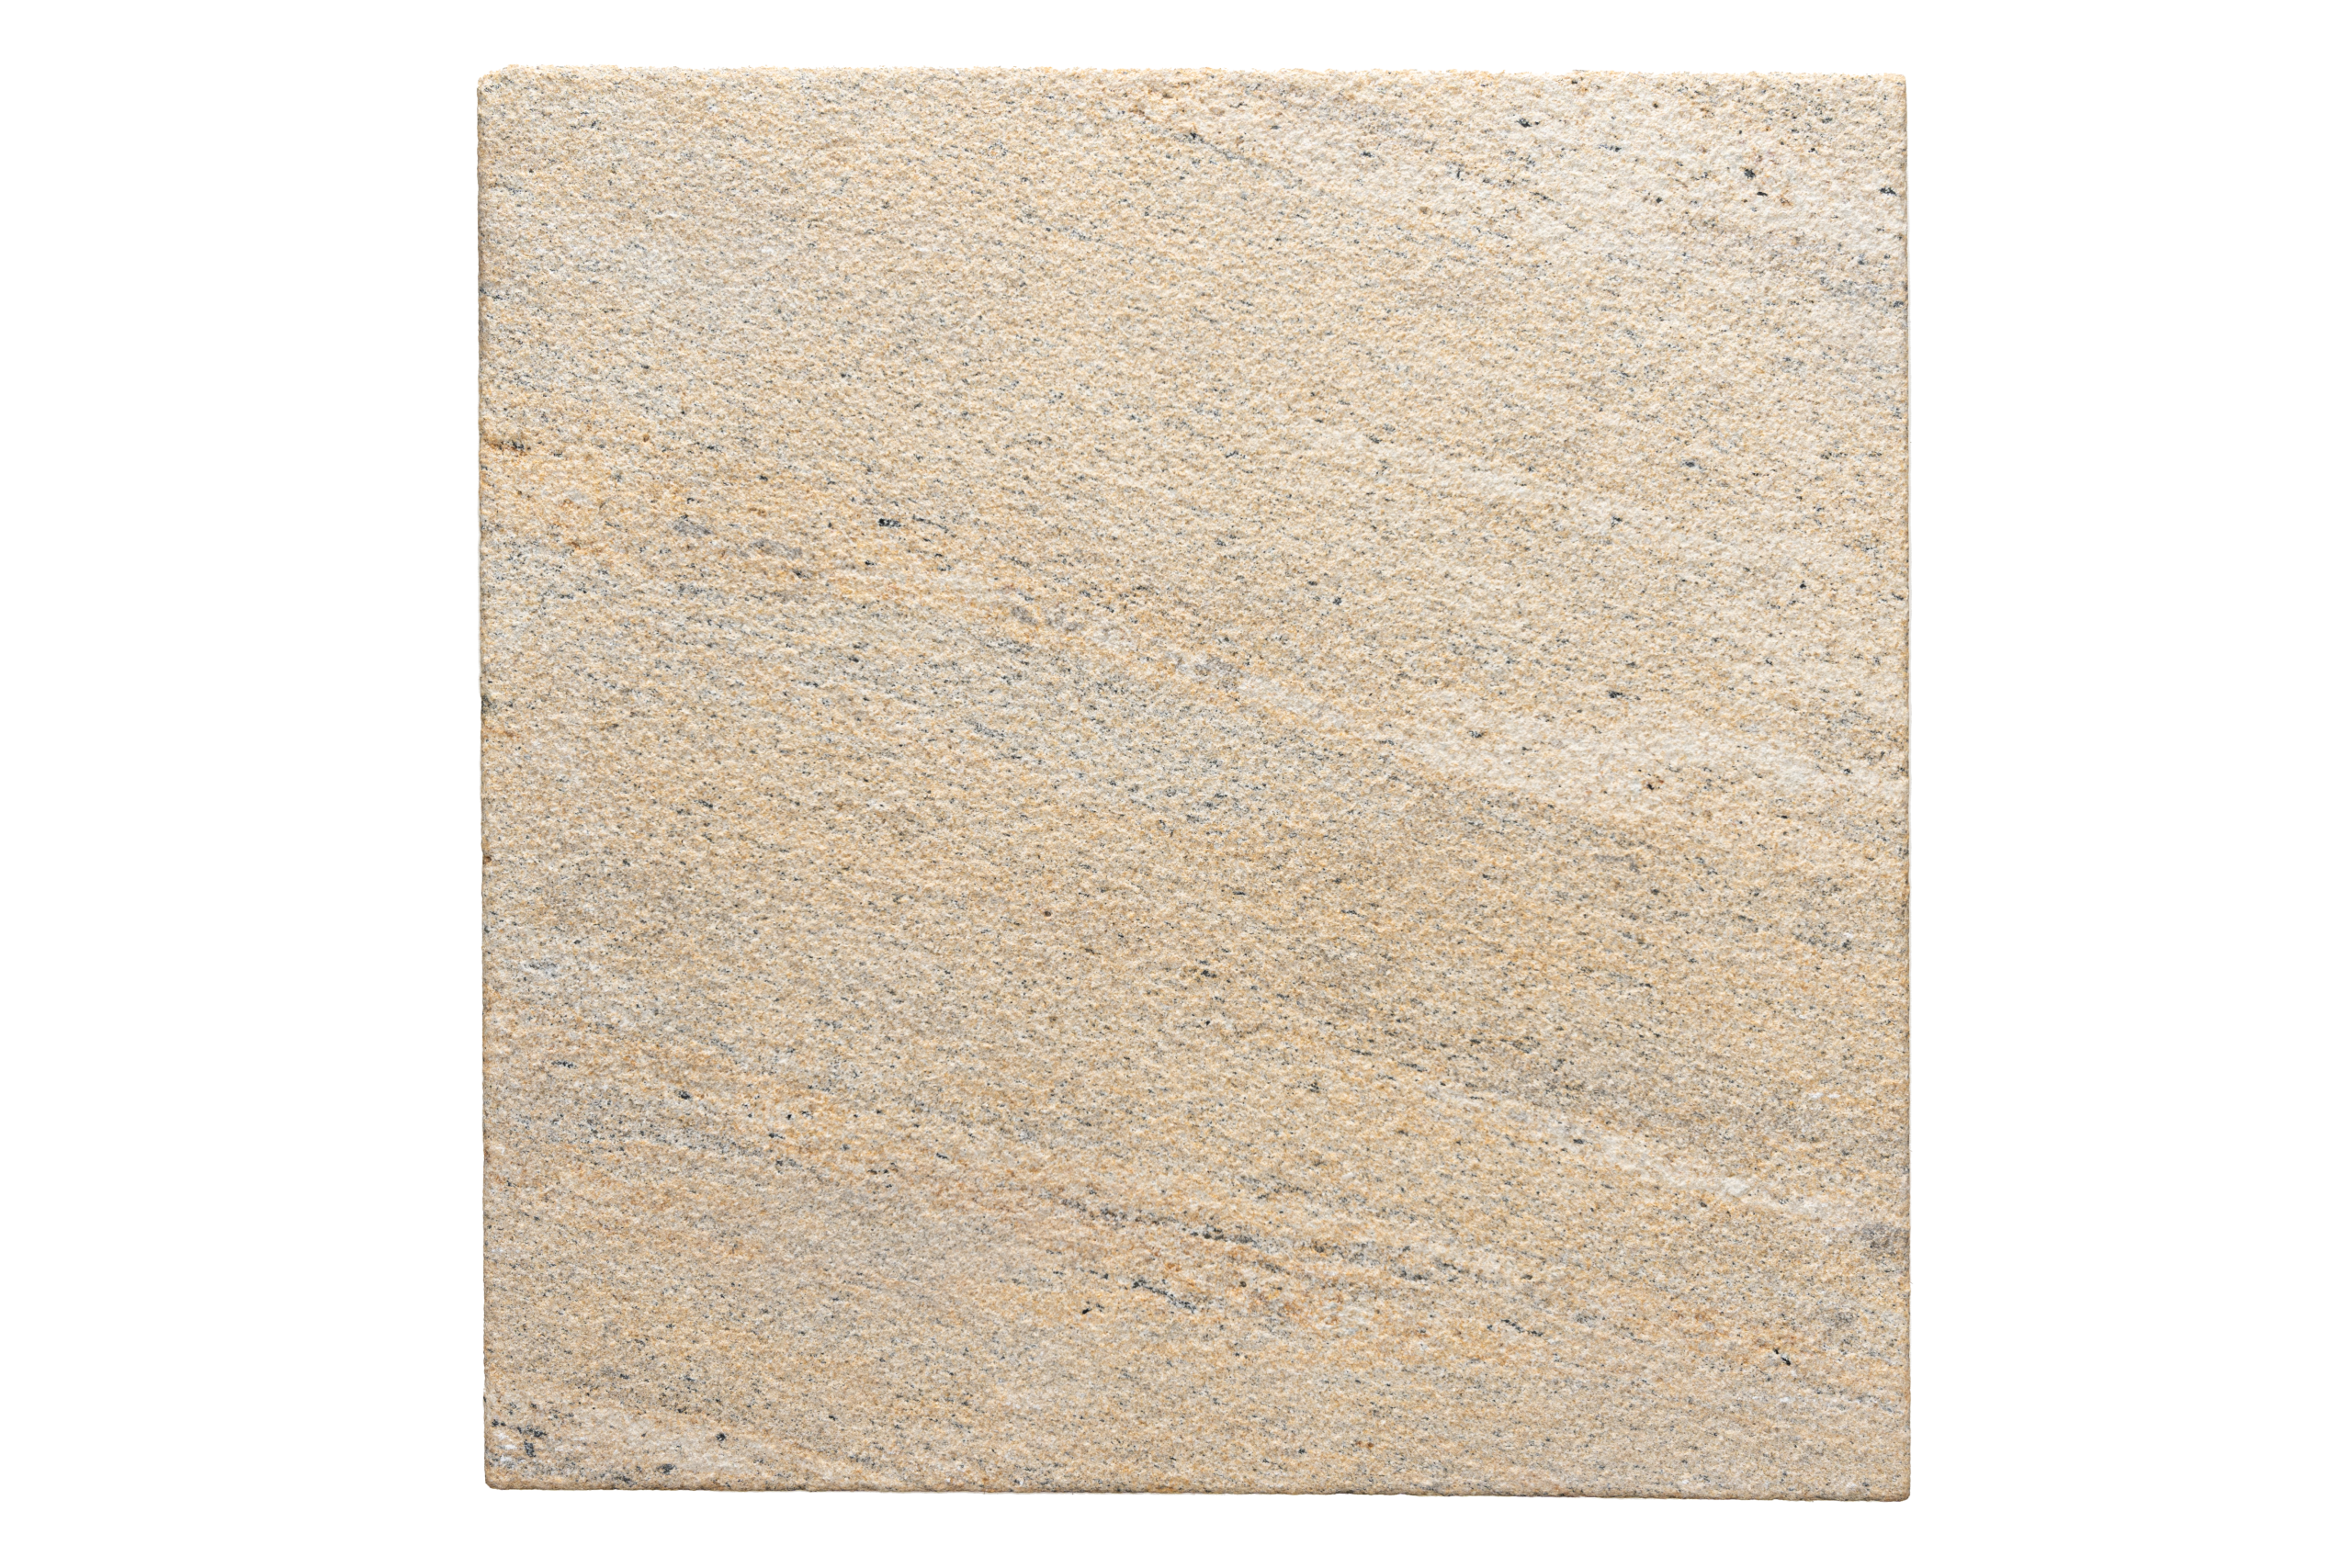
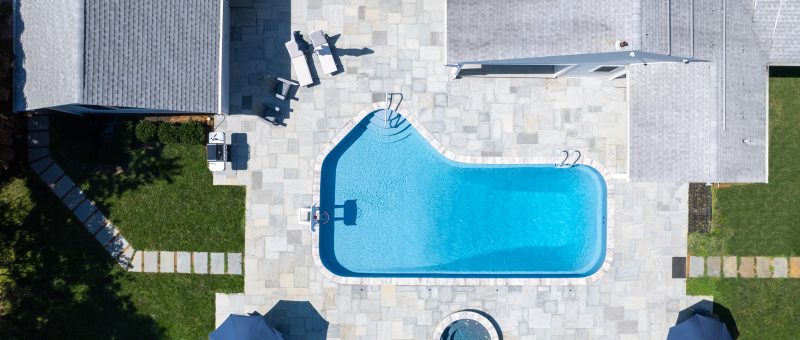
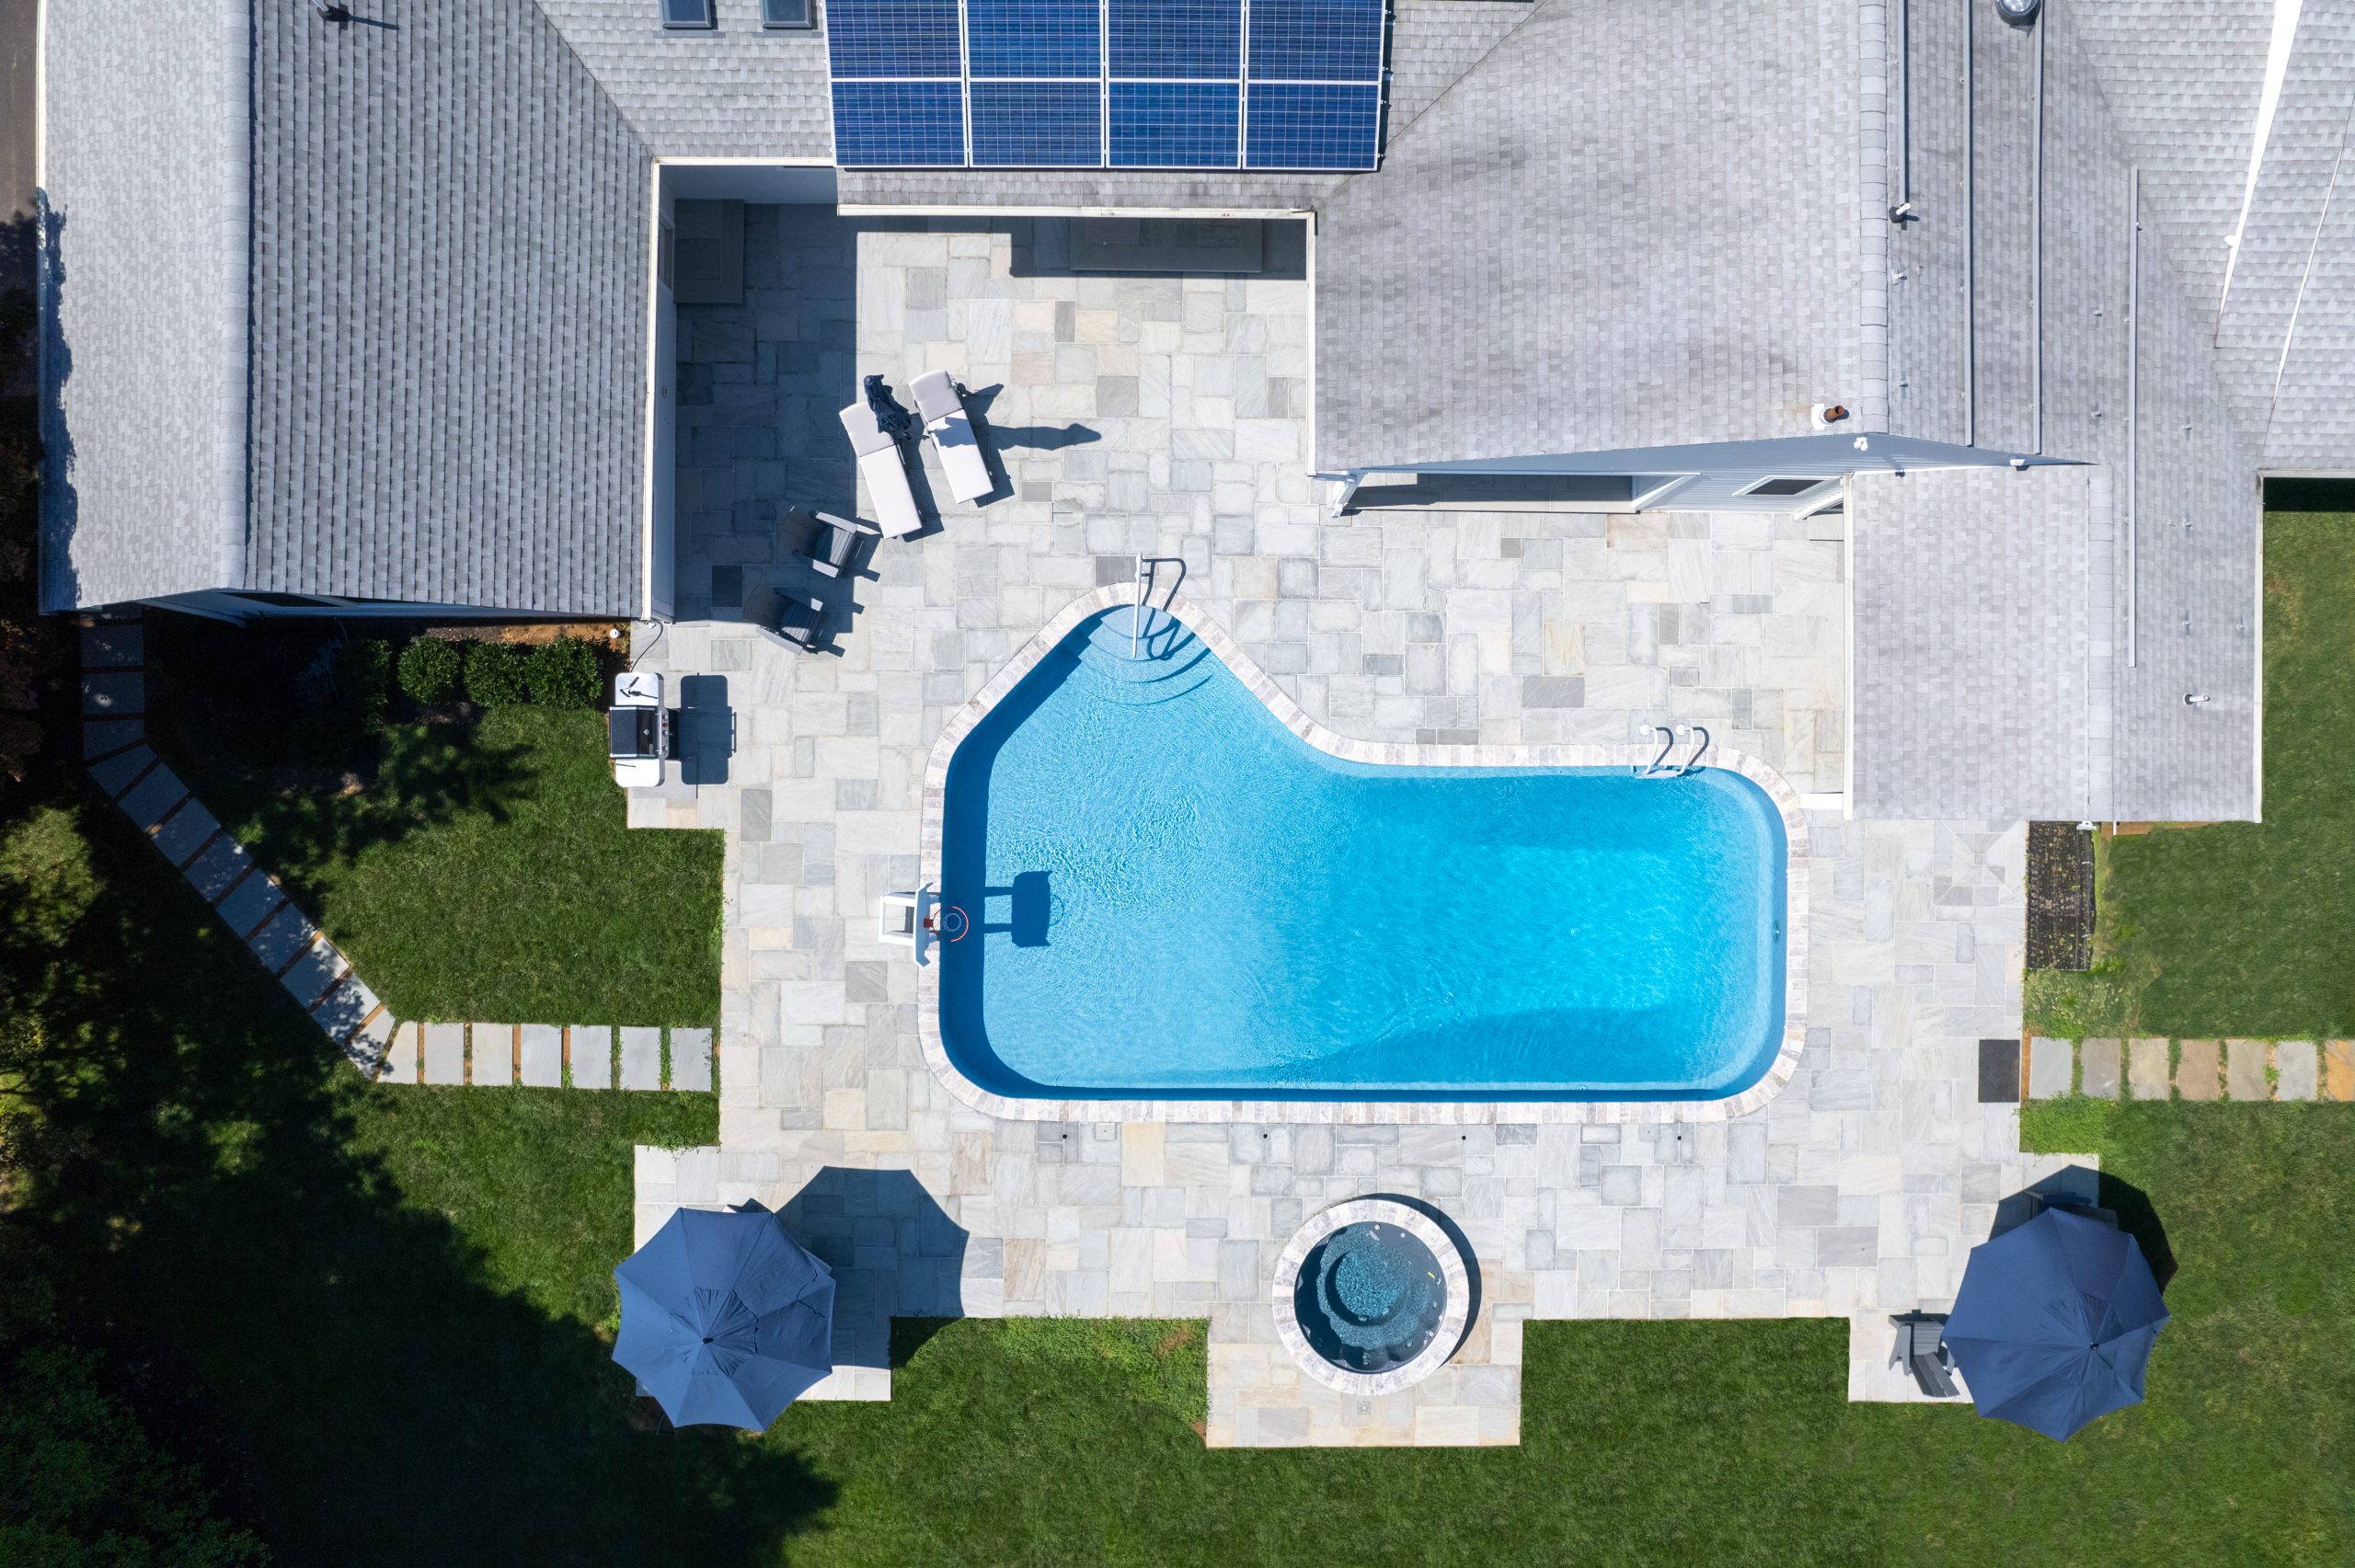
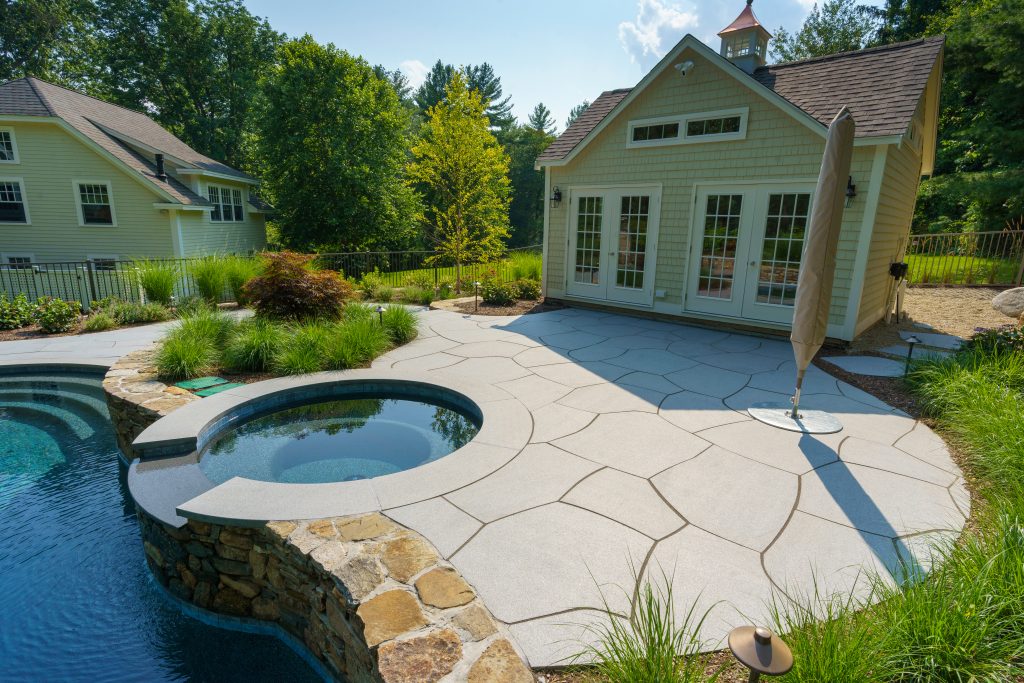
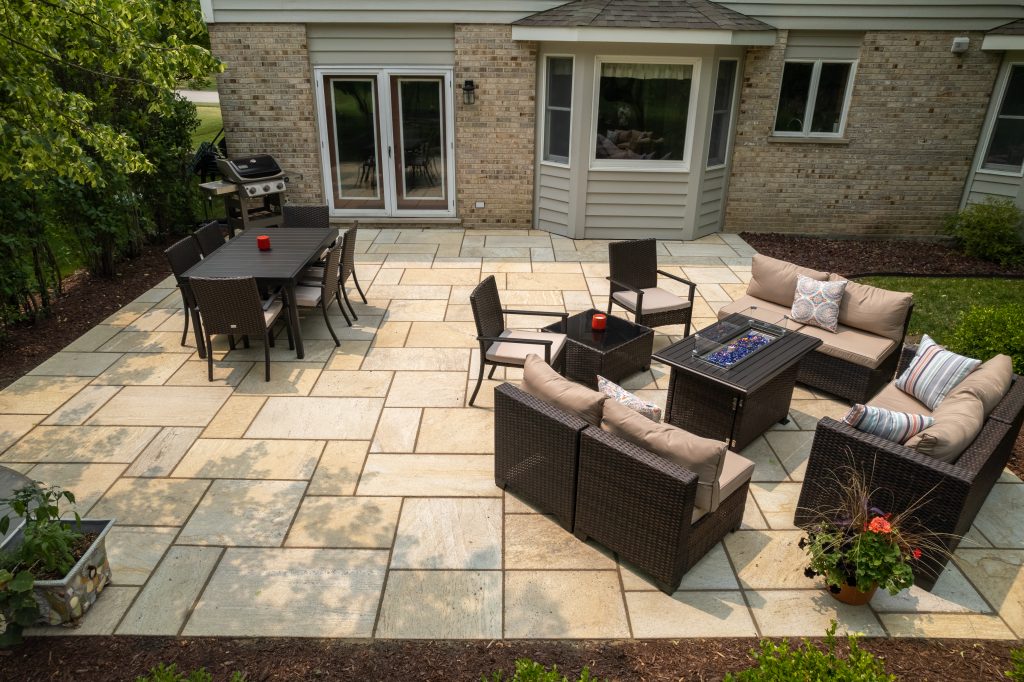
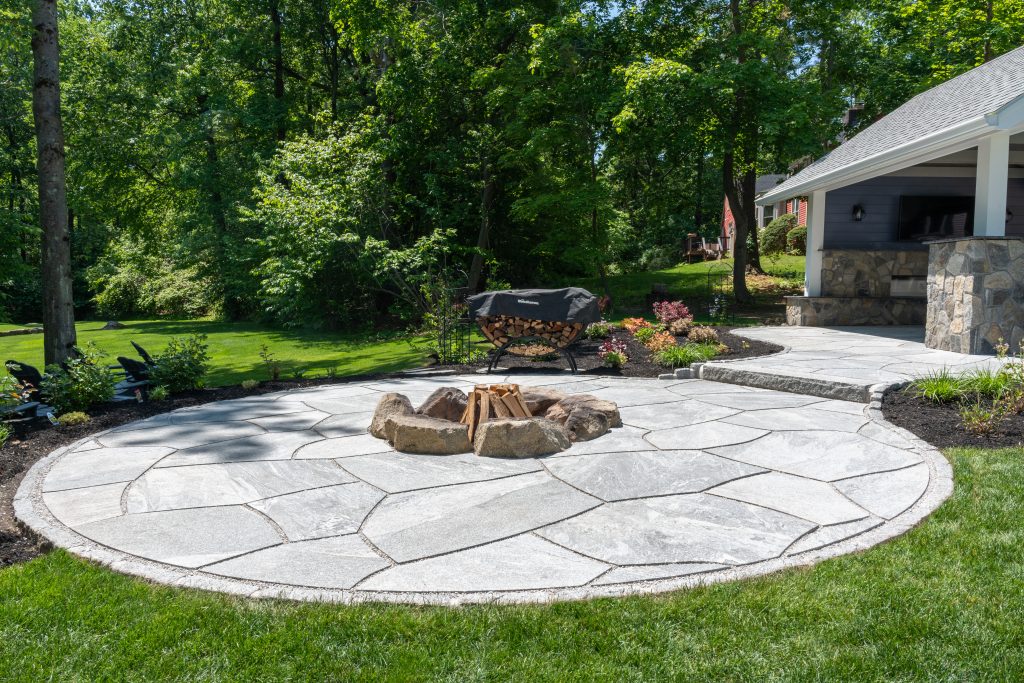
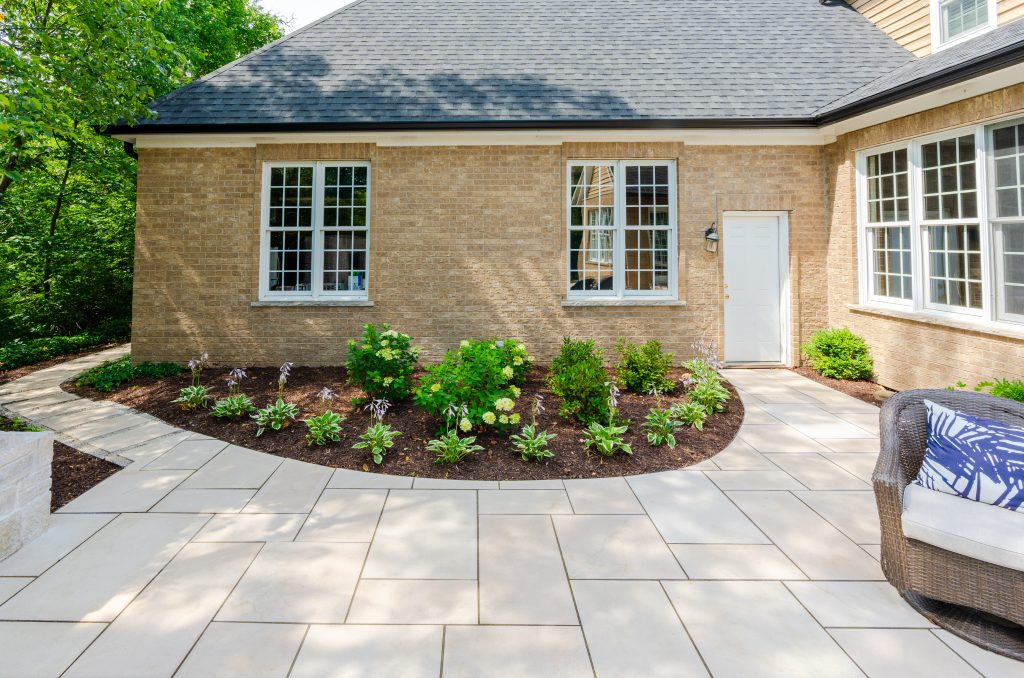
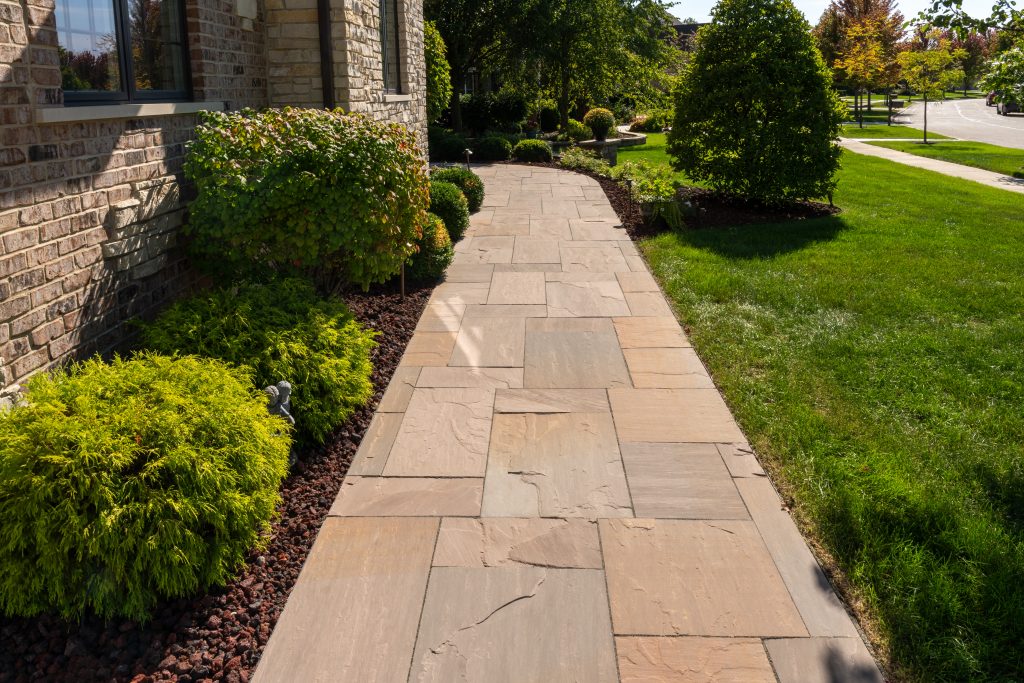
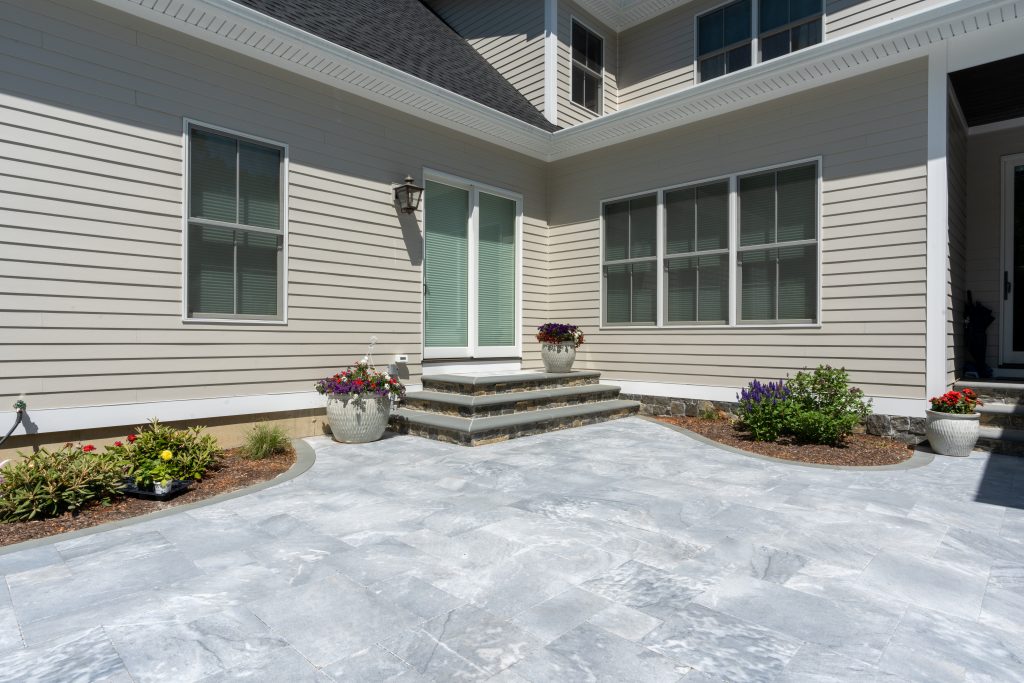
When installing stone pavers—whether for a patio, walkway, or driveway—polymeric sand plays a critical role in achieving long-lasting results. It may seem like a simple material, but polymeric sand is essential for locking pavers in place, preventing weeds, and keeping your hardscape looking clean and well-maintained. However, its performance depends heavily on proper installation. When applied incorrectly, polymeric sand can cause a range of issues that compromise both the function and appearance of your paver project.
In this article, we’ll break down why polymeric sand is so important, the problems that occur when it’s not applied correctly, and what’s involved when it’s time to remove old sand and replace it with a new layer.
What is Polymeric Sand and Why Is It Important?
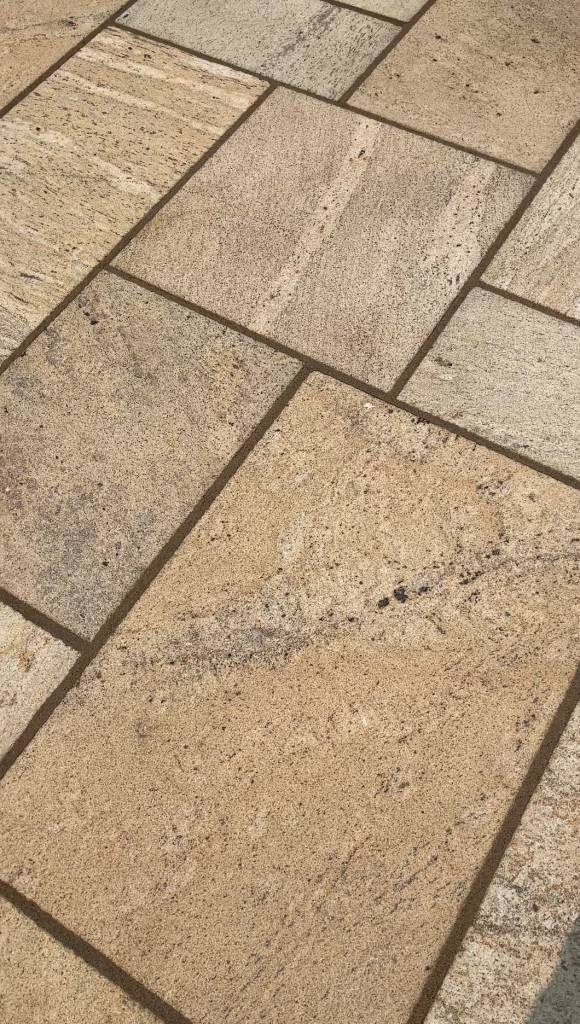
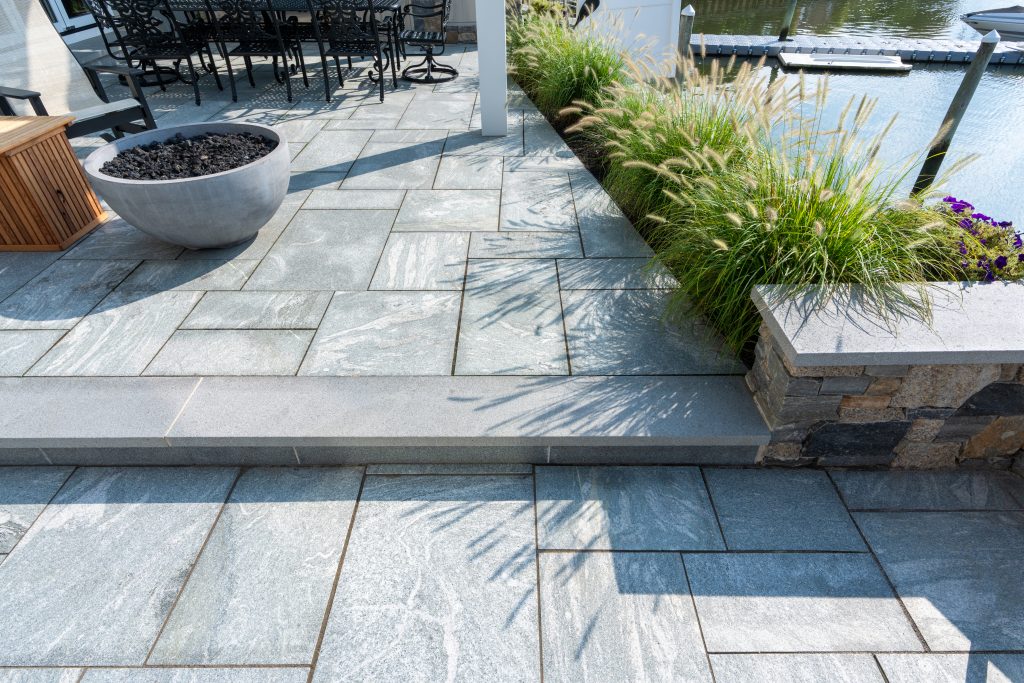
Polymeric sand is a blend of fine sand and binding polymers. When activated with water, these polymers harden, forming a semi-solid, flexible joint between pavers. These joints serve several important functions:
1. Stabilization
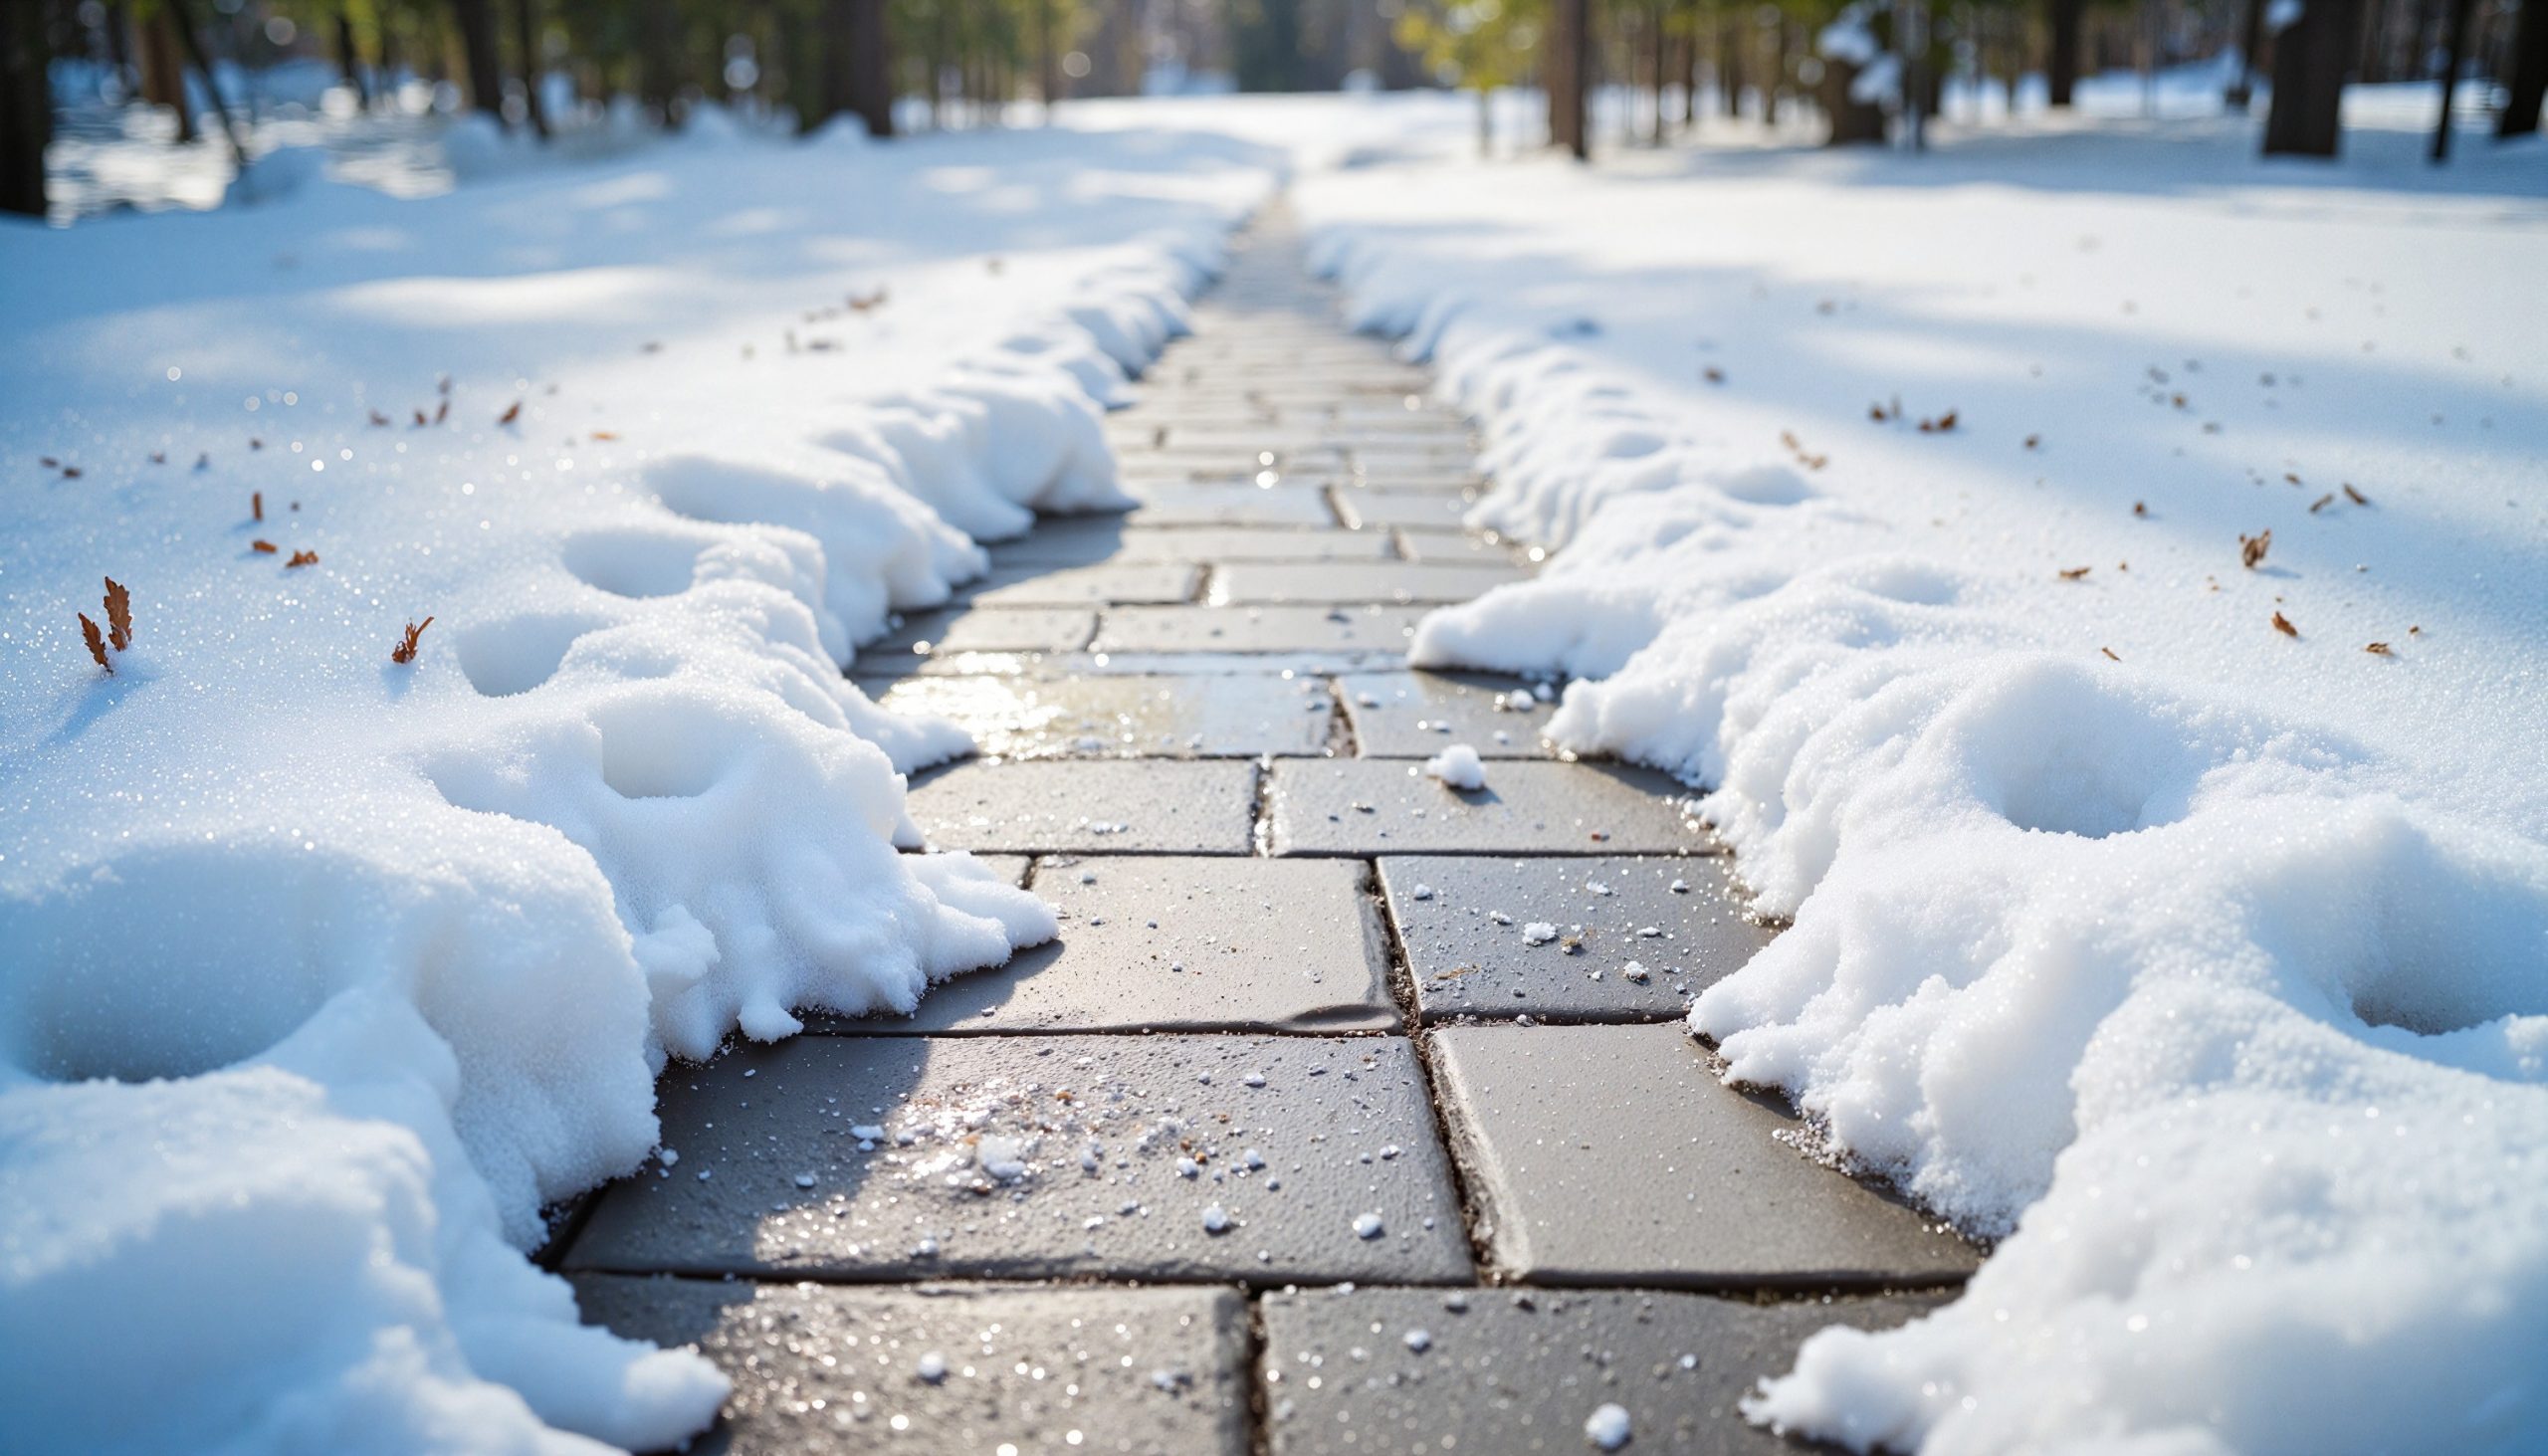
The hardened sand keeps pavers from shifting over time—especially in high-traffic areas or climates with freeze-thaw cycles.
2. Weed and Pest Prevention
Properly filled joints leave little room for weeds to sprout or insects to burrow.
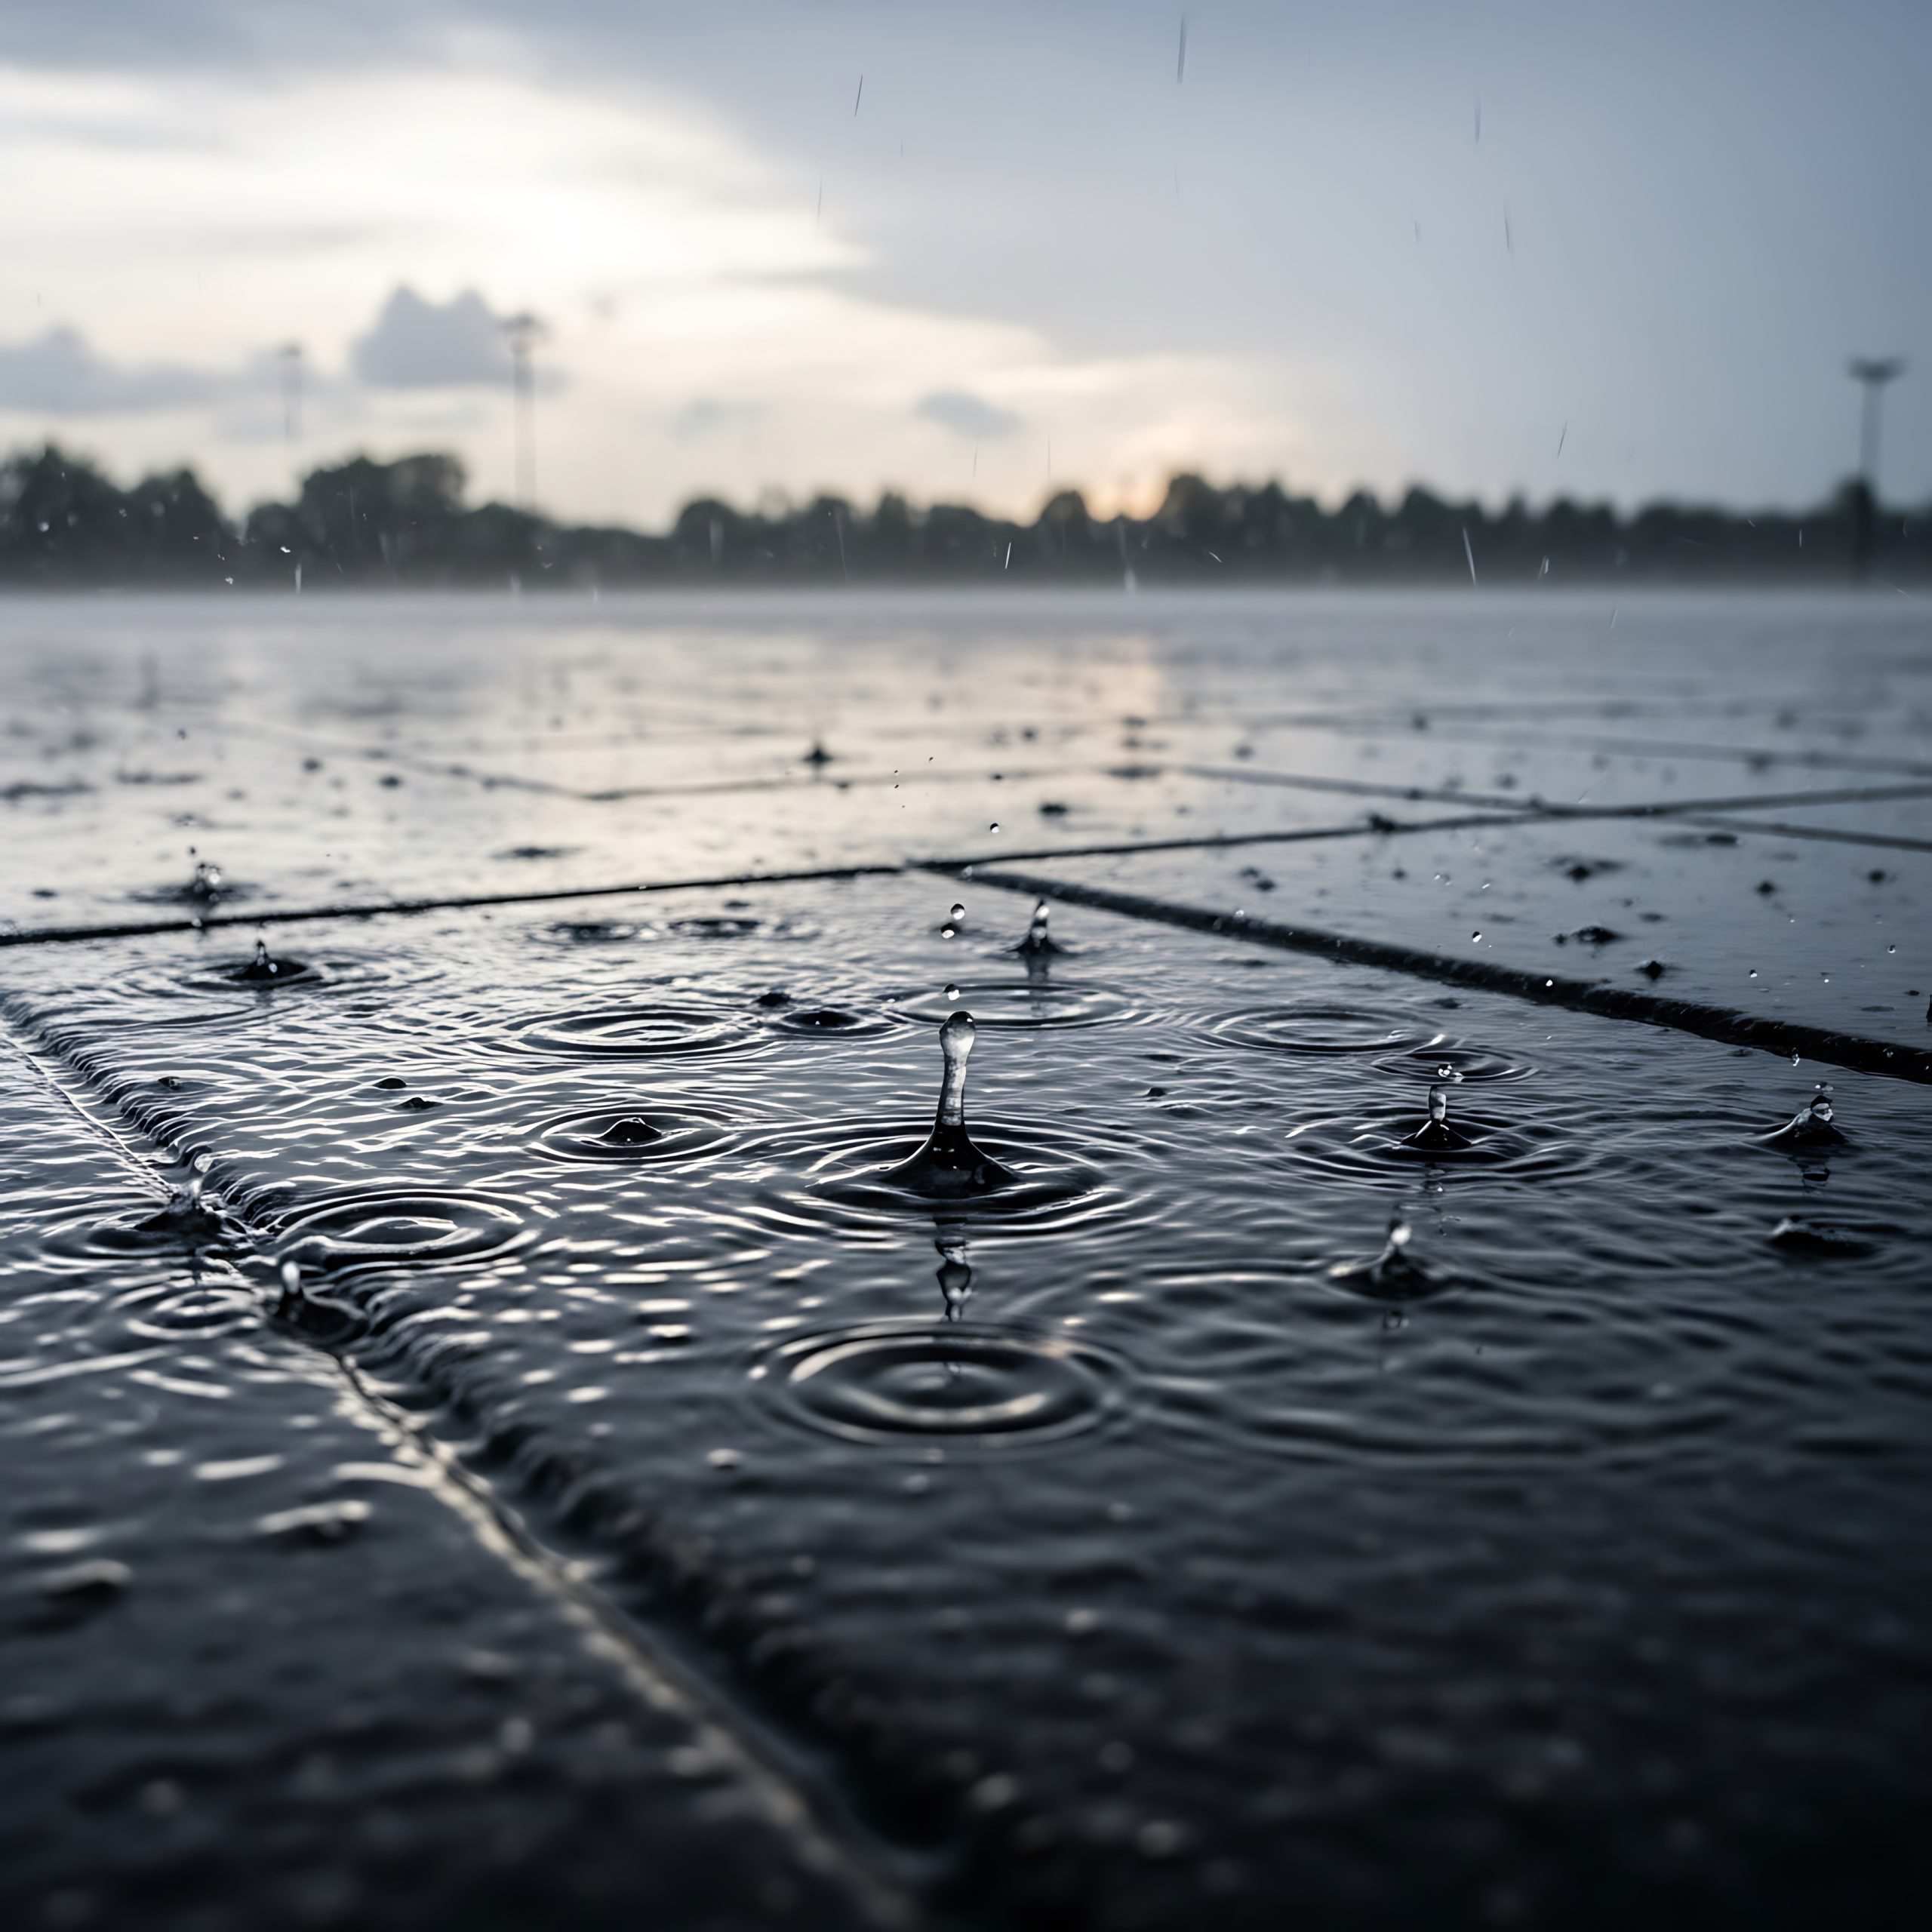
3. Water Management
Polymeric sand helps reduce erosion and prevents water from washing out the joints during heavy rain.
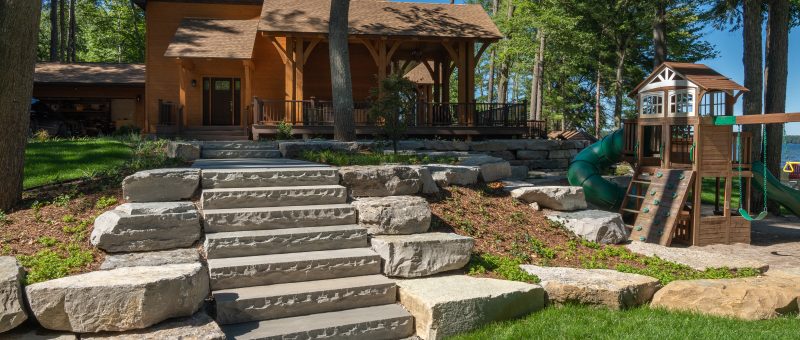
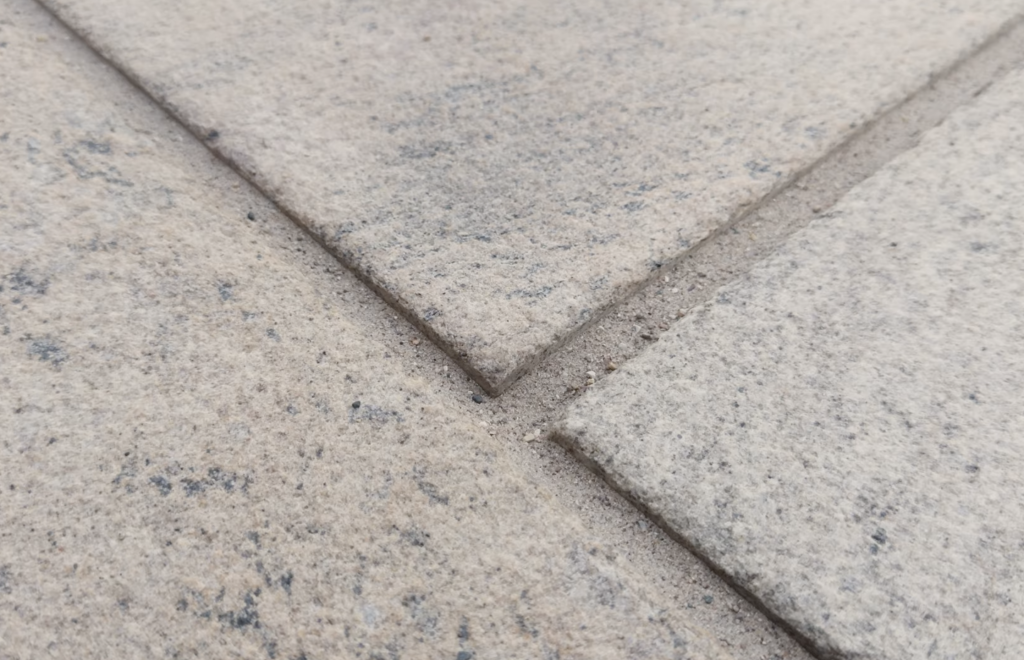
4. A Clean, Finished Appearance
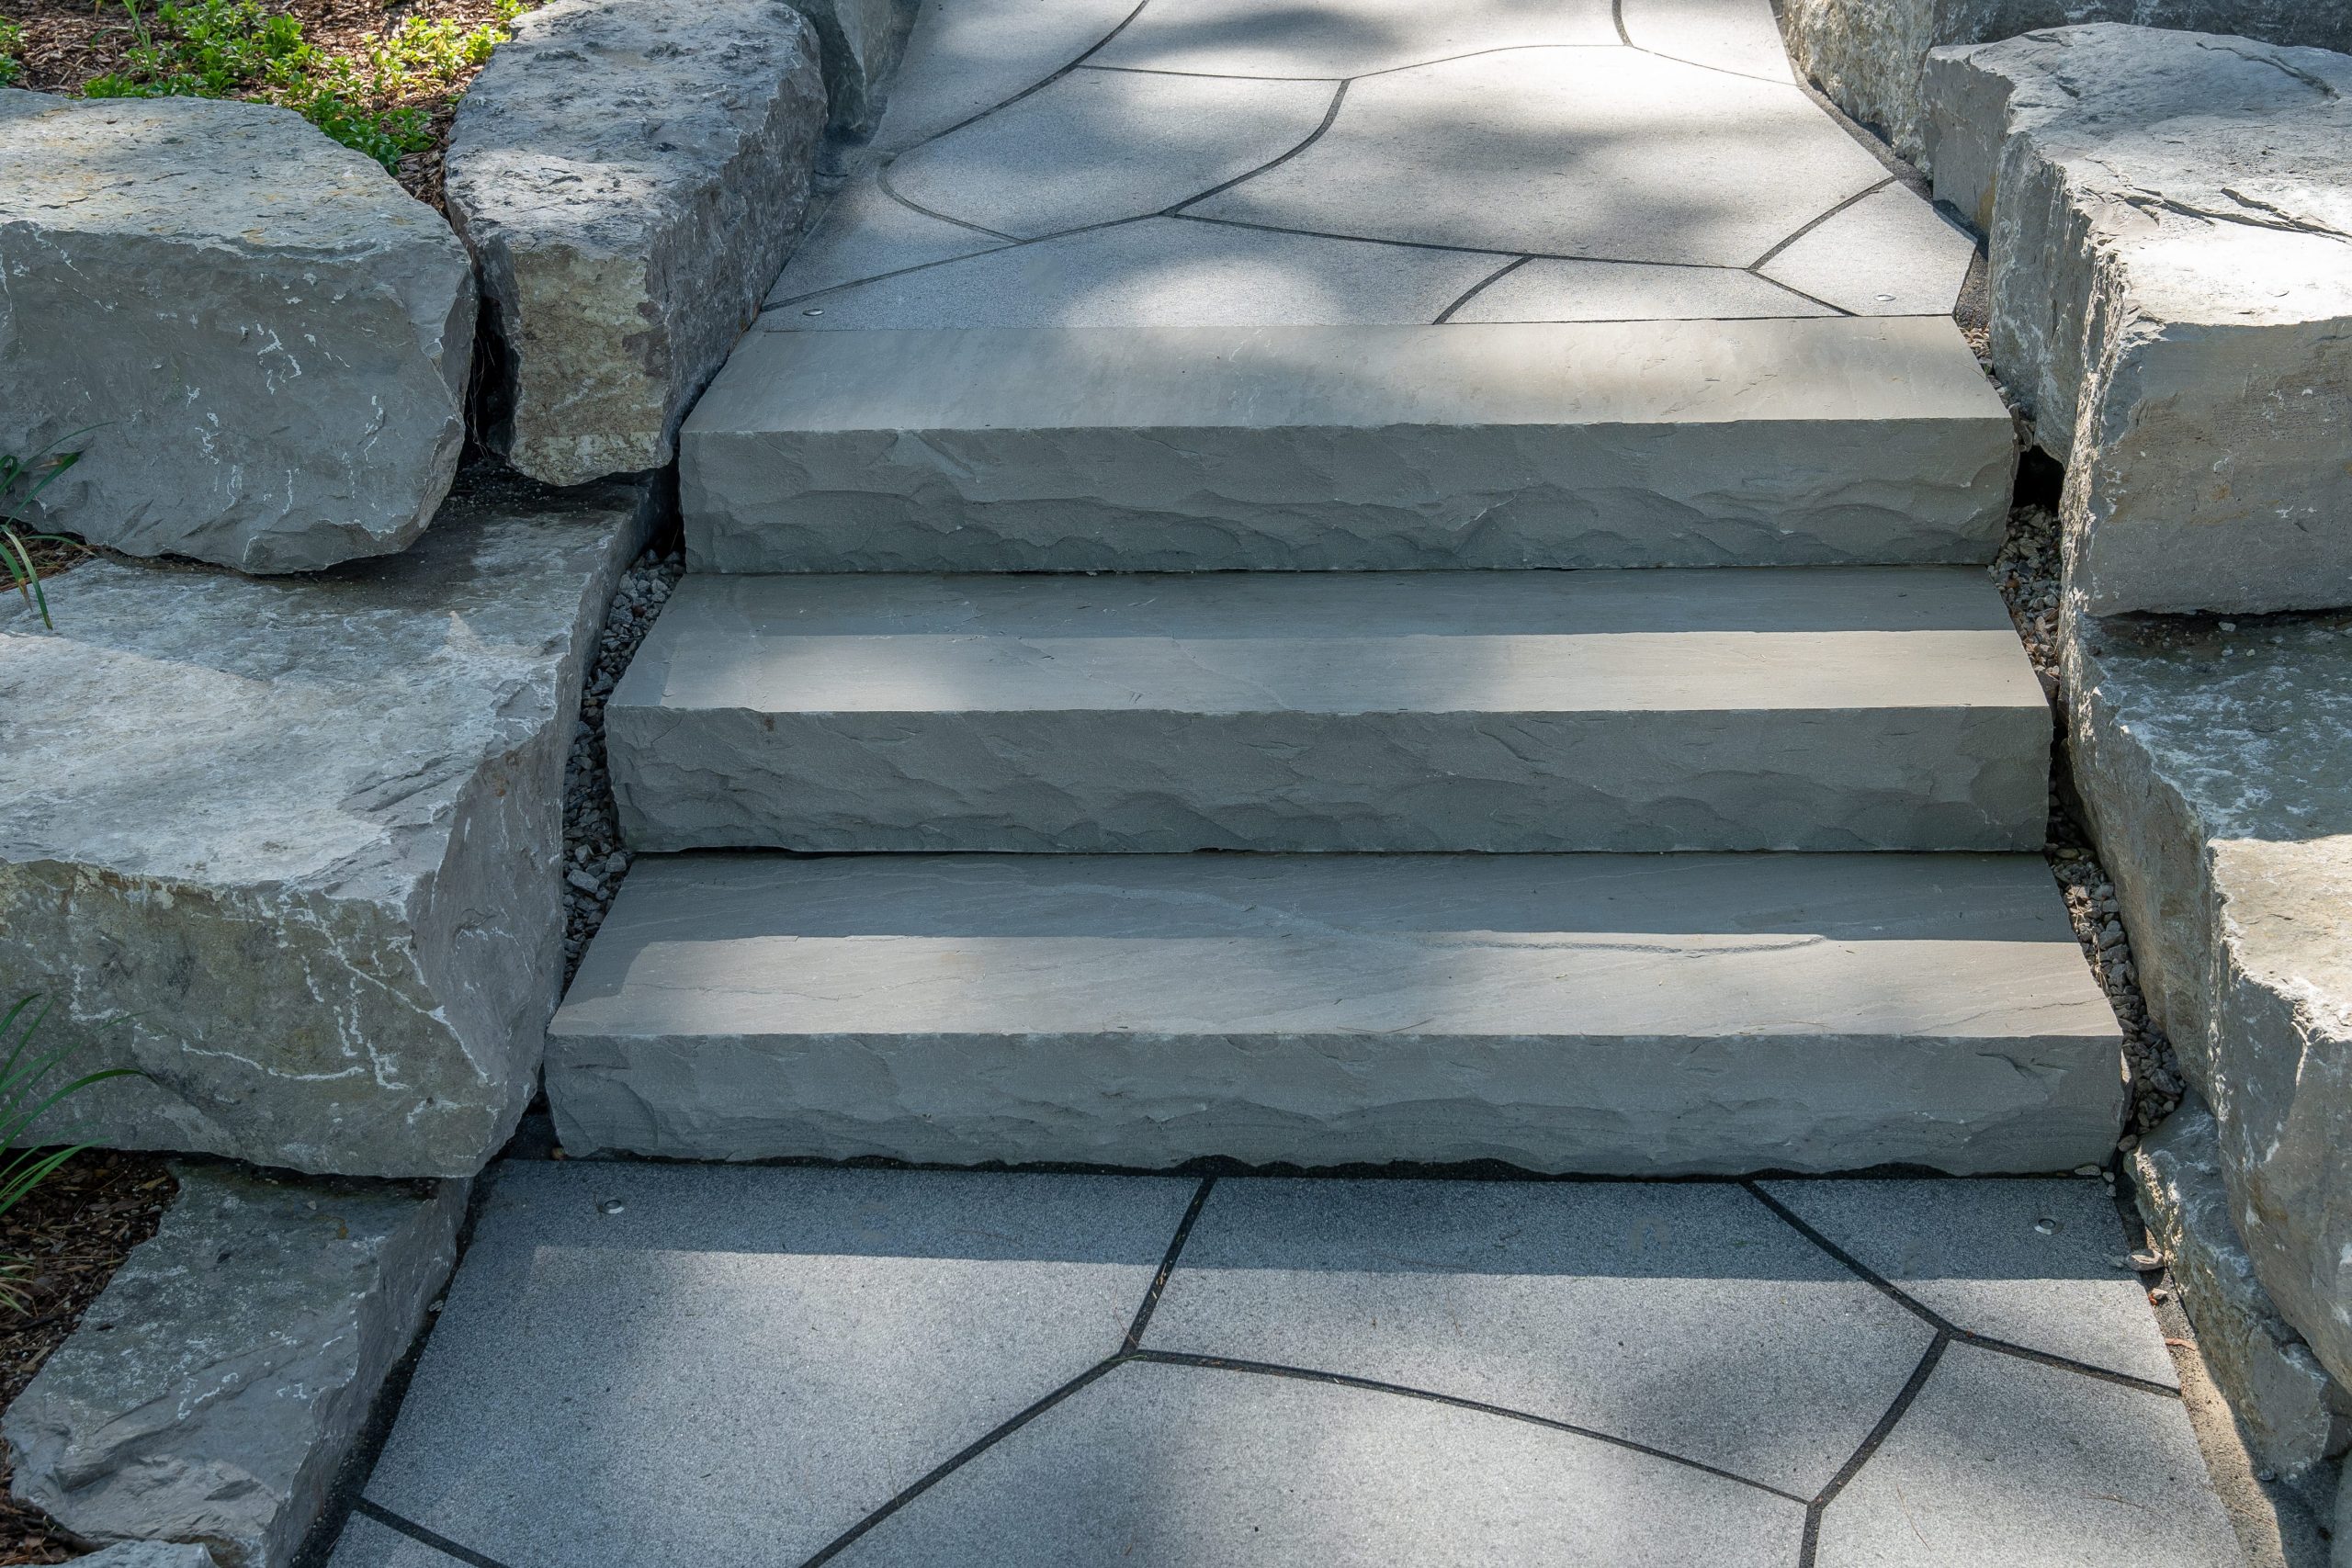
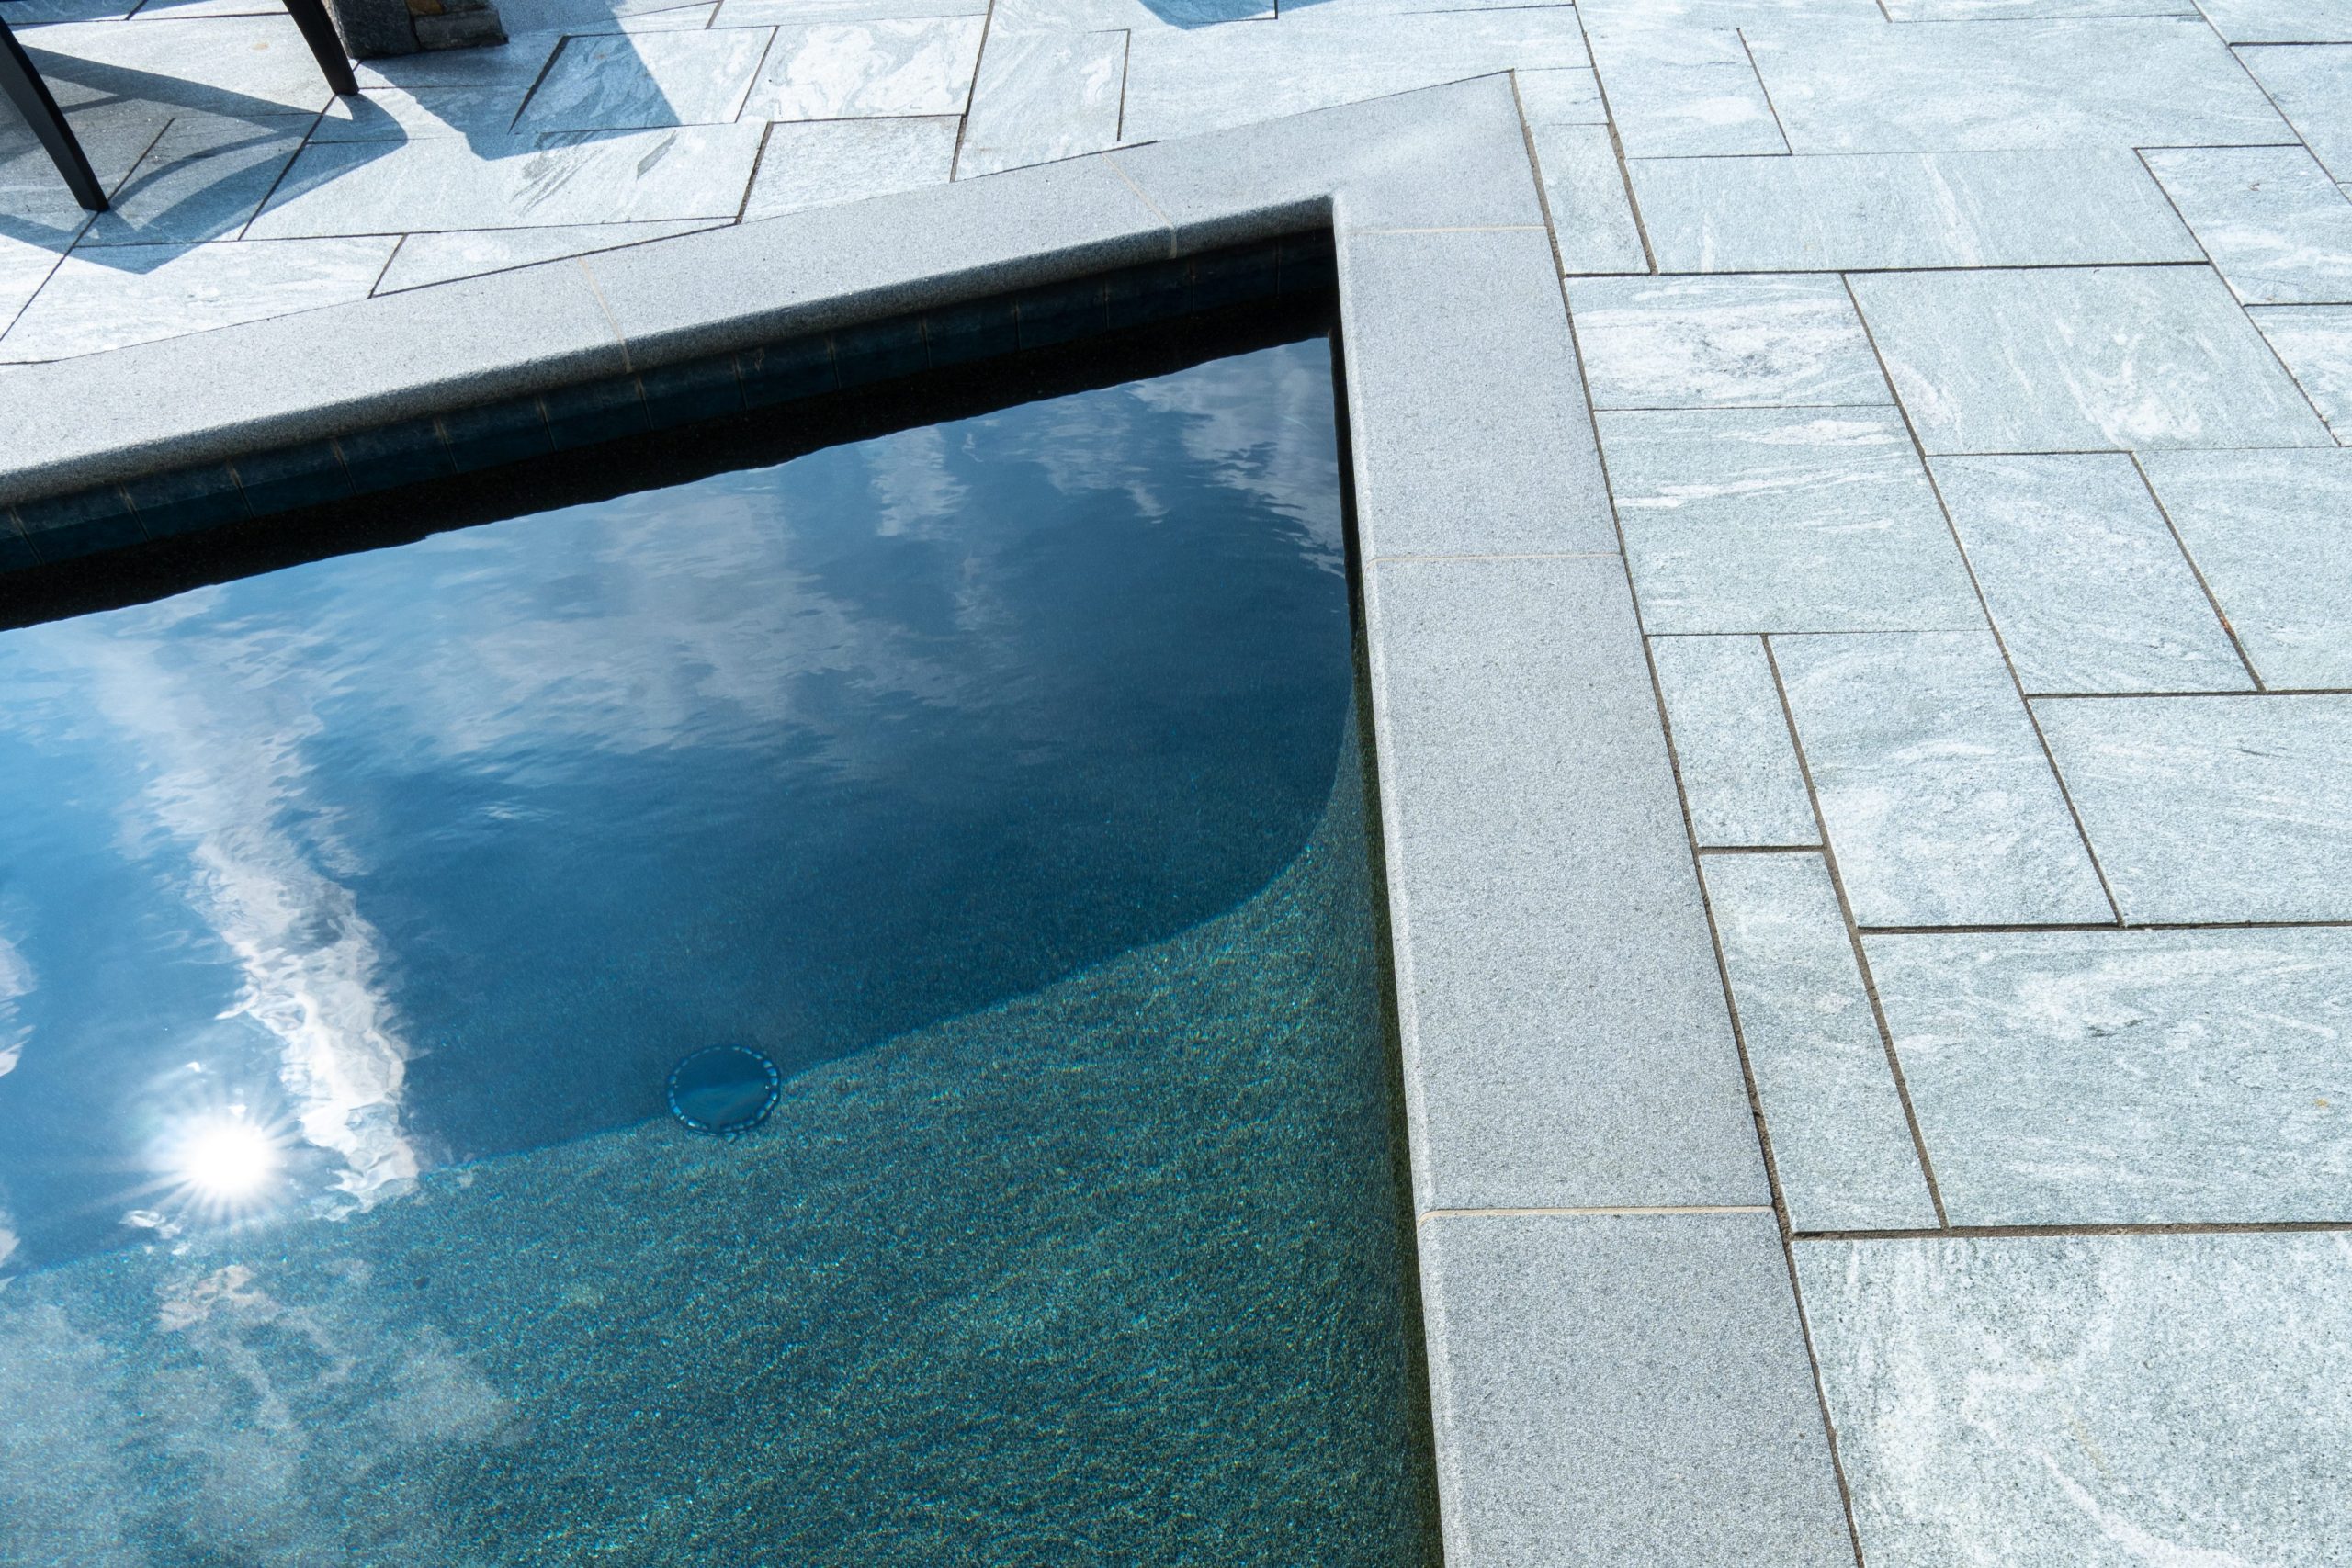
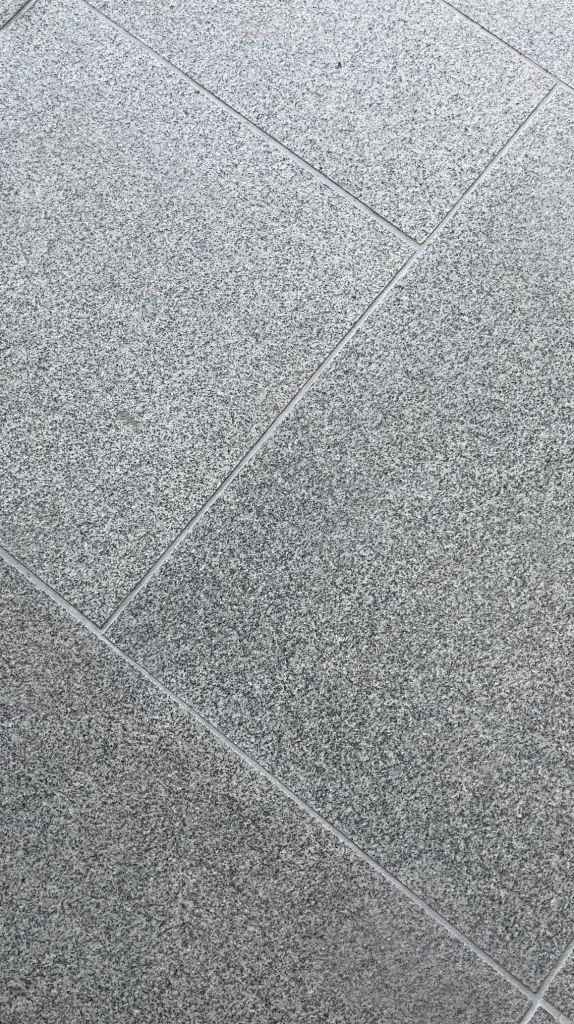
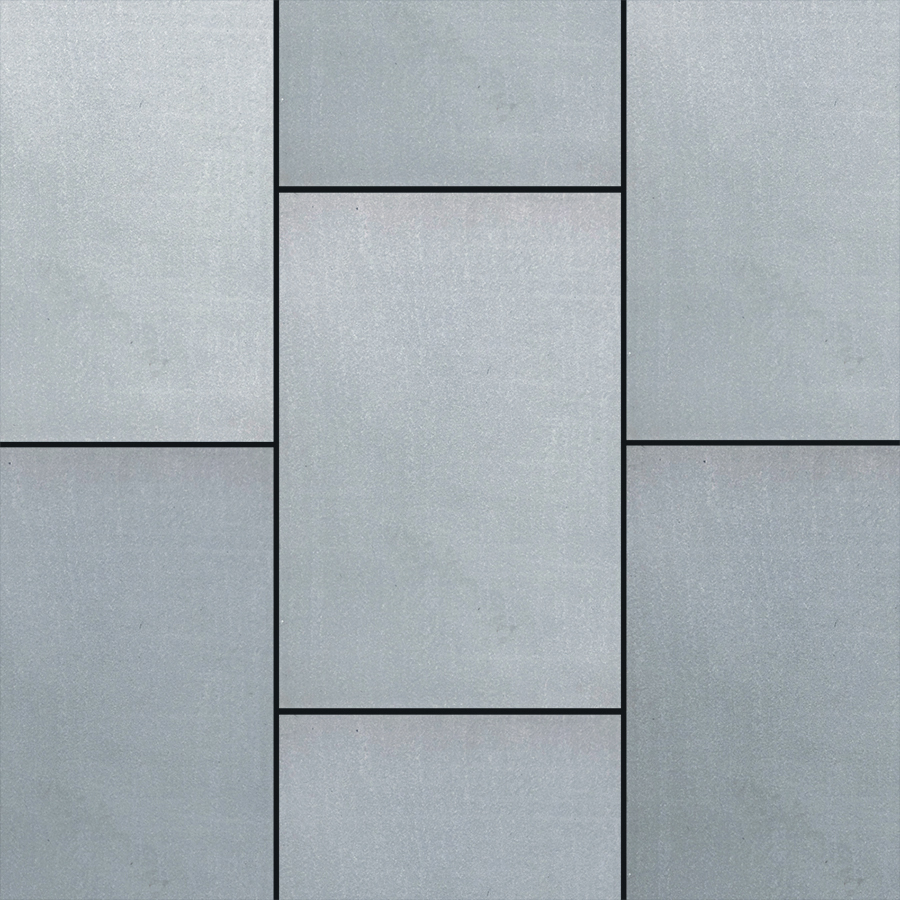
Filled joints give your hardscape a clean, uniform look and help maintain even spacing between pavers.

Why Proper Installation Matters
Although polymeric sand is widely used, many of the problems that arise in paver installations come from poor application or rushed installation. Polymeric sand is highly sensitive to moisture and requires careful preparation.
Below are the most common issues that appear when it’s installed incorrectly.
Common Problems Caused by Incorrect Polymeric Sand Installation
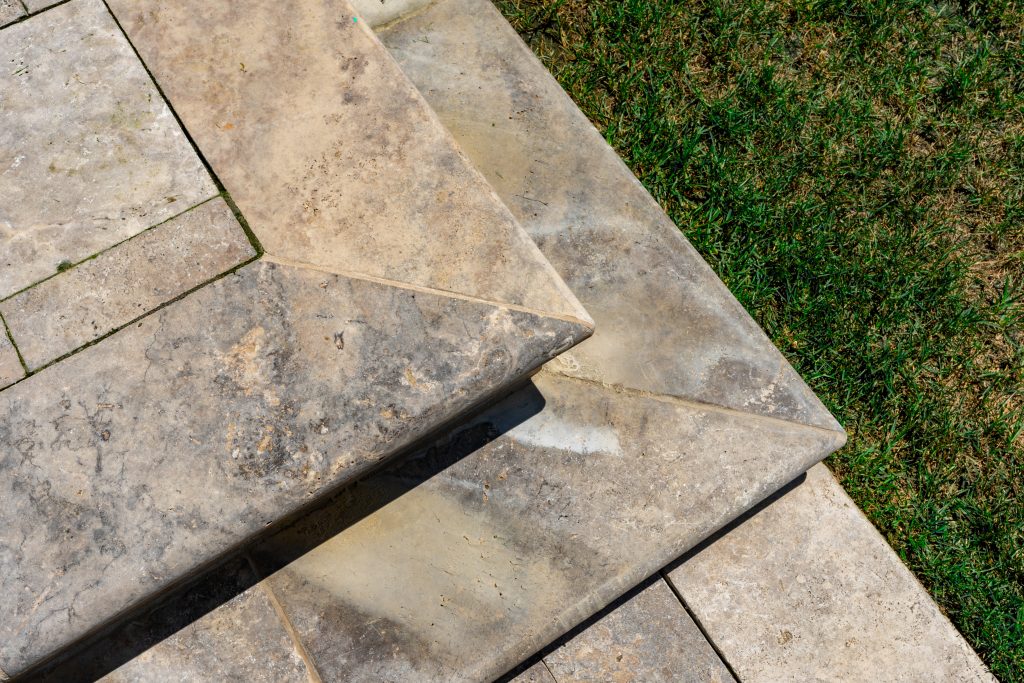
1. Haze or Staining on Paver Surfaces
If polymeric sand dust is not completely blown or swept off the pavers before wetting, it can create a white or cloudy haze.
This haze may be difficult to remove and can permanently affect the appearance of the surface.
2. Soft or Crumbling Joints
Polymeric sand needs the correct amount of water to activate.
Too much water washes the polymers away; too little prevents proper curing.
The result is weak joints that break apart, wash out, or never fully harden.
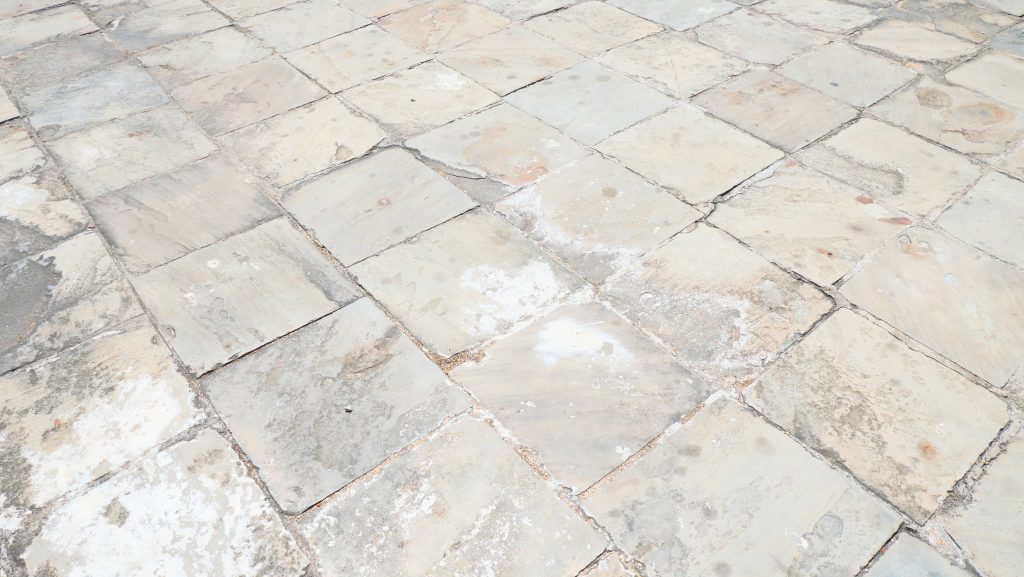
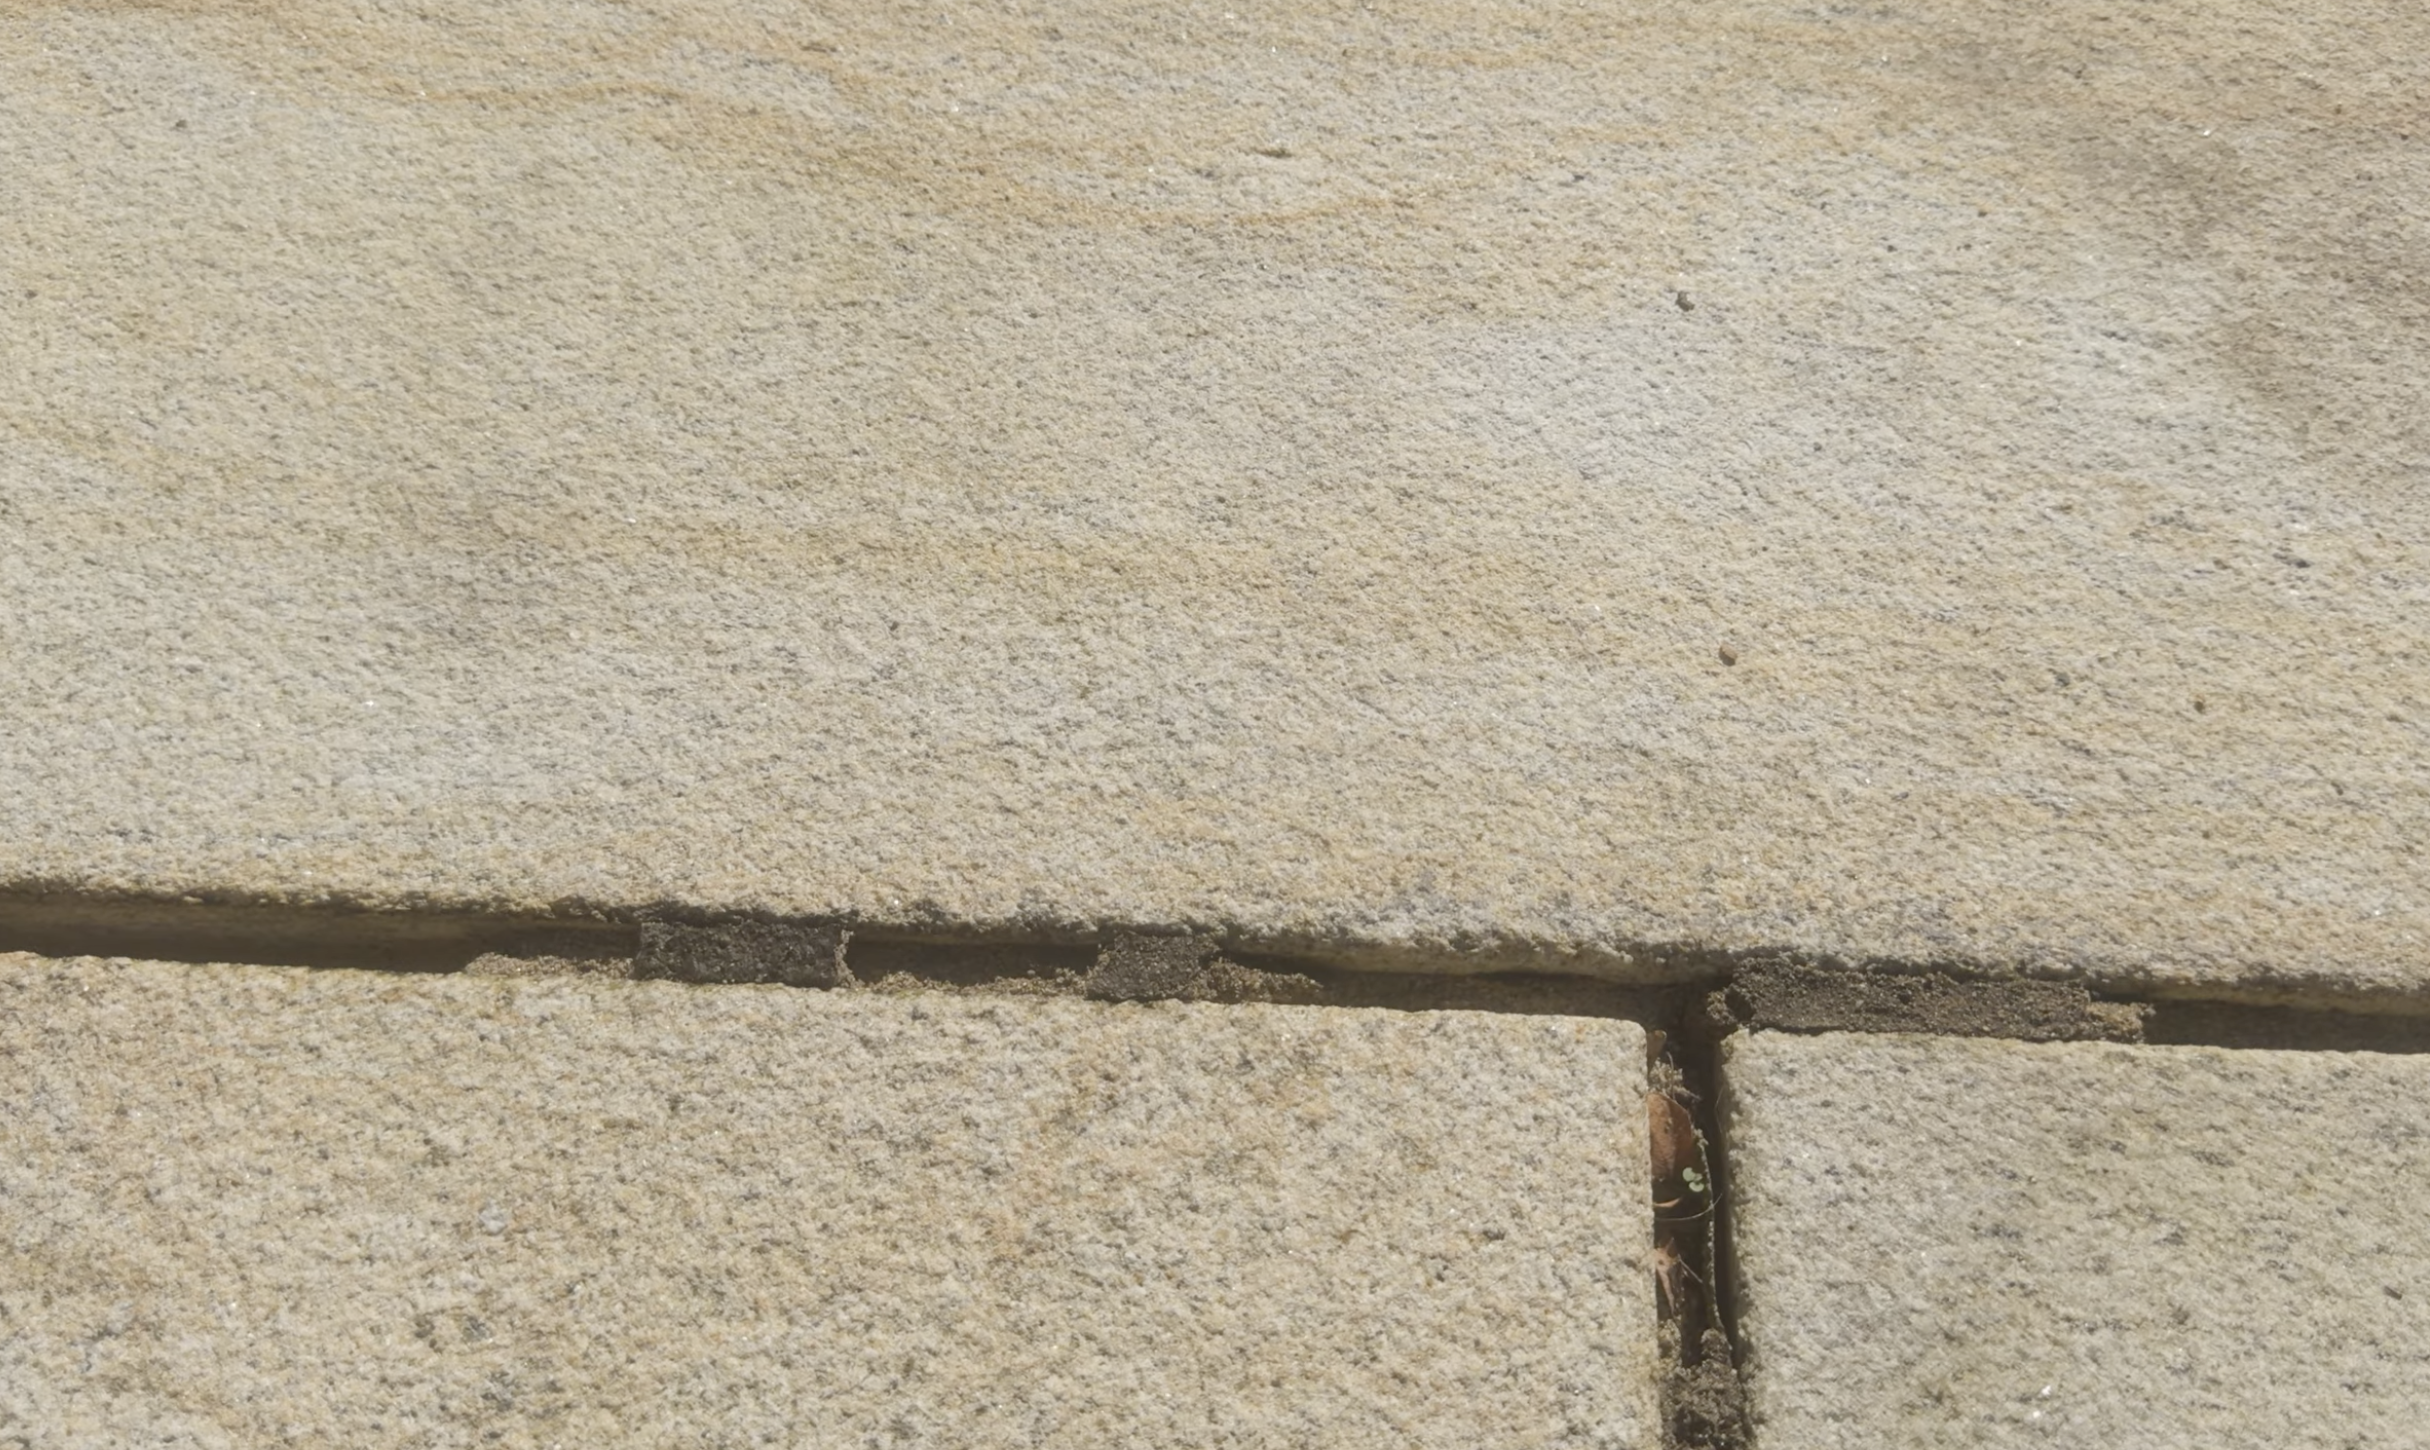
3. Uneven or Sunken Joints
If joints aren’t filled completely or the sand isn’t compacted, the sand will settle over time. This can create gaps that collect debris or allow weeds to grow.
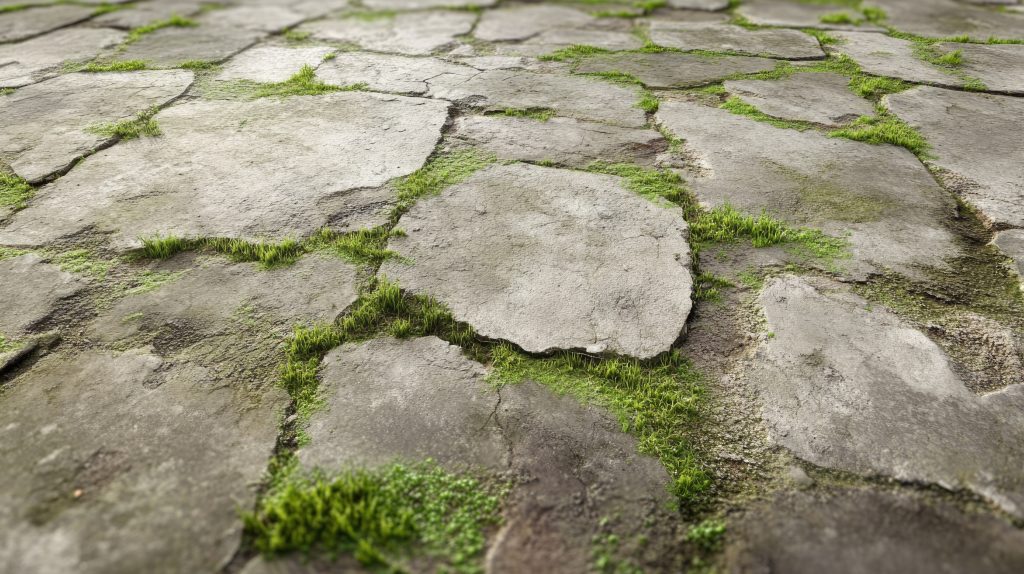
4. Weed Growth Despite Using Polymeric Sand
While polymeric sand helps prevent weeds, incorrect installation—especially shallow joints or washed-out polymers—makes weed growth likely.
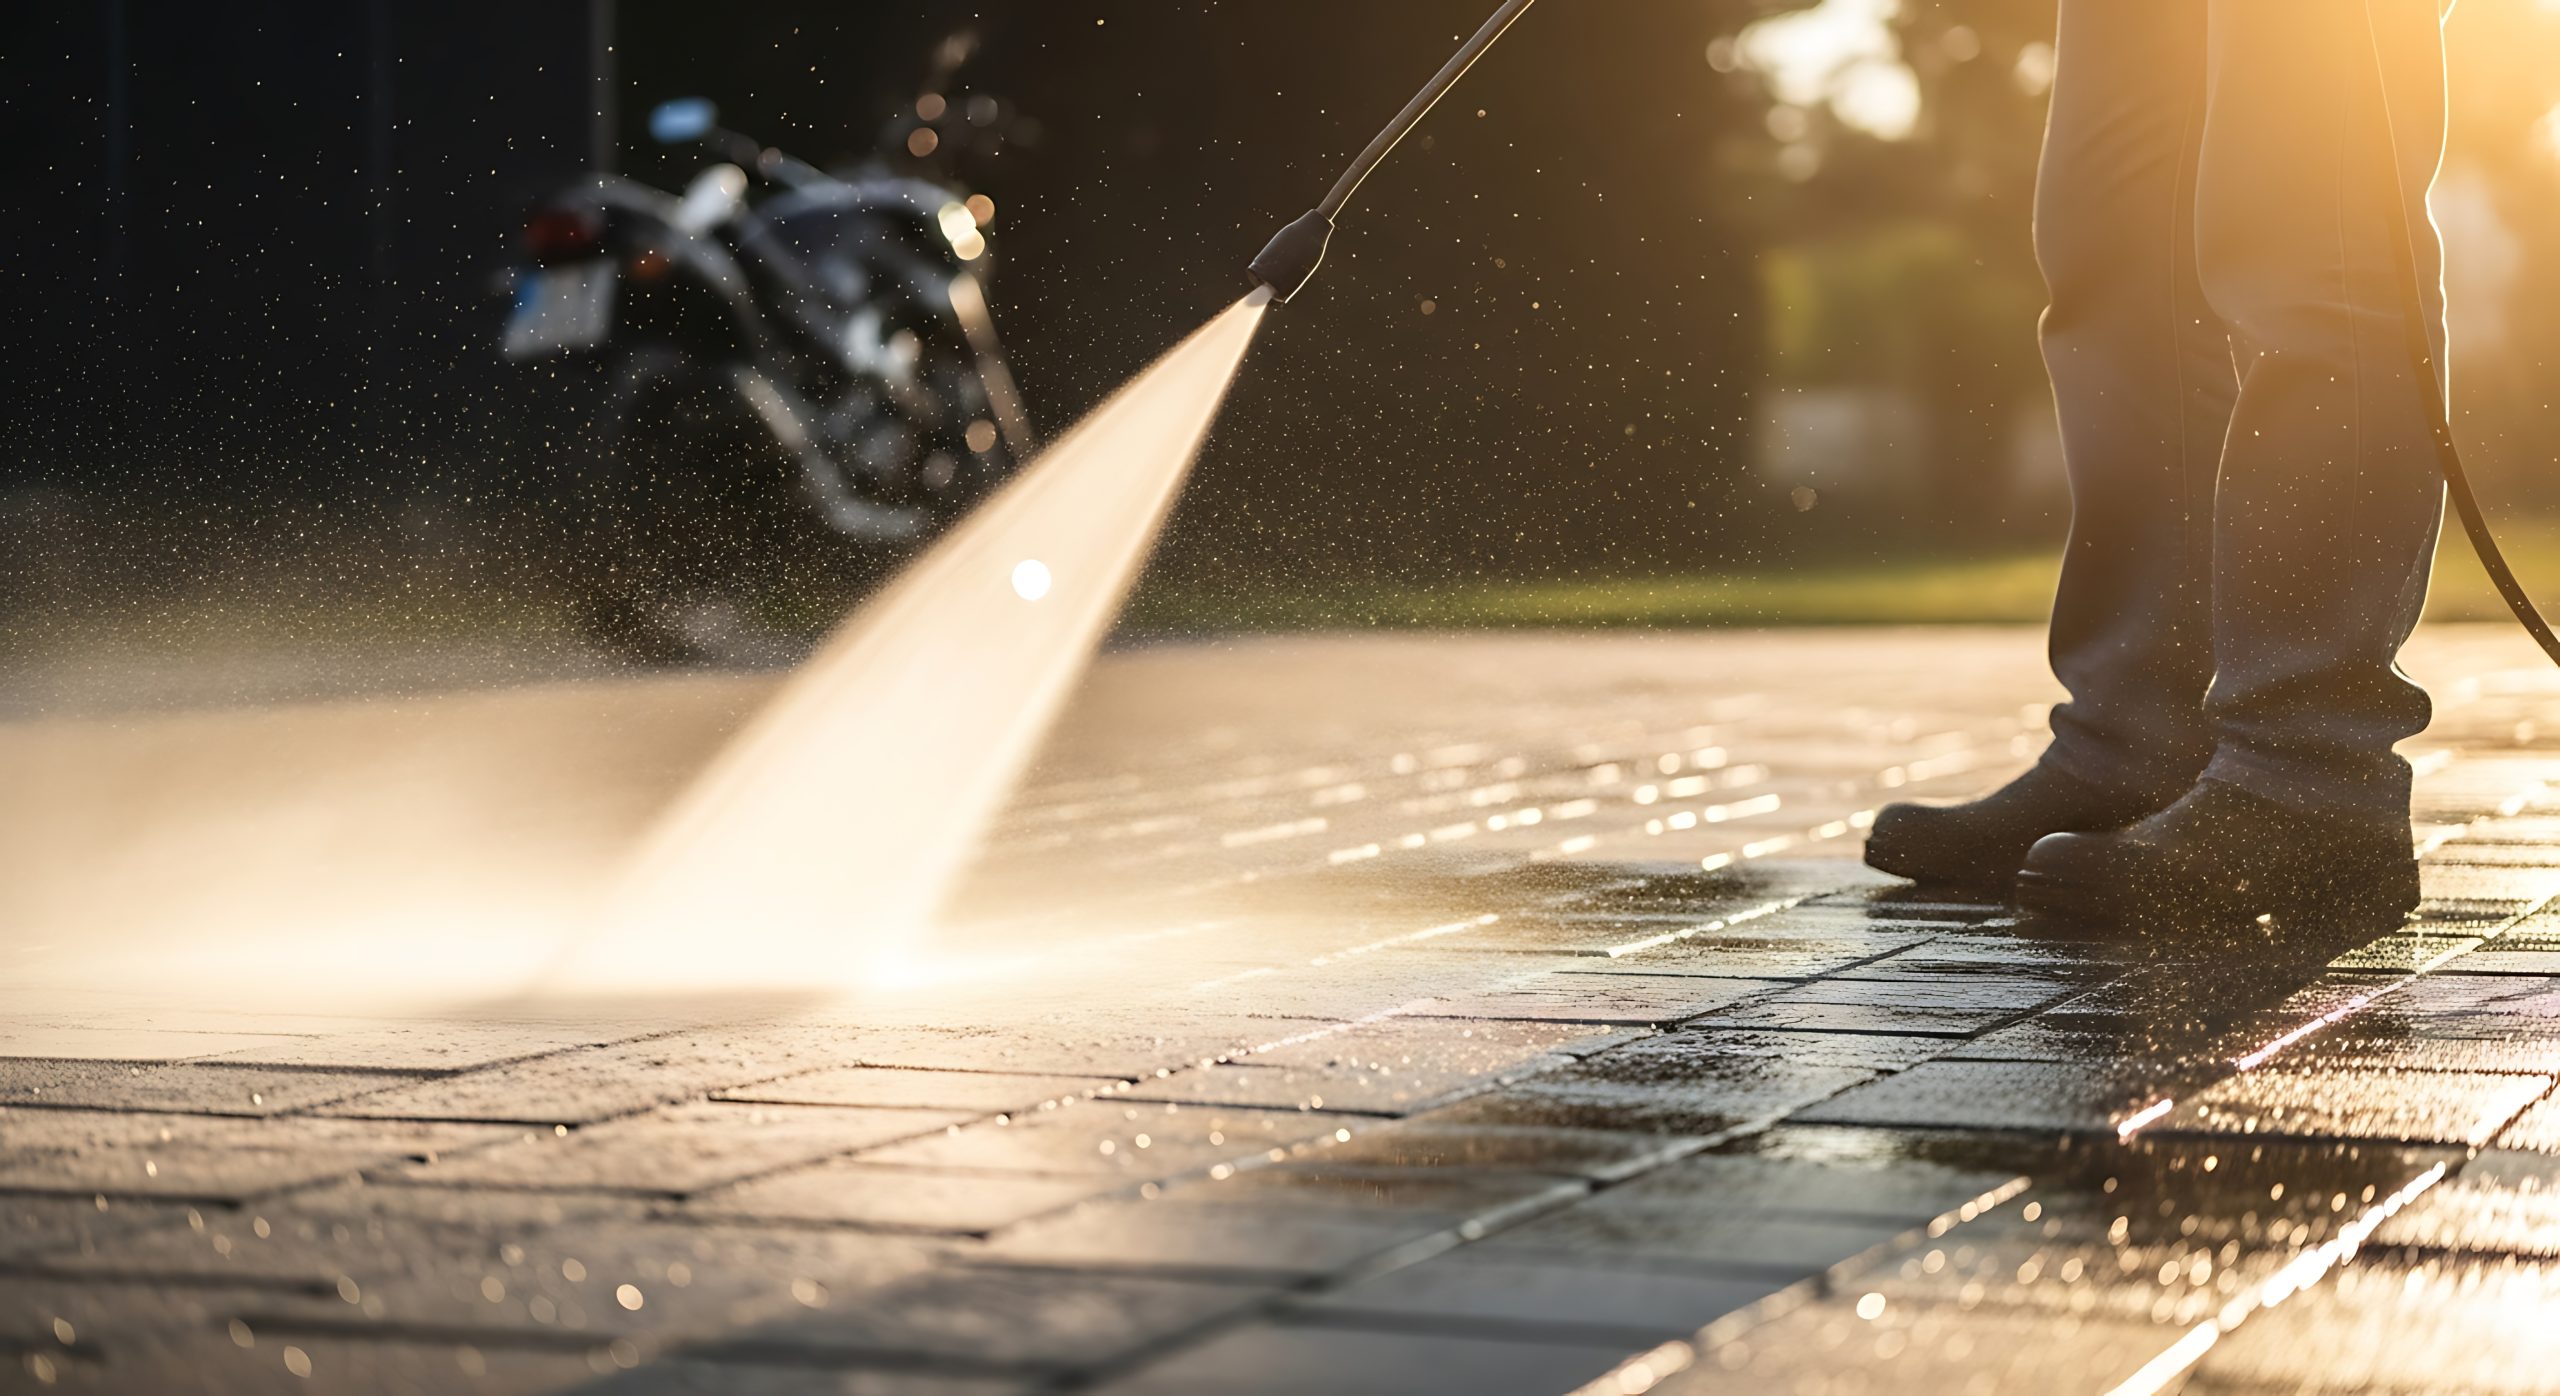
5. Sand Washout After Rain
Before the polymer fully cures, the joint is vulnerable. If heavy rain occurs too soon after installation—or the sand gets over-watered during activation—washout can occur quickly.
6. Hard Surface Crusting
If the top layer of sand gets over-watered while deeper layers remain dry, a crust may form on the surface while the lower joint stays soft. This eventually leads to cracking and failure.
Maintenance: When and Why to Replace Polymeric Sand
Polymeric sand does not need frequent replacement, but over time joints may deteriorate due to:
- Normal wear
- Erosion from water runoff
- Heavy traffic
- Freeze-thaw cycles
- Poor previous installation
When joints become cracked, hollow, or loose—or when weeds begin to take over—it may be time to remove the old sand and replace it.
How to Remove Old Polymeric Sand Before Installing New Sand
Removing old joint sand is essential. Adding new polymeric sand on top of deteriorated joints will not bond or cure properly. Here’s the standard process professionals use to remove old polymeric (or traditional) sand:
1. Inspect and Prepare the Area
Remove furniture, debris, and weeds to expose all joints.
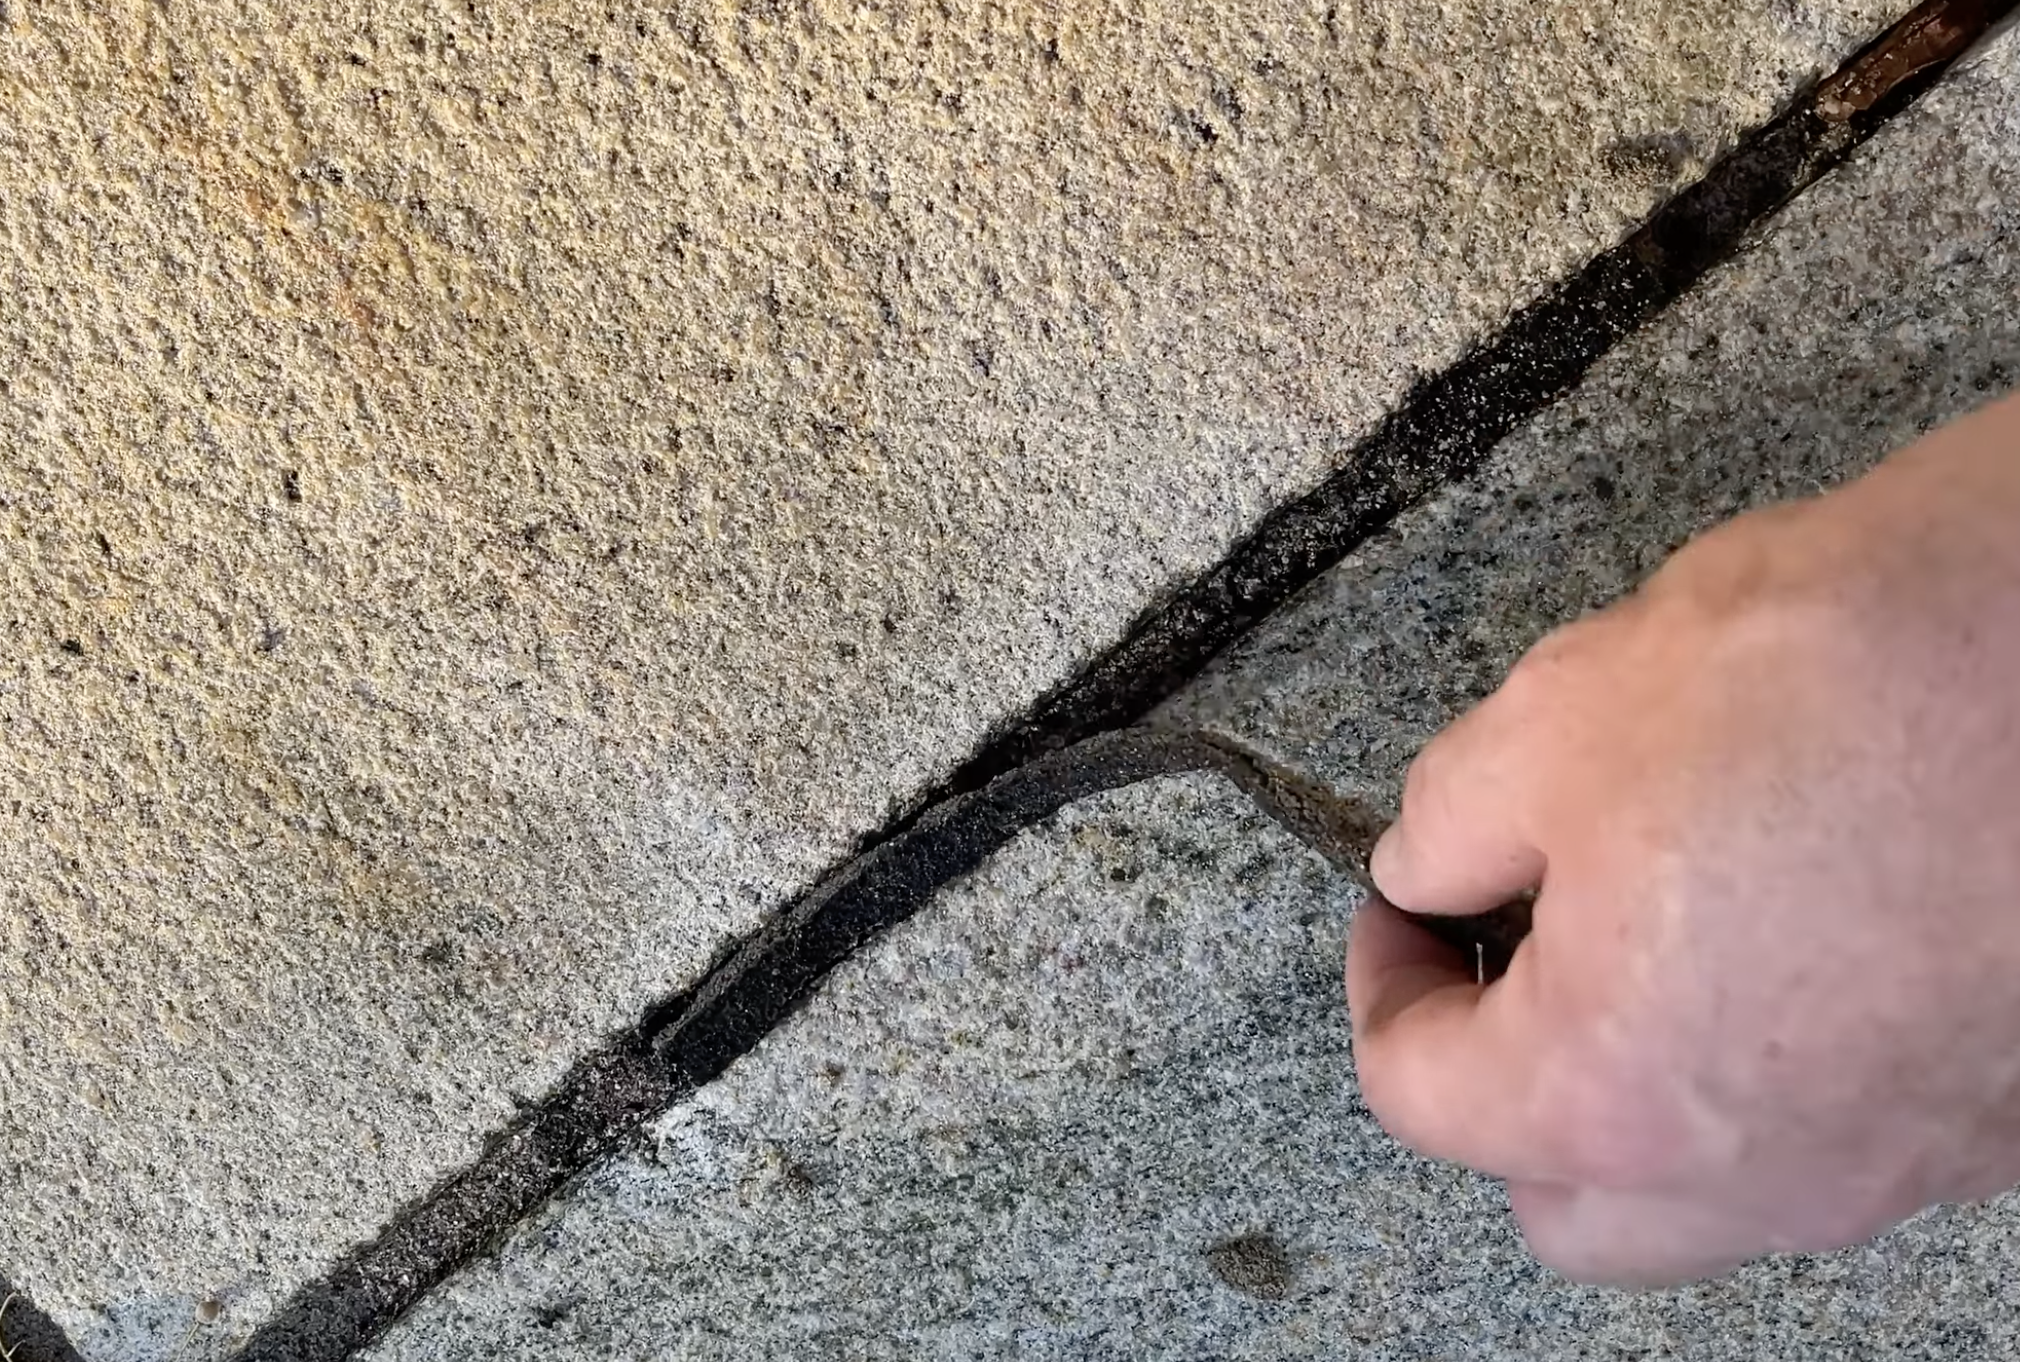
2. Loosen the Old Sand
Polymeric sand hardens like grout, so start by breaking it up:
- Insert the weeding tool or the flat/pointed edge of the 5-in-1 between the pavers.
- Gently pry upward or scrape along the joint to fracture the old sand.
- Work in short sections so you don’t chip the edges of the pavers.


3. Scrape Out the Joints
Once the surface layer is loosened:
- Use the hook side of a weeding tool to pull debris out of deeper joints.
- Use the scraper edge of the 5-in-1 to push or scoop the material out.
- You don’t have to remove every last grain—just deep enough to add new sand (typically ½” to 1″).
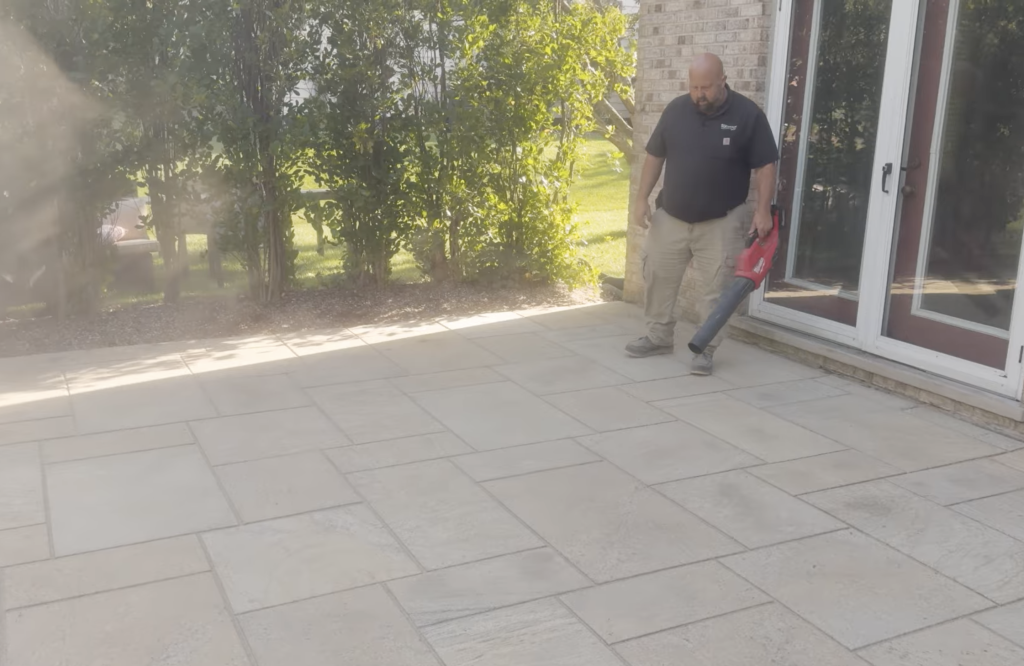
4. Blow Out Residue
- Use a leaf blower to clear the loosened sand from the joints.
- Blow at a shallow angle so you don’t dislodge additional material you want to keep.

5. Allow the Area to Dry Completely
Polymeric sand should never be installed in damp joints. Allow the surface to dry 24–48 hours depending on weather.
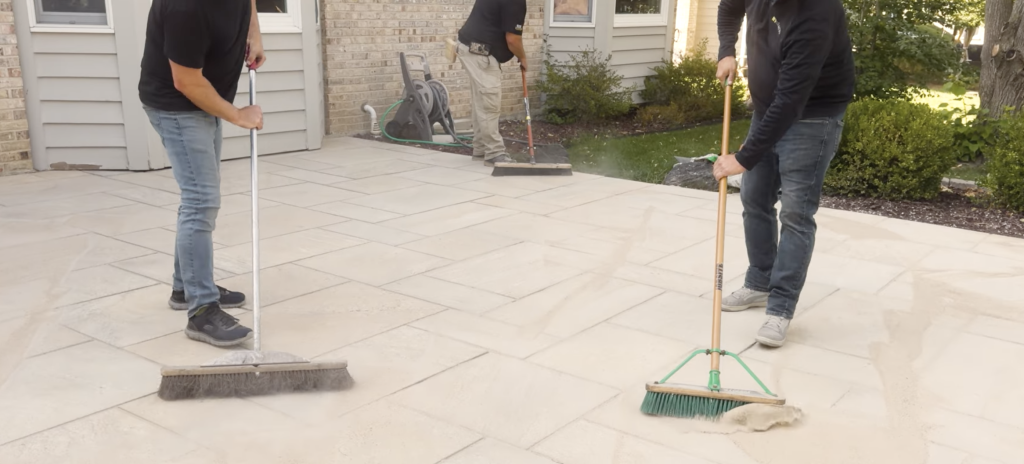
6. Refill the Joints With Fresh Polymeric Sand
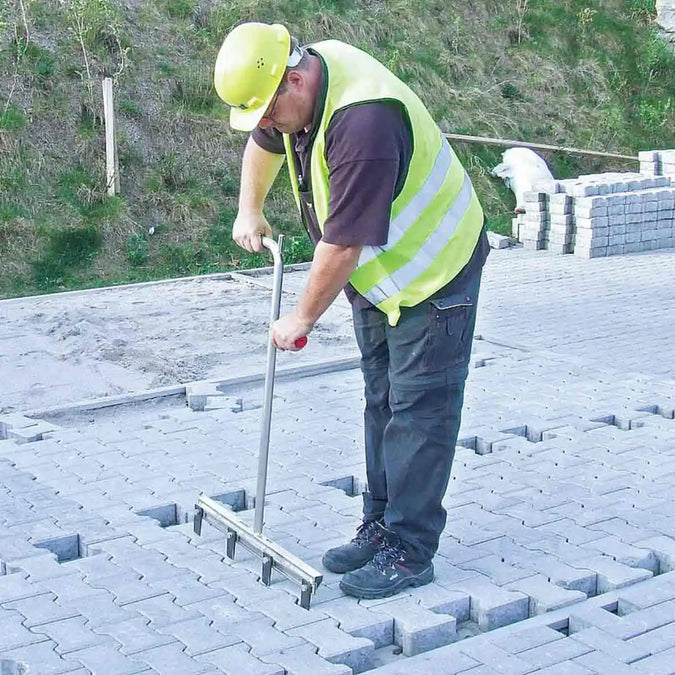
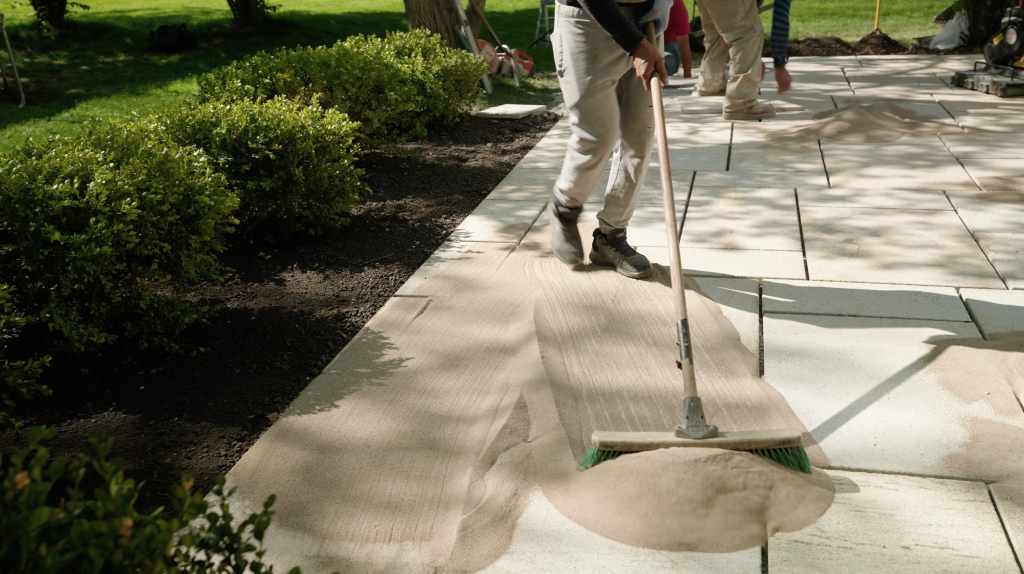
Rather than pour the sand into a big pile, pour the sand as you move across the surface, then lightly sweep the new sand in to the top of the pavers. Use a leaf blower to remove excess sand from the patio.


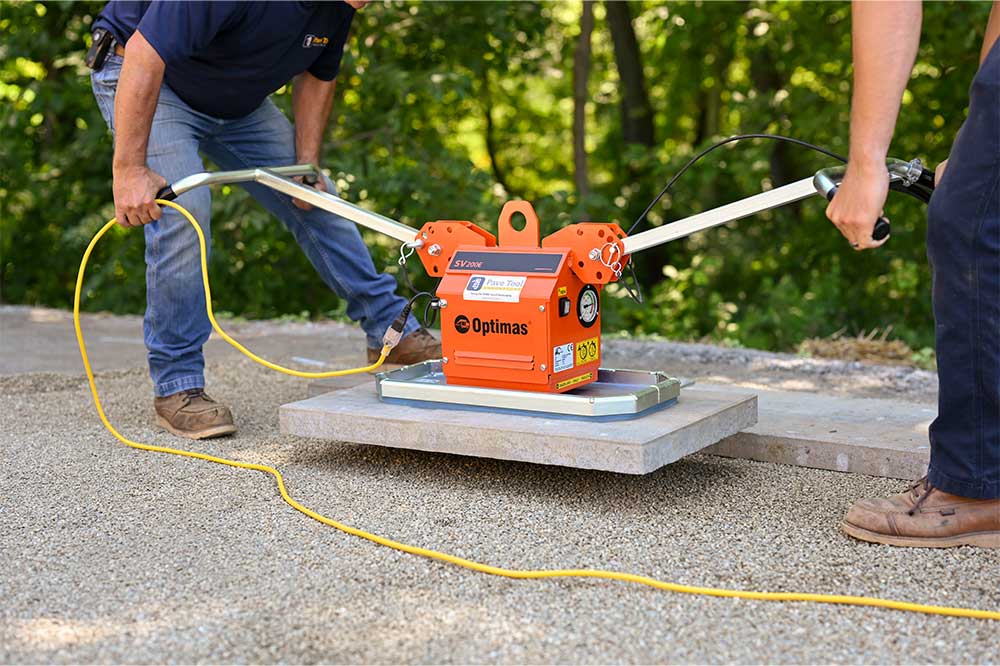
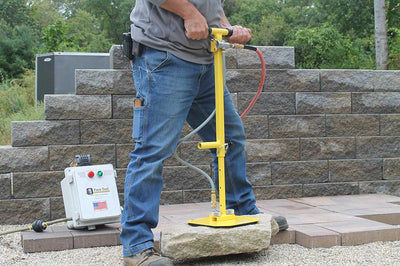
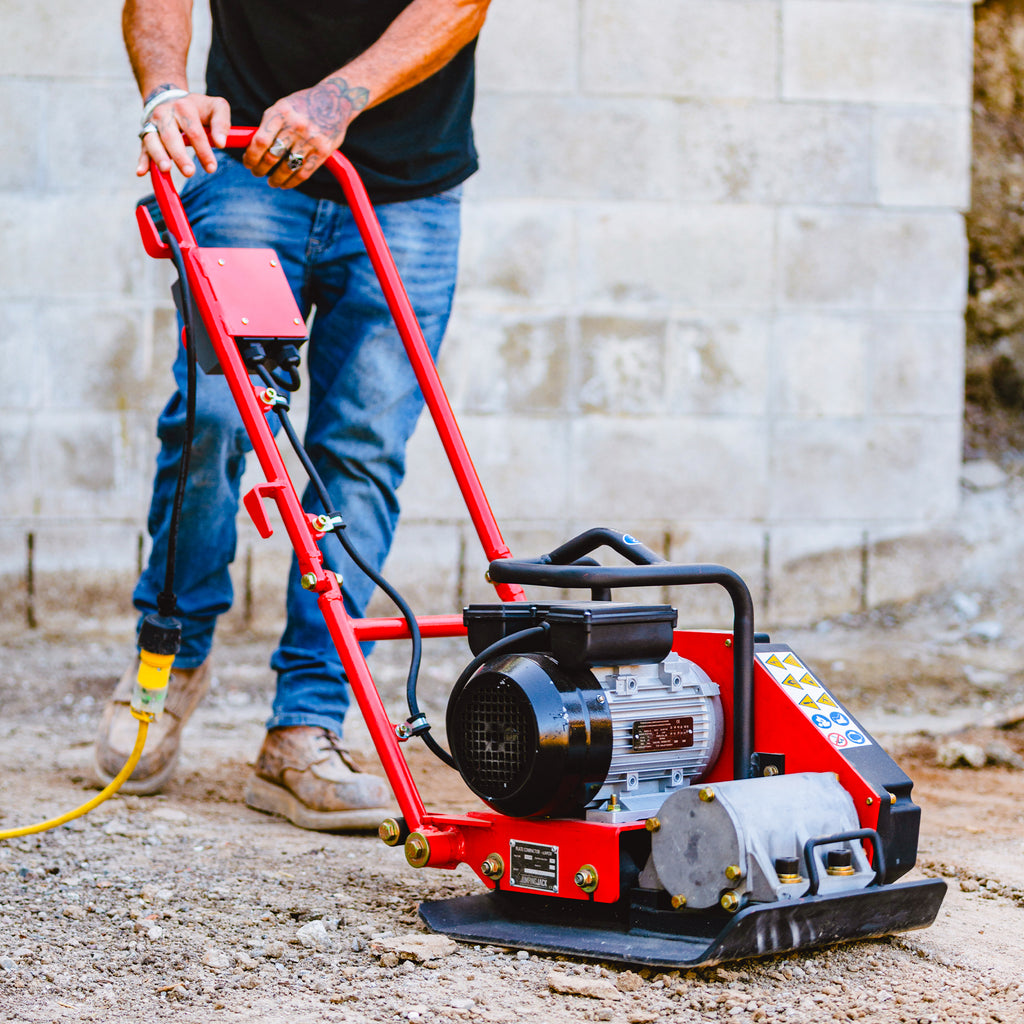
7. Compact the Sand
Particularly with large format, natural stone pavers, it is recommended to use a roller compactor with a pad to compact and consolidate the sand in the paver joints.

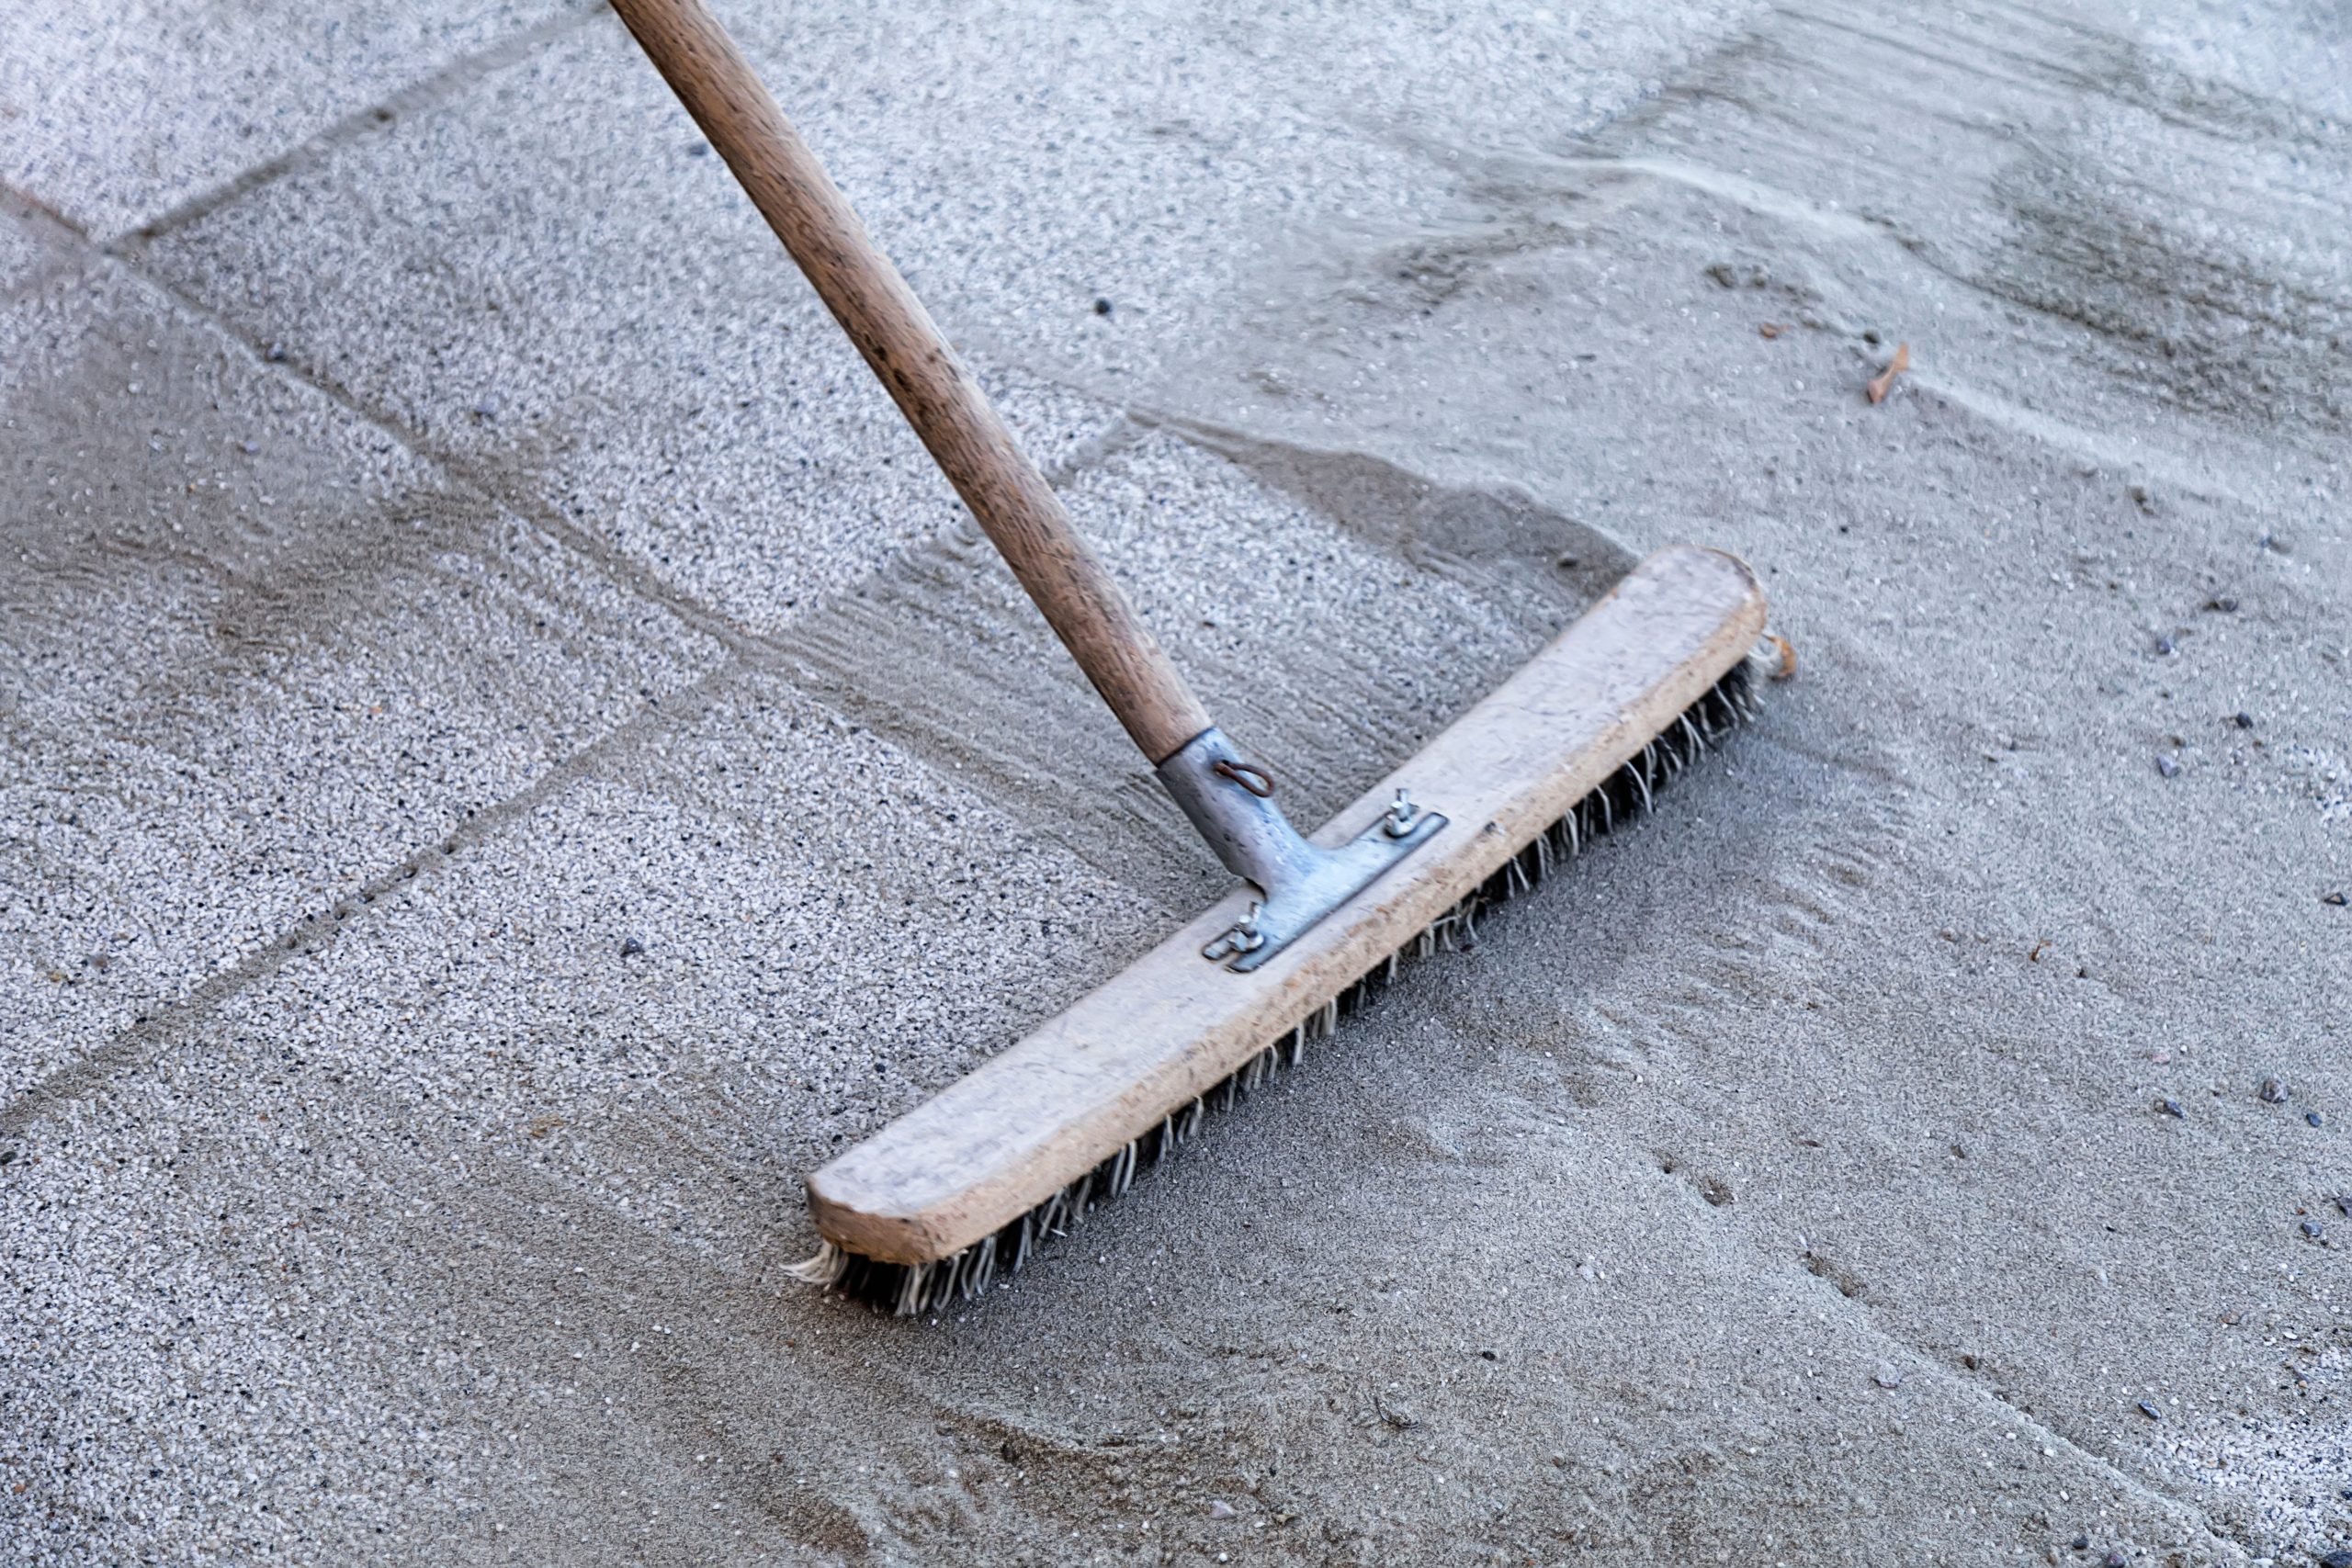
8. Resand and Sweep
Lightly resand the and sweep the surface with pressure, this time at a 45 degree angle to properly set the height at a minimum depth of 1/8 inch below the surface of the paver. Remove all excess sand
9. Activate With Water Carefully
Follow the manufacturer’s watering instructions precisely.
Over-watering or under-watering during curing is the number one reason for failure.

Final Thoughts
Polymeric sand is a simple but powerful component of any paver installation. When installed correctly, it enhances stability, reduces maintenance, and keeps your hardscape looking sharp for years. But mistakes—especially with moisture control and cleanup—can lead to frustrating issues like haze, weed growth, and joint failure.

Follow the link below for more industry insights from across the building products world.