Behind the Beauty: What Really Goes into Proper Hardscape Patio Planning and Preparation
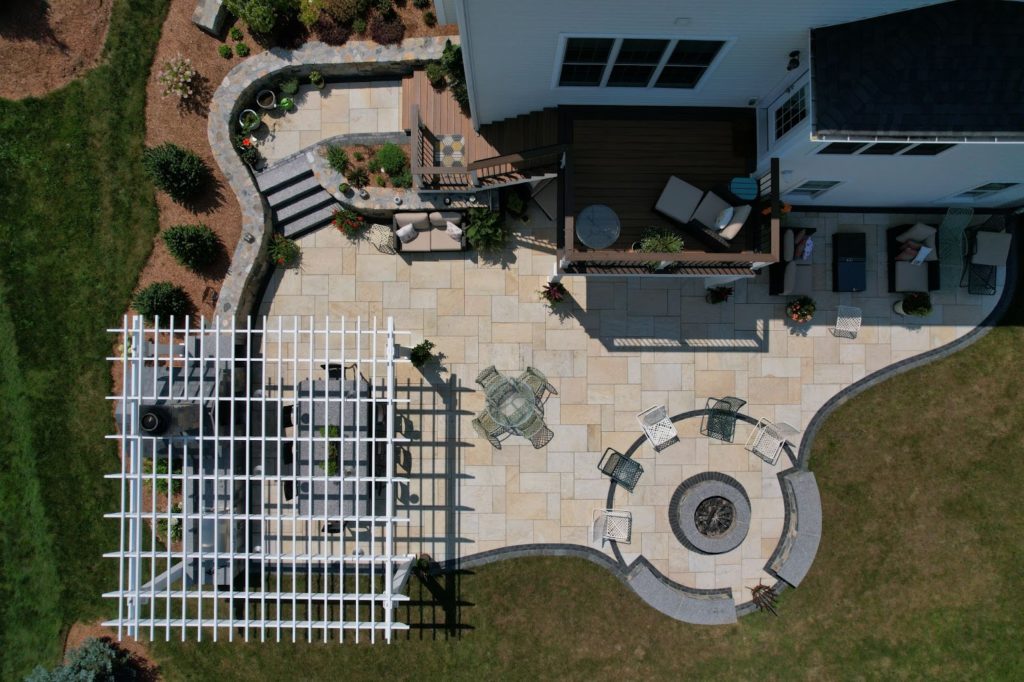
Embarking on a hardscaping project is akin to crafting a masterpiece. It’s not just about laying stones or constructing patios; it’s about sculpting an outdoor oasis that exudes beauty and functionality. To the untrained eye, a nice patio can look deceptively simple – you just pull out the grass, flatten the dirt, and lay the stones on the ground, right?
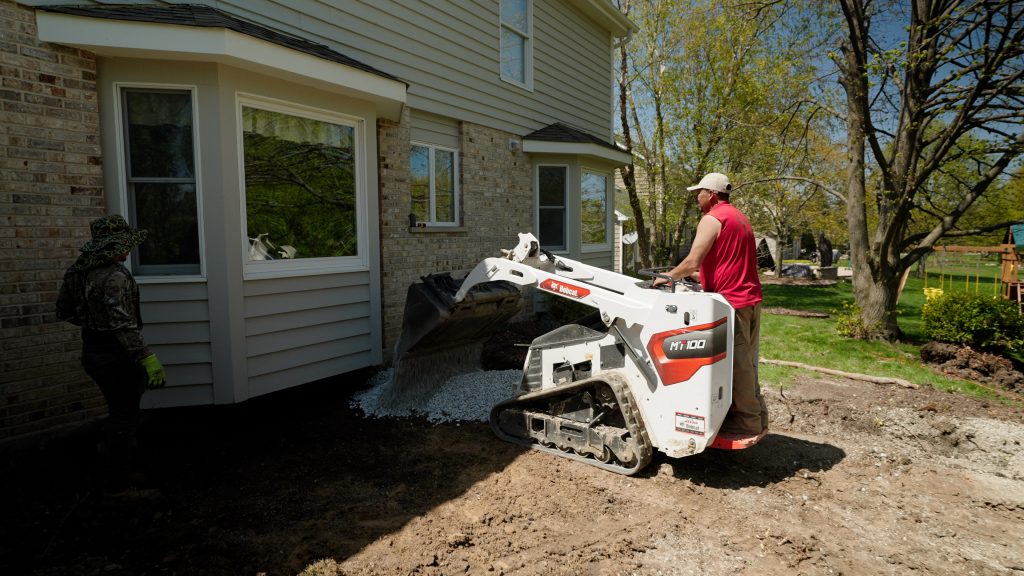
The reality is, the area where you’ll have pavers installed should be regarded as a construction site. The beautiful layout of stones will be what catches everyone’s eye, but beneath is a foundation that was painstakingly prepared to ensure your surface remains stable for a lifetime.
This is specialized work that requires experience and often heavy equipment and should not be approached as a do-it-yourself project. For property owners getting ready for backyard makeover, the following is an overview of the basic steps of the installation process so you’ll know what to expect.
Planning and Preparation
The first part of the process could be described as a research phase, and you may be able to help. Your contractor will want to learn everything they can about the spot where the stones will be installed. The drainage, soil composition, and existing masonry that needs to be removed or built around can all impact the design. So can mature trees with bulky roots and the natural grade of the yard.
The team will also need to know if there are any underground pipes, cables, tanks, or other features in or close to the construction area. This may require a review of construction records in your local government office. Any knowledge you can share about the property’s condition and history could be useful.
You may also need to make a trip or two to the town hall to take care of permitting paperwork. Regulations can vary widely from jurisdiction to jurisdiction, but beyond the standard construction approvals, it’s possible you may need soil and erosion permits, waivers if your land is on a sensitive waterbody, or zoning board approvals if the project will exceed impervious surface or setback regulations. Consult your contractor and check with your municipal government at the start to make sure you have everything covered.
With all of the needed permits and site information in hand, the masonry team can now finalize its plan to make your vision for a backyard oasis a reality.
Preparing the Base
The “Ultimate Backyard Makeover” episode of Instone’s InBuilding Design video series offers an excellent glimpse at what a typical foundation preparation process looks like. Once the dimensions of the patio or paved area are determined, the contractors will begin clearing soil to make room for a new foundation. The depth will be calculated based on factors like the ground conditions and the desired elevation of the pavers.
In the video above, the crew begins by filling the hole with a layer of large rocks, then covers it with a layer of medium-size gravel and compacts it. They then add a sand-like layer that can fill the gaps between the stones and compact it once more.
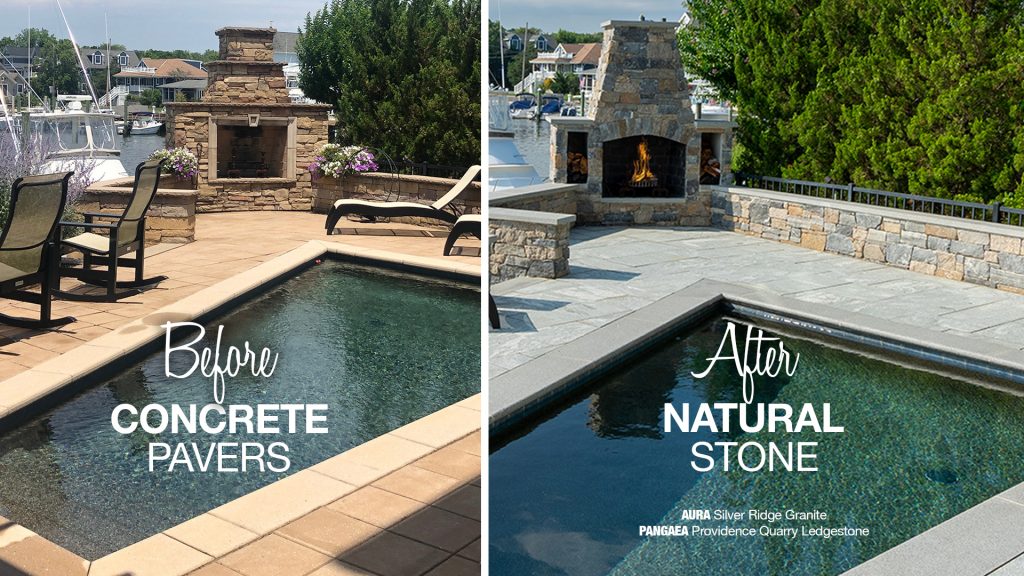
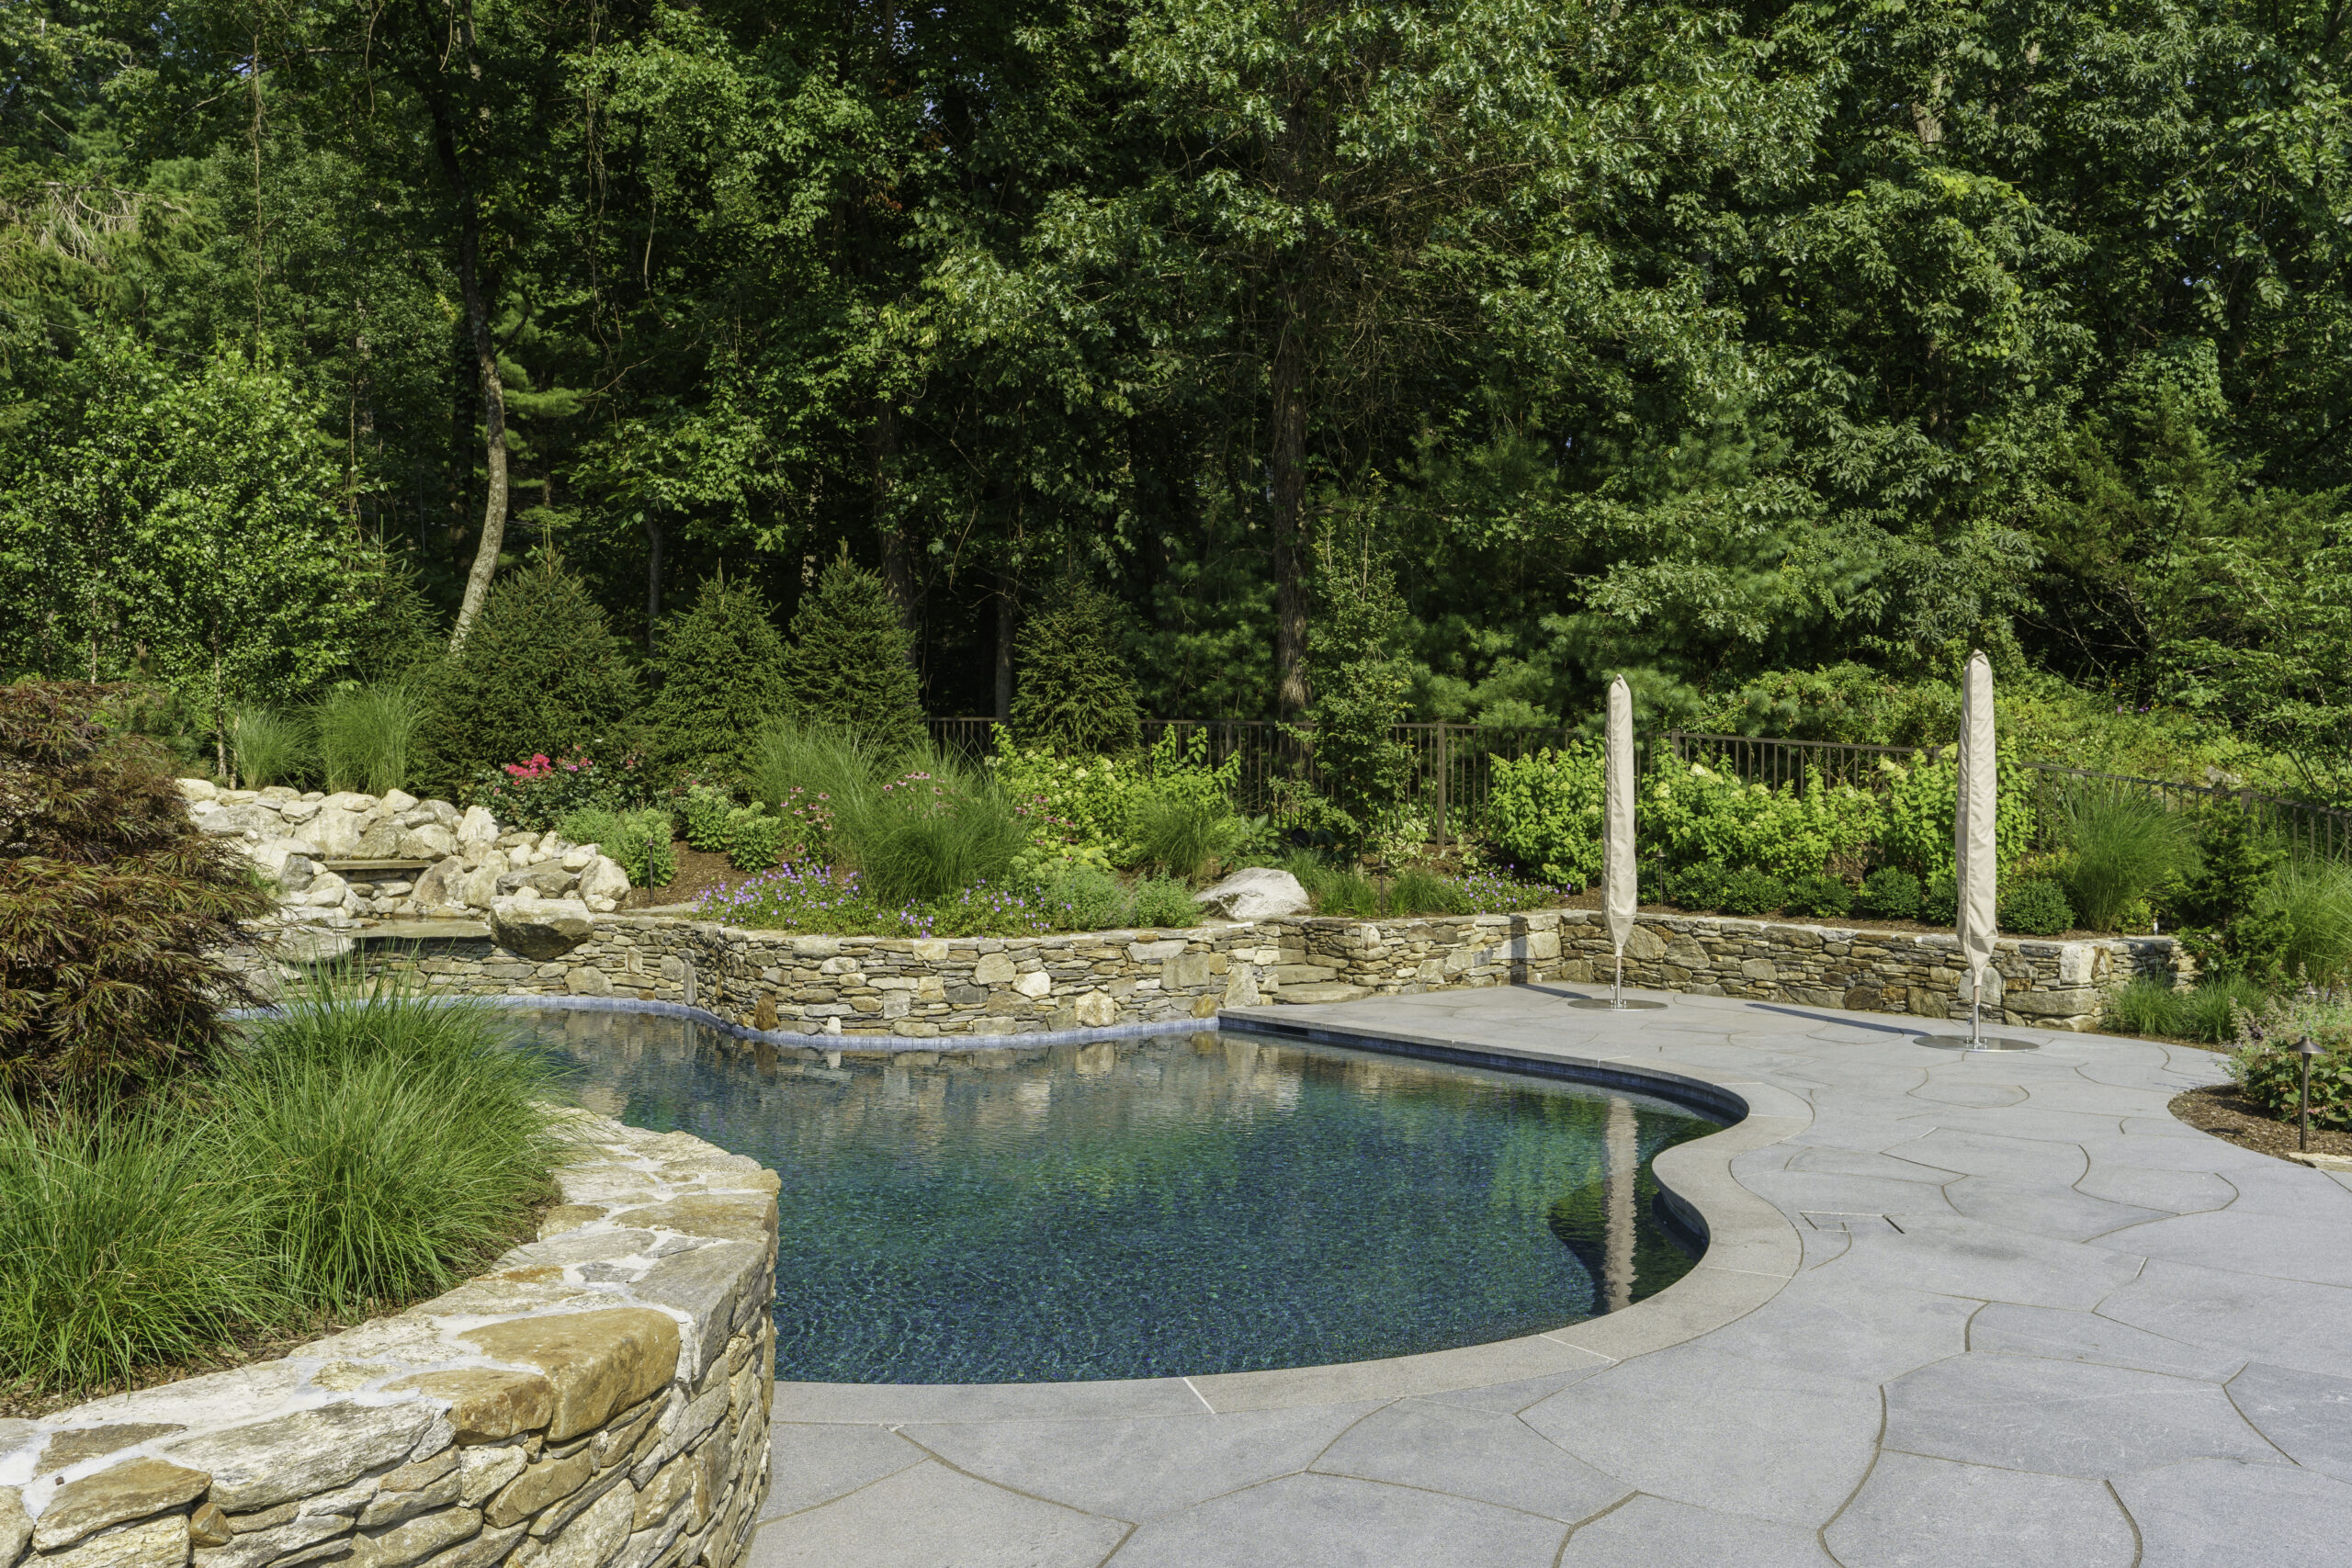
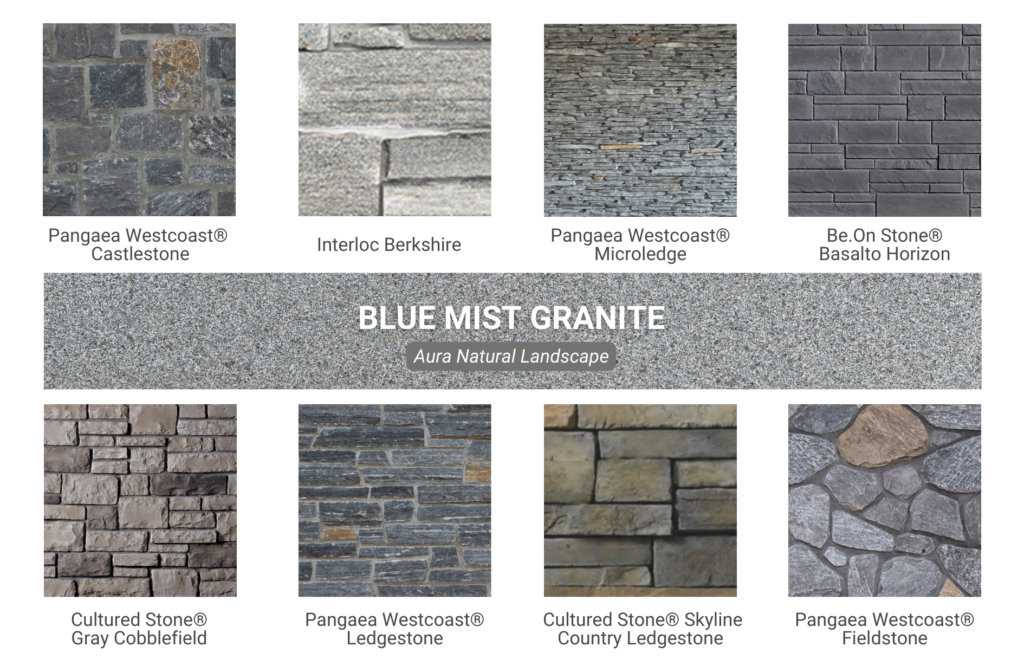
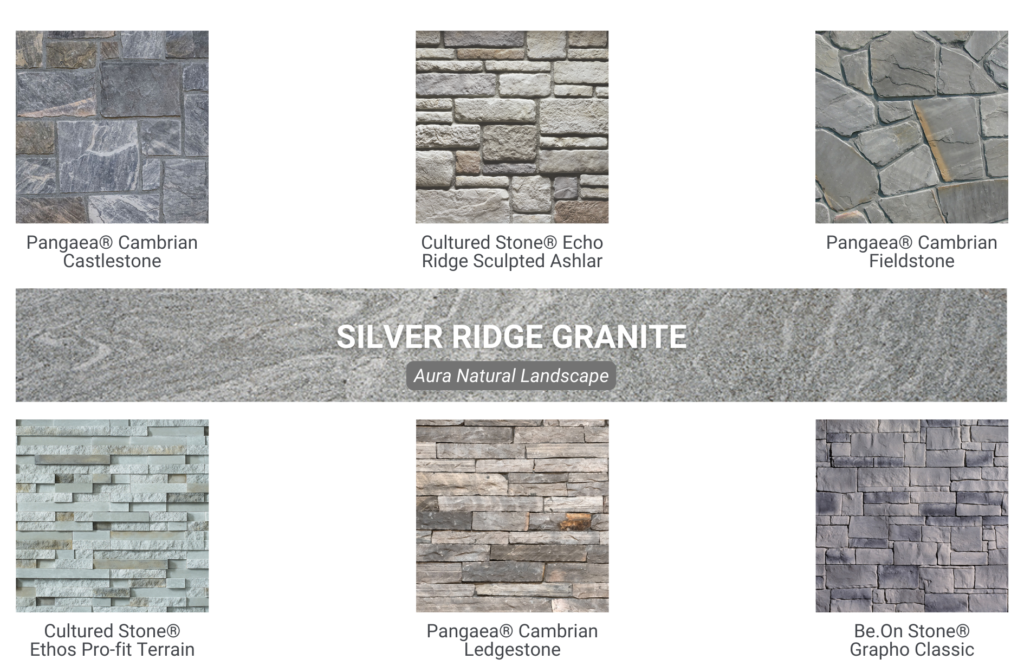
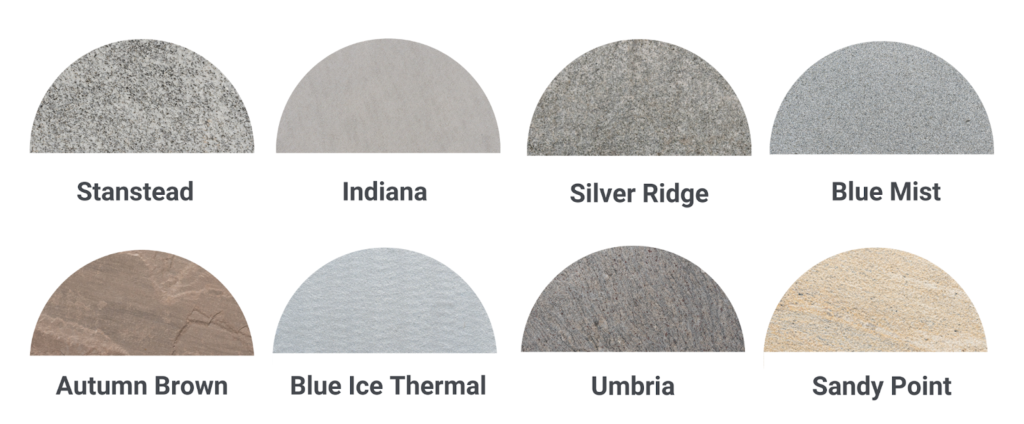
The result is a base of material that is strong enough to support heavy pavers without any risk of shifting or crumbling due to freeze-thaw cycles, heavy rains, extreme heat, or other conditions they’ll endure over the years. Natural stone pavers (e.g., granite, sandstone, marble) are significantly less susceptible to these issues than concrete products and can better withstand the pounding of foot traffic. Visit Instone’s Aura Natural Landscapes page to learn about its wide variety of stone types and color options.
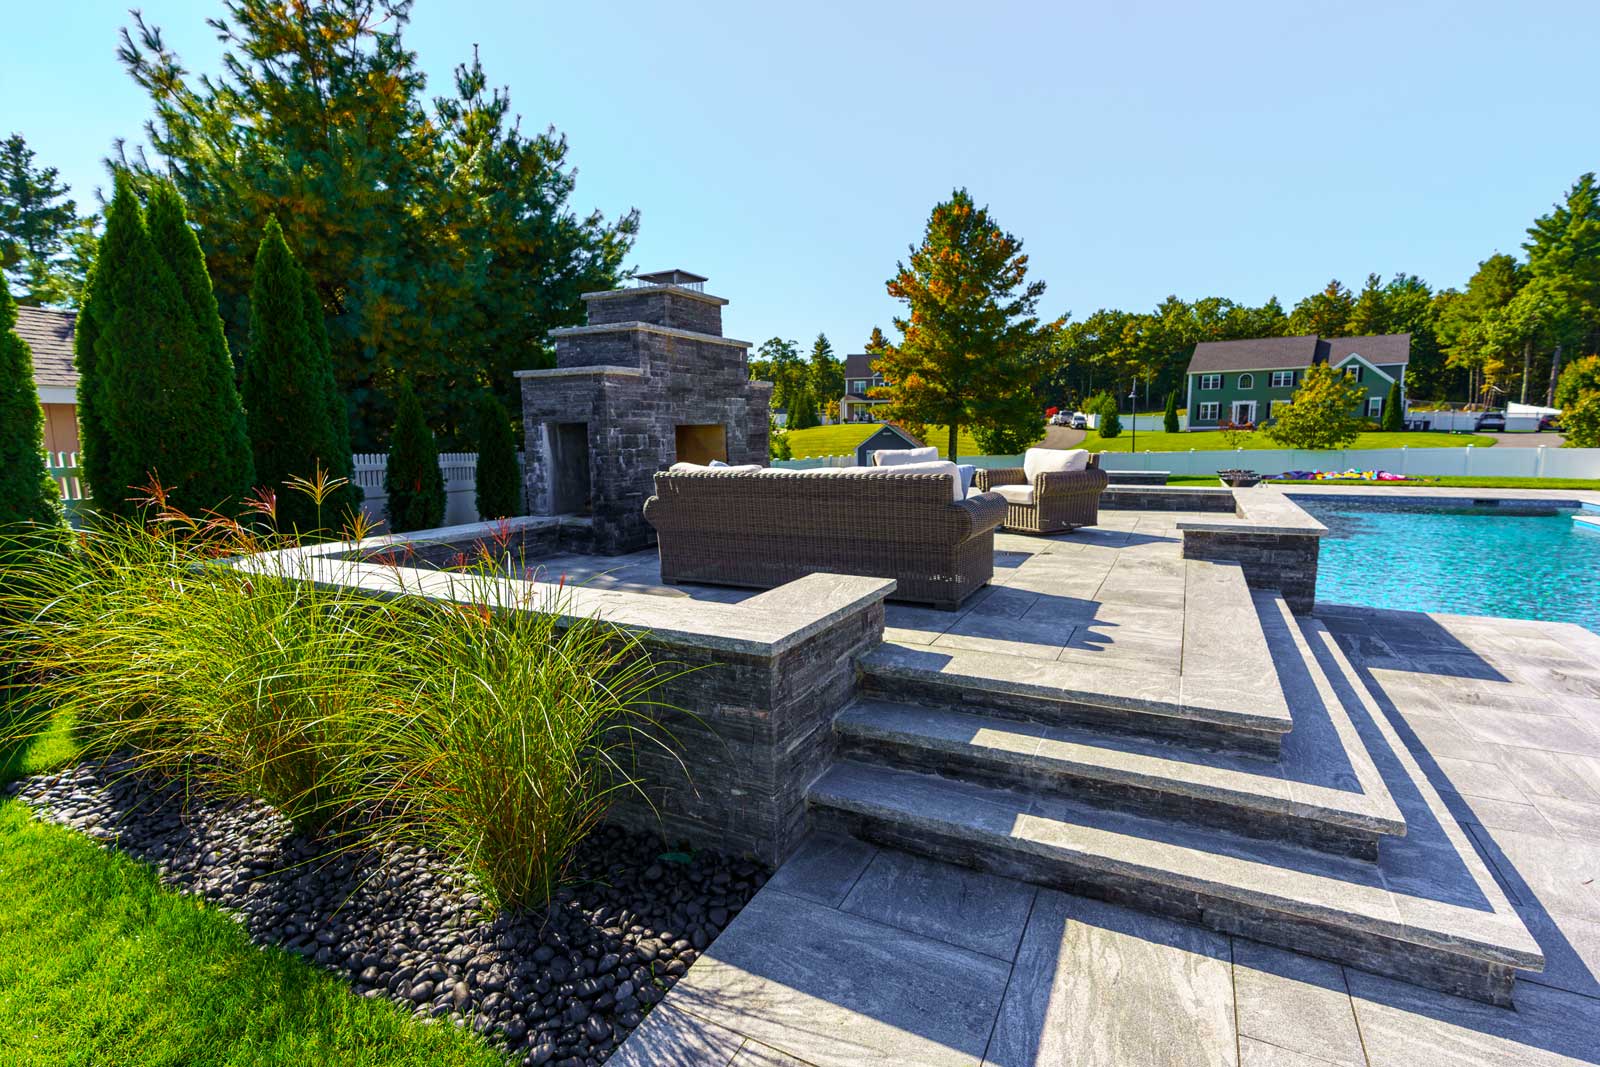
If your design includes heavyweight features like an outdoor kitchen and fireplace, the crew will dig further and fill the ground with concrete for support. They may also lay a tarp-like liner called a geotextile beneath the foundation materials to help control drainage, weeds, and erosion.
When the foundation is set, work may need to pause briefly to allow the town to complete an inspection. Contact your local construction office before the project begins or talk to your contractor, who should be familiar with your town’s requirements.
Laying the Pavers
As a homeowner, here’s where the excitement really begins. With every stone that’s laid, you’ll see your dream yard design emerge before your eyes.
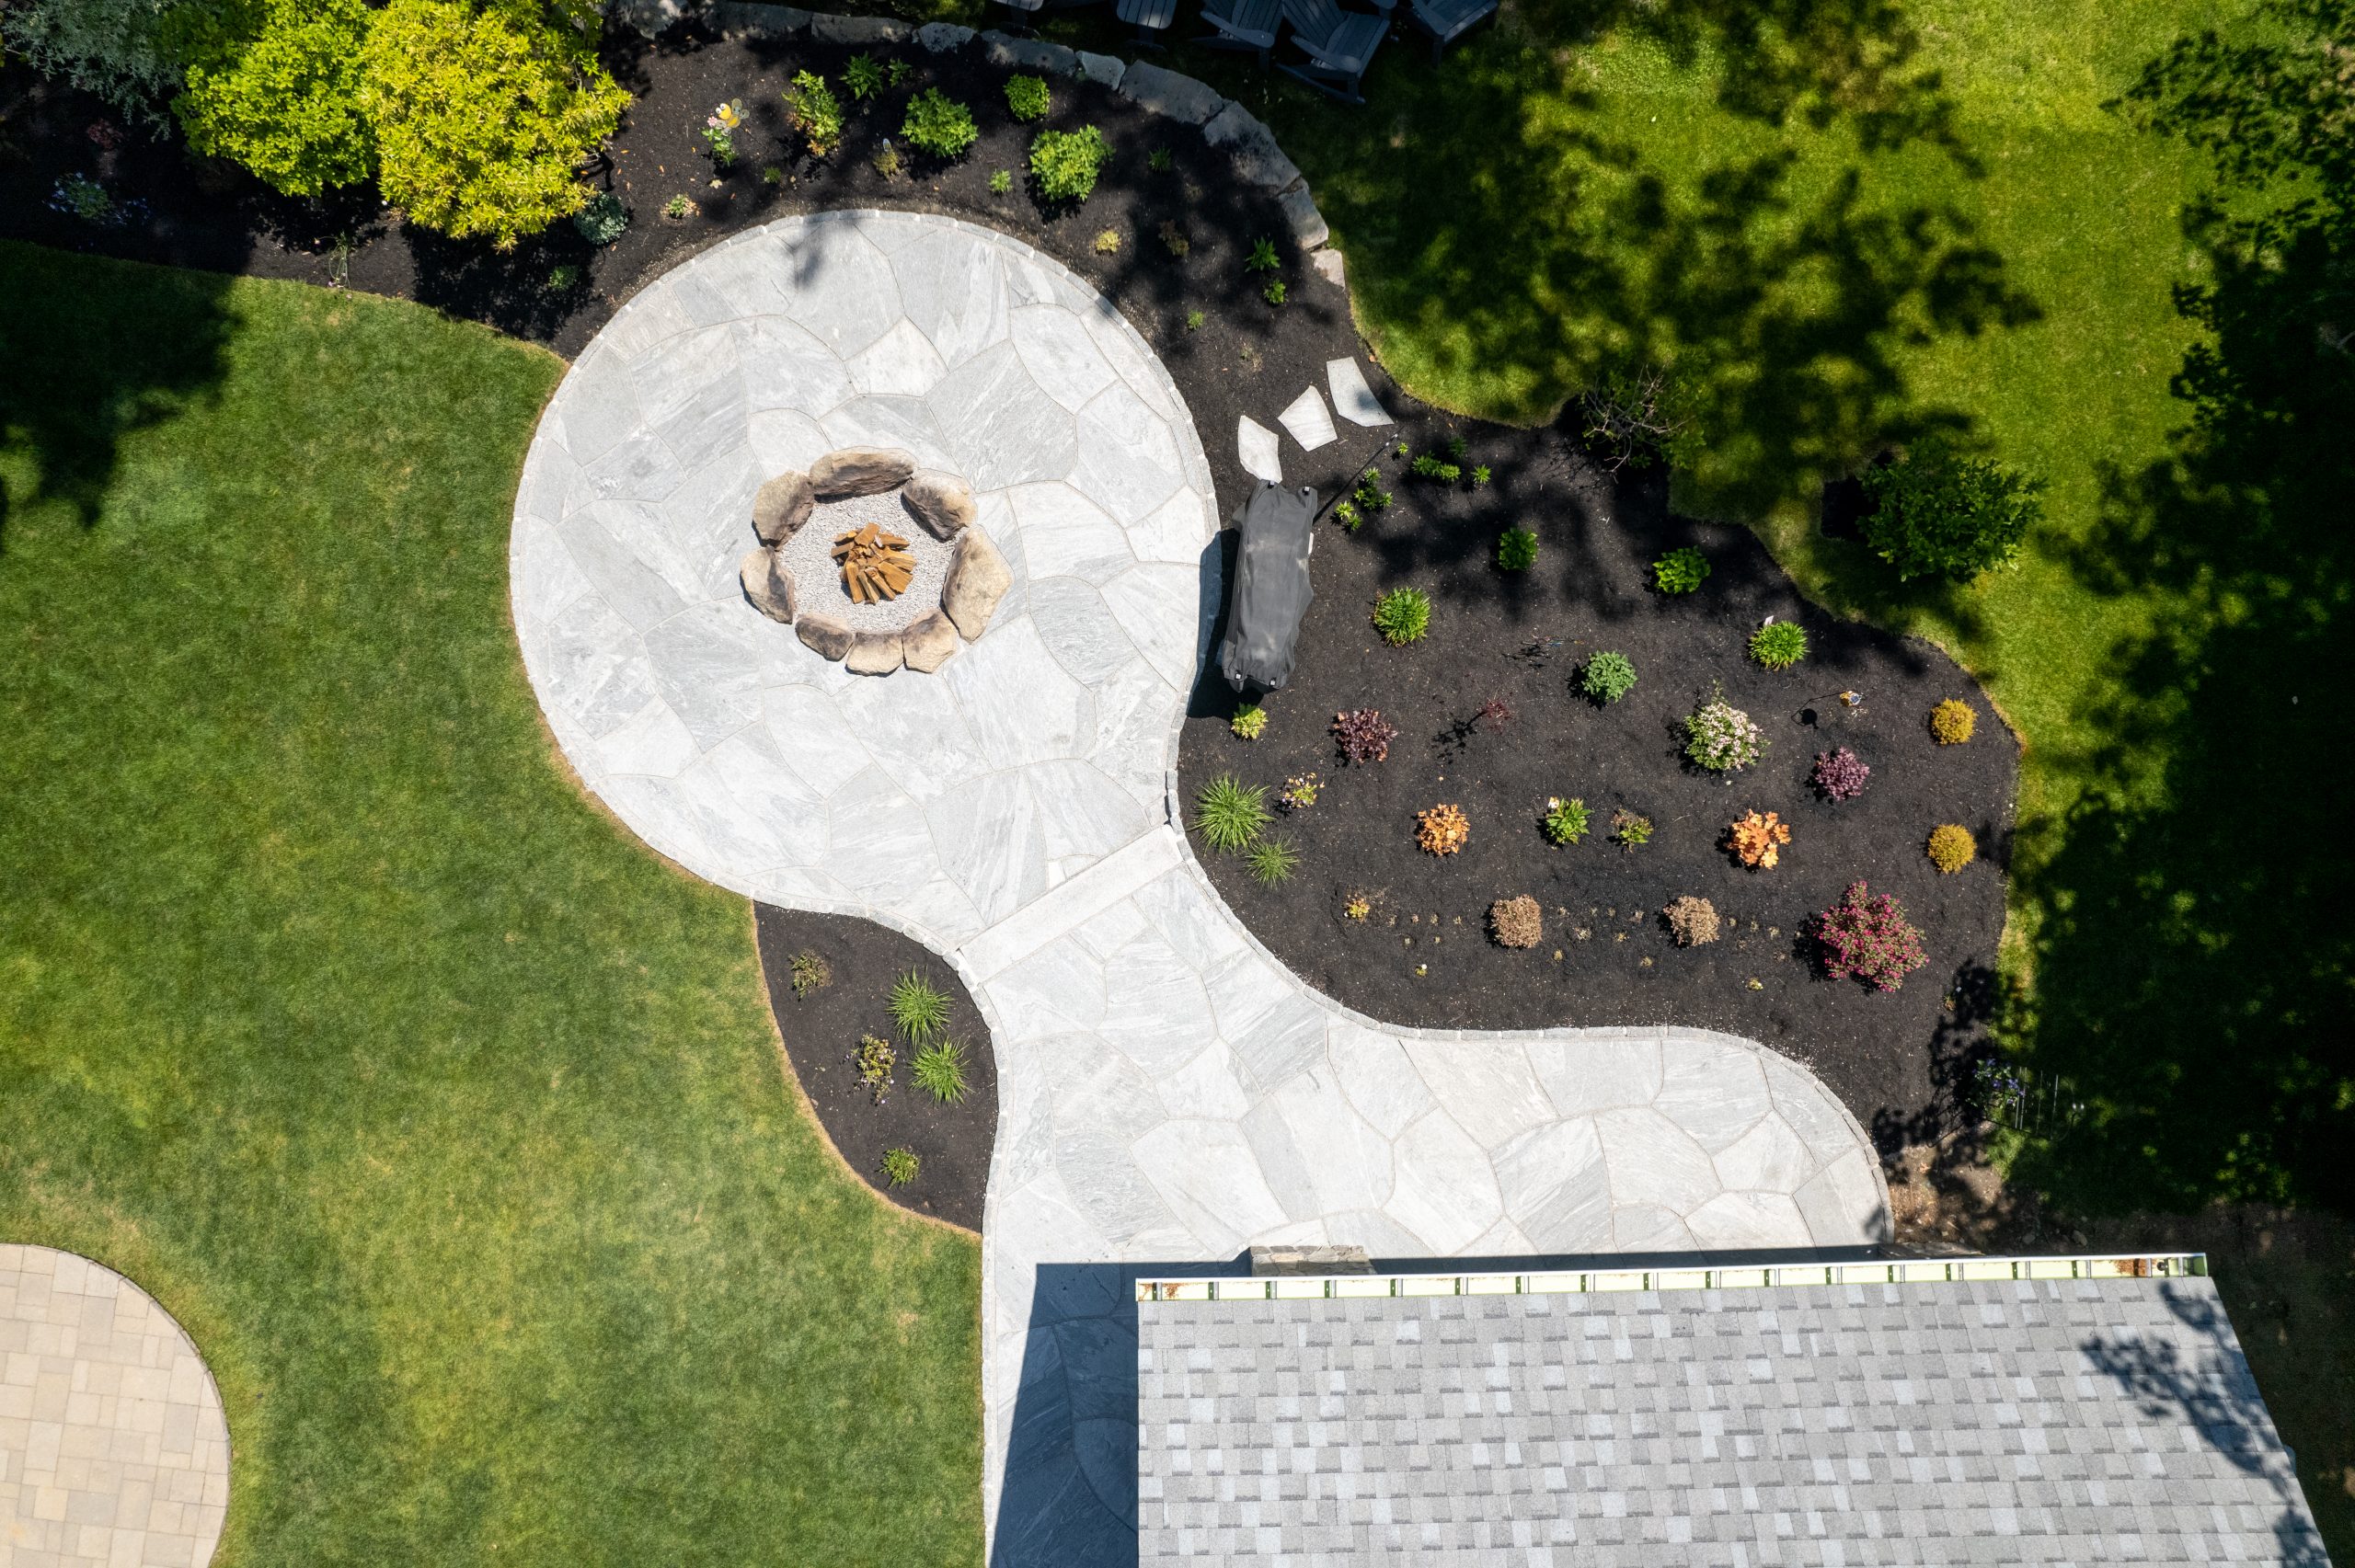
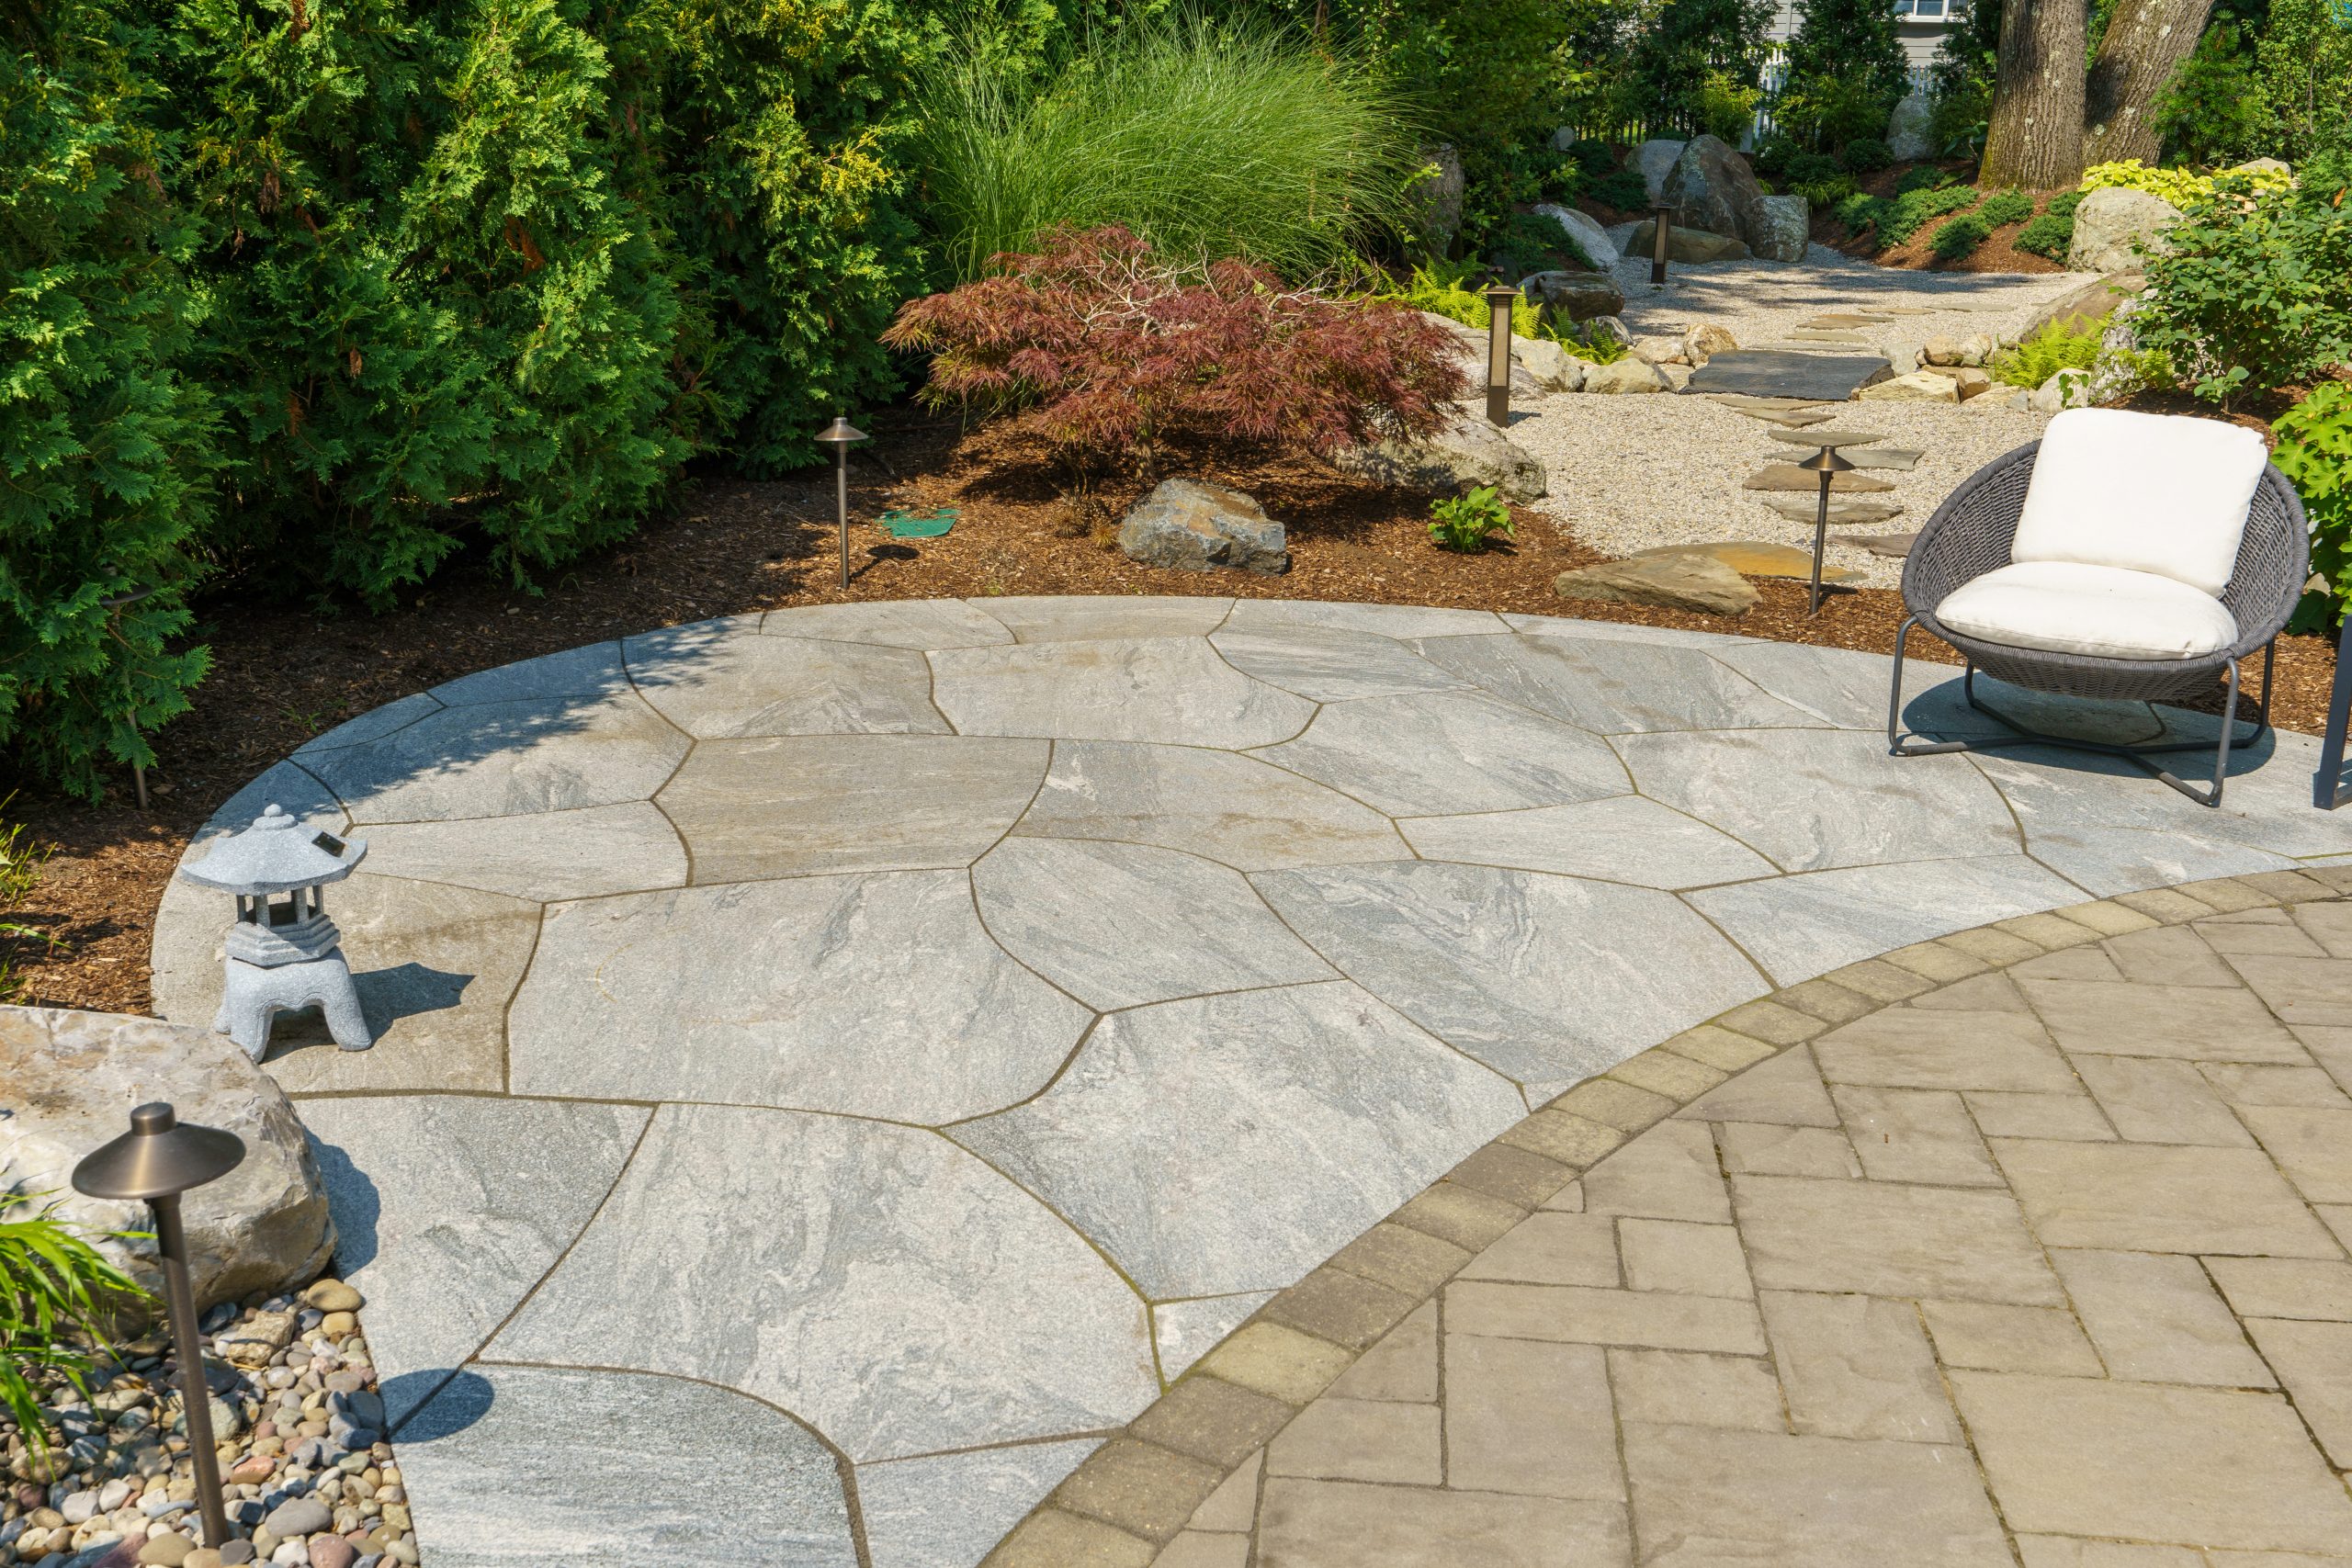
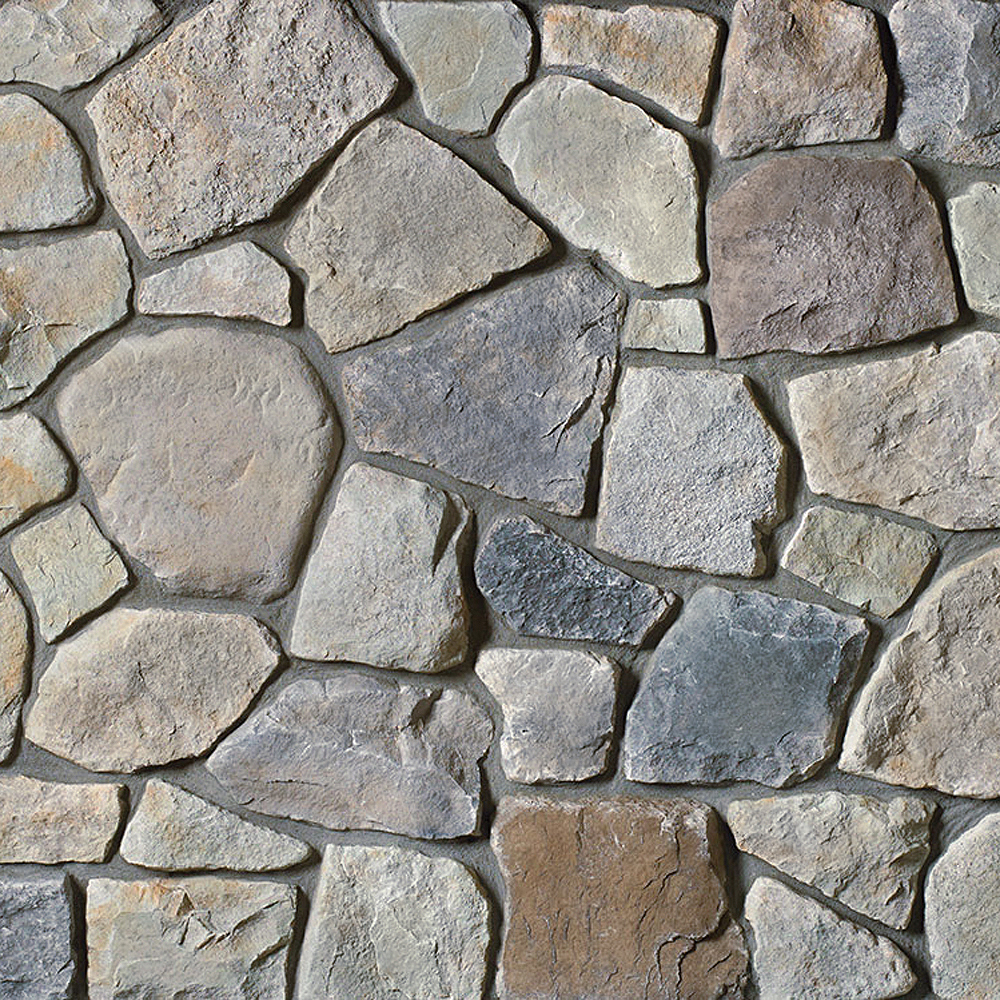
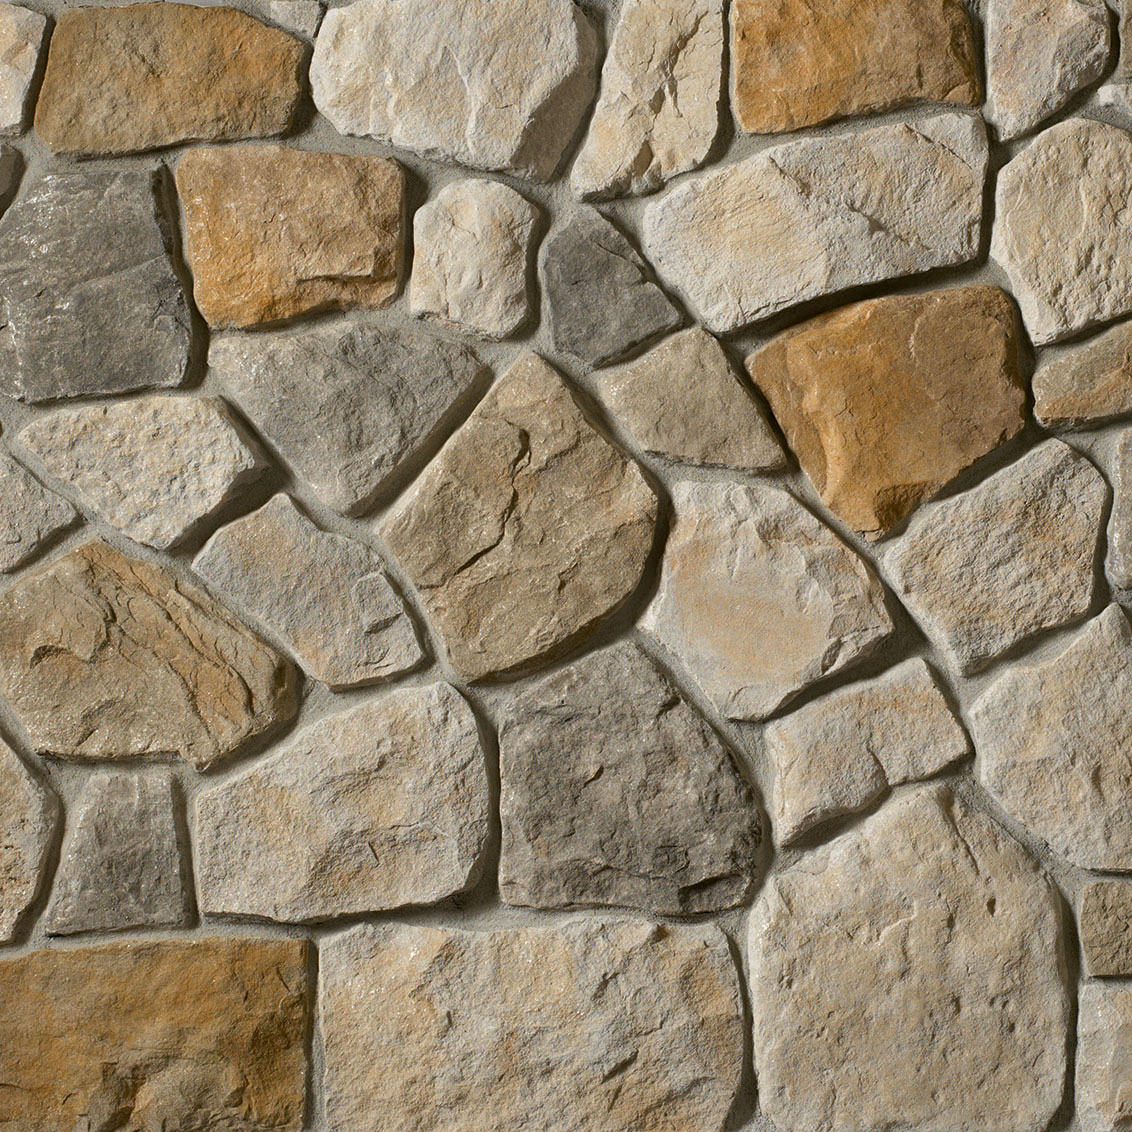
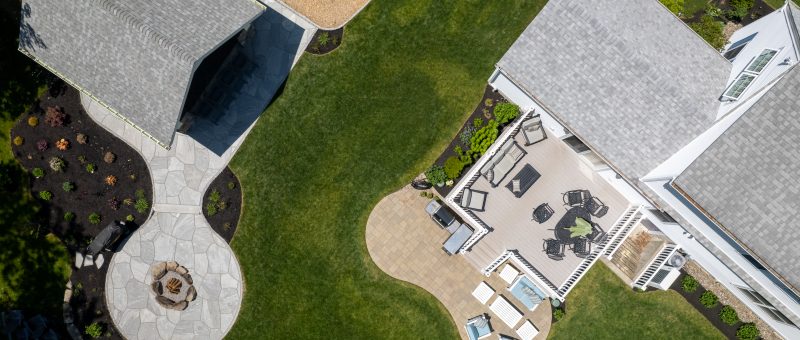
This is where the artistry of your masonry team will shine through. While your overall project design will have been worked out well before the first stone is laid, there are many details and decisions that will be sorted out on the ground. Among them are how to arrange the stones, which may come in a variety of shapes and sizes, in beautiful patterns. Another highly popular style right now is irregular flagging, pavers that are not uniform in shape and size. Arranged together, they create attractive mosaics with a rustic appearance.
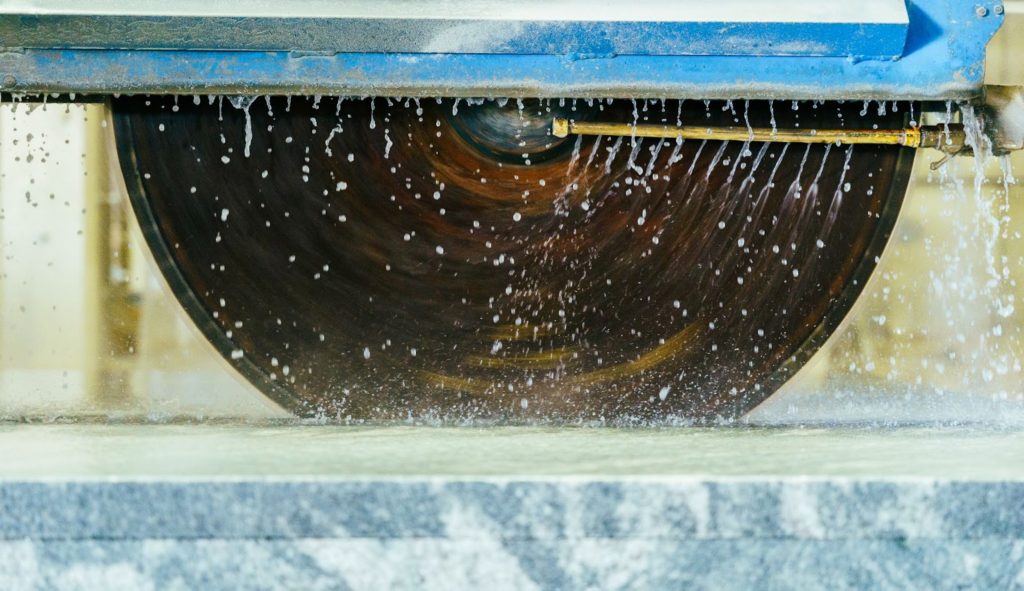
Styling choices and careful measurements will determine how to cut edge pieces in ways that look symmetrical and artful. Sometimes a few custom-cut pieces can make or break a project. In these cases, your team may look to the Instone Fabrication and Design Services crew for help with the cuts and shapes that can only be accomplished with specialized equipment.
With the stones laid, a final step is to fill the joints (gaps) between them with a sand or polymeric sand filler of your color choice. Polymeric sand is a type of material that bonds together after its exposed to water, tightly sealing the spaces to prevent problems like excess rainwater intrusion, weed growth, and ants carrying away the grains. The clip above shows a crew applying polymeric sand to a Mid West patio project.
Learn More
No one knows stone like Instone. Whether you have a large-scale backyard hardscaping project or a small stone veneer accent wall coming up, we have the materials and experience to help.


