Designing for Wildfires: Fire-Resistant Exteriors with Non-Combustible Stone

Designing for Wildfires

Designing for Wildfires: Fire-Resistant Exteriors with Non-Combustible Stone

Designing for Wildfires

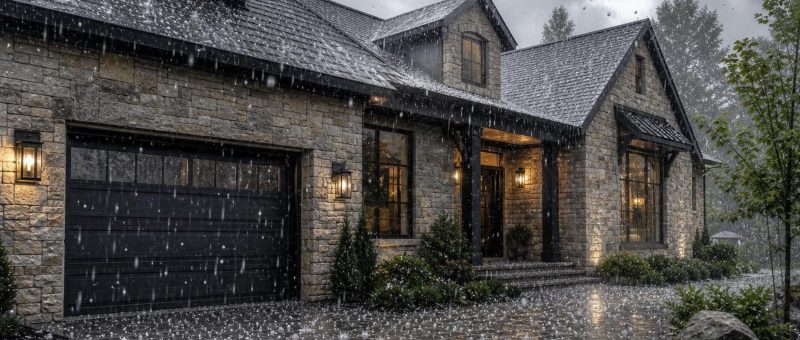
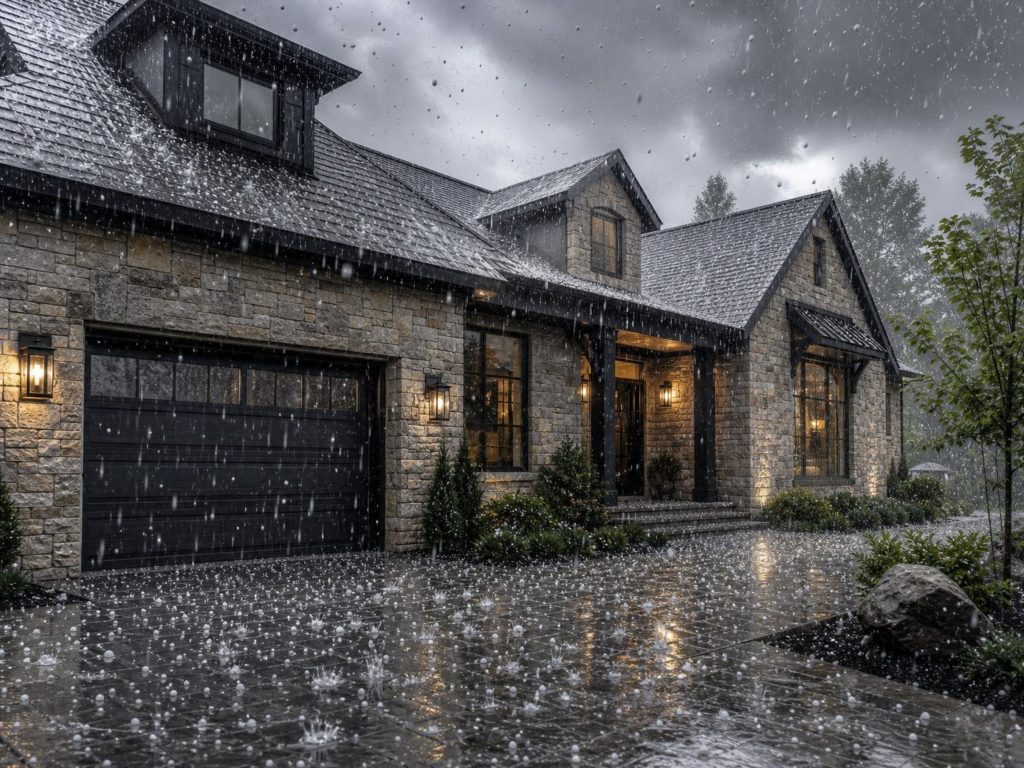
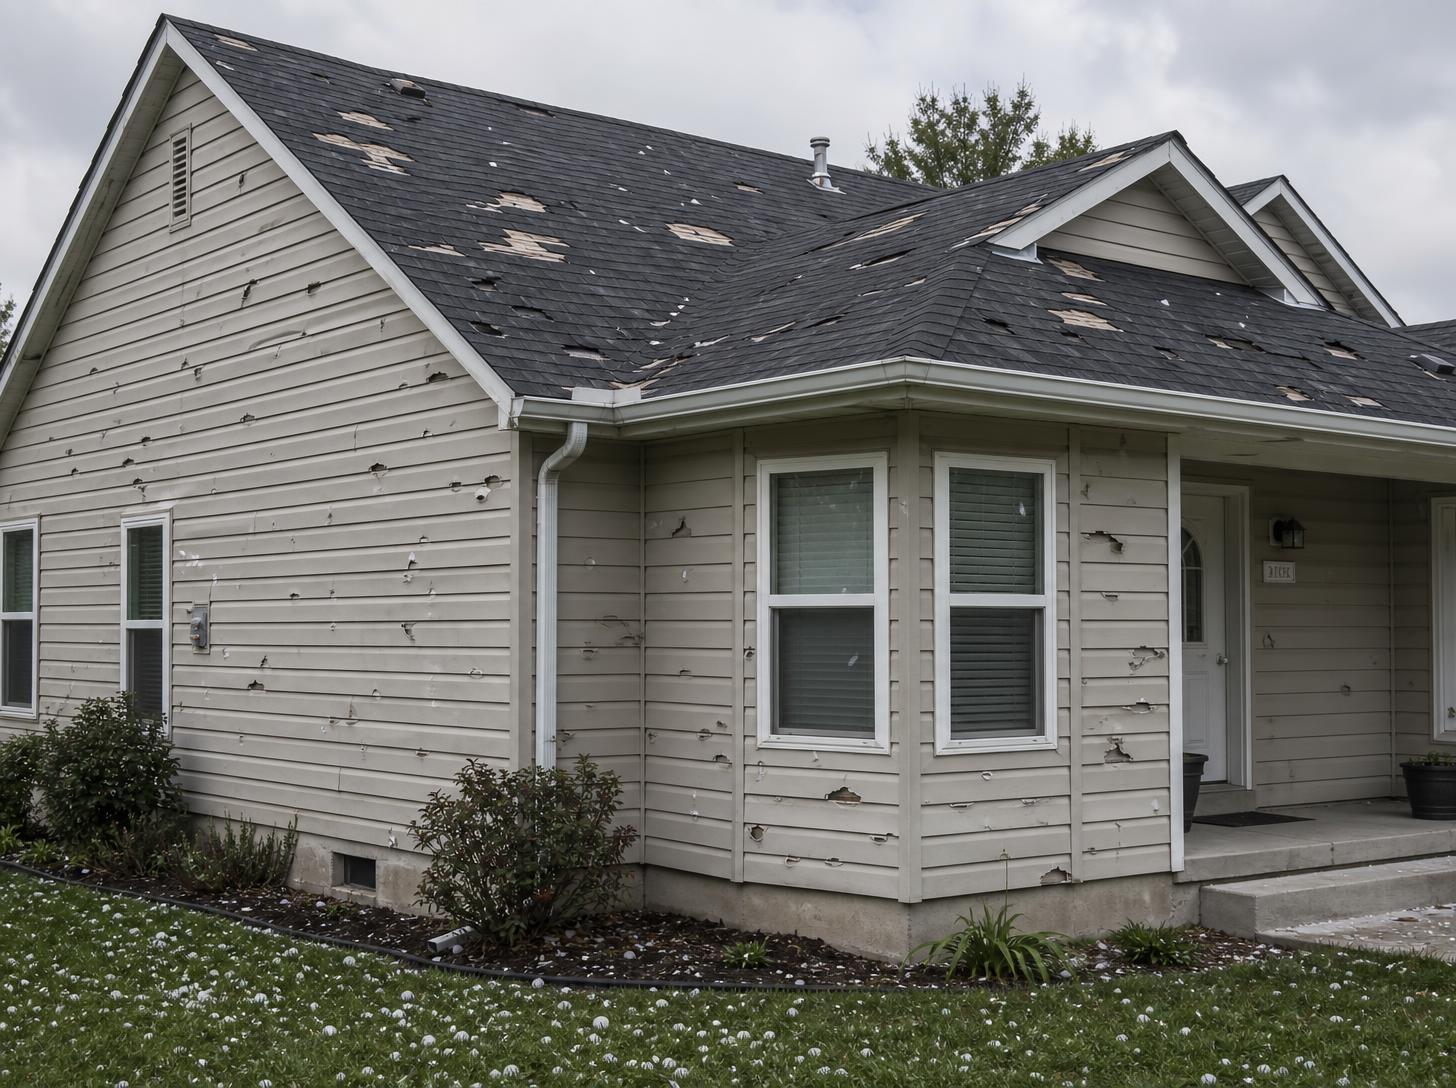
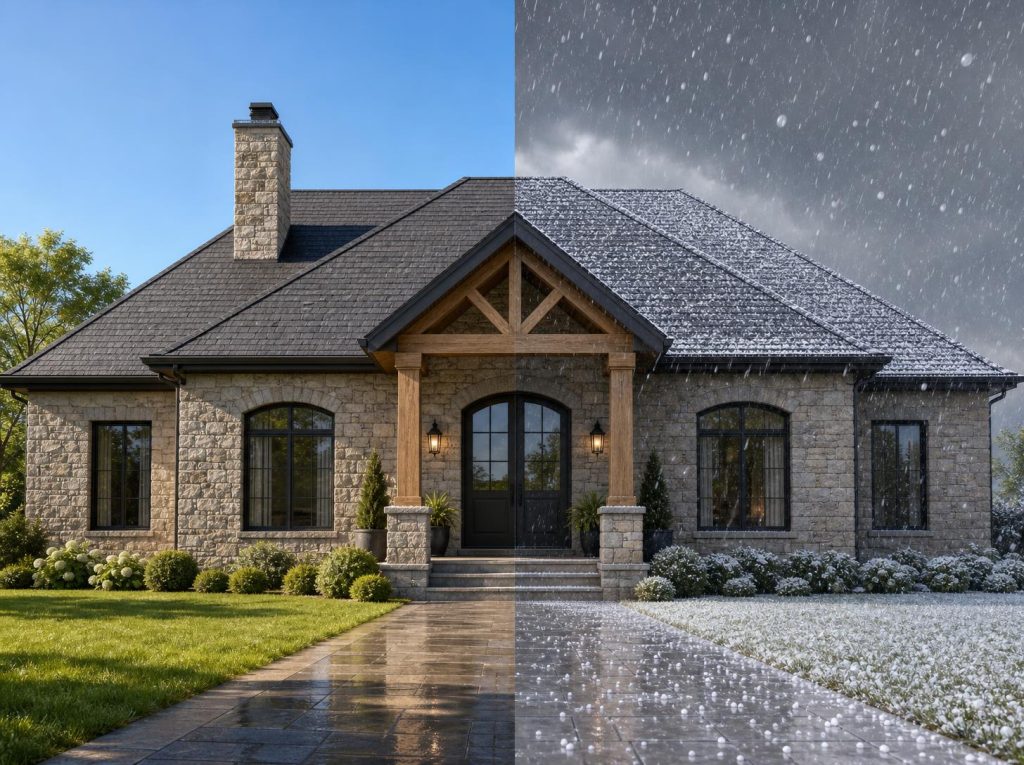
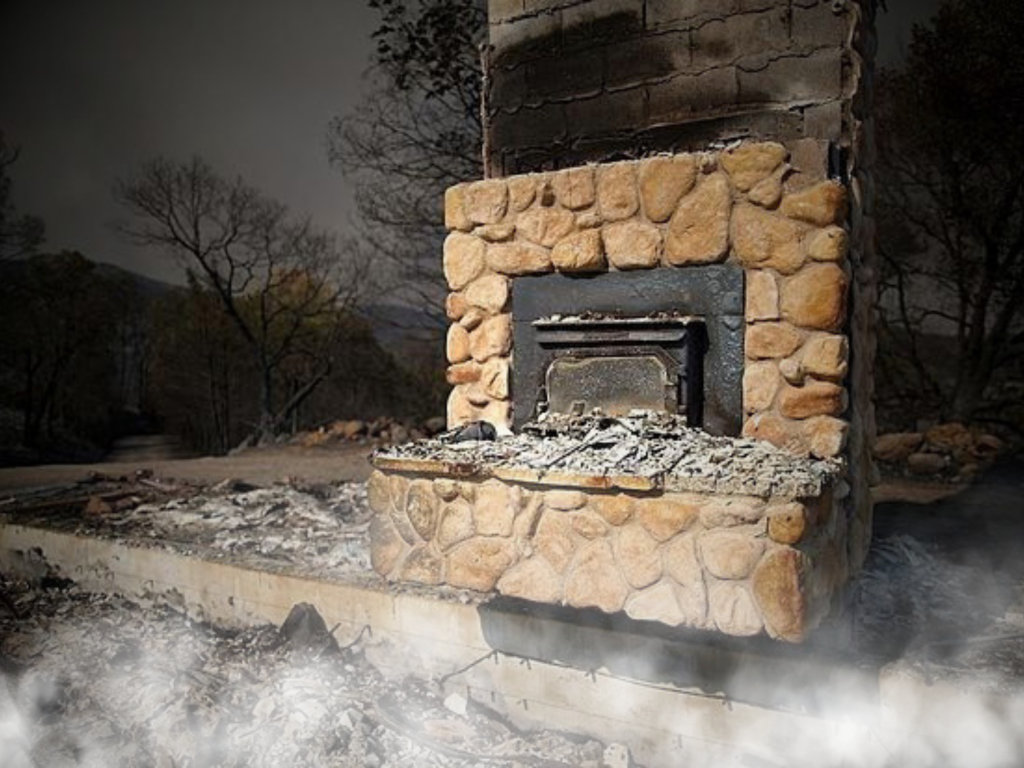
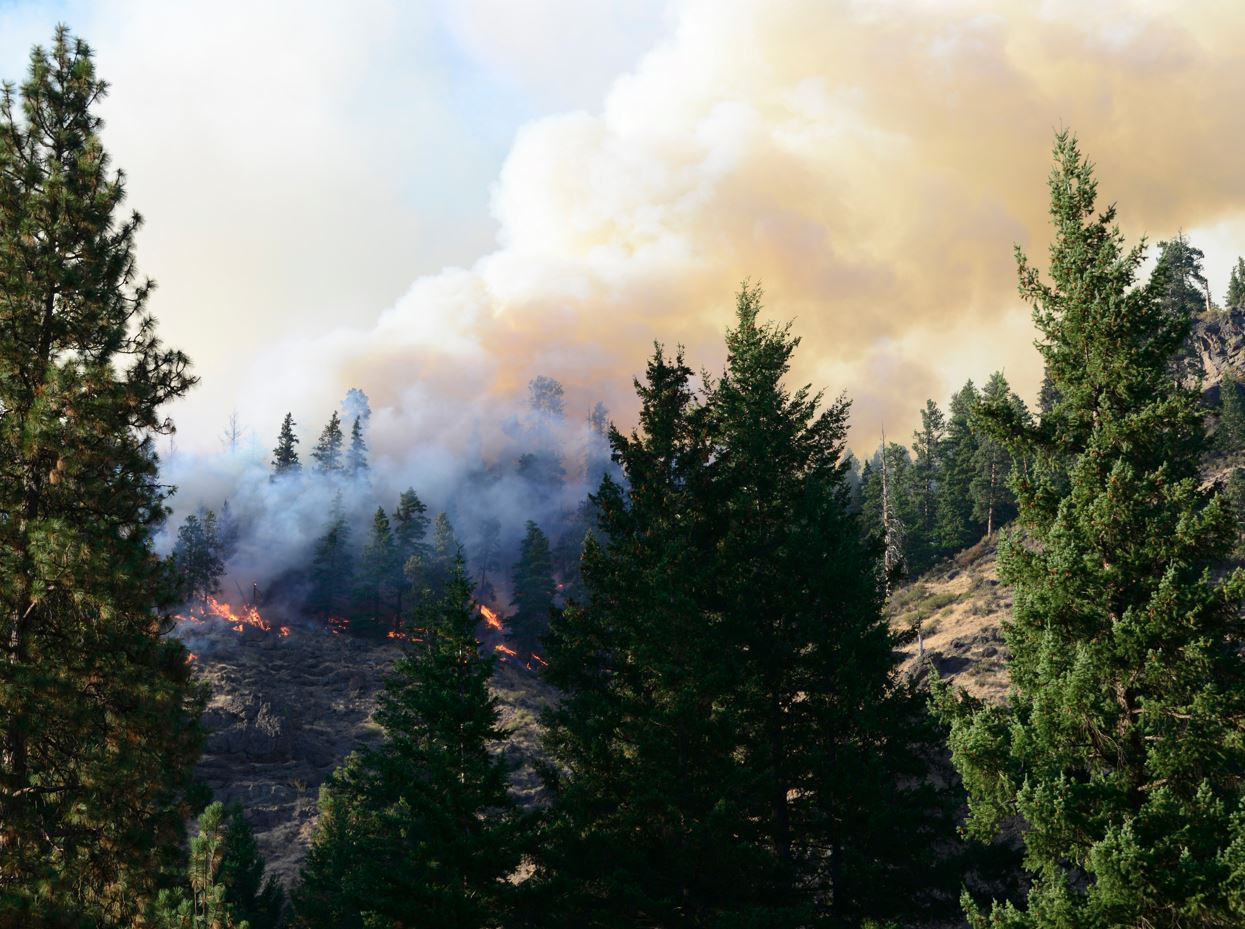
As wildfires continue to impact communities across North America, architects, builders, and homeowners are placing more and more emphasis on fire-resistant building designs. While no structure is completely fireproof, the materials used on a building’s exterior can make a significant difference in improving a home’s resilience and potentially saving lives. One of the most effective and aesthetically pleasing choices? Non-combustible stone – including thin veneer or full-bed options, in either manufactured or natural stone.

Let’s explore the benefits of using stone in wildfire-prone areas, review relevant building codes in Canada and the U.S., and provide tips on designing safer, more durable homes with non-combustible stone.

WHY STONE IS A SMART CHOICE IN WILDFIRE ZONES

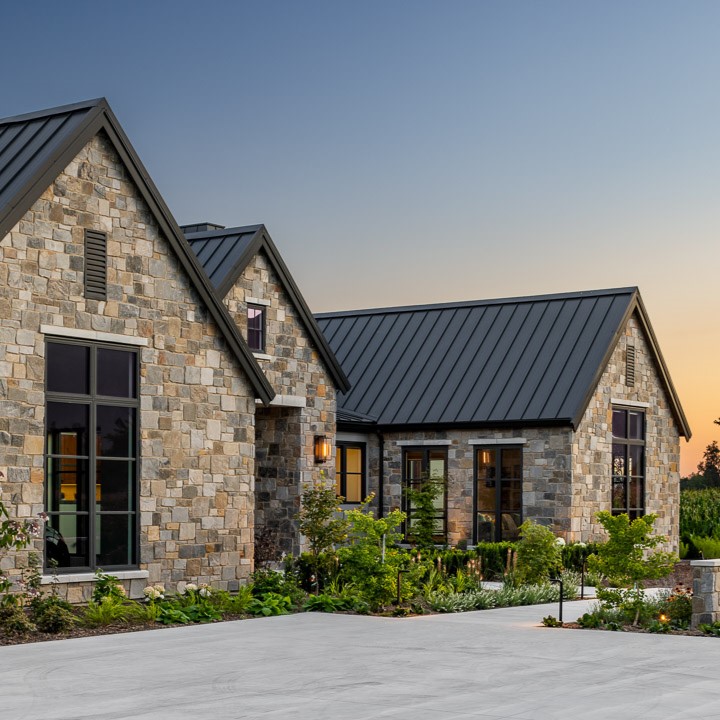
Stone, whether it’s natural or manufactured, thin veneer or full bed, is typically non-combustible, meaning it won’t ignite, burn, or contribute to the spread of flames. This makes stone an excellent choice for building exteriors, especially in Wildland Urban Interface (WUI) zones where homes are close to flammable vegetation.

Here’s why stone stands out:

  • Non-combustible rating: Some manufactured and natural stone products are tested and certified as Class A fire-rated – the highest level of fire resistance, though not all products undergo formal testing.
  • Sustainability: Stone can last decades with minimal maintenance
  • Design versatility: With countless colors, textures, and styles available, stone offers both function and beauty.

Building codes that address fire-resistant exteriors

Designing for Wildfires

Both Canada and the United States have implemented strict codes and guidelines to promote fire-resistant construction, particularly in wildfire-prone regions.

In Canada, the National Fire Code of Canada provides the foundation for fire safety, but provinces and municipalities often implement stricter requirements in wildfire-prone areas. In the U.S., states such as California, Colorado, and Oregon have adopted the International Wildland-Urban Interface Code (IWUIC), which outlines construction standards for wildfire zones. While you should always consult local building codes, non-combustible stone products typically meet or exceed fire safety requirements for exterior walls. At a minimum, look for products with UL testing and certification to ensure compliance.

best practices when designing with stone for fire safety

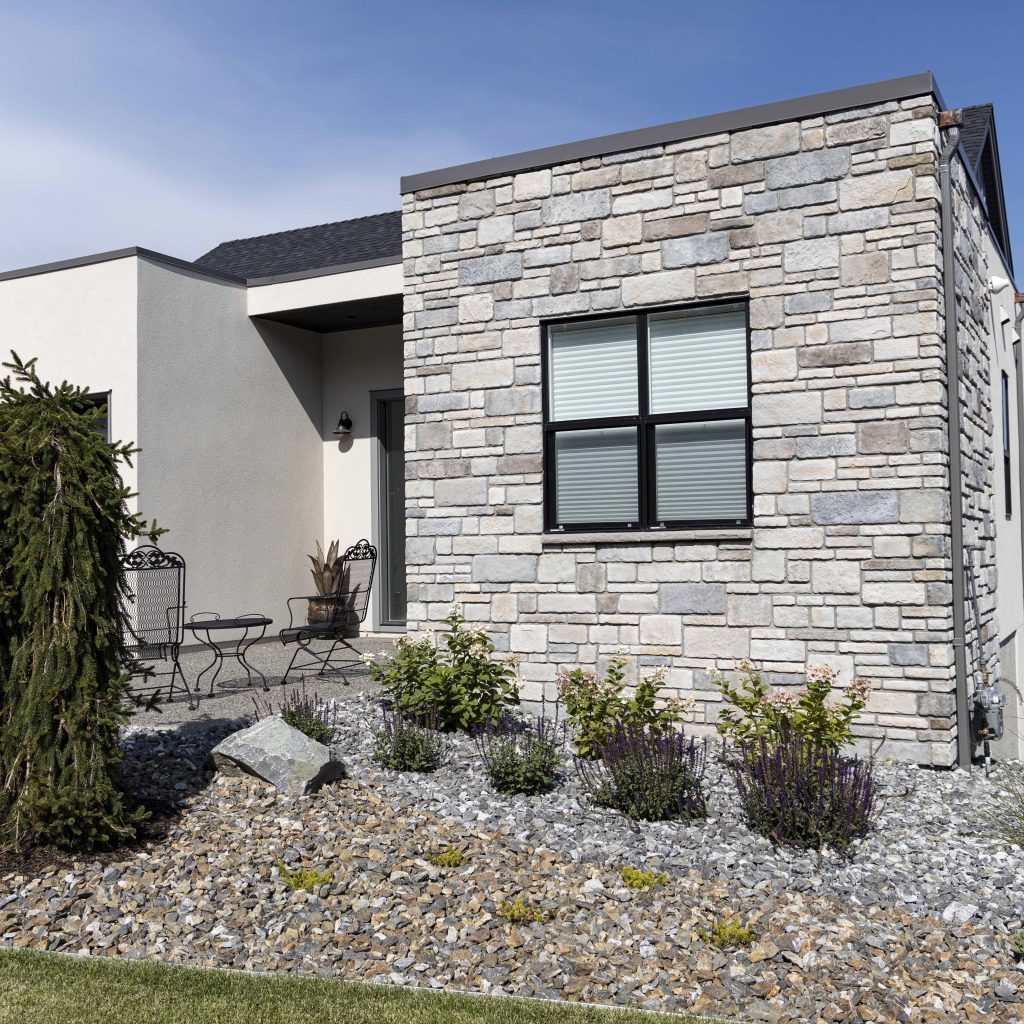
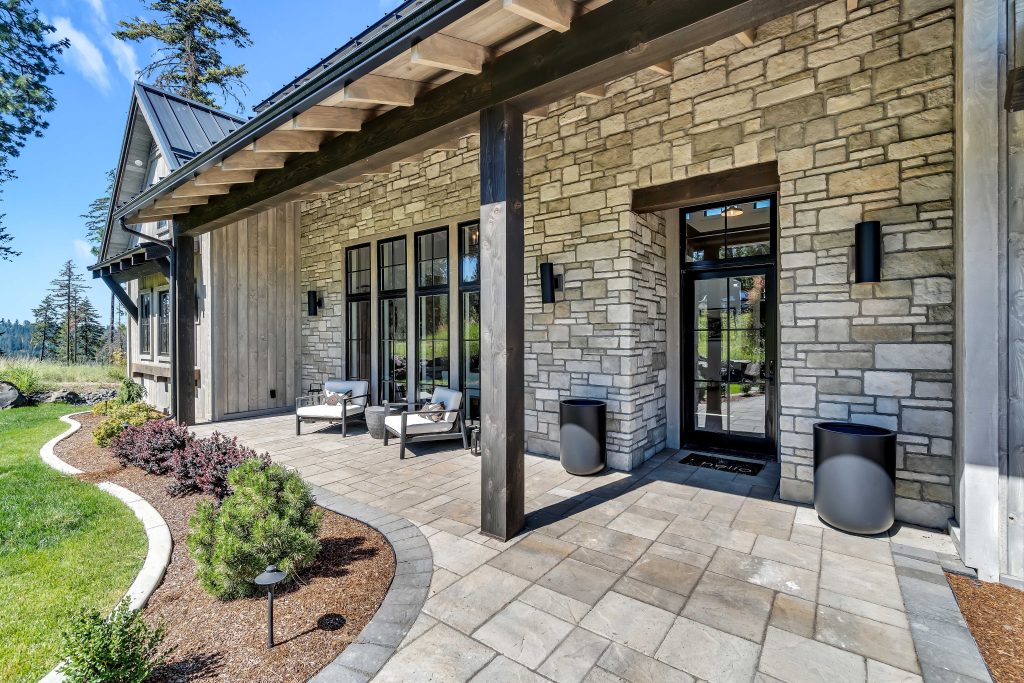
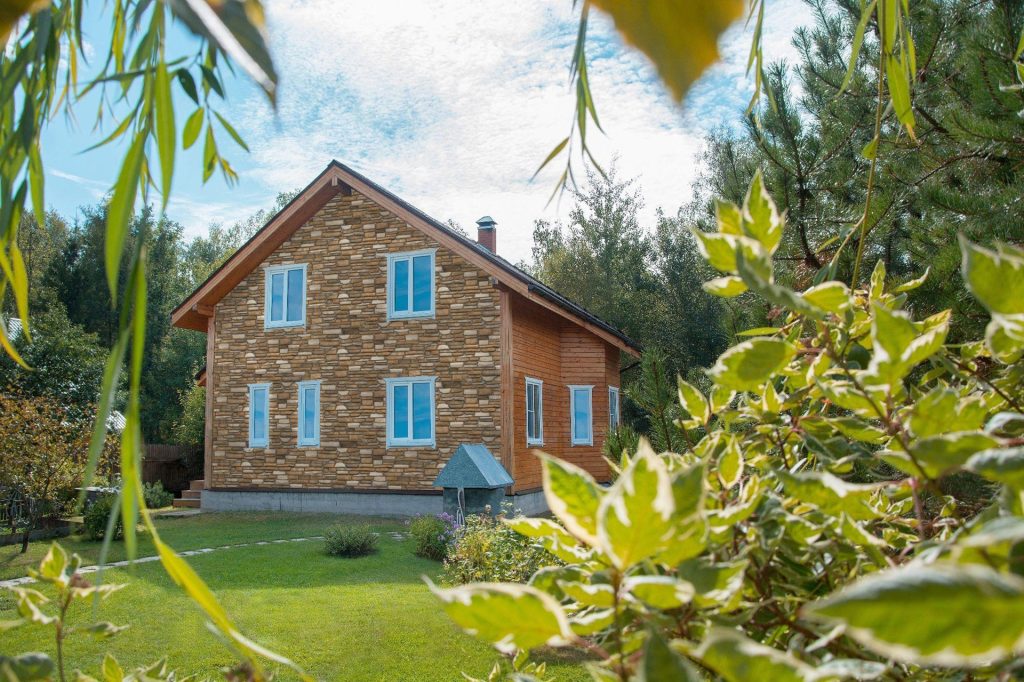
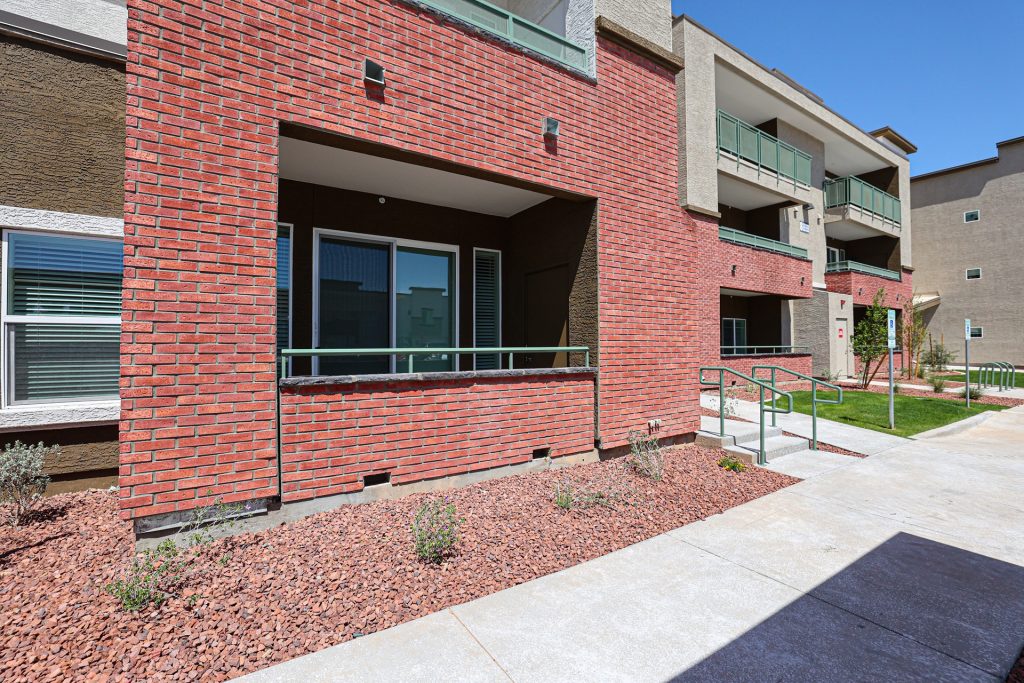
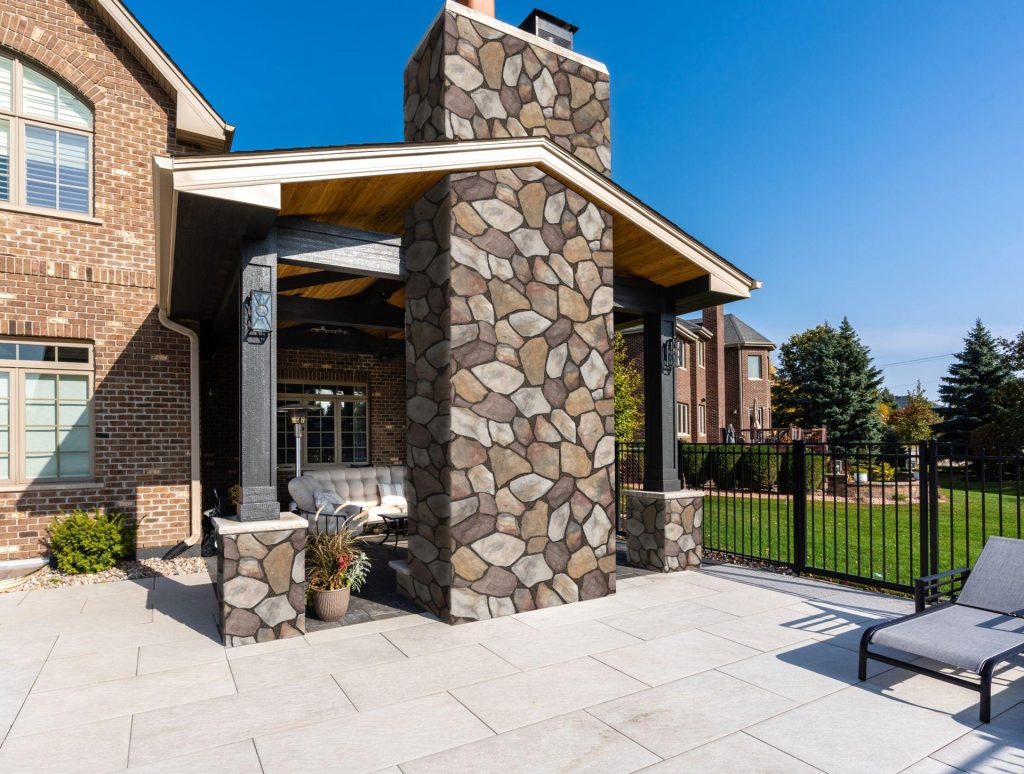
Cultured Stone® - Country Ledgestone, Wheaton™

Using non-combustible stone is a great start, but to maximize fire resistance, it should be part of a comprehensive design strategy. Consider the following:

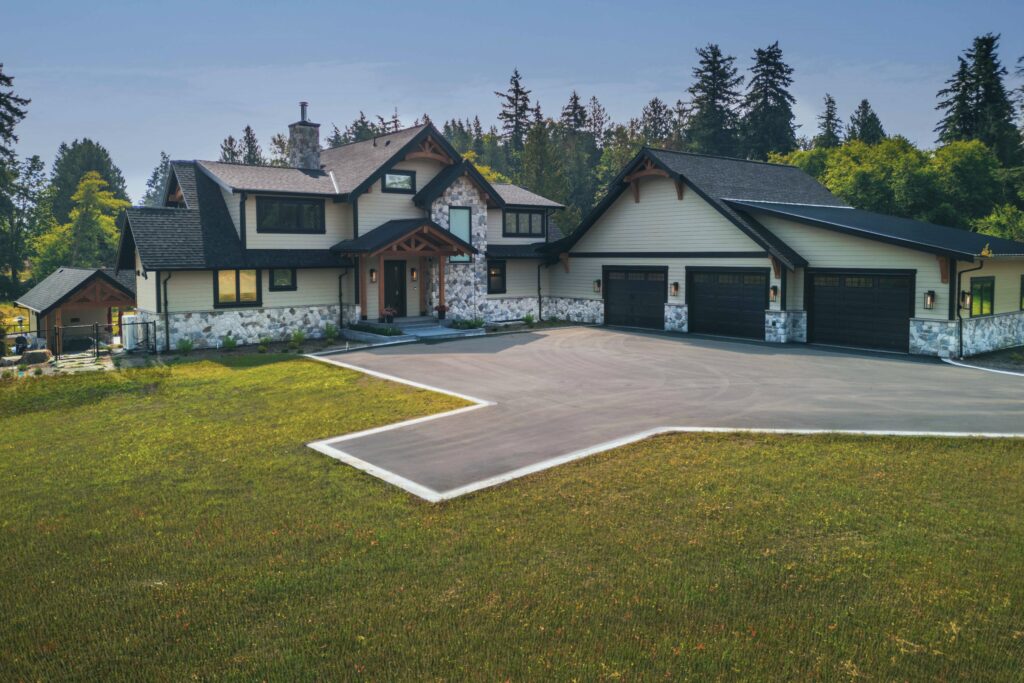
  • Continuous Stone Cladding: Avoid mixing combustible materials like wood or vinyl with stone on exterior walls.
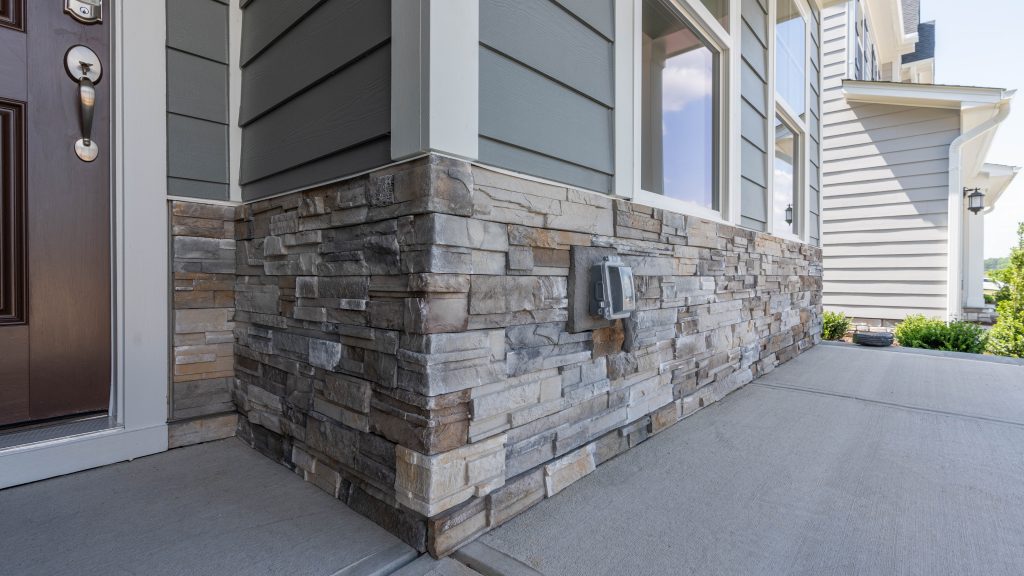
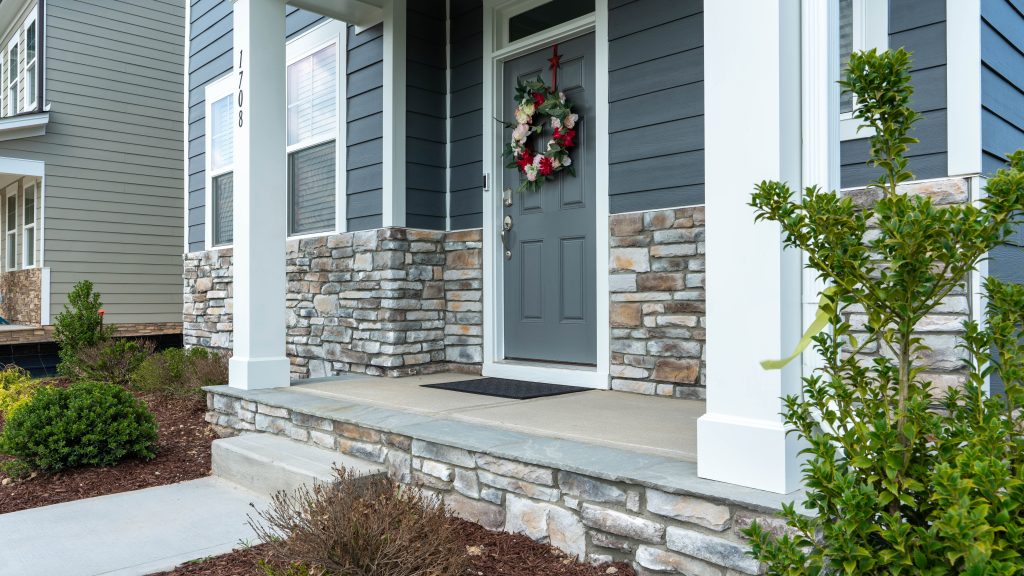
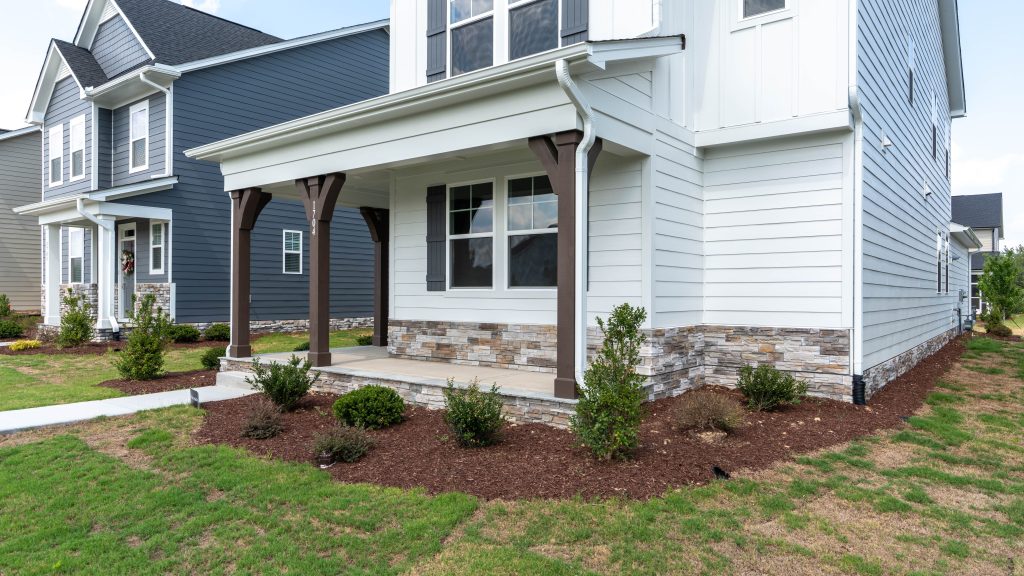
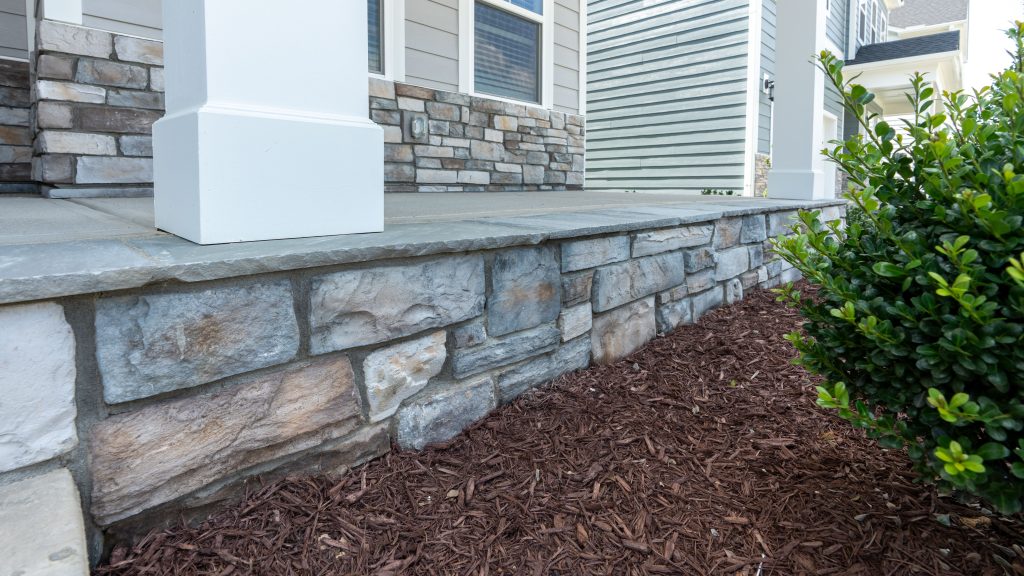
  • Use Stone Near Ground Level: Installing stone near the foundation and lower exterior walls helps create a fire-resistant barrier in the area where embers are most likely to accumulate. In fact, most homes destroyed by wildfire are ignited by flames less than 18 inches high.
  • Pair with Fire-Rated Materials: Combine stone with metal roofing, tempered glass, and non-combustible soffits and fascia.
  • Maintain Clearance: Keep a defensible space by clearing flammable plants or mulch away from the base of your stone walls.

Choosing the right stone product

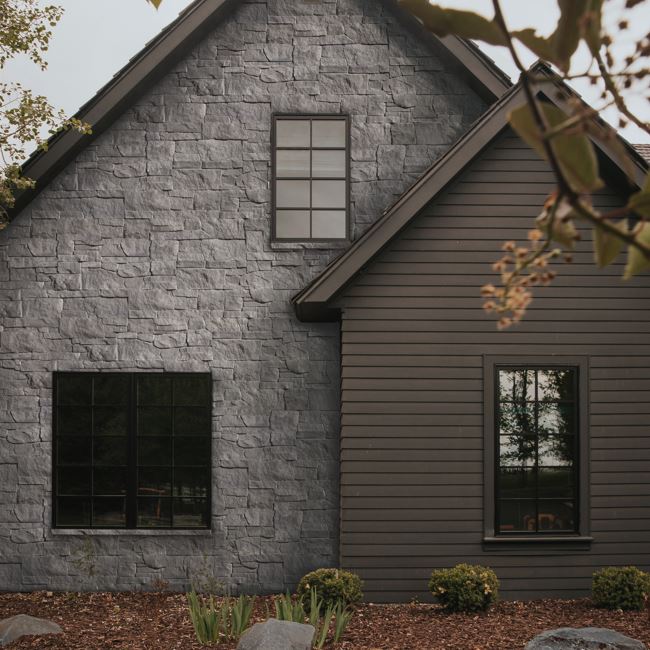
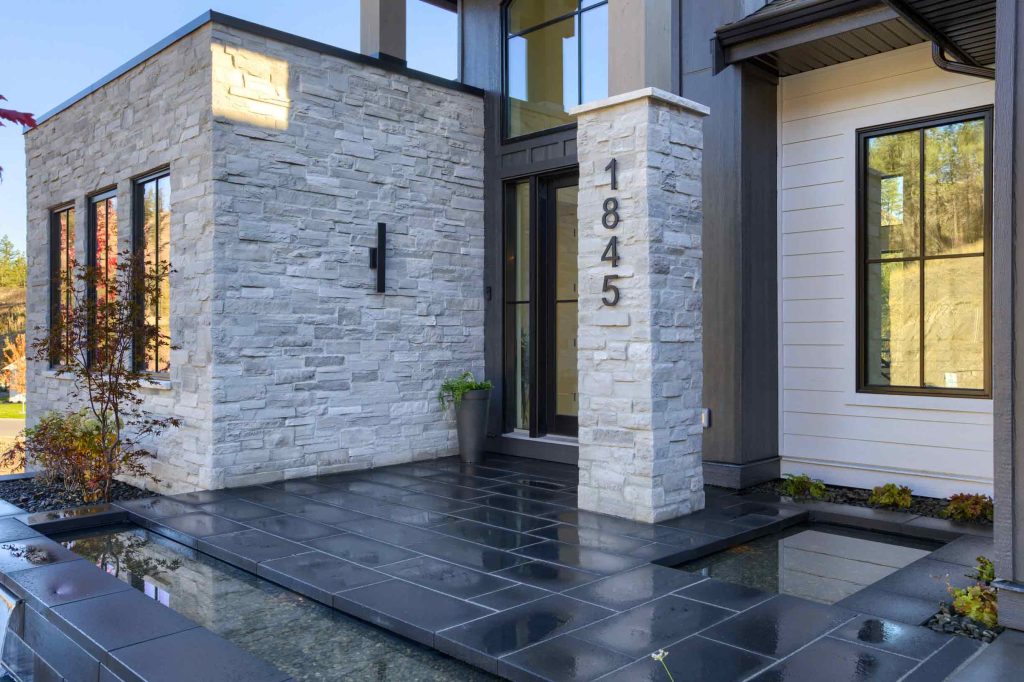
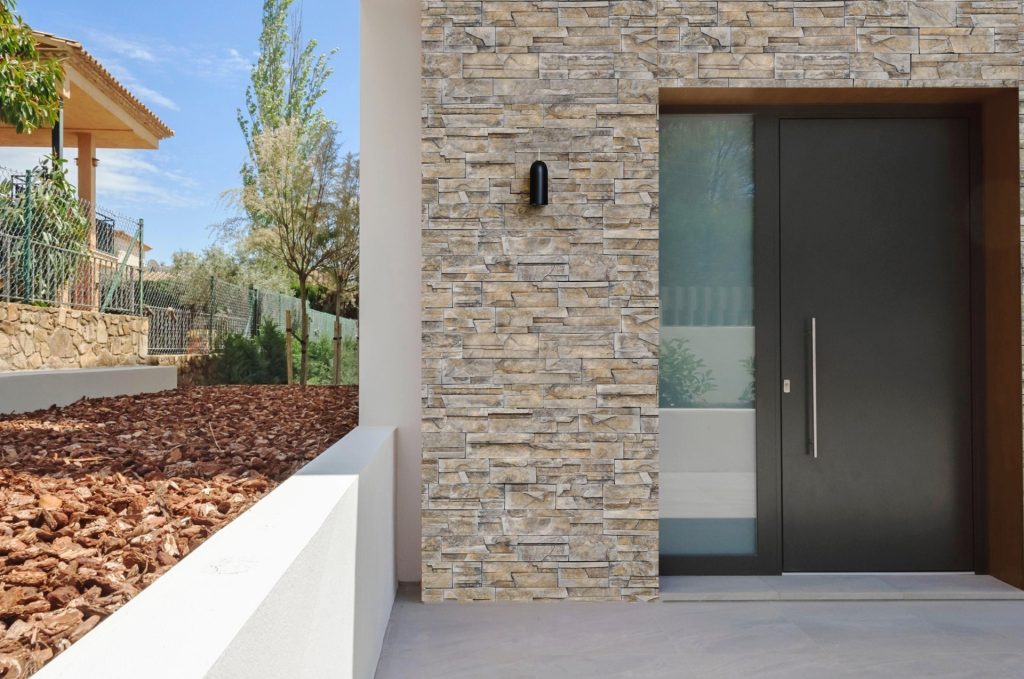
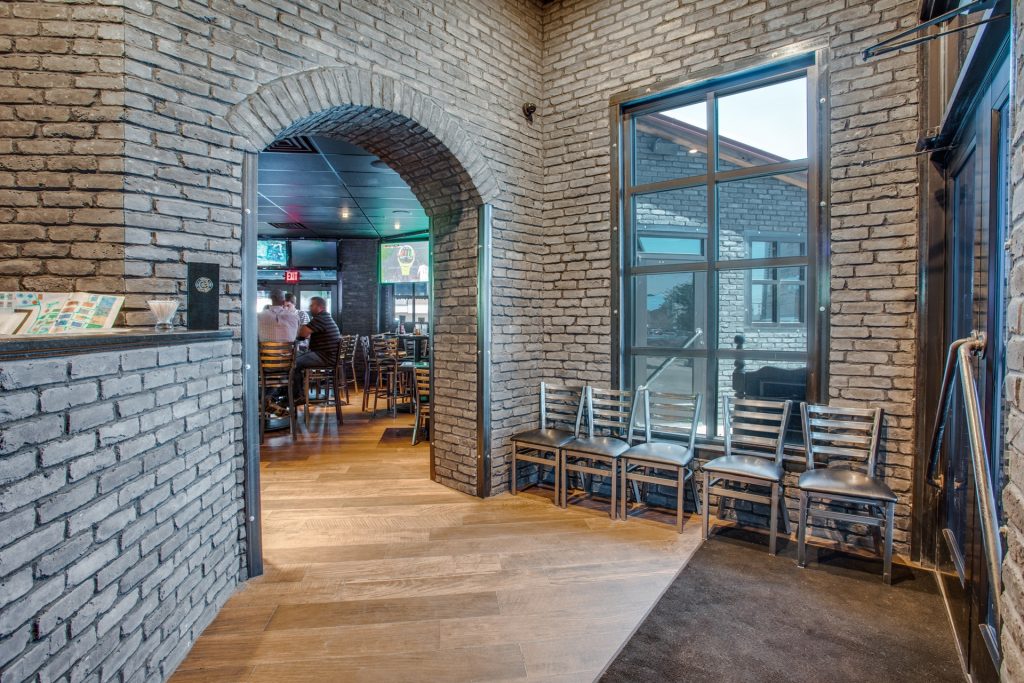
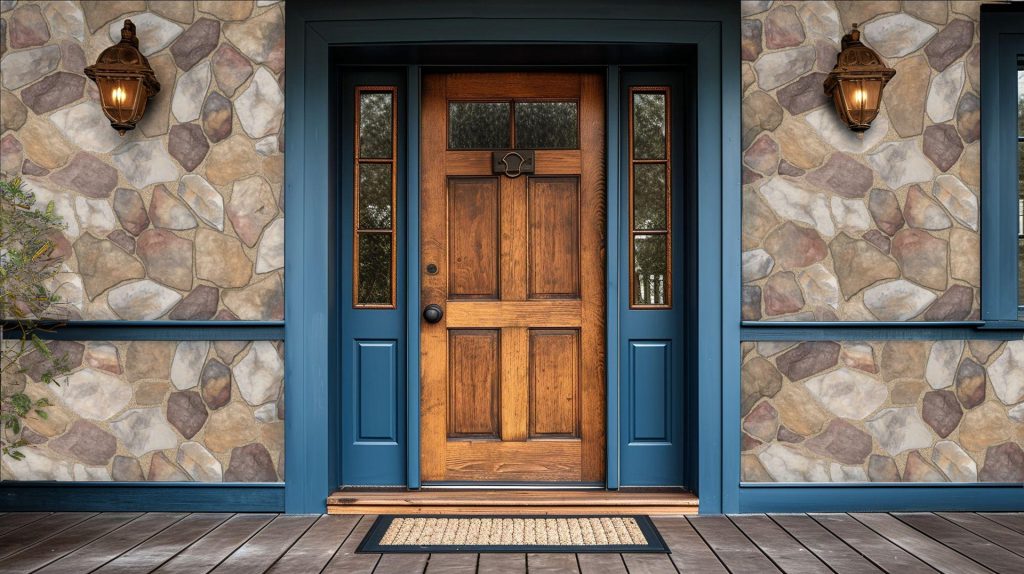
Cultured Stone® - Sculpted Ashlar, Silver Shore

Whether you’re building a new home or updating an existing one, we offer a variety of non-combustible stone options to suit your project:

  • Manufactured Stone Veneer: Lightweight and easy to install, class A fire-rated options available, wide variety of colors and styles.
  • Natural Stone Veneer: Cut from real natural stone, may be naturally non-combustible, timeless look with lasting durability.
  • Full Bed Natural Stone: Thicker, heavier stone for a substantial appearance, ideal for custom and luxury builds, exceptional fire and thermal resistance.
  • Stone Siding: panelized or mechanically fastened systems, class A fire-rated options available, quick installation ideal for residential and commercial applications.

not all stone products are non-combustible

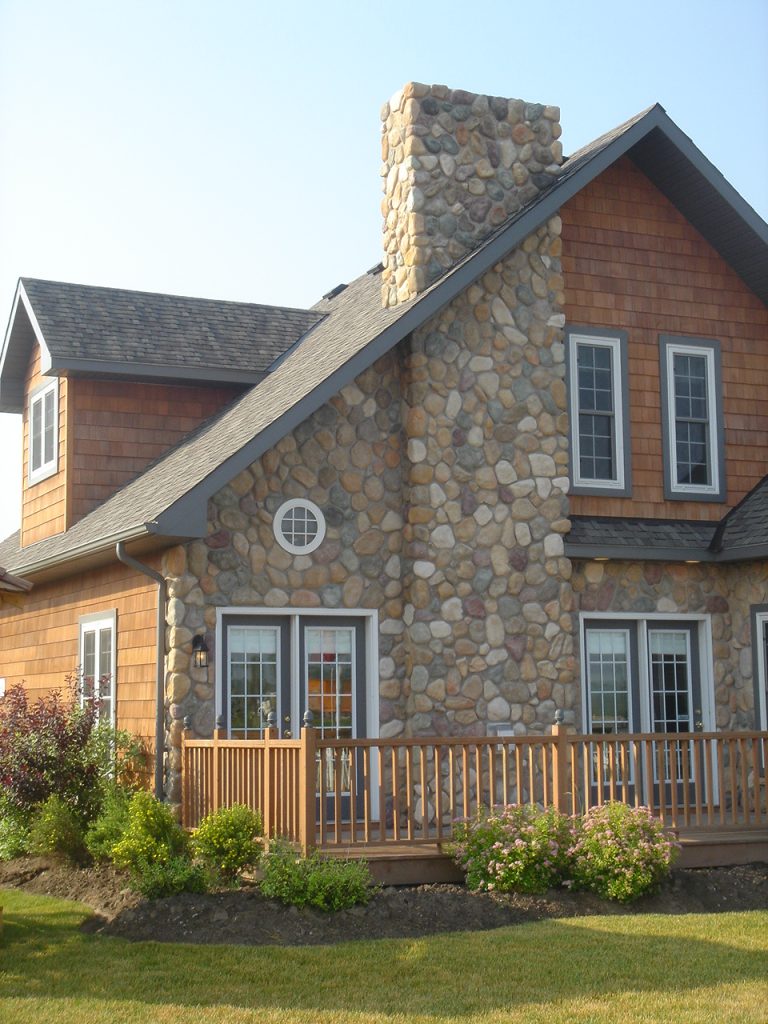
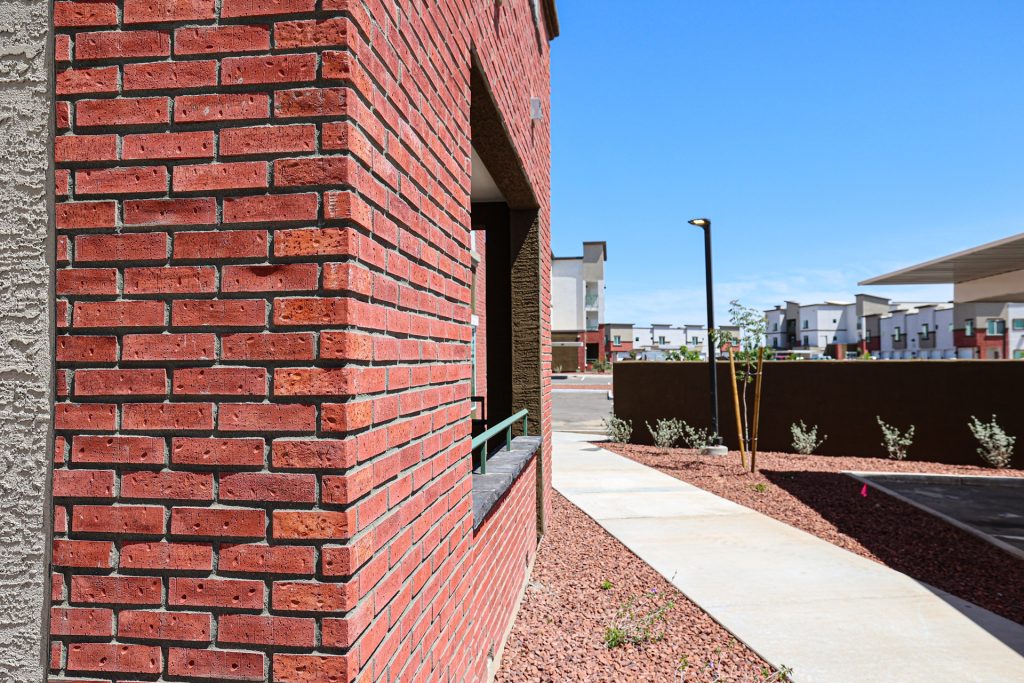
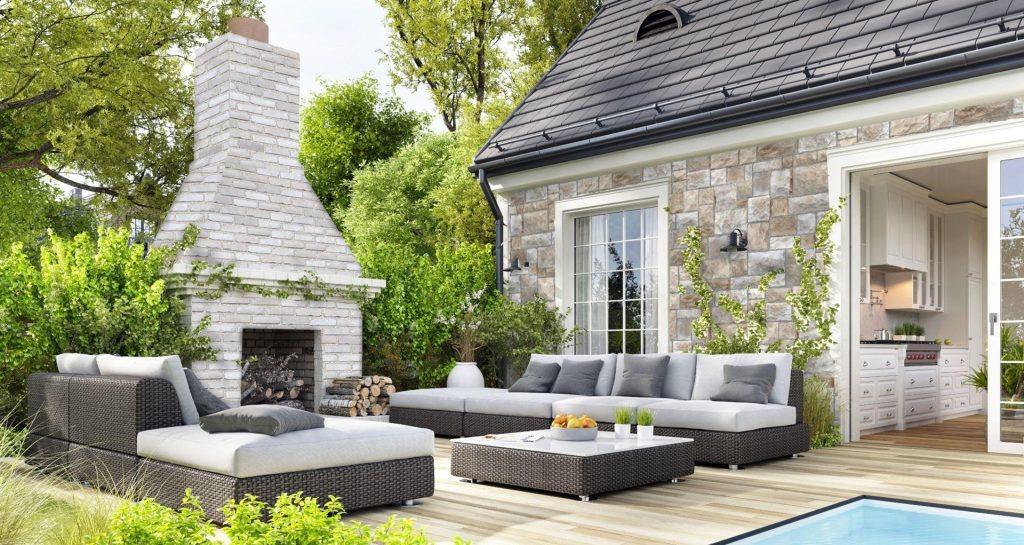
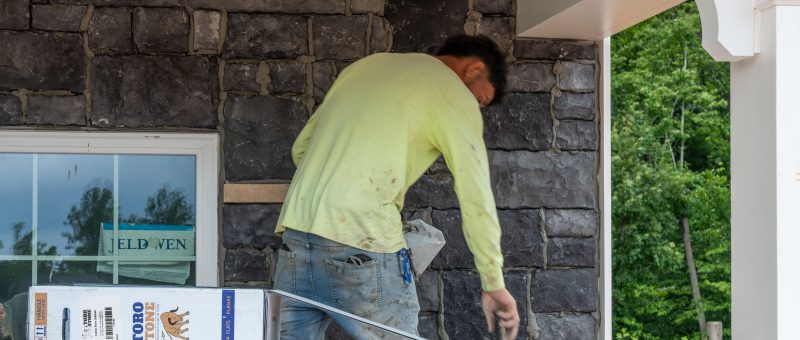
Cultured Stone® - River Rock, Lakeshore

While stone is generally considered fire-resistant, not all stone products are truly non-combustible. Some types of manufactured stone veneer may contain lightweight aggregates or binders that affect fire performance. To ensure safety, always check that the product is Class A fire-rated or tested to standards like ASTM E136 or CAN/ULC-S114. Review product data sheets, confirm code compliance for your region (especially in WUI zones), and consult with your supplier to verify fire resistance before installation.

As wildfires become more frequent and intense, fire-resilient design is no longer optional; it’s essential. Incorporating non-combustible stone on your home’s exterior is a proven way to reduce fire risk while enhancing curb appeal. Whether you’re in the dry areas of British Columbia or the hills of California, stone veneer offers a practical, durable, and beautiful solution for homes built with safety in mind.

Explore our collection of Class A fire-rated manufactured and natural stone products, perfect for wildfire-prone regions. Our team is here to help you choose the right product for your project. Get in touch today!

The Behind-the-Wall Secrets Every Mason Already Knows (But Some Ignore)

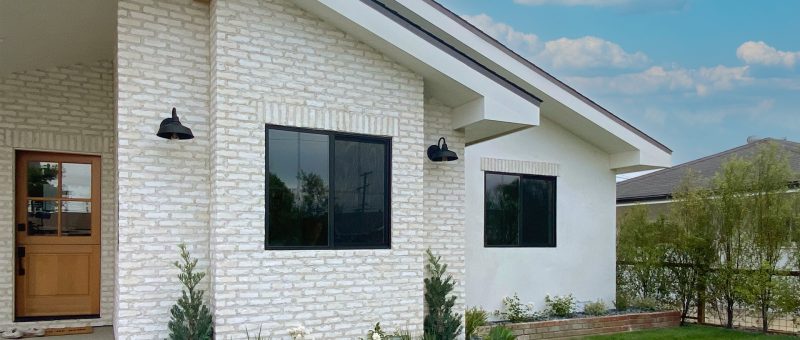
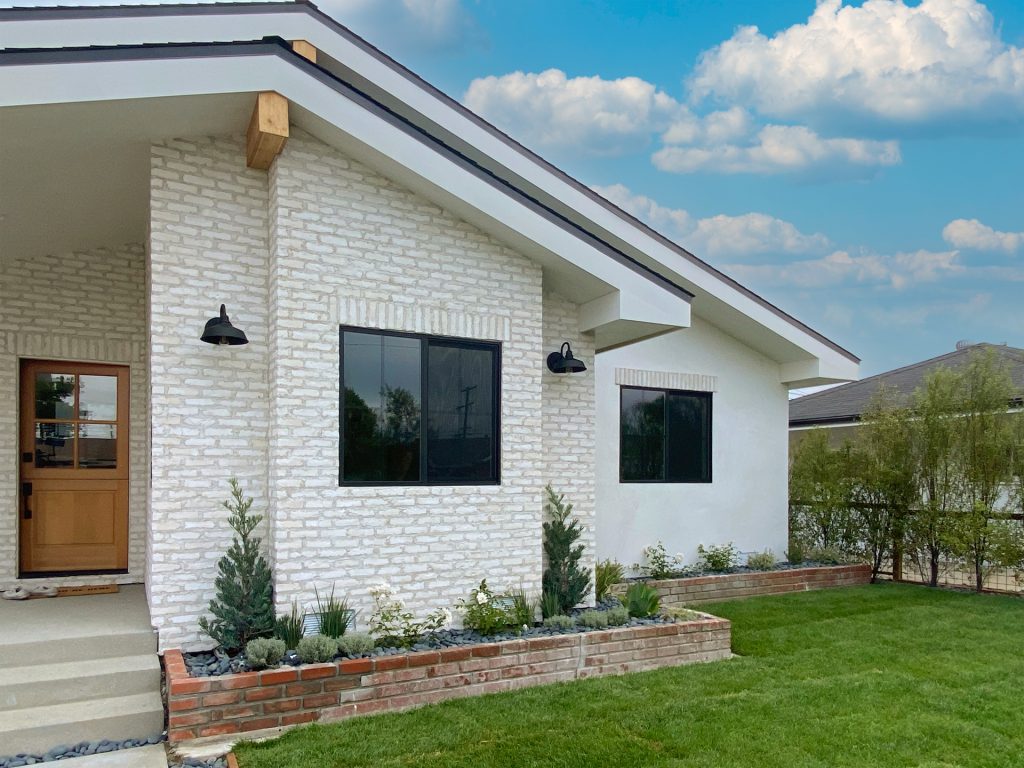
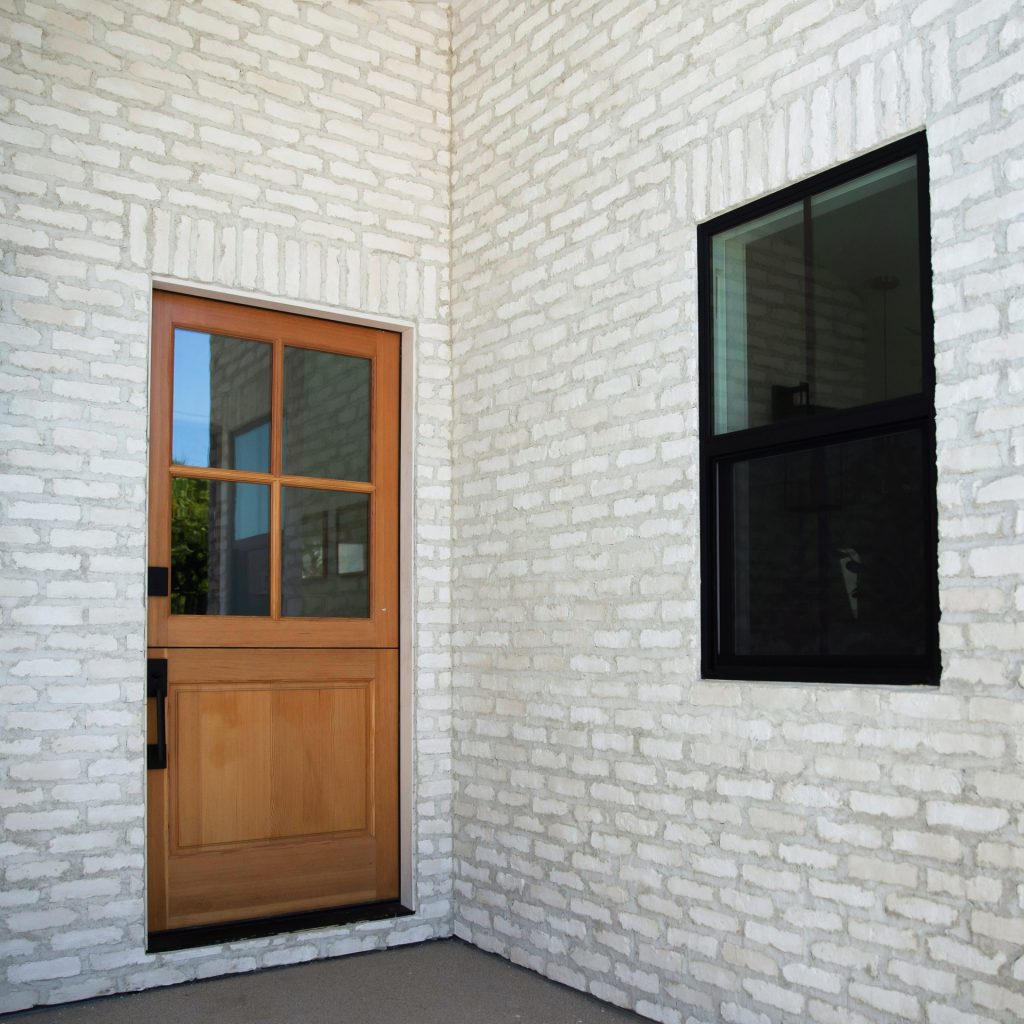
Toro Stone - Reclaimed Brick, Blanc

The Behind-the-Wall Secrets Every Mason Already Knows (But Some Ignore)

Toro Stone - Reclaimed Brick, Blanc
Toro Stone – Reclaimed Brick, Blanc

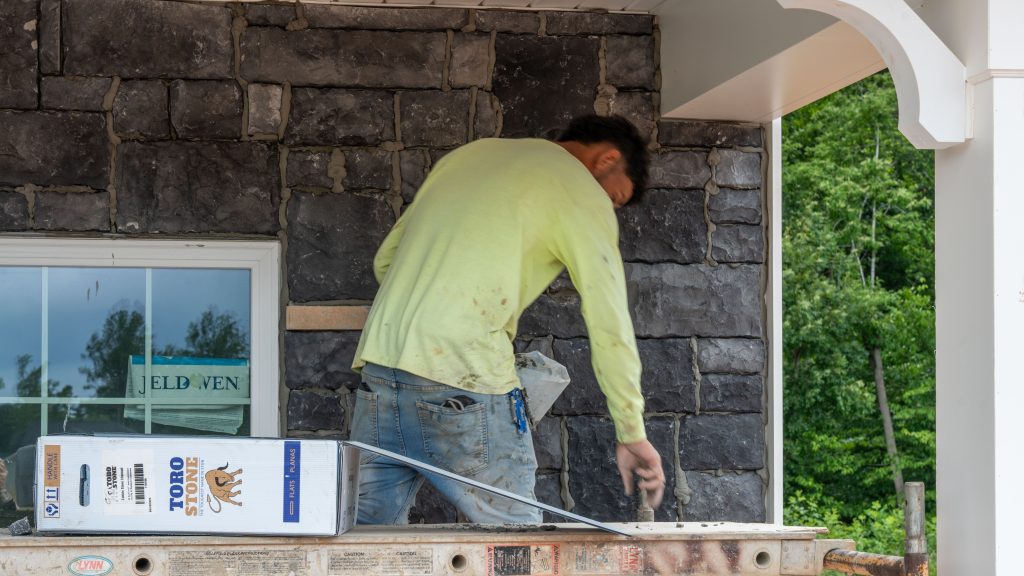
You’ve been around long enough to know this already: stone doesn’t fail on the face; it fails behind the wall. You can lay the prettiest veneer in the county, but if the prep is junk, that wall’s gonna start telling on you after a couple of winters.

Manufactured stone veneer makes the job lighter, faster, and a whole lot easier on the back, but it still follows the same rules. Good substrate, solid bond, smart drainage. You nail those, and the wall will outlast both of us.

So, let’s skip the fancy talk. Here’s how the guys who care about their work actually do it.

GET THE BASE RIGHT OR DON’T BOTHER

If you’re sticking to block, brick, or concrete, it better be clean. Not “kinda clean,” actually clean. No paint, no dust piles, no mystery coatings from some builder cutting corners five years ago. If it’s hot and bone-dry, splash a little water on it, not soaking, just enough to keep the mortar from flash-drying on you.

Framed wall? Different game. You need layers: WRB, lath tight to the wall, and a scratch coat with some bite. Half-inch thick, raked, and actually cured. Don’t cheat the cure time. A sloppy scratch coat is like a cheap pair of boots; it looks fine until you start walking.

LET THE WALL BREATHE

People love pretending their tight joints will keep water out. They won’t. Moisture always finds a way behind the veneer. Always. The difference between a wall that lasts and a wall that quits early is whether that water has a way out.

A rainscreen or drainage mat is the unsung hero. It’s just a little air gap, but man, does it save headaches. Freeze-thaw, efflorescence, all the stuff homeowners blame on “bad stone, it’s usually just trapped moisture. Give that wall a way to dry, and it’ll treat you right.

MORTAR: MIX IT LIKE YOU ACTUALLY CARE

Type S is the old standard, but a good polymer-modified mix can make life easier, especially outside. Whatever you use, keep your consistency right. Too wet, and you’re basically gluing stone to mush. Too dry, and you’ll be fighting it like a stubborn mule.

Back-butter everything. Every piece. No exceptions. Press it in with a little twist, not enough to smear it everywhere, just enough to lock it in. You’ll know when it grabs. A good bond feels like a handshake from a guy who still works with his hands.

Toro Stone - Reclaimed Brick, Blanc

MAKE THE WALL LOOK LIKE IT BELONGS THERE

MSV may come out of a mold, but the wall better not look like it came out of a mold. Open multiple boxes, mix your colors and sizes, and don’t just work off the nearest pile. That’s how you end up with stripes, and nothing screams “rookie” like striping.

Start with your corners. Keep your lines honest. Step your corners, check the level, and adjust before you’re too far gone. And break up your verticals; you don’t want seams running top to bottom like railroad tracks.

Stand back once in a while. If the wall looks good from 10 feet away, you’re on the right track. If something bugs you even a little, fix it. Those little details are what people notice later.

RESPECT THE WATER

Flashing, clearances, none of it is glamorous, but it’s what saves you. Keep the stone up off the ground. Use a weep screed. Make sure the roofline transitions and window heads are flashed so water actually gets kicked out.

Where MSV meets siding or trim, use a soft joint. Mortar that joint, and something’s gonna crack. Built for movement, and the wall stays quiet.

keep the finish clean

After the mortar sets, rinse the wall with clean water and a soft brush. Don’t touch acids. Seriously. They’ll torch the finish, and then you’ll explain why beige stone turned peach.

If you need a real cleaner, grab a basic dish detergent. Sealers? Only use them if they’re breathable, and you actually need one. A lot of MSV problems come from people slapping sealer on because they think it’s “extra protection,” when all it really does is trap moisture. If you’re not sure what to use, the Prosoco® folks know their stuff.
the long game

There’s no magic trick to making veneer last. It’s just doing every step the right way, not the fast way. Solid prep, good drainage, solid bond, clean blends. That’s what separates the walls that age gracefully from the ones that start popping off when February comes around.

And yeah, using the right materials matters. That’s where Instone makes life easier. We’ve seen every climate, every screw-up, every “why is this wall crying?” scenario. Good products paired with good technique, that’s the winning combo.

Do it right, and MSV isn’t just a cladding…it’s the mark you leave behind.

Original article written by Rob McKay with photos provided by Instone and courtesy of MASONRY Magazine and curated by the MCAA