The Behind-the-Wall Secrets Every Mason Already Knows (But Some Ignore)
You’ve been around long enough to know this already: stone doesn’t fail on the face; it fails behind the wall. You can lay the prettiest veneer in the county, but if the prep is junk, that wall’s gonna start telling on you after a couple of winters.
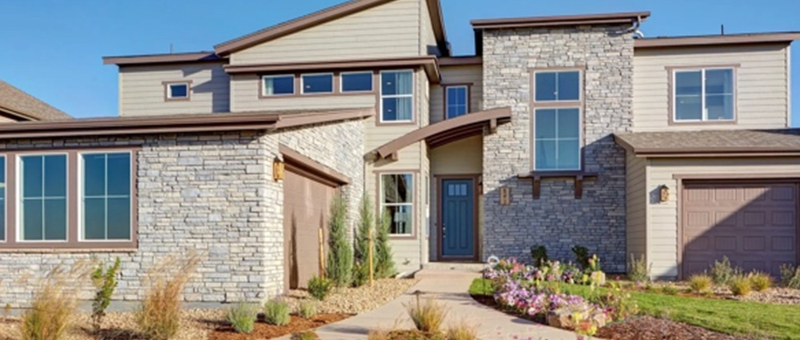
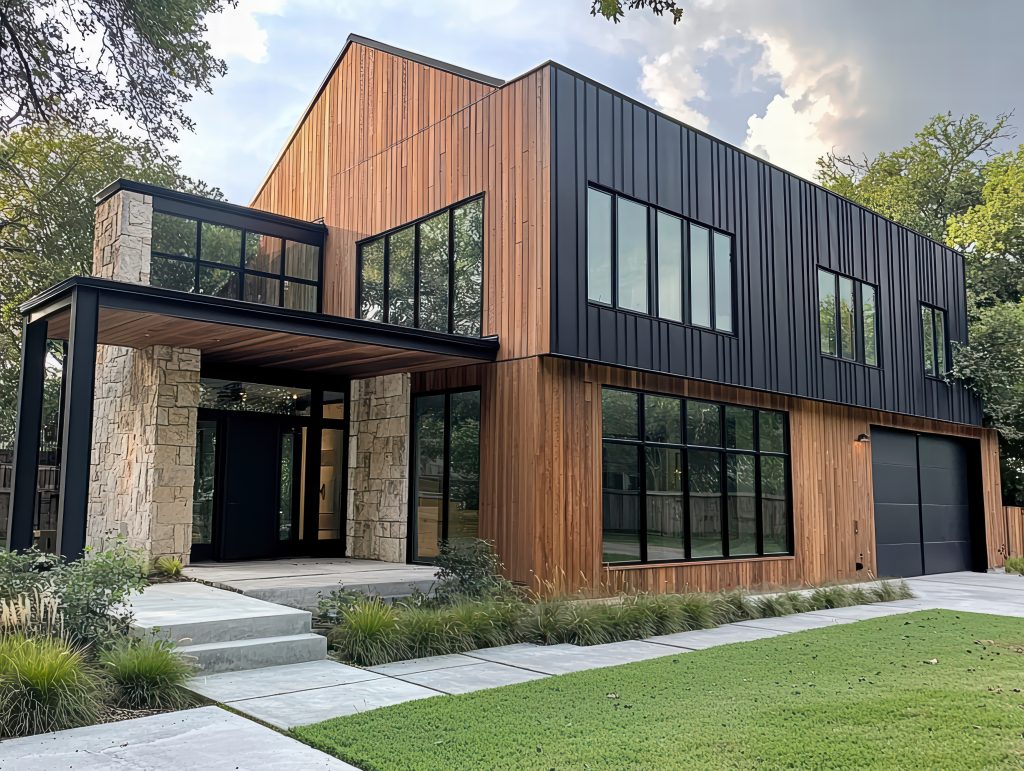
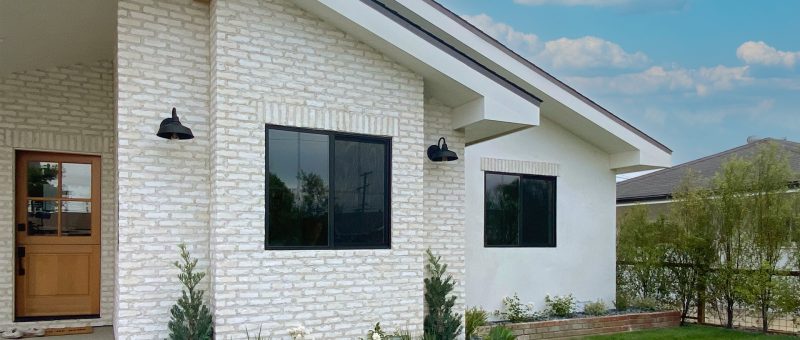
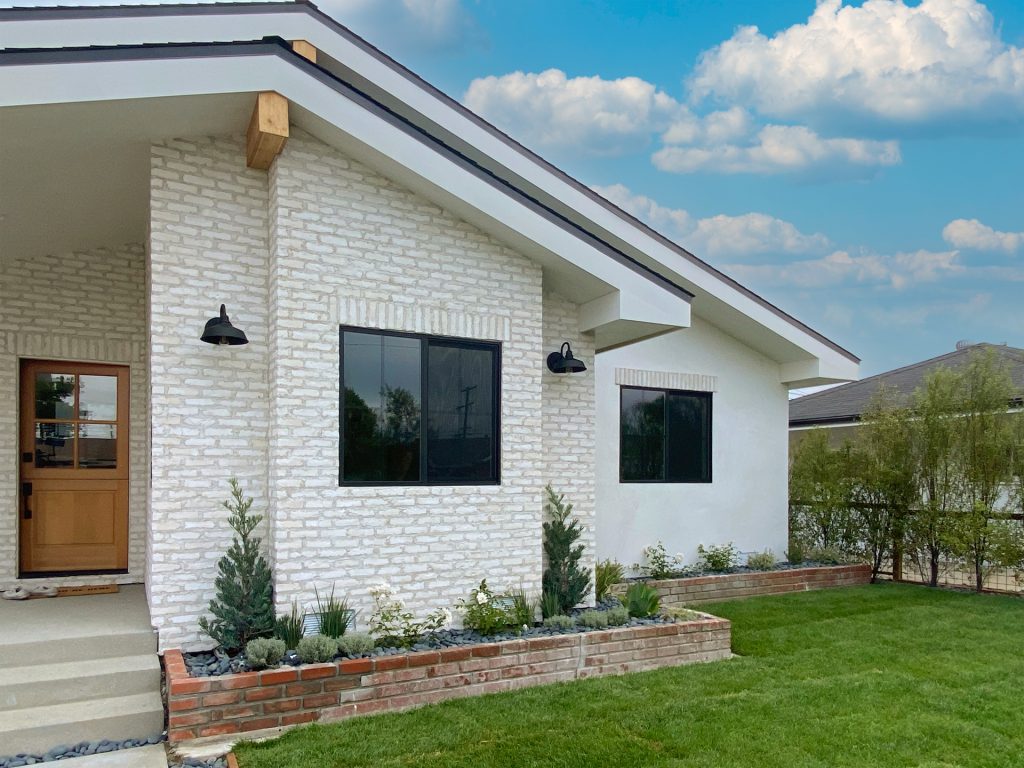
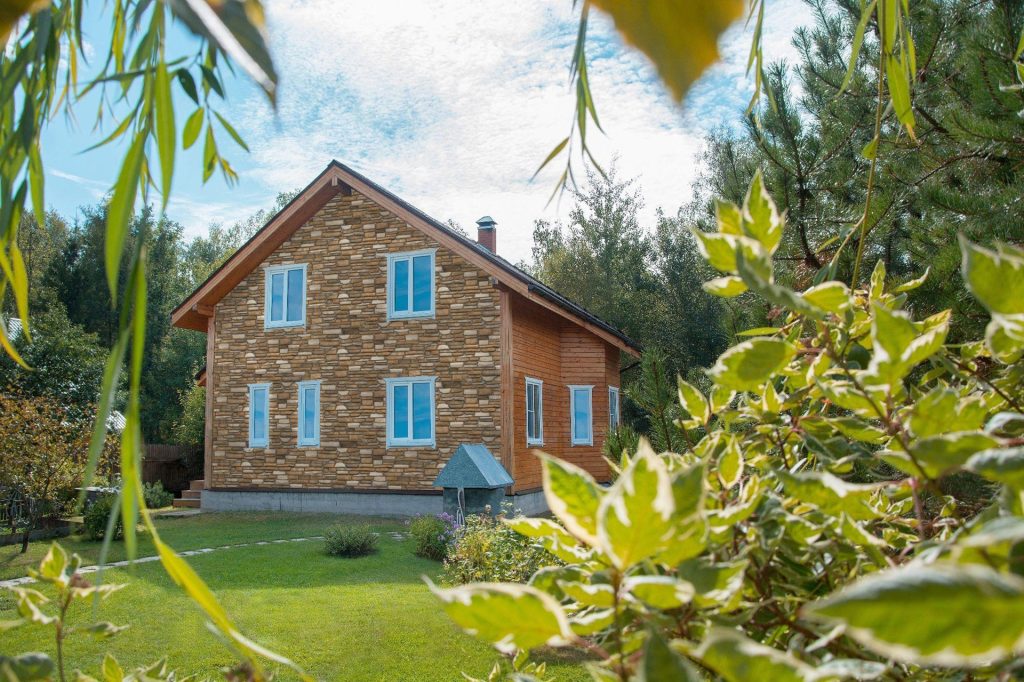
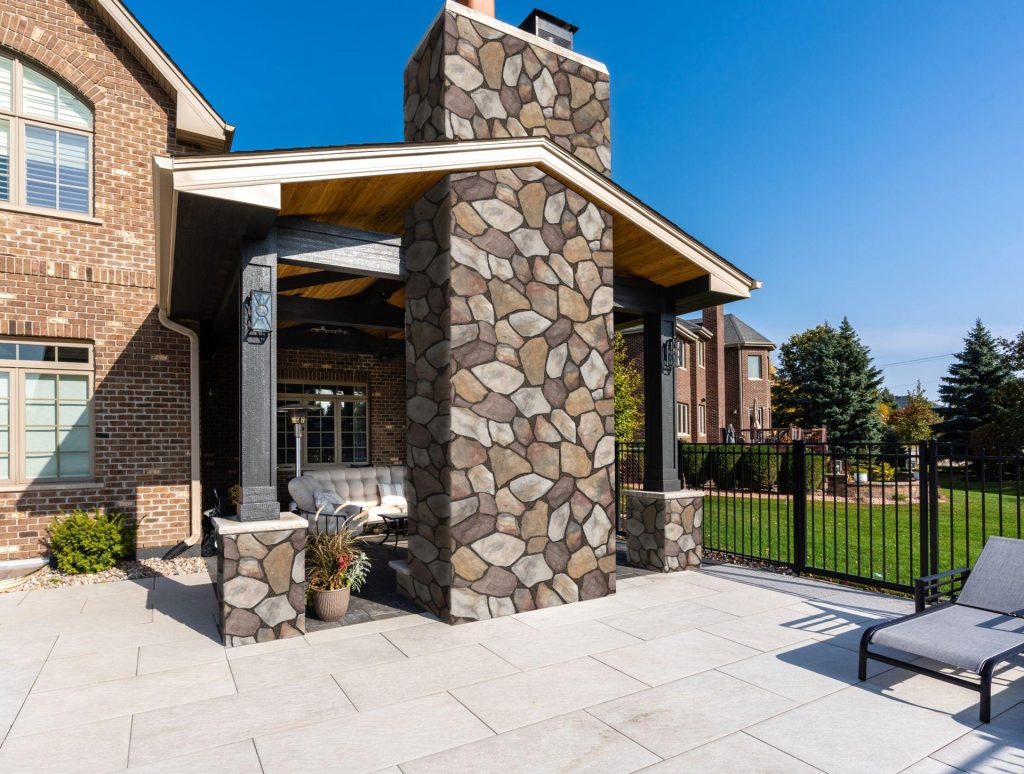
Manufactured stone veneer makes the job lighter, faster, and a whole lot easier on the back, but it still follows the same rules. Good substrate, solid bond, smart drainage. You nail those, and the wall will outlast both of us.
So, let’s skip the fancy talk. Here’s how the guys who care about their work actually do it.
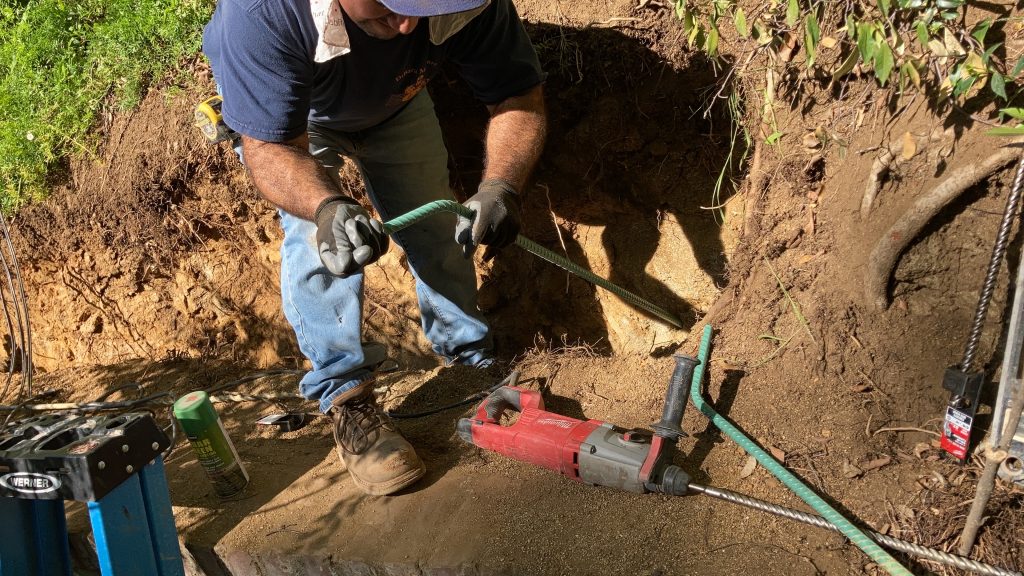
GET THE BASE RIGHT OR DON’T BOTHER
If you’re sticking to block, brick, or concrete, it better be clean. Not “kinda clean,” actually clean. No paint, no dust piles, no mystery coatings from some builder cutting corners five years ago. If it’s hot and bone-dry, splash a little water on it, not soaking, just enough to keep the mortar from flash-drying on you.
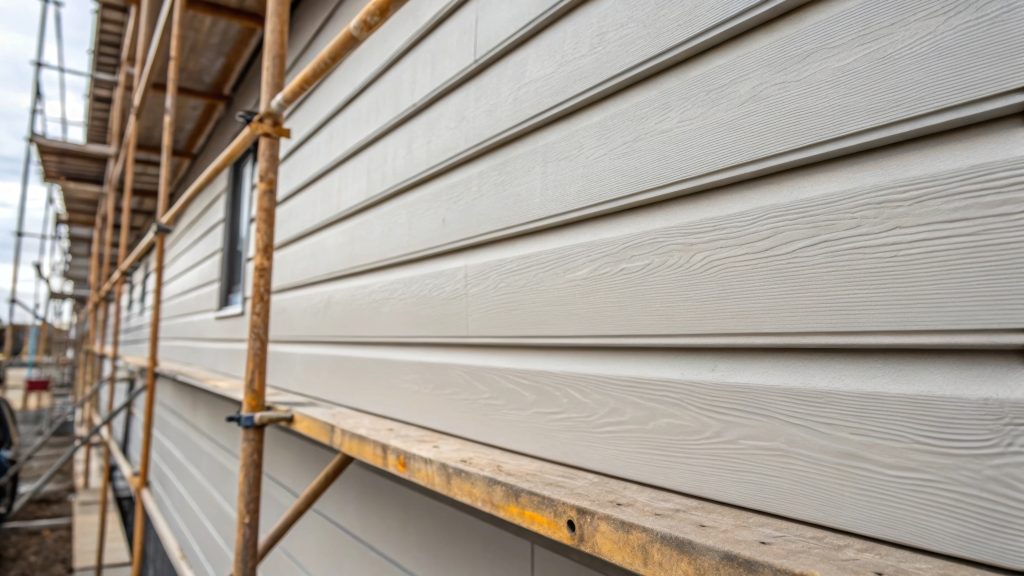
Framed wall? Different game. You need layers: WRB, lath tight to the wall, and a scratch coat with some bite. Half-inch thick, raked, and actually cured. Don’t cheat the cure time. A sloppy scratch coat is like a cheap pair of boots; it looks fine until you start walking.
LET THE WALL BREATHE
People love pretending their tight joints will keep water out. They won’t. Moisture always finds a way behind the veneer. Always. The difference between a wall that lasts and a wall that quits early is whether that water has a way out.
A rainscreen or drainage mat is the unsung hero. It’s just a little air gap, but man, does it save headaches. Freeze-thaw, efflorescence, all the stuff homeowners blame on “bad stone, it’s usually just trapped moisture. Give that wall a way to dry, and it’ll treat you right.

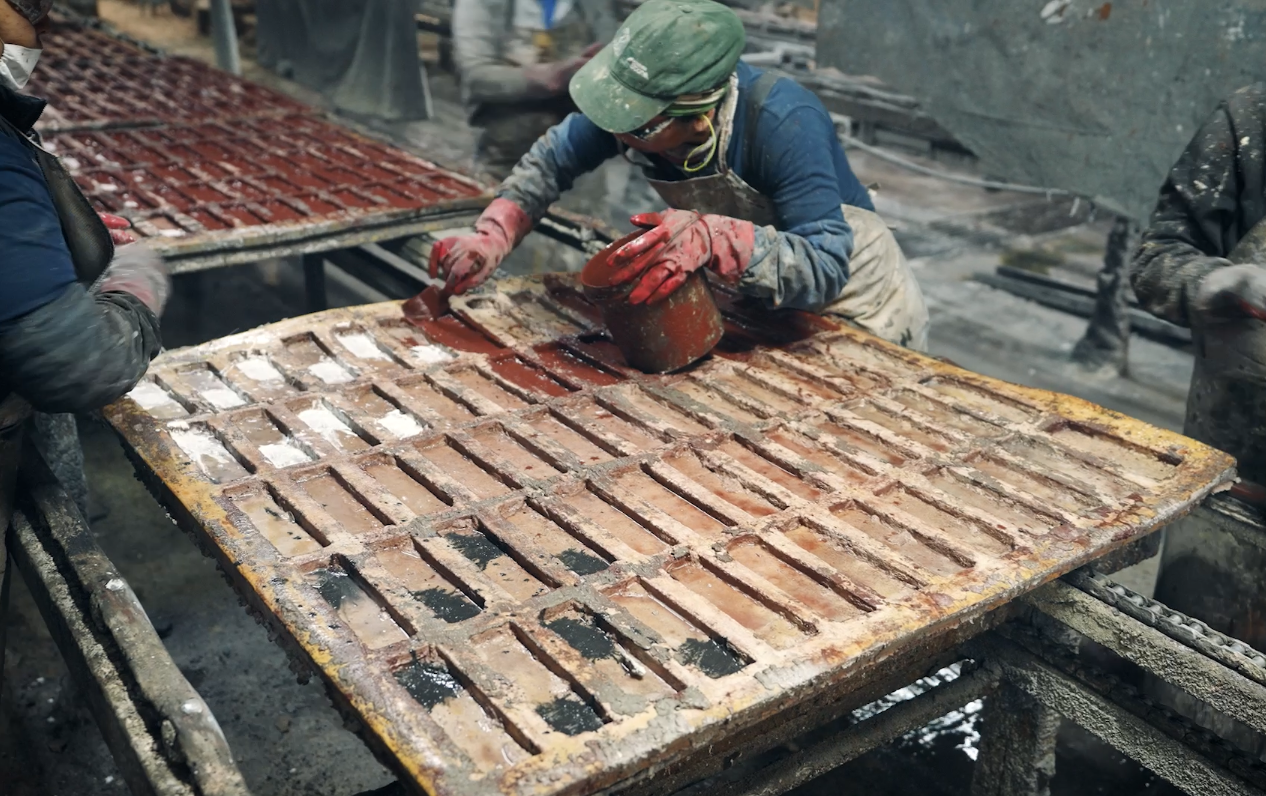
MORTAR: MIX IT LIKE YOU ACTUALLY CARE
Type S is the old standard, but a good polymer-modified mix can make life easier, especially outside. Whatever you use, keep your consistency right. Too wet, and you’re basically gluing stone to mush. Too dry, and you’ll be fighting it like a stubborn mule.
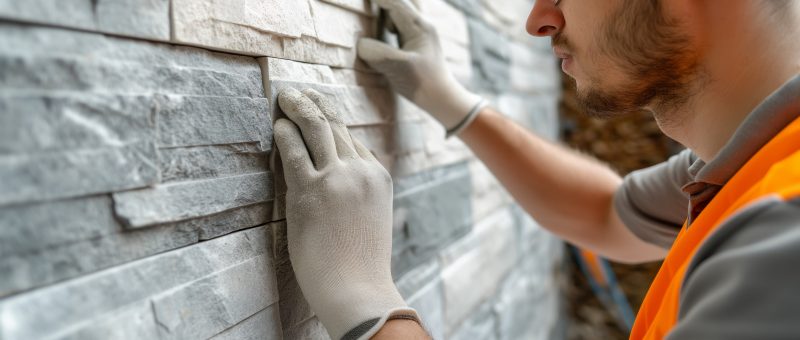
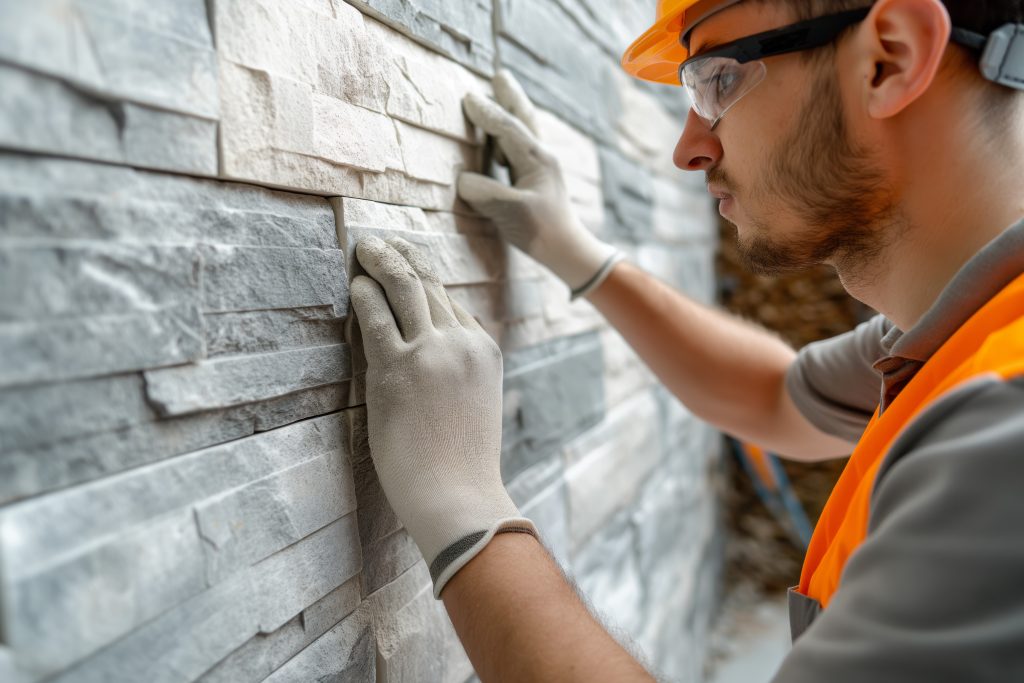
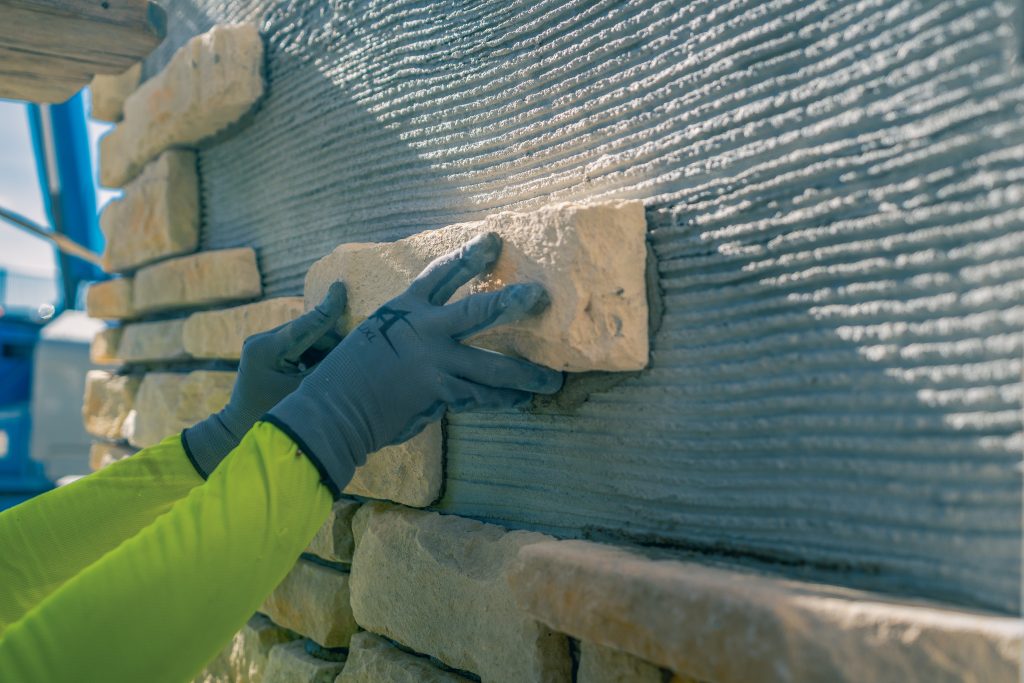
Back-butter everything. Every piece. No exceptions. Press it in with a little twist, not enough to smear it everywhere, just enough to lock it in. You’ll know when it grabs. A good bond feels like a handshake from a guy who still works with his hands.
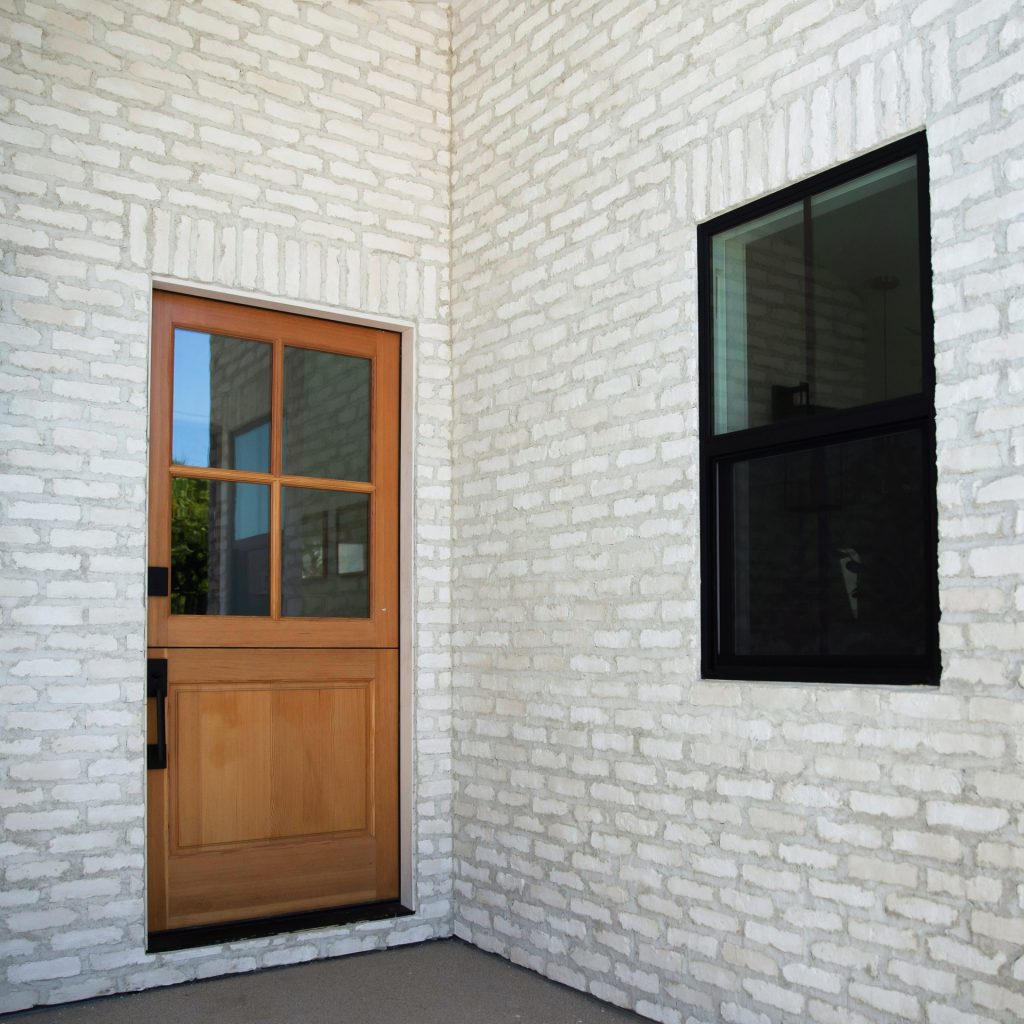
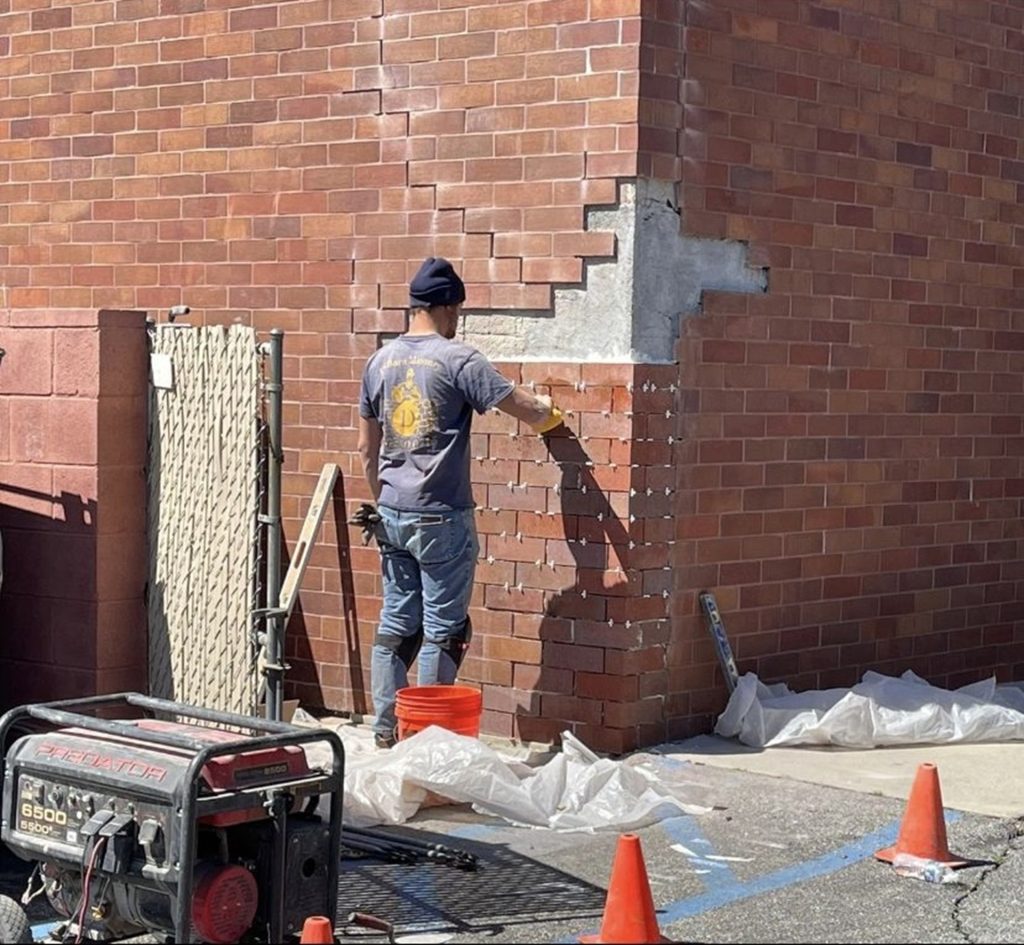
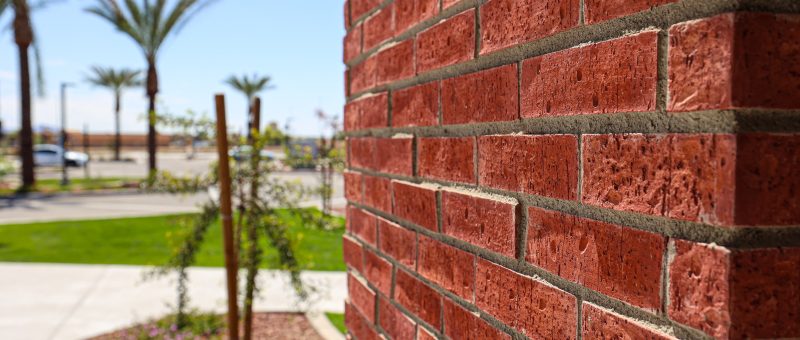
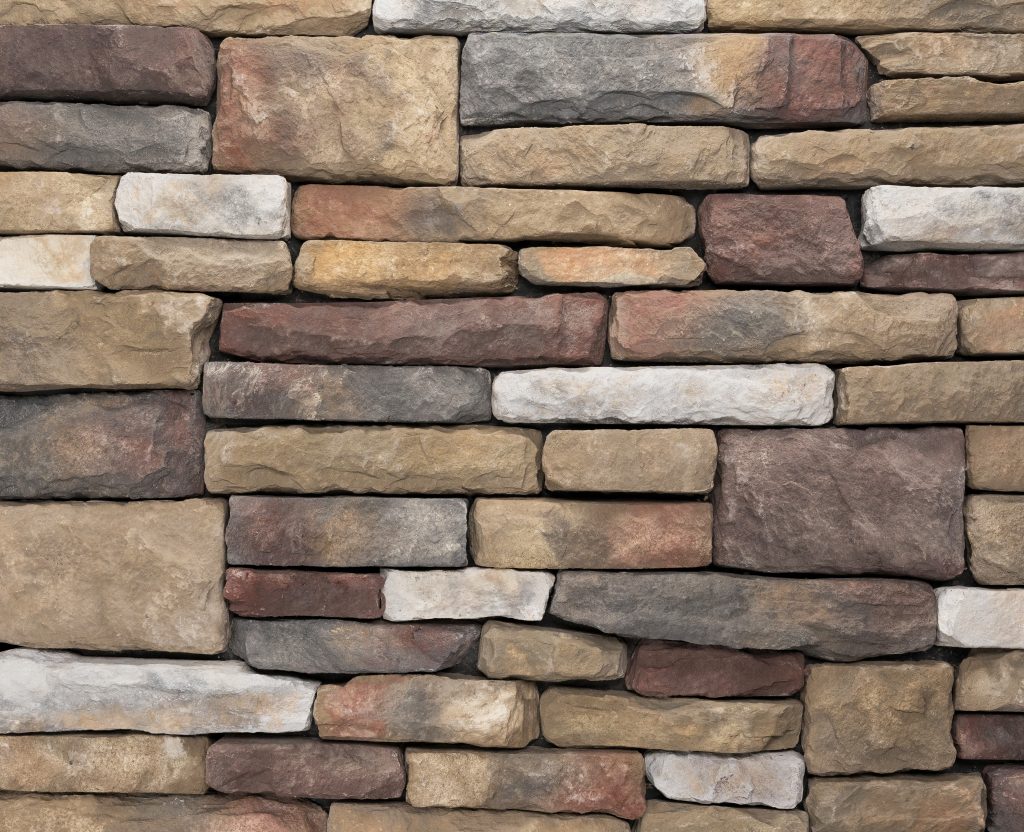
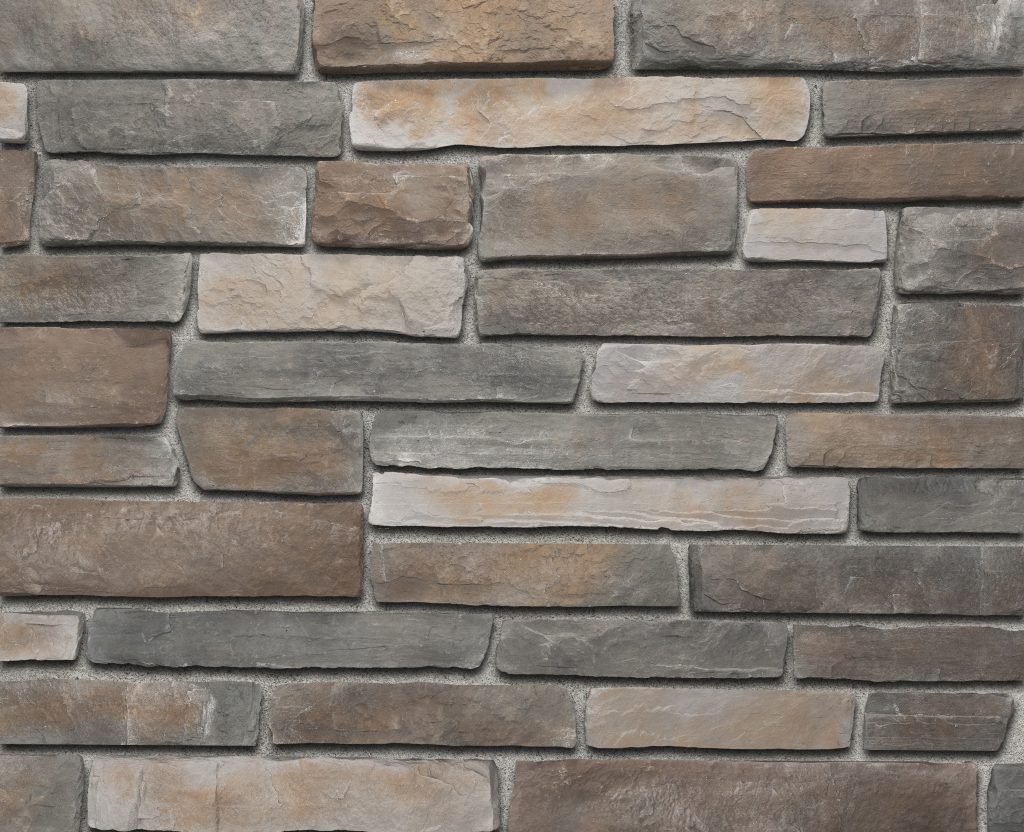
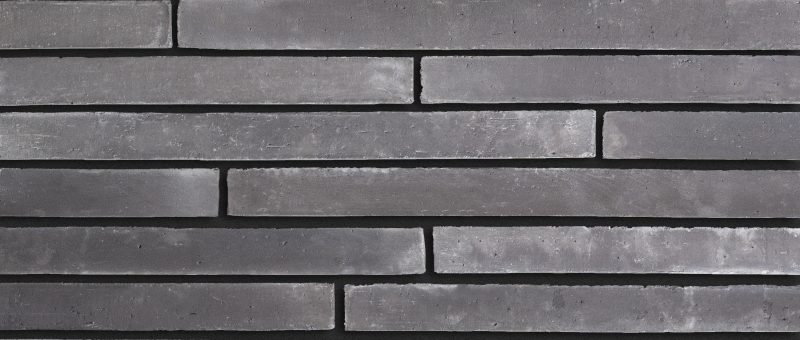
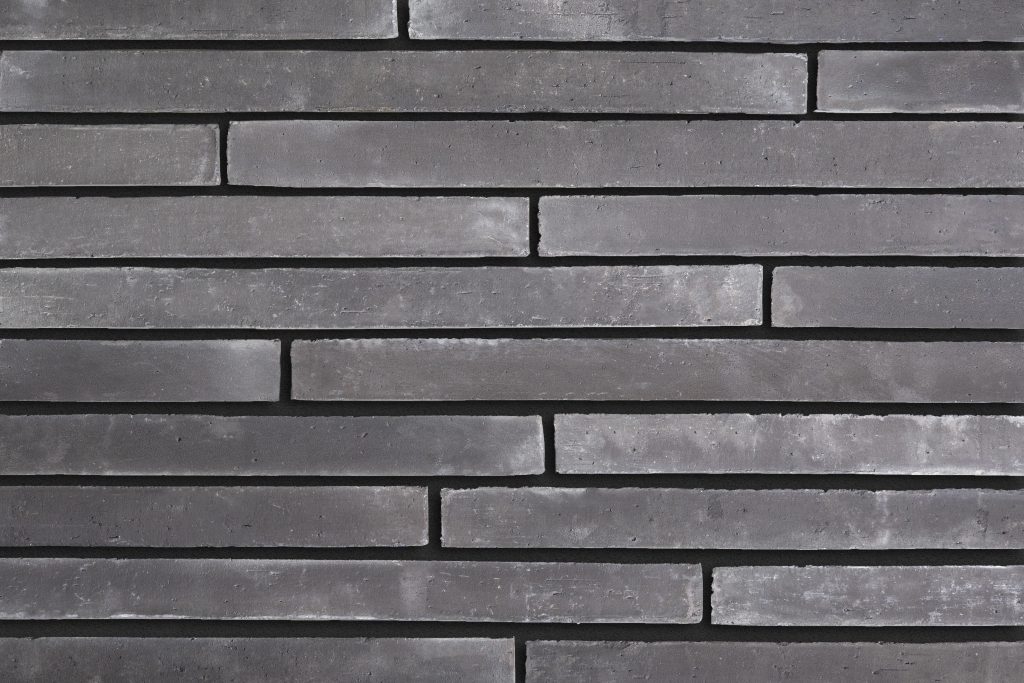
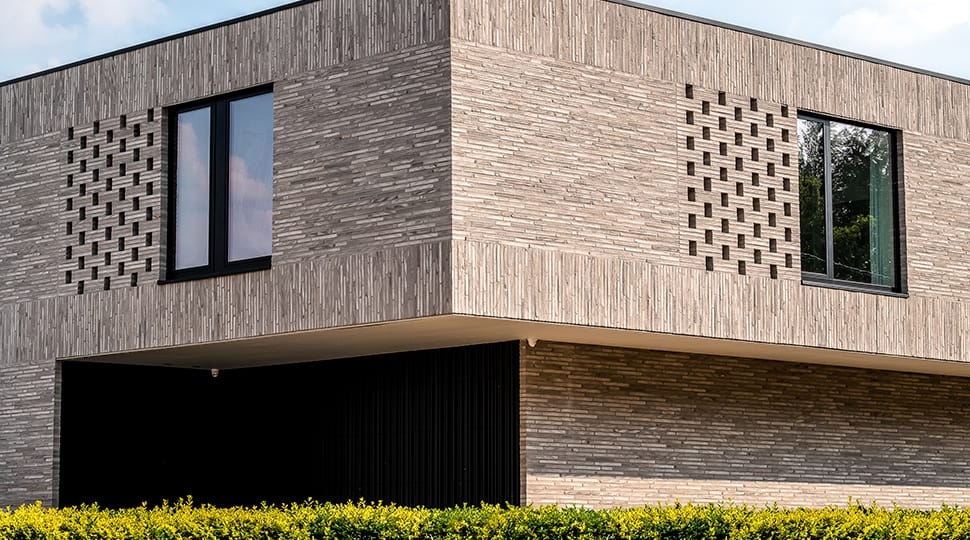
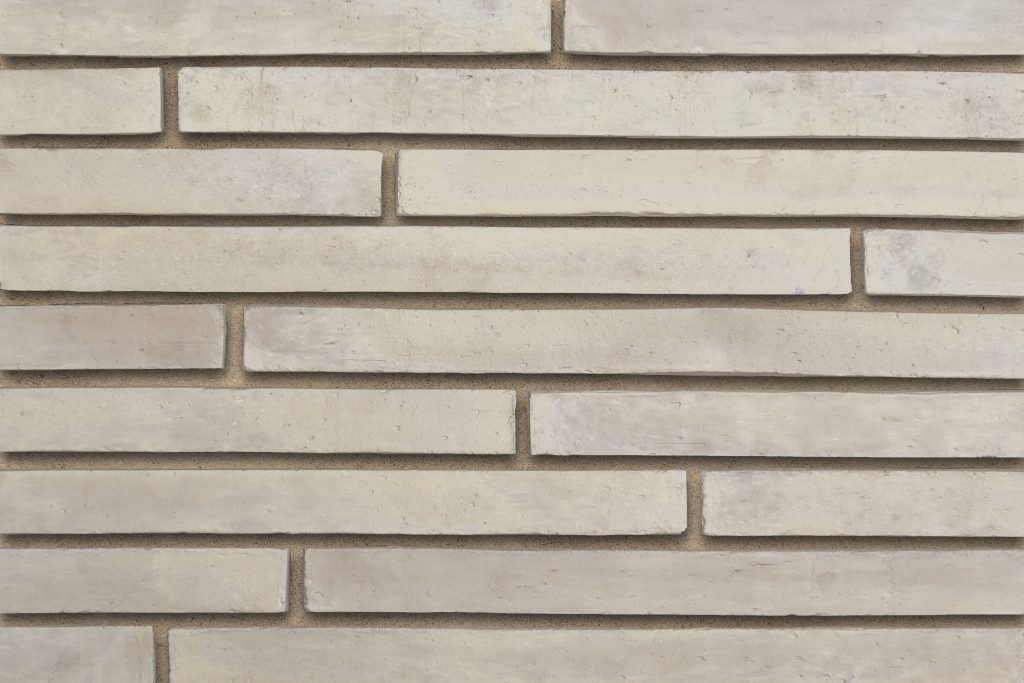
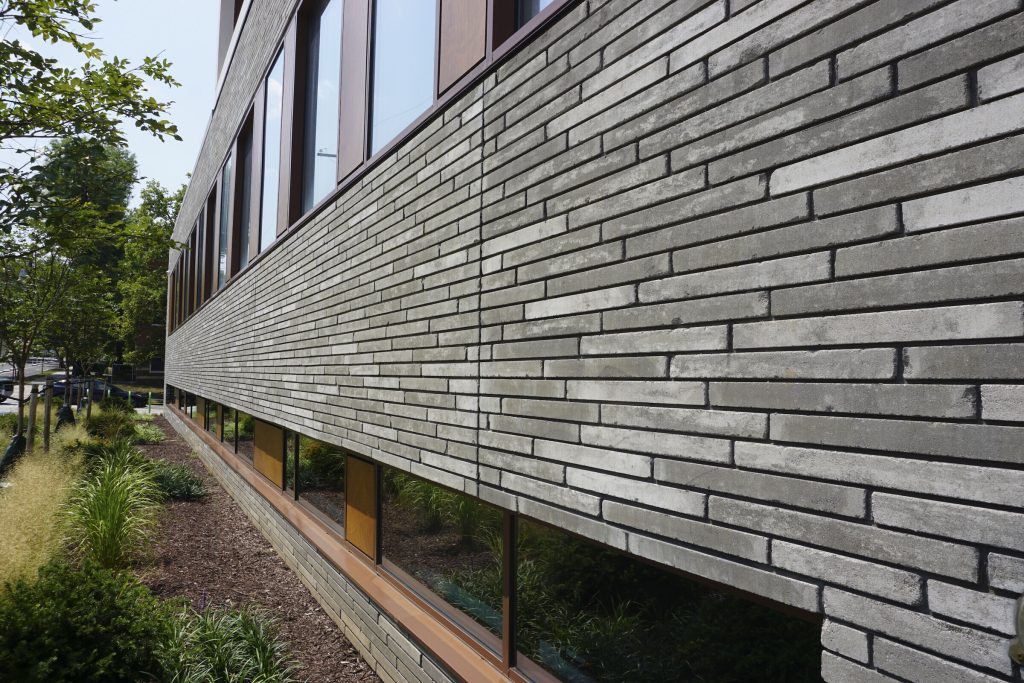
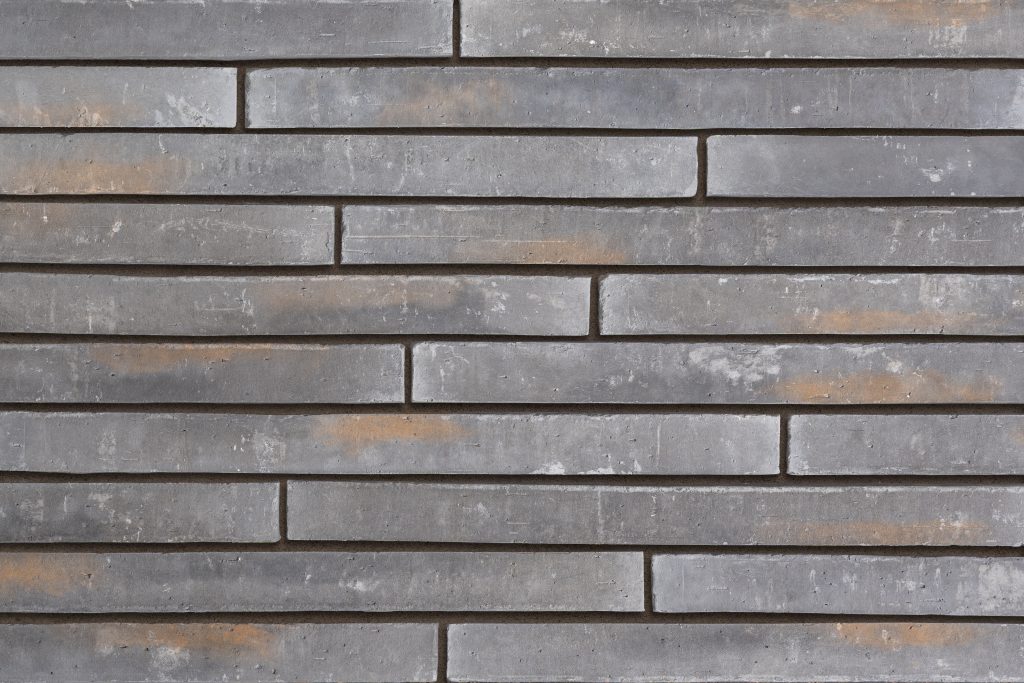
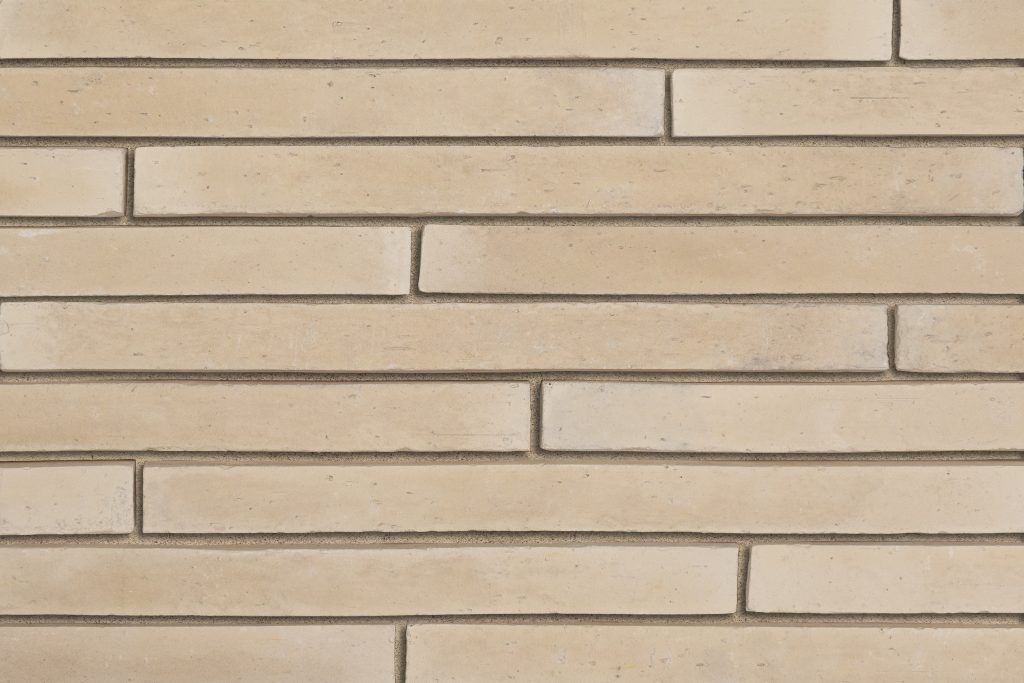
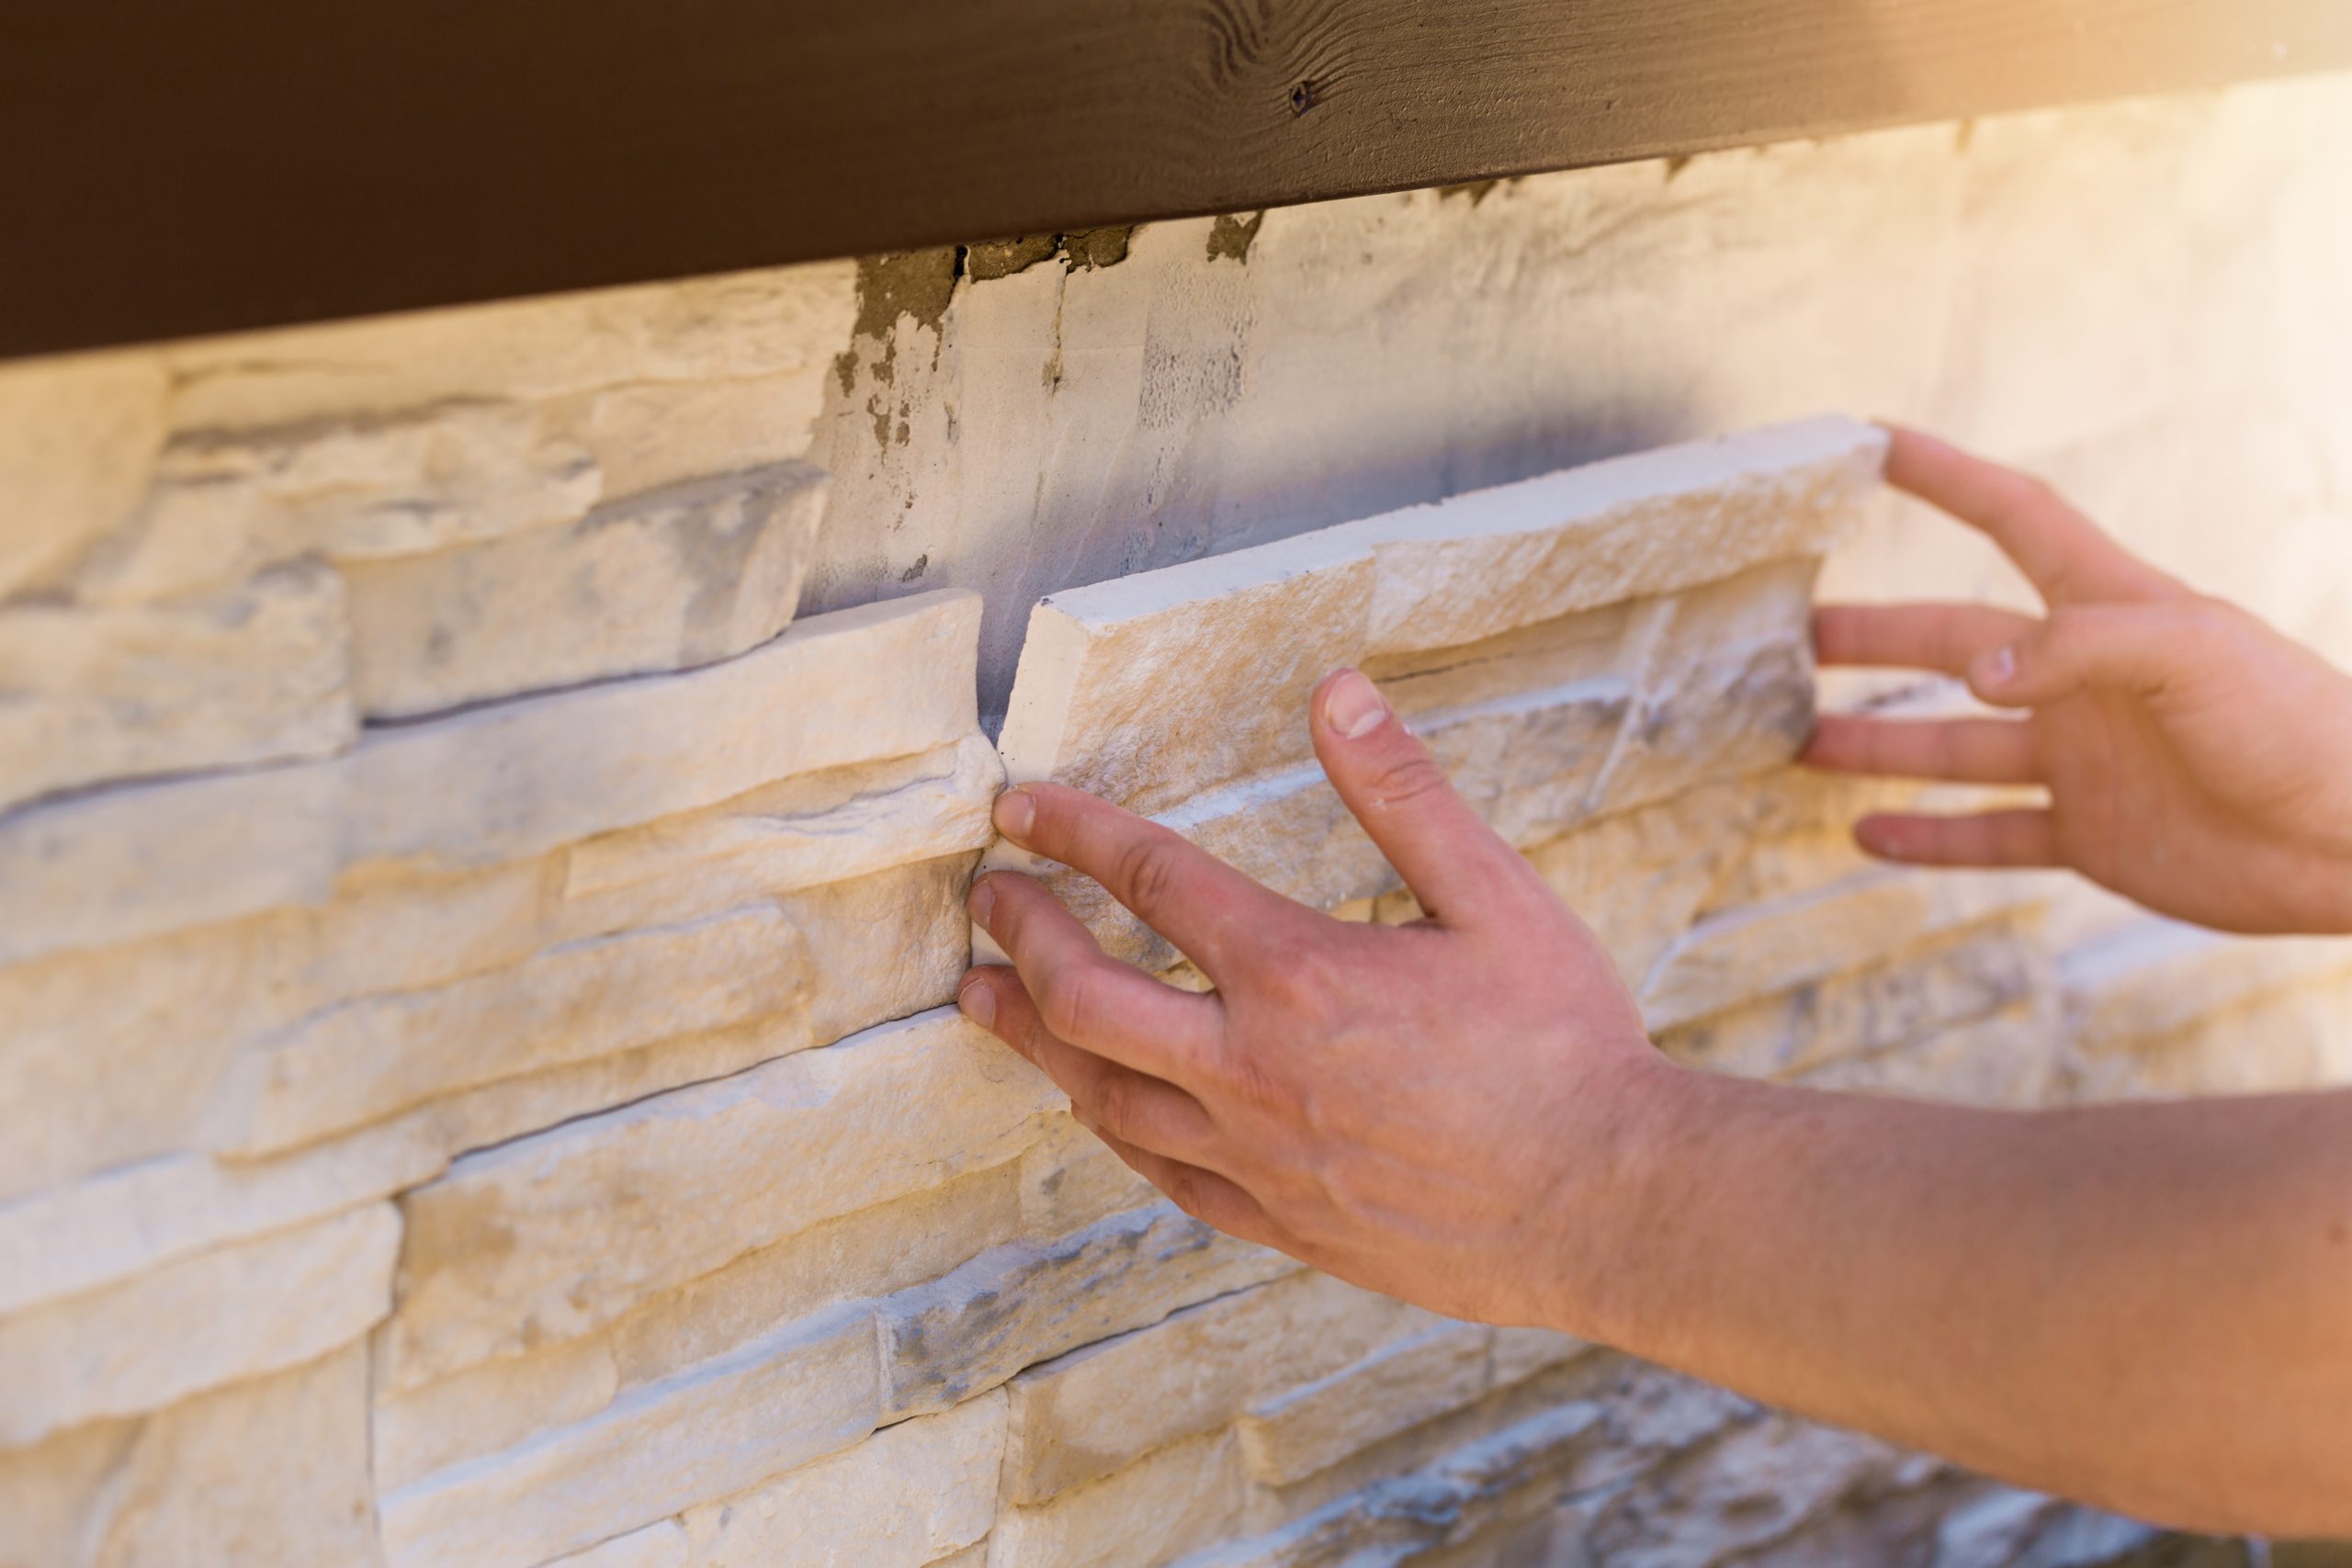
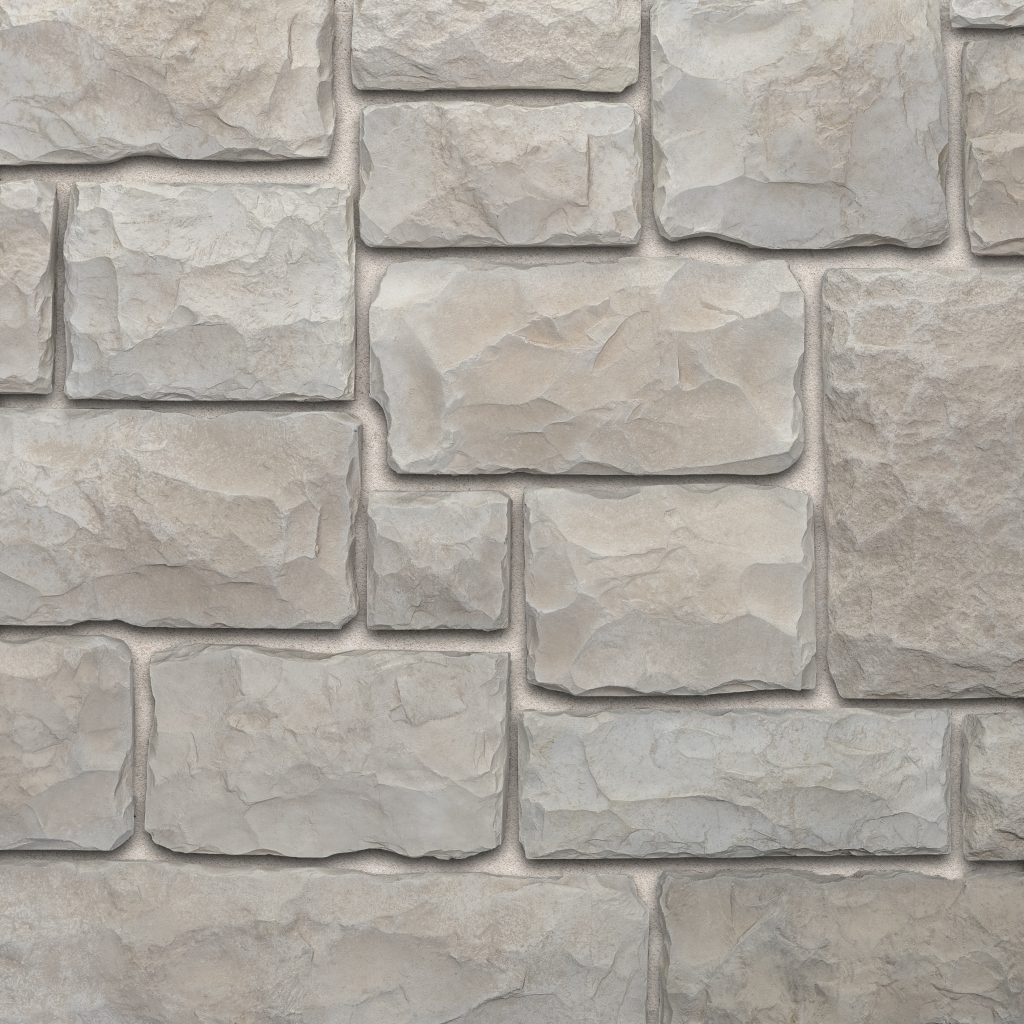
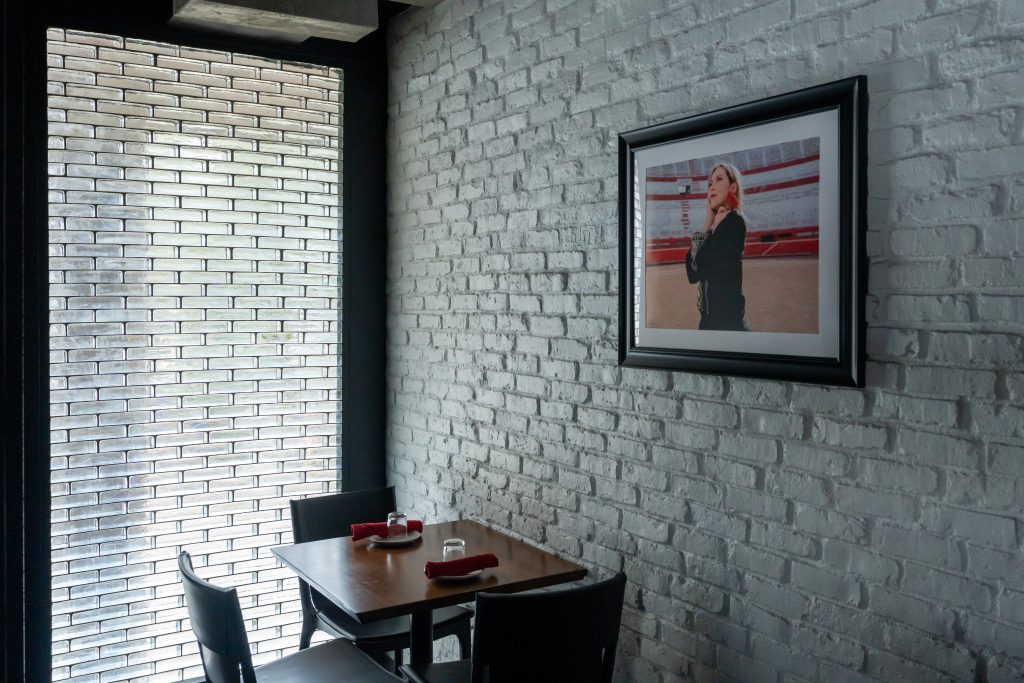
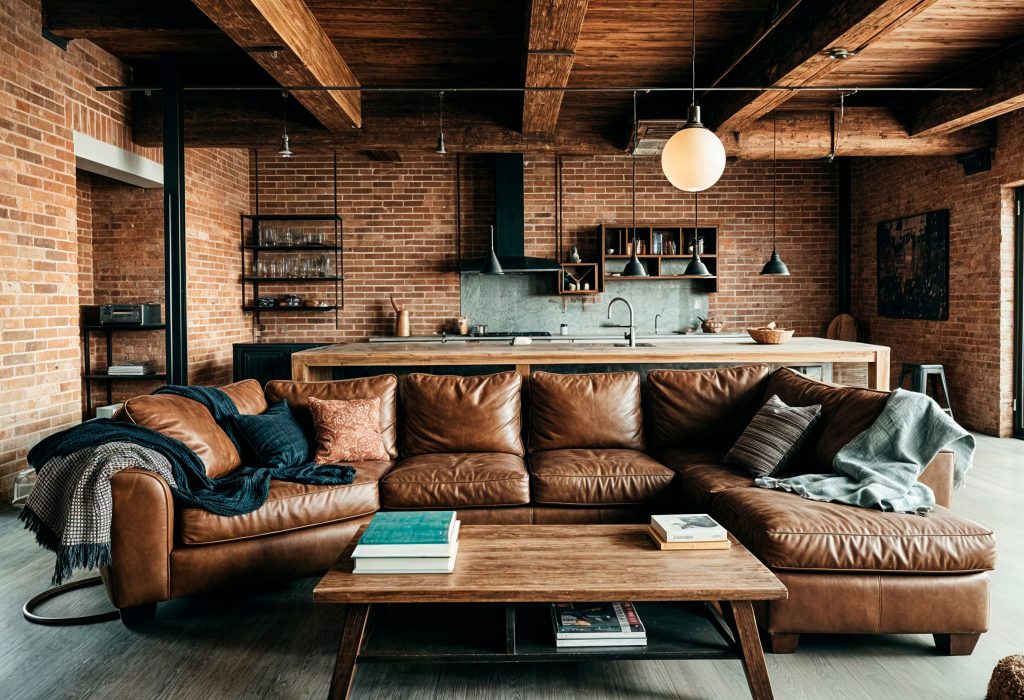
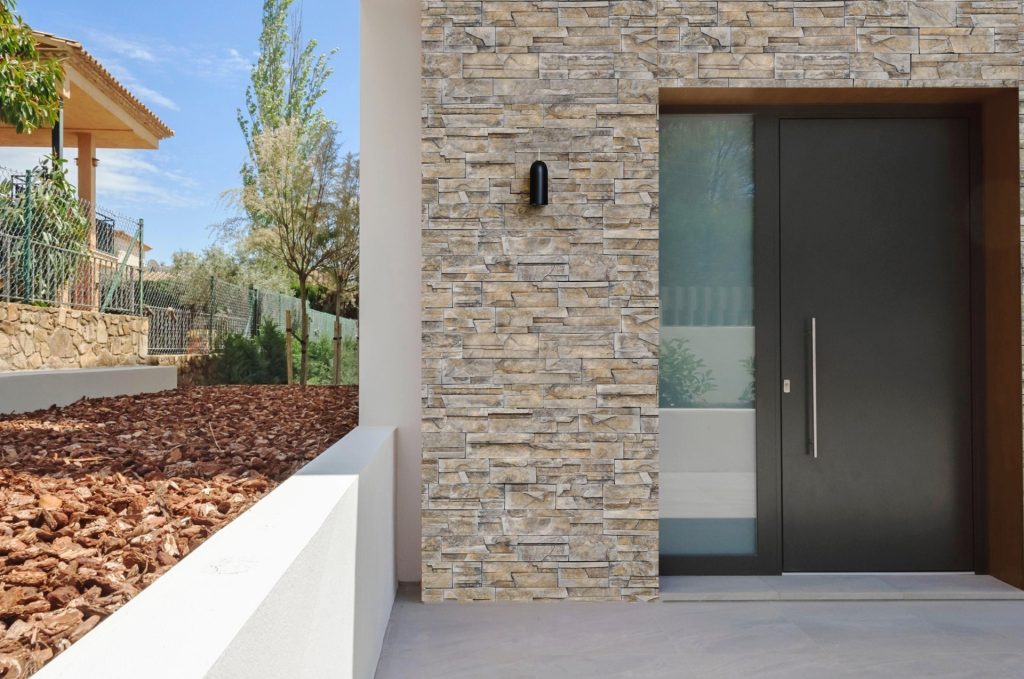
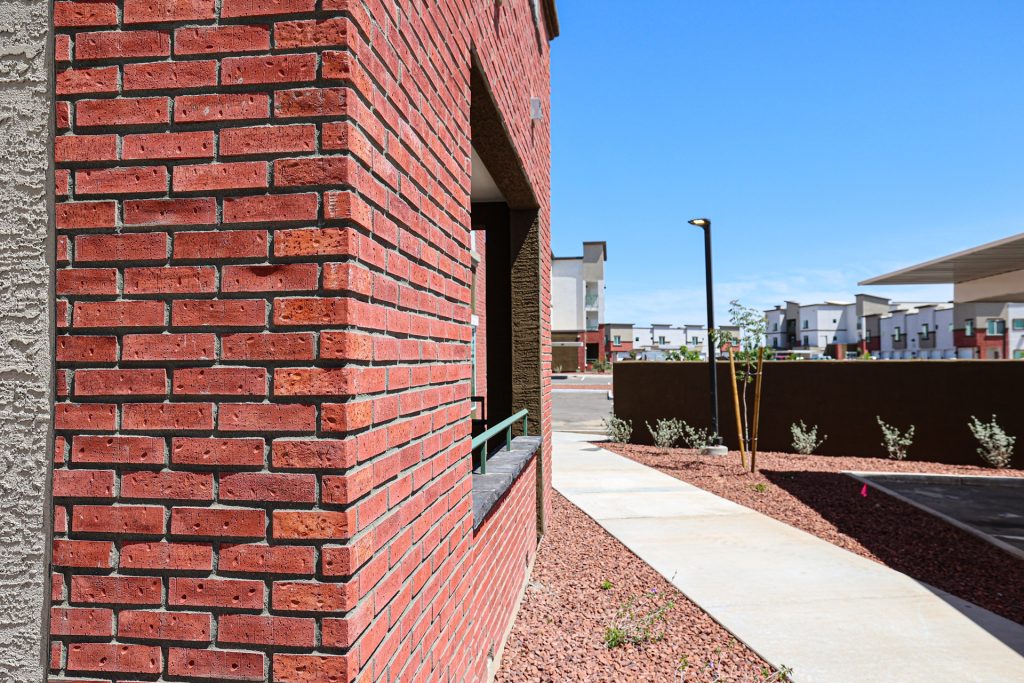
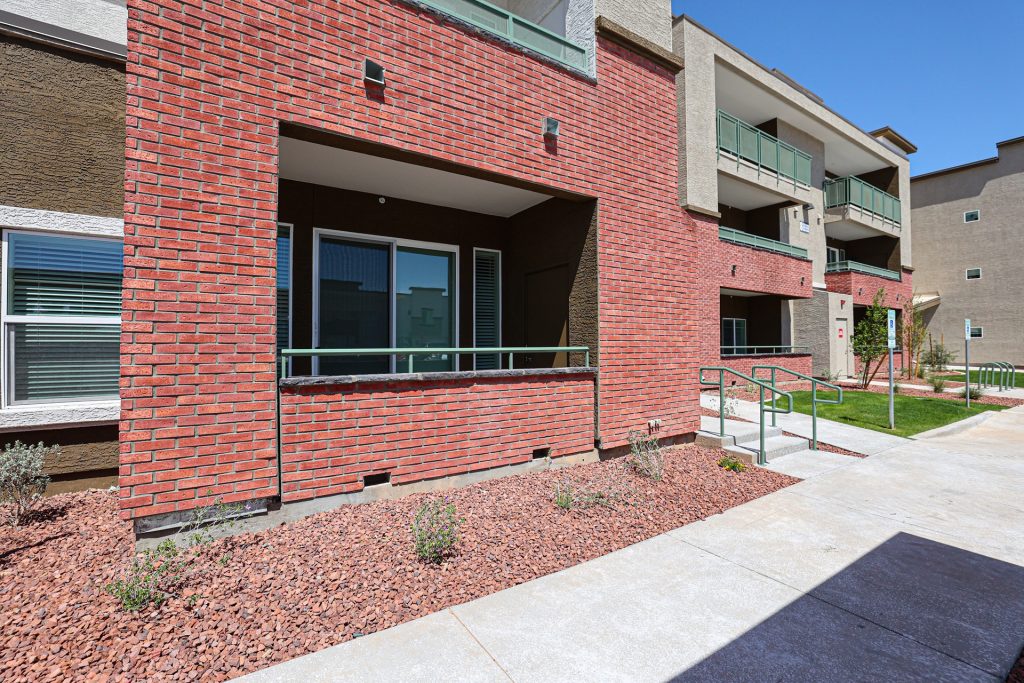
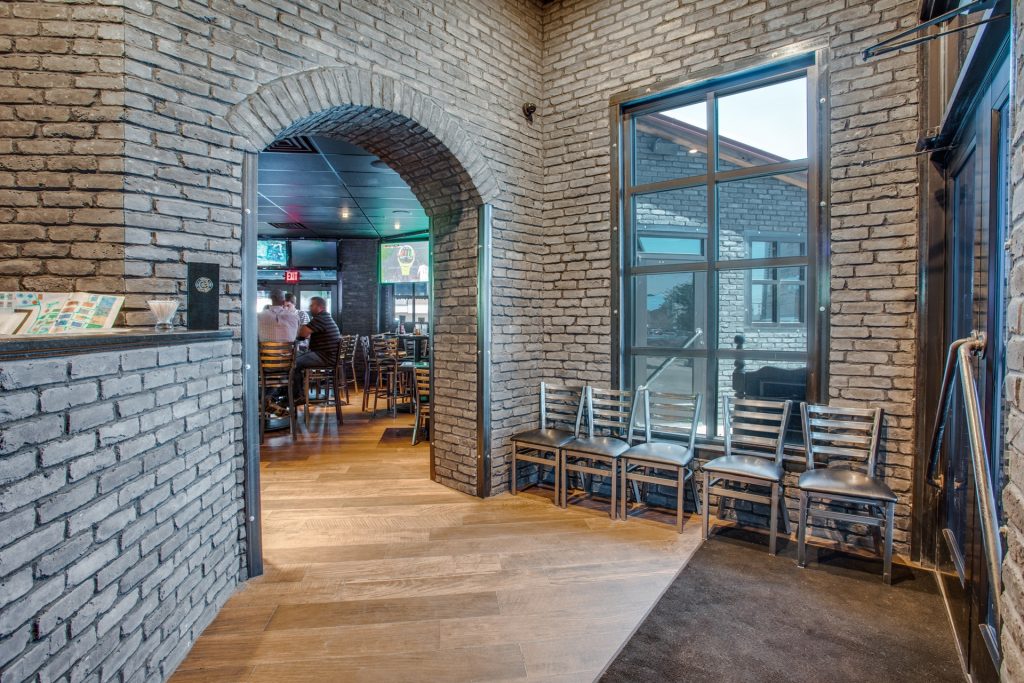
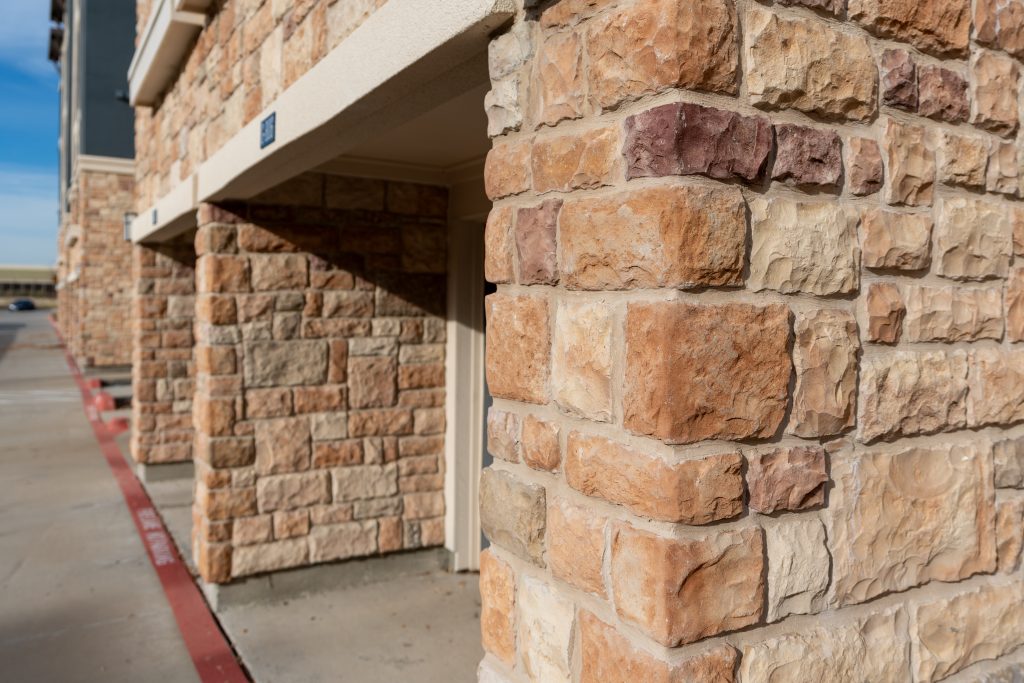
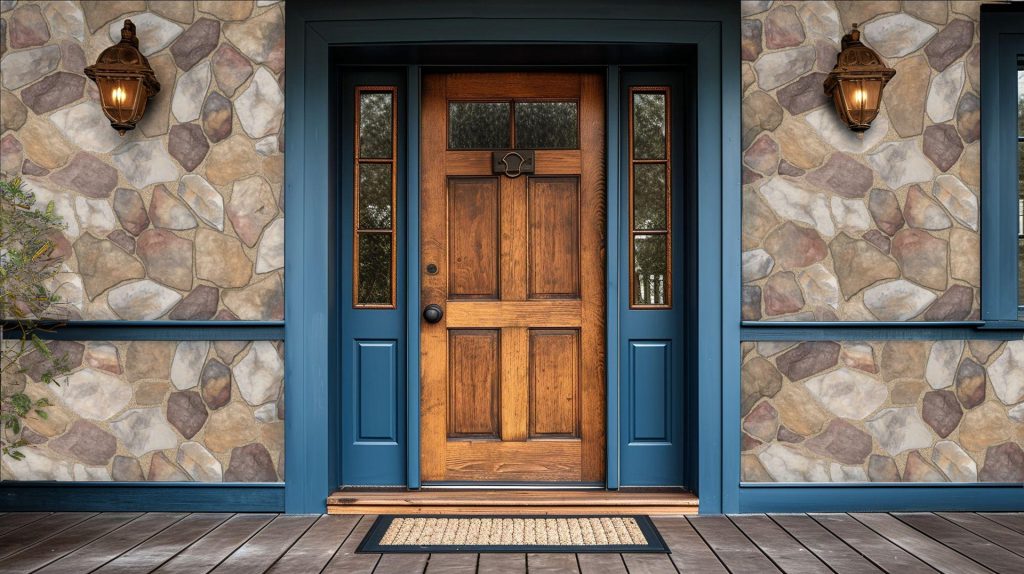
MAKE THE WALL LOOK LIKE IT BELONGS THERE
MSV may come out of a mold, but the wall better not look like it came out of a mold. Open multiple boxes, mix your colors and sizes, and don’t just work off the nearest pile. That’s how you end up with stripes, and nothing screams “rookie” like striping.
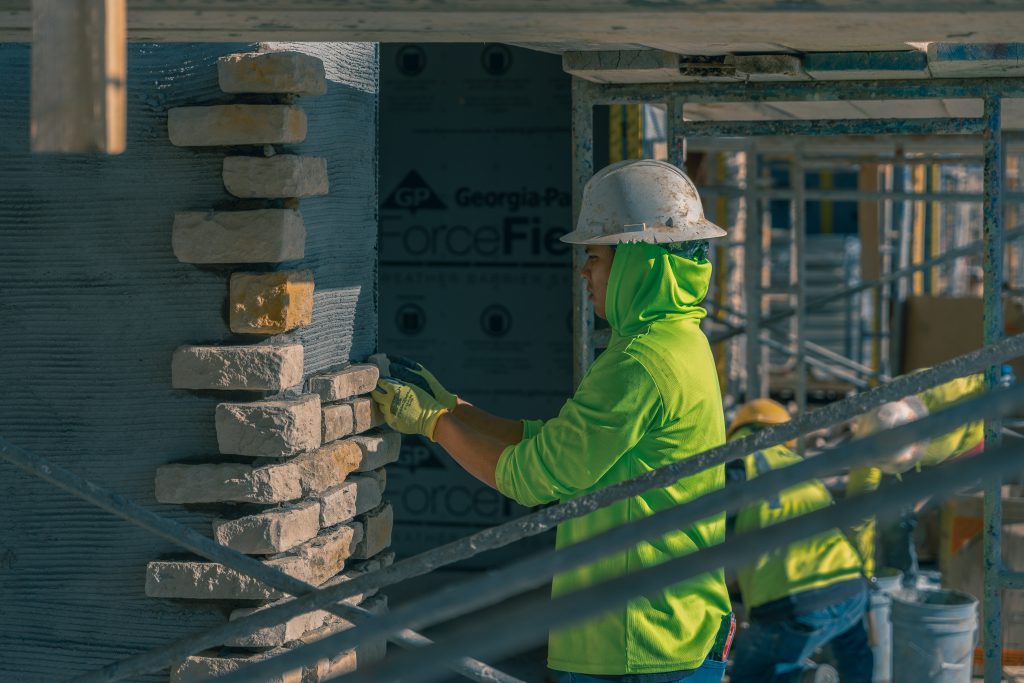
Start with your corners. Keep your lines honest. Step your corners, check the level, and adjust before you’re too far gone. And break up your verticals; you don’t want seams running top to bottom like railroad tracks.
Stand back once in a while. If the wall looks good from 10 feet away, you’re on the right track. If something bugs you even a little, fix it. Those little details are what people notice later.
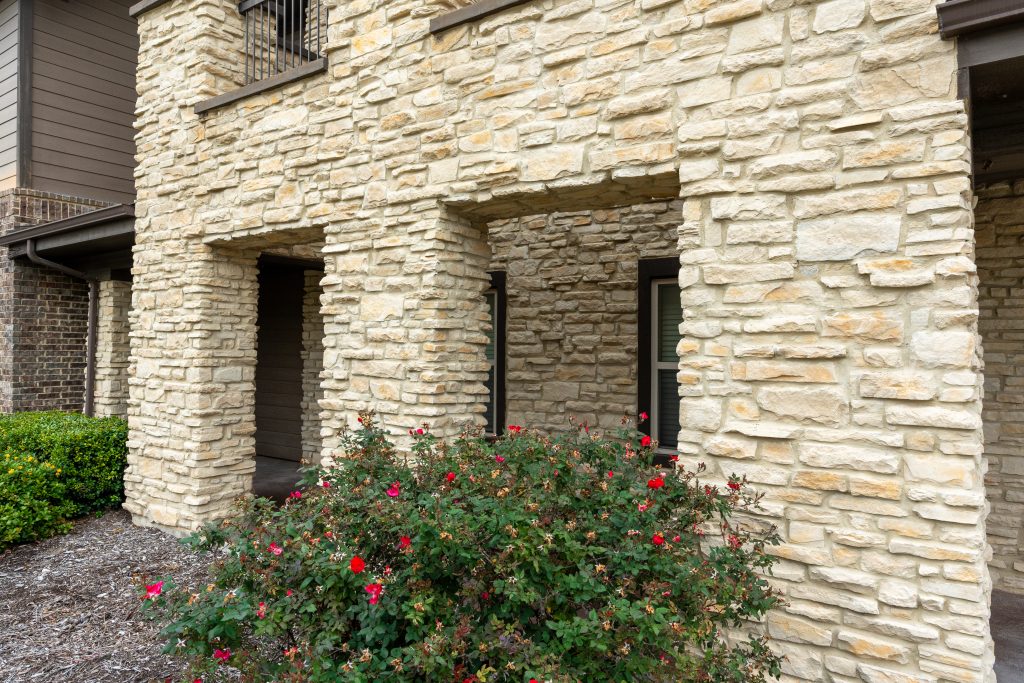
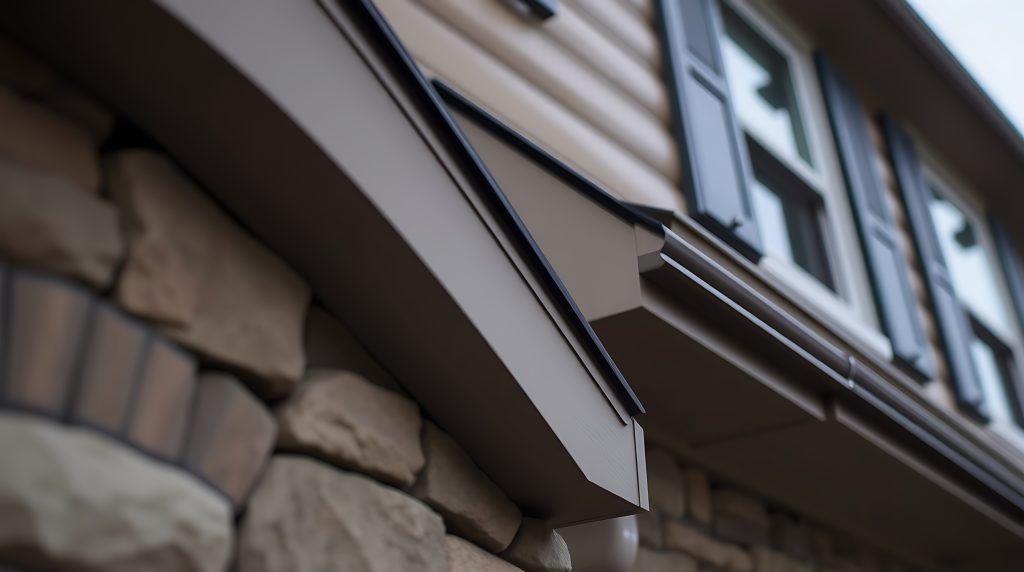
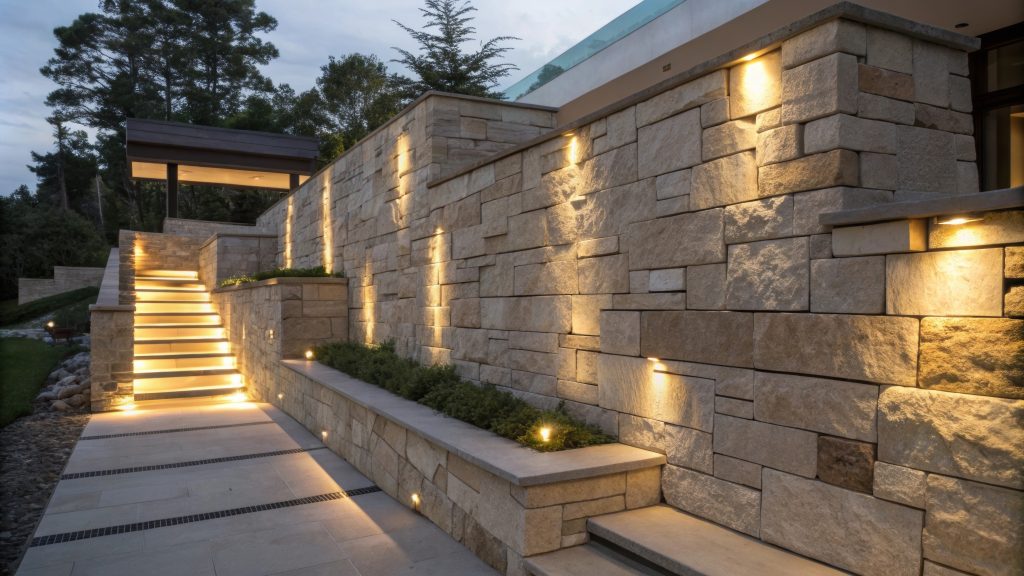
RESPECT THE WATER
Flashing, clearances, none of it is glamorous, but it’s what saves you. Keep the stone up off the ground. Use a weep screed. Make sure the roofline transitions and window heads are flashed so water actually gets kicked out.
Where MSV meets siding or trim, use a soft joint. Mortar that joint, and something’s gonna crack. Built for movement, and the wall stays quiet.
keep the finish clean
After the mortar sets, rinse the wall with clean water and a soft brush. Don’t touch acids. Seriously. They’ll torch the finish, and then you’ll explain why beige stone turned peach.
If you need a real cleaner, grab a basic dish detergent. Sealers? Only use them if they’re breathable, and you actually need one. A lot of MSV problems come from people slapping sealer on because they think it’s “extra protection,” when all it really does is trap moisture. If you’re not sure what to use, the Prosoco® folks know their stuff.
the long game
There’s no magic trick to making veneer last. It’s just doing every step the right way, not the fast way. Solid prep, good drainage, solid bond, clean blends. That’s what separates the walls that age gracefully from the ones that start popping off when February comes around.
And yeah, using the right materials matters. That’s where Instone makes life easier. We’ve seen every climate, every screw-up, every “why is this wall crying?” scenario. Good products paired with good technique, that’s the winning combo.
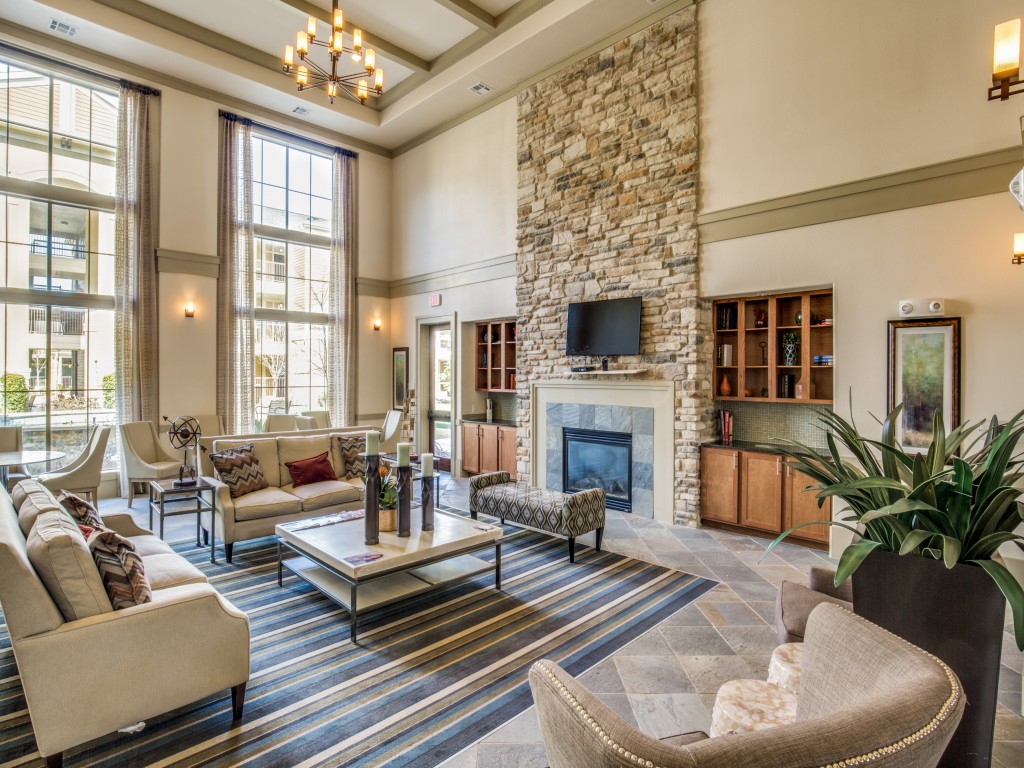
Do it right, and MSV isn’t just a cladding…it’s the mark you leave behind.
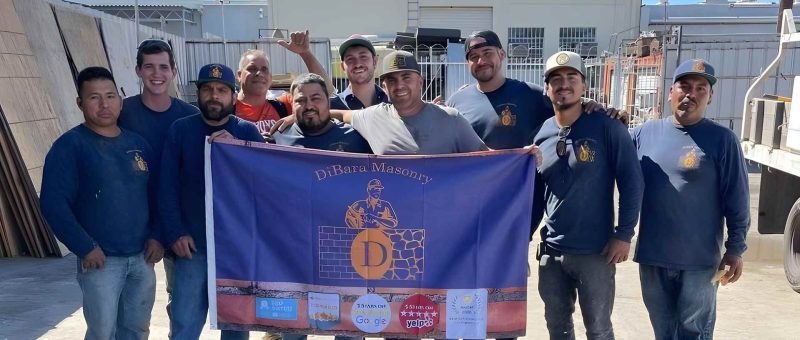
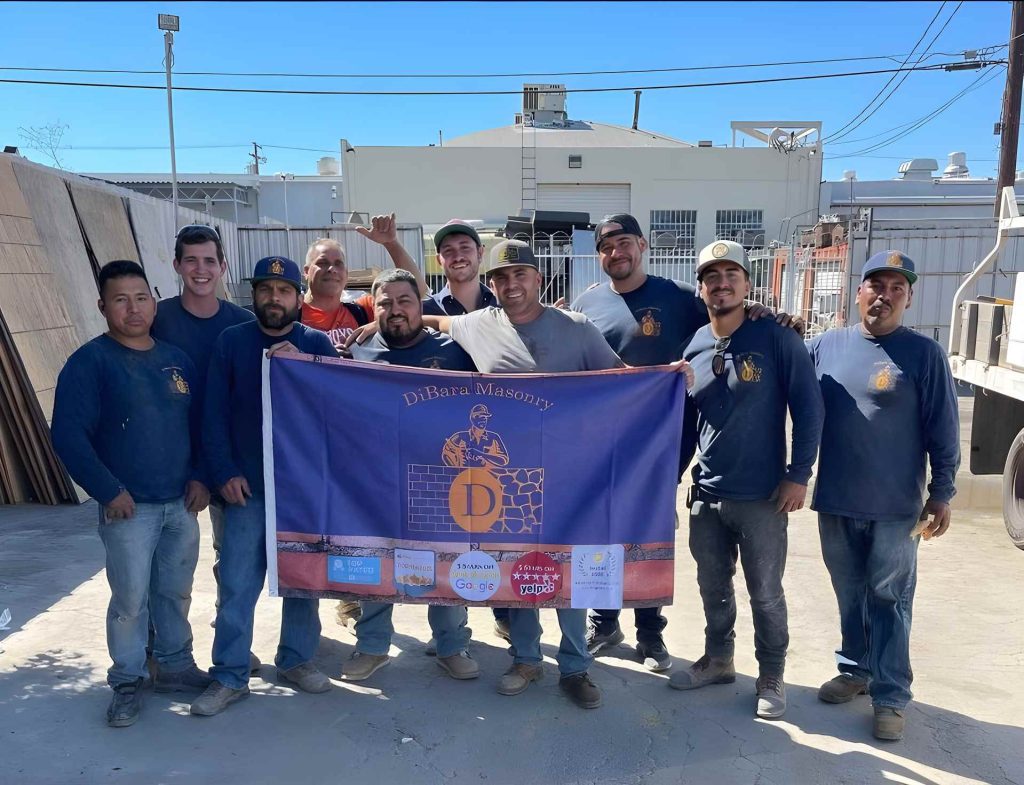
Original article written by Rob McKay with photos provided by Instone and courtesy of MASONRY Magazine and curated by the MCAA