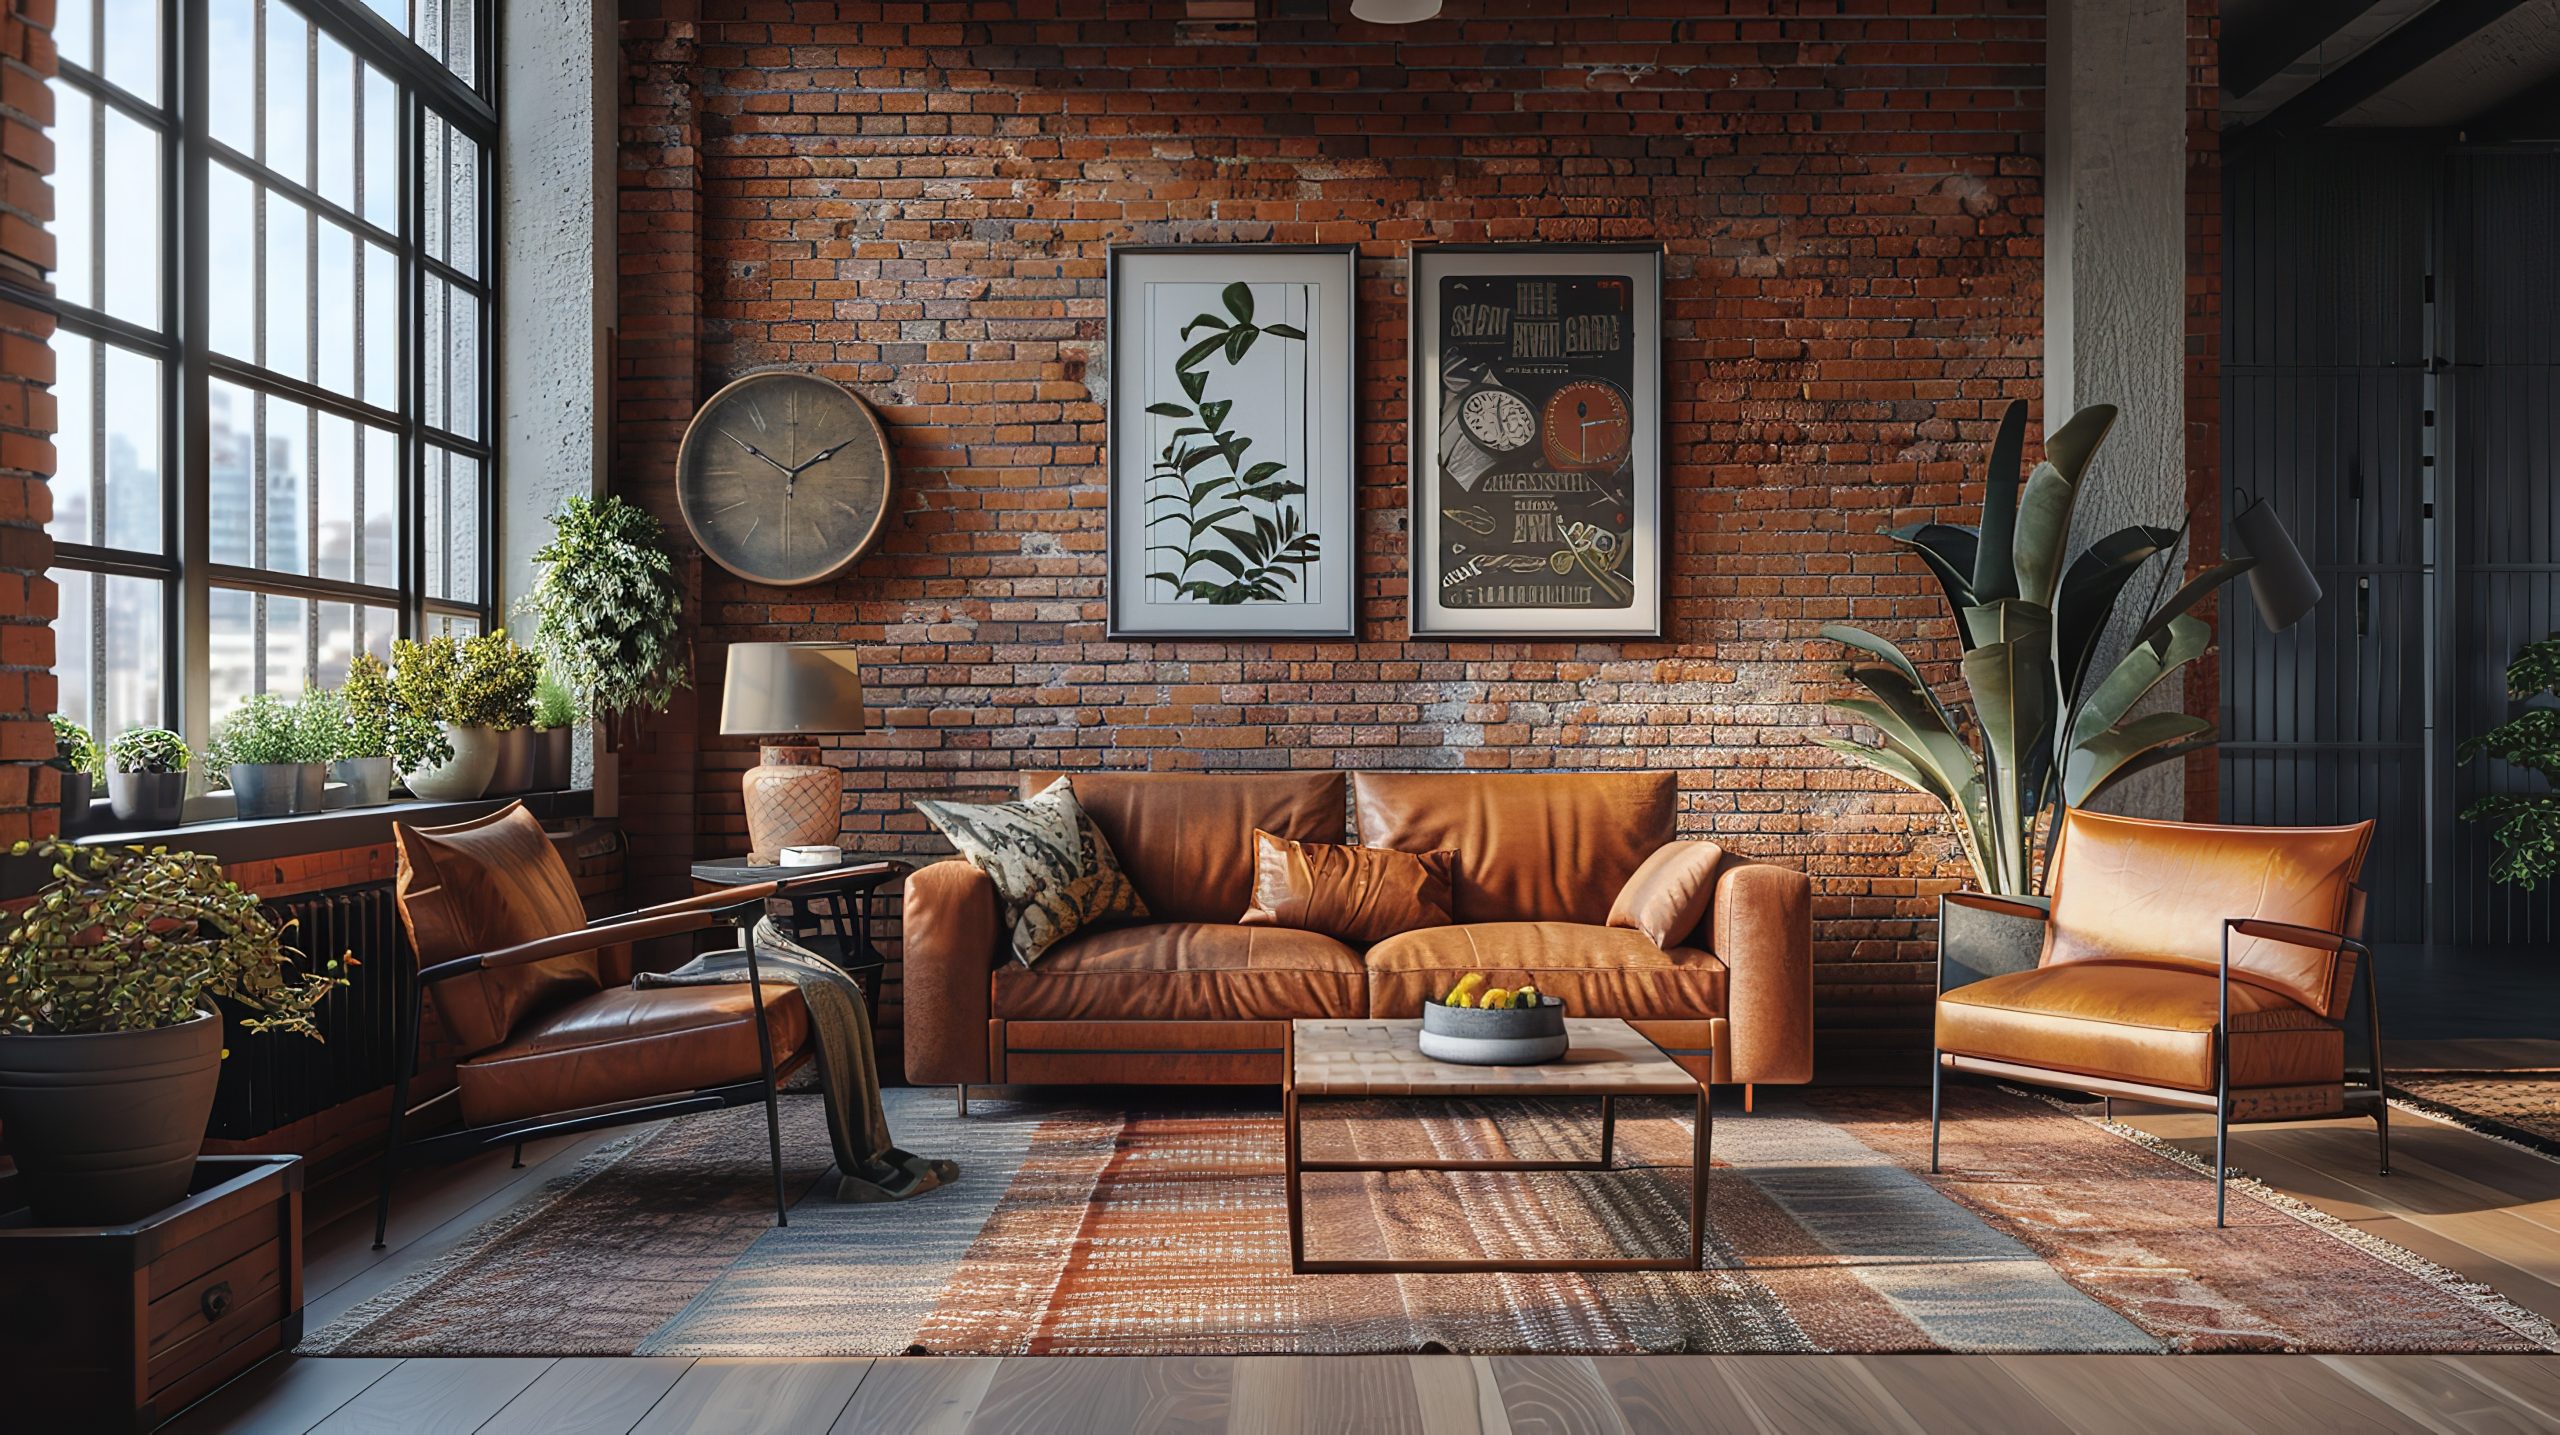
A restaurant’s appeal, and ultimate success, of course begins with the food. But that’s not the only factor that draws patrons in and keeps them coming back—the atmosphere and ambience are nearly as important. Good design creates a vibe that can make people feel welcome and sets the tone for the food and drink they are about to partake in.
Manufactured stone veneer offers a number of advantages that make it a go-to option for the interiors and exteriors of independent eateries and chain restaurants alike.
Advantages of Manufactured Stone Veneer for Restaurants
Architects designing restaurants will find both aesthetic and performance benefits with manufactured stone veneer.
Versatile design options
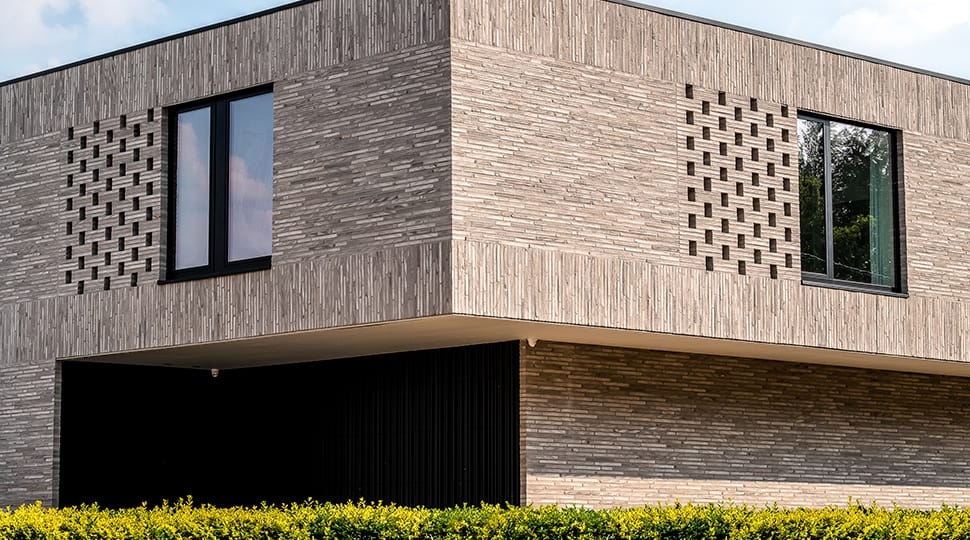
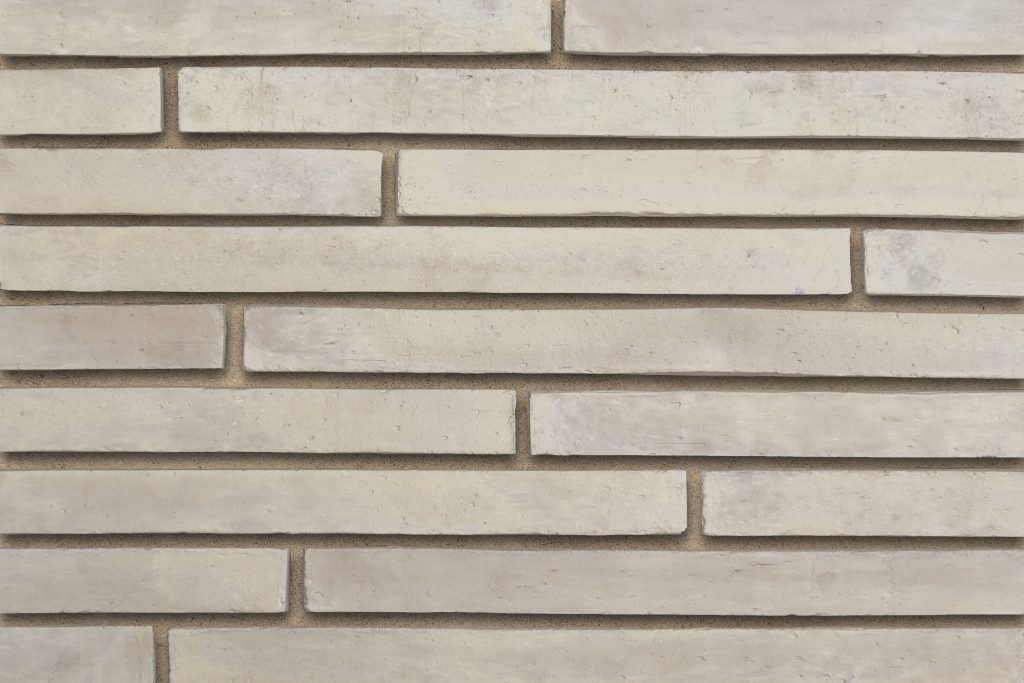
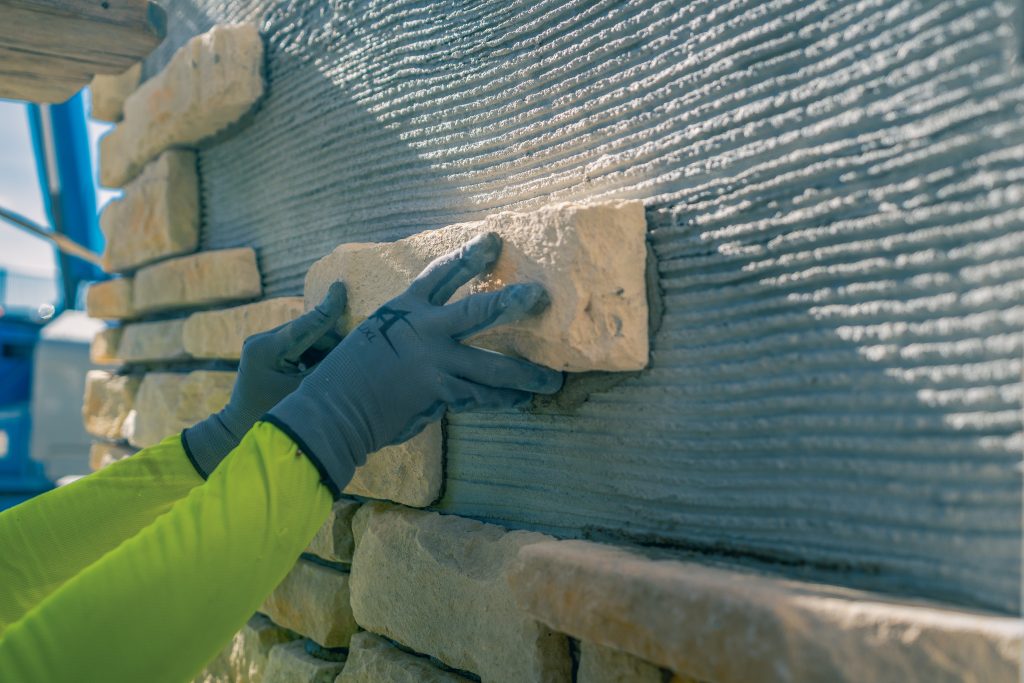
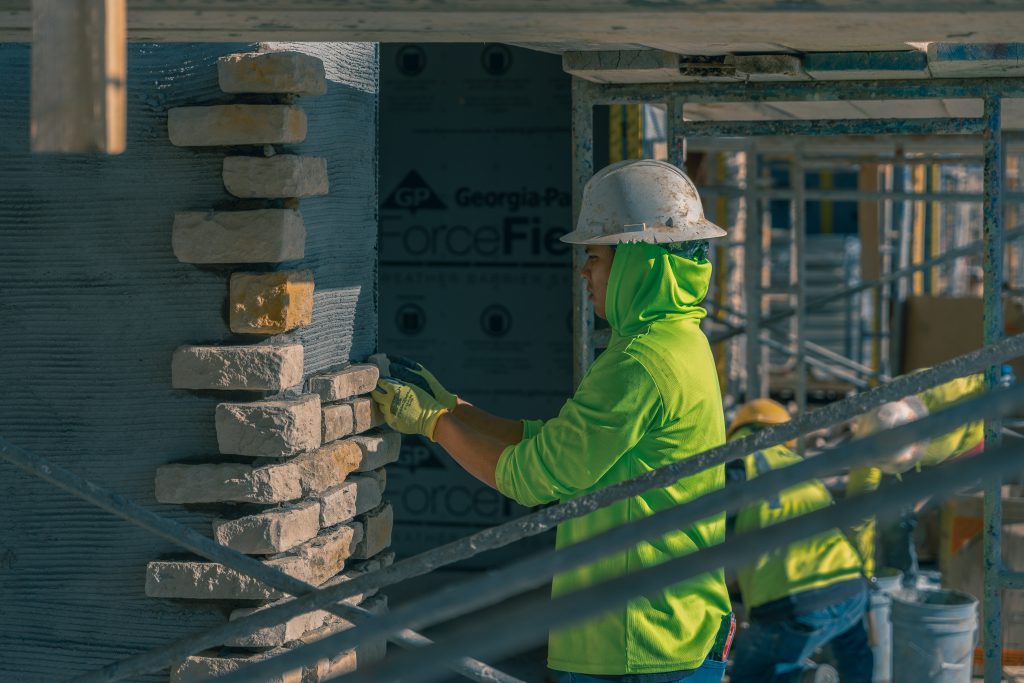
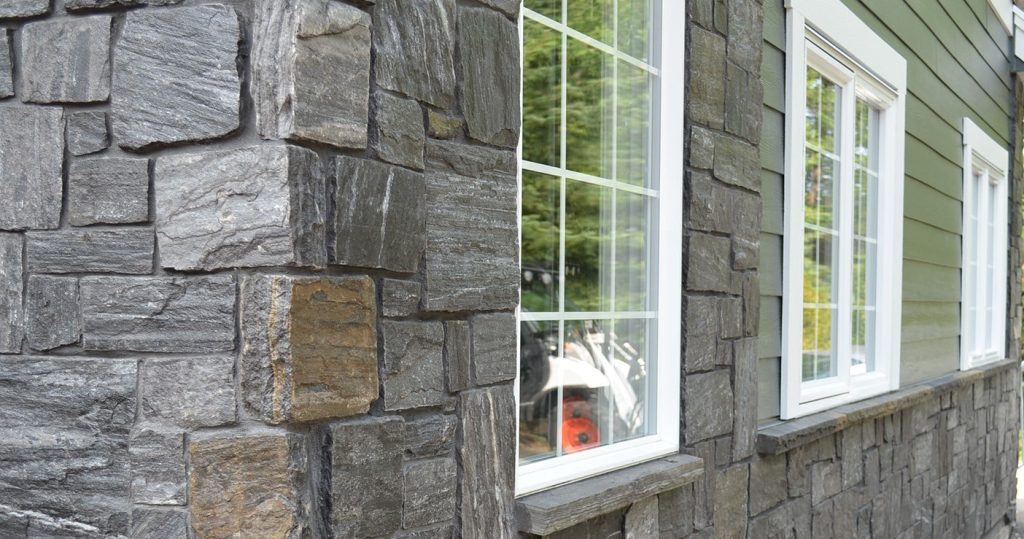
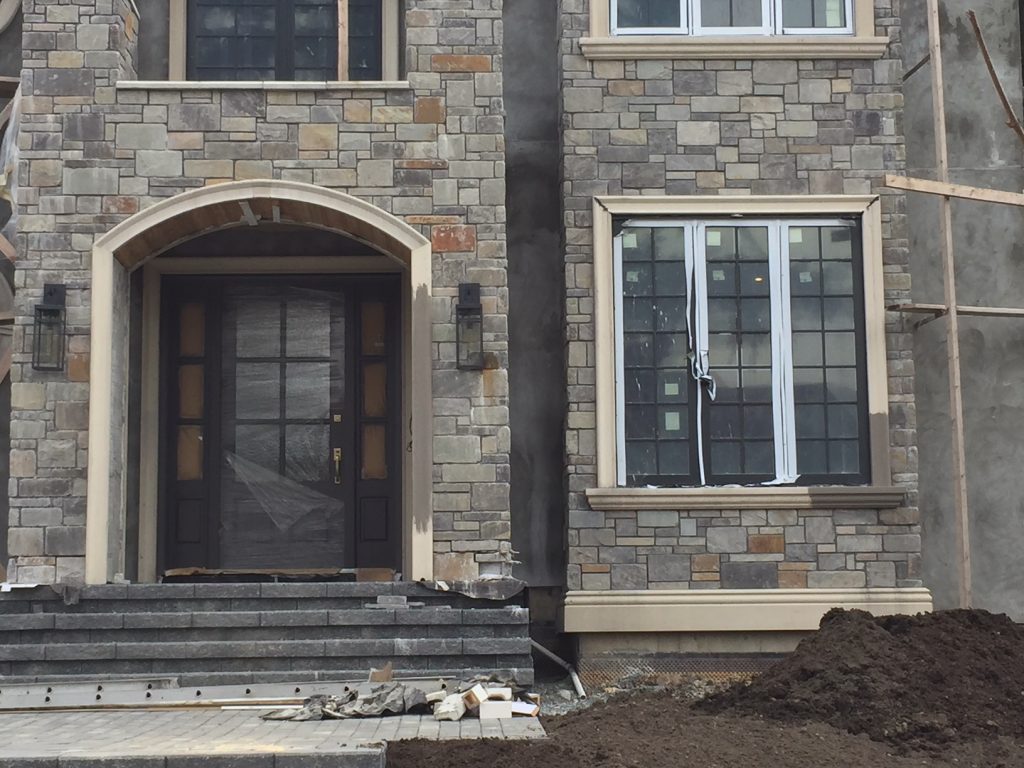
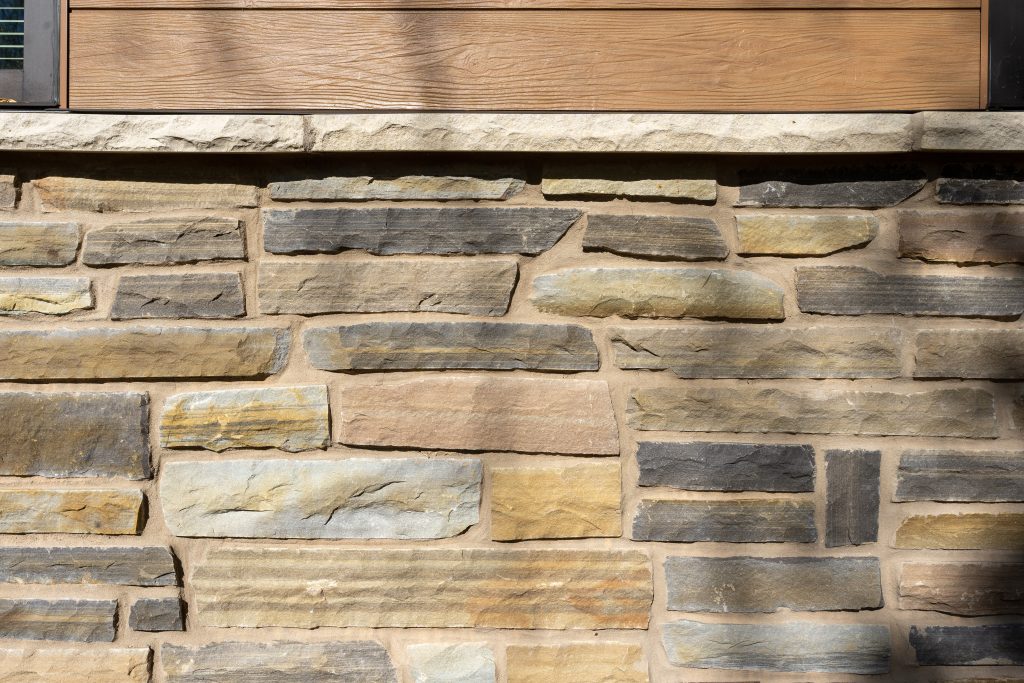
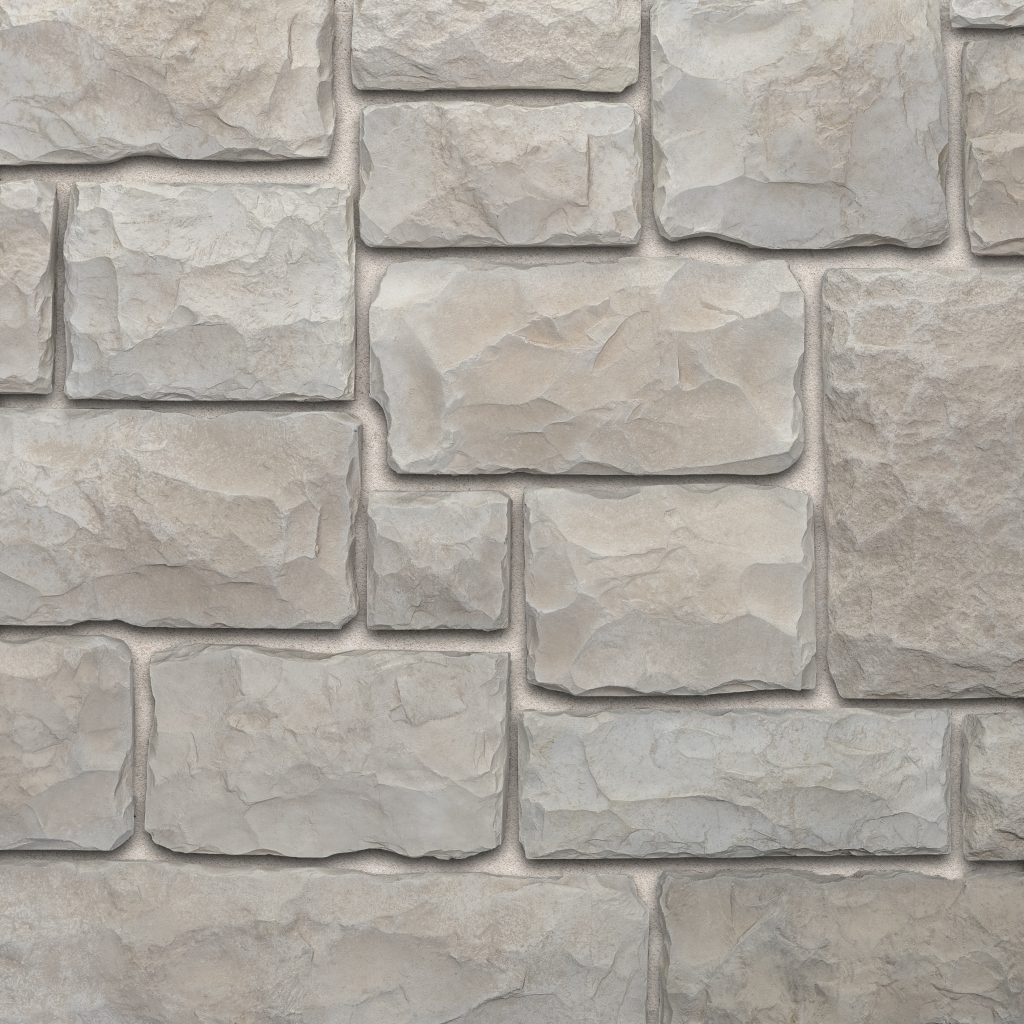
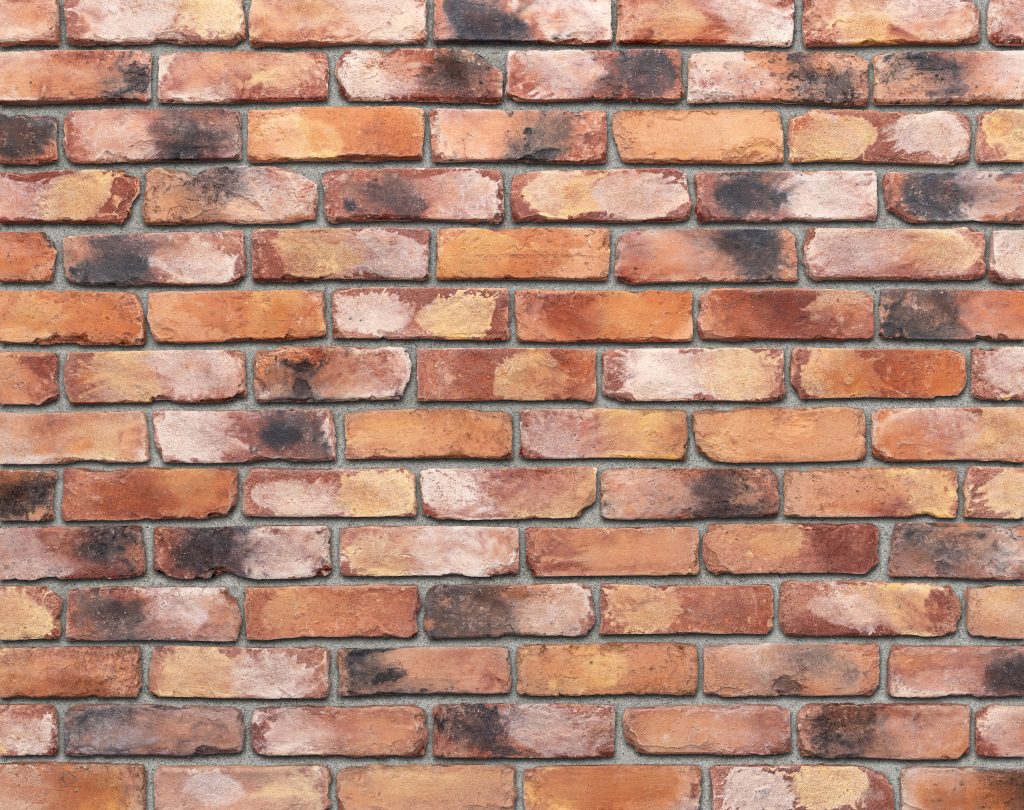
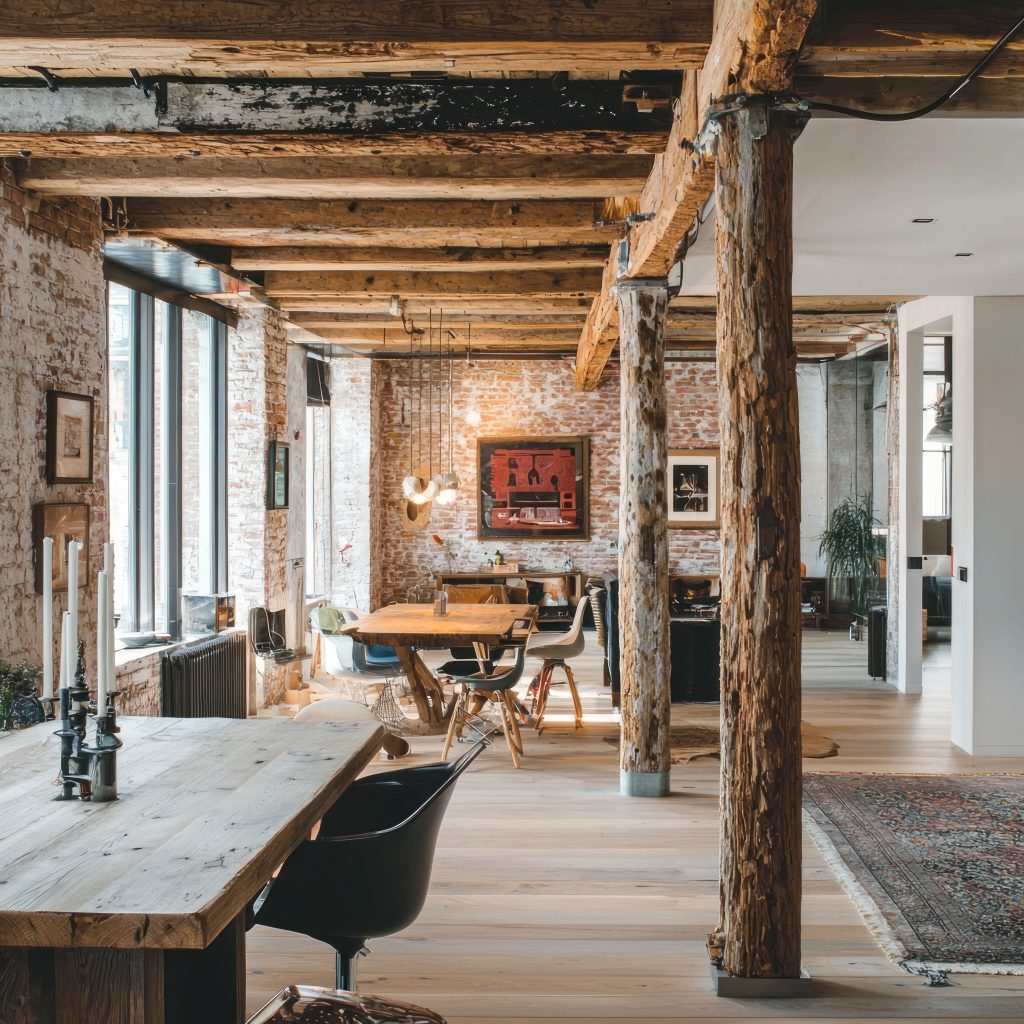
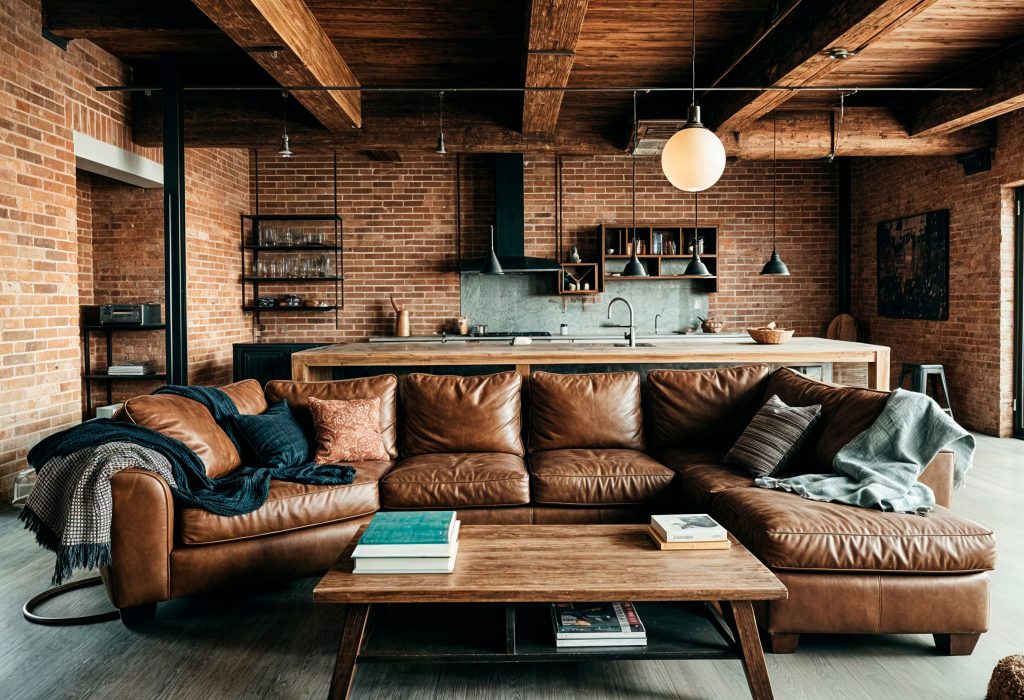
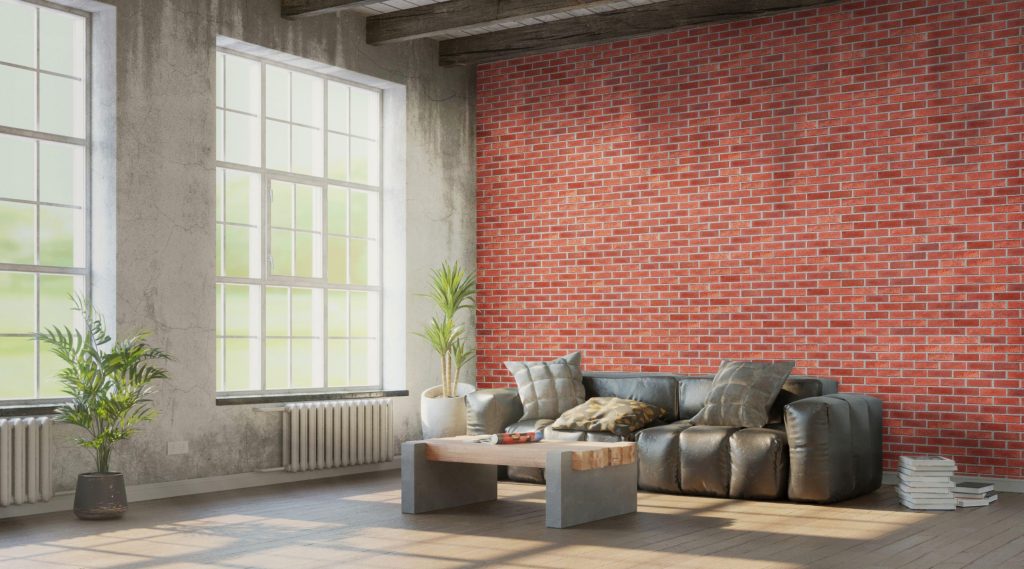
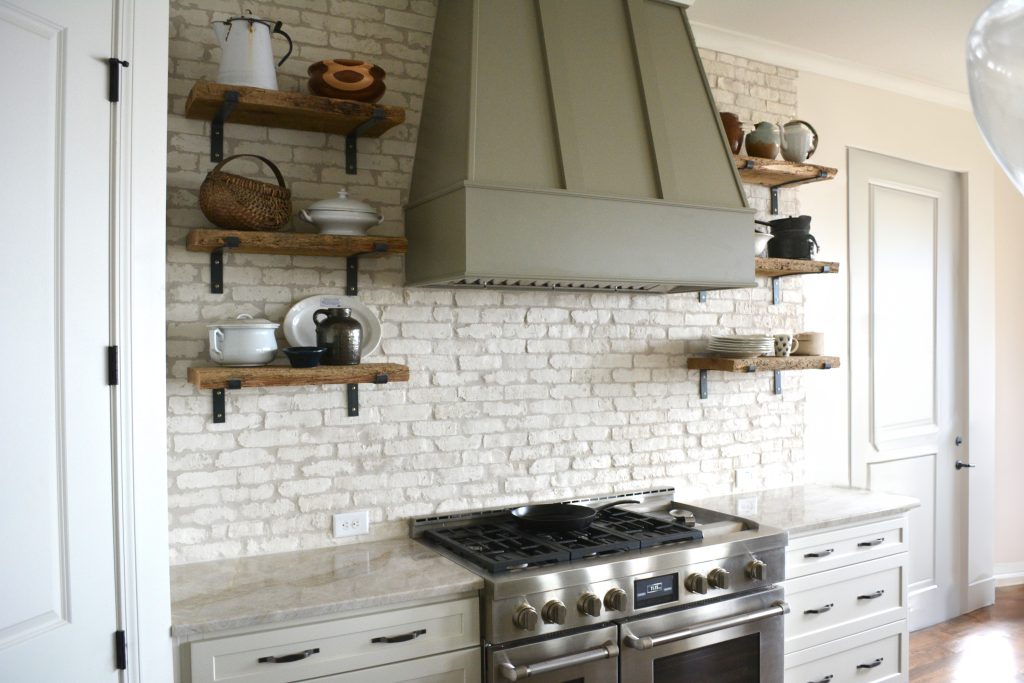
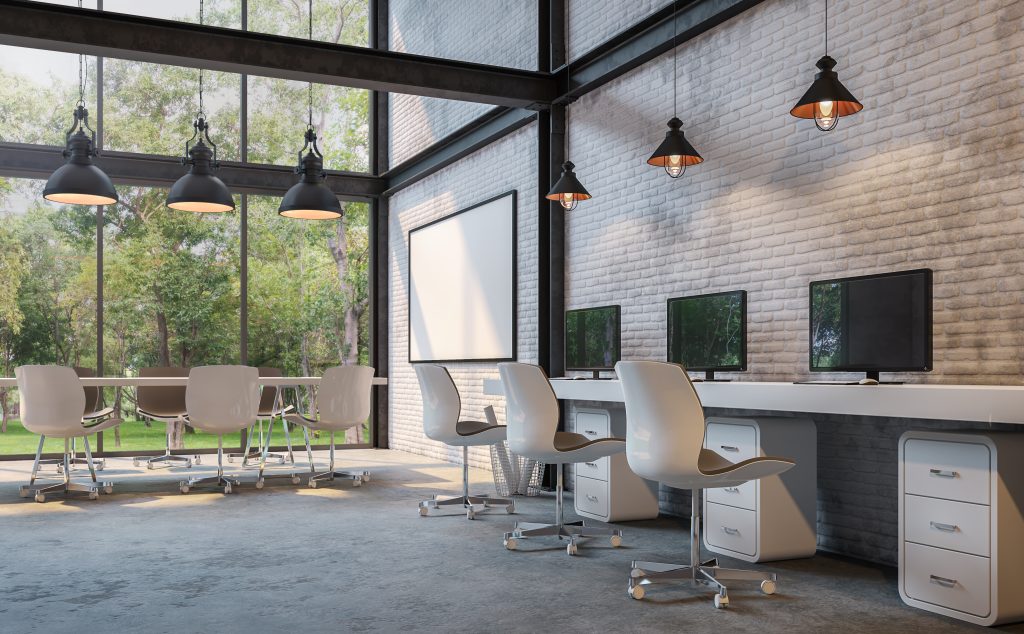
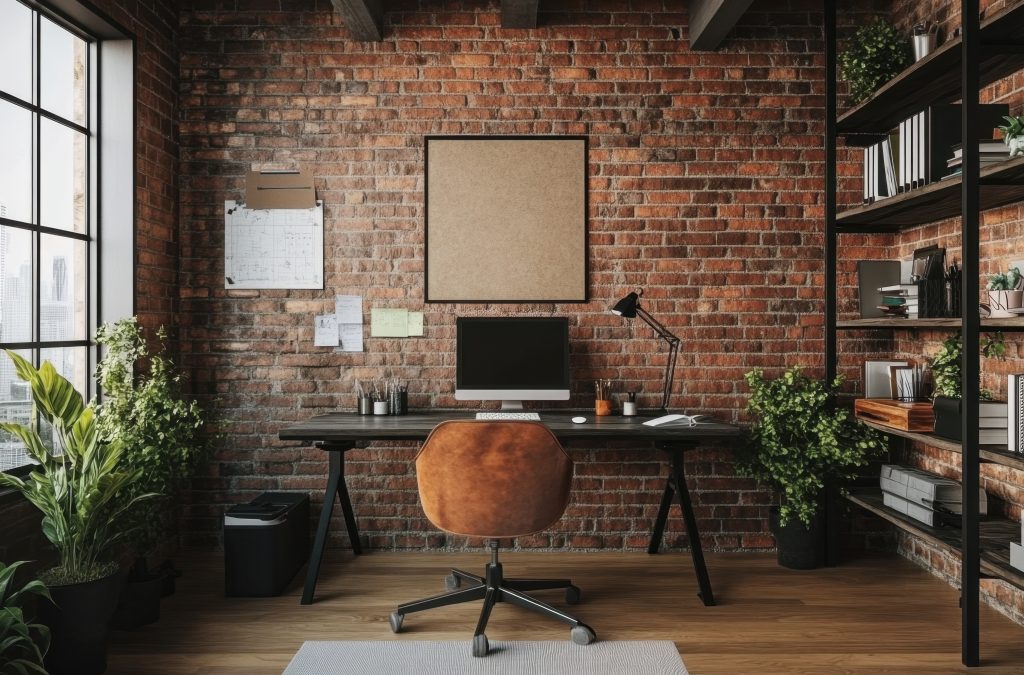
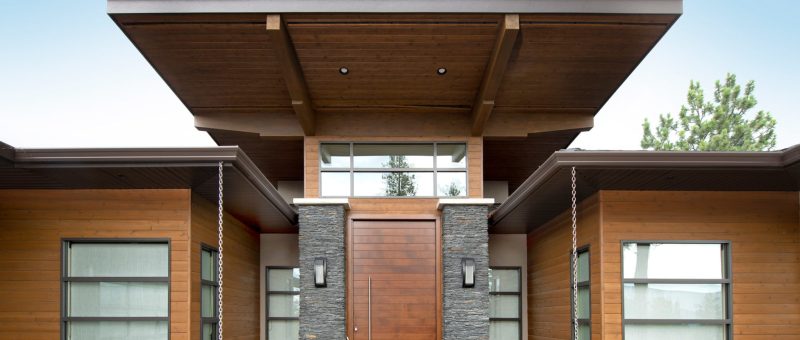
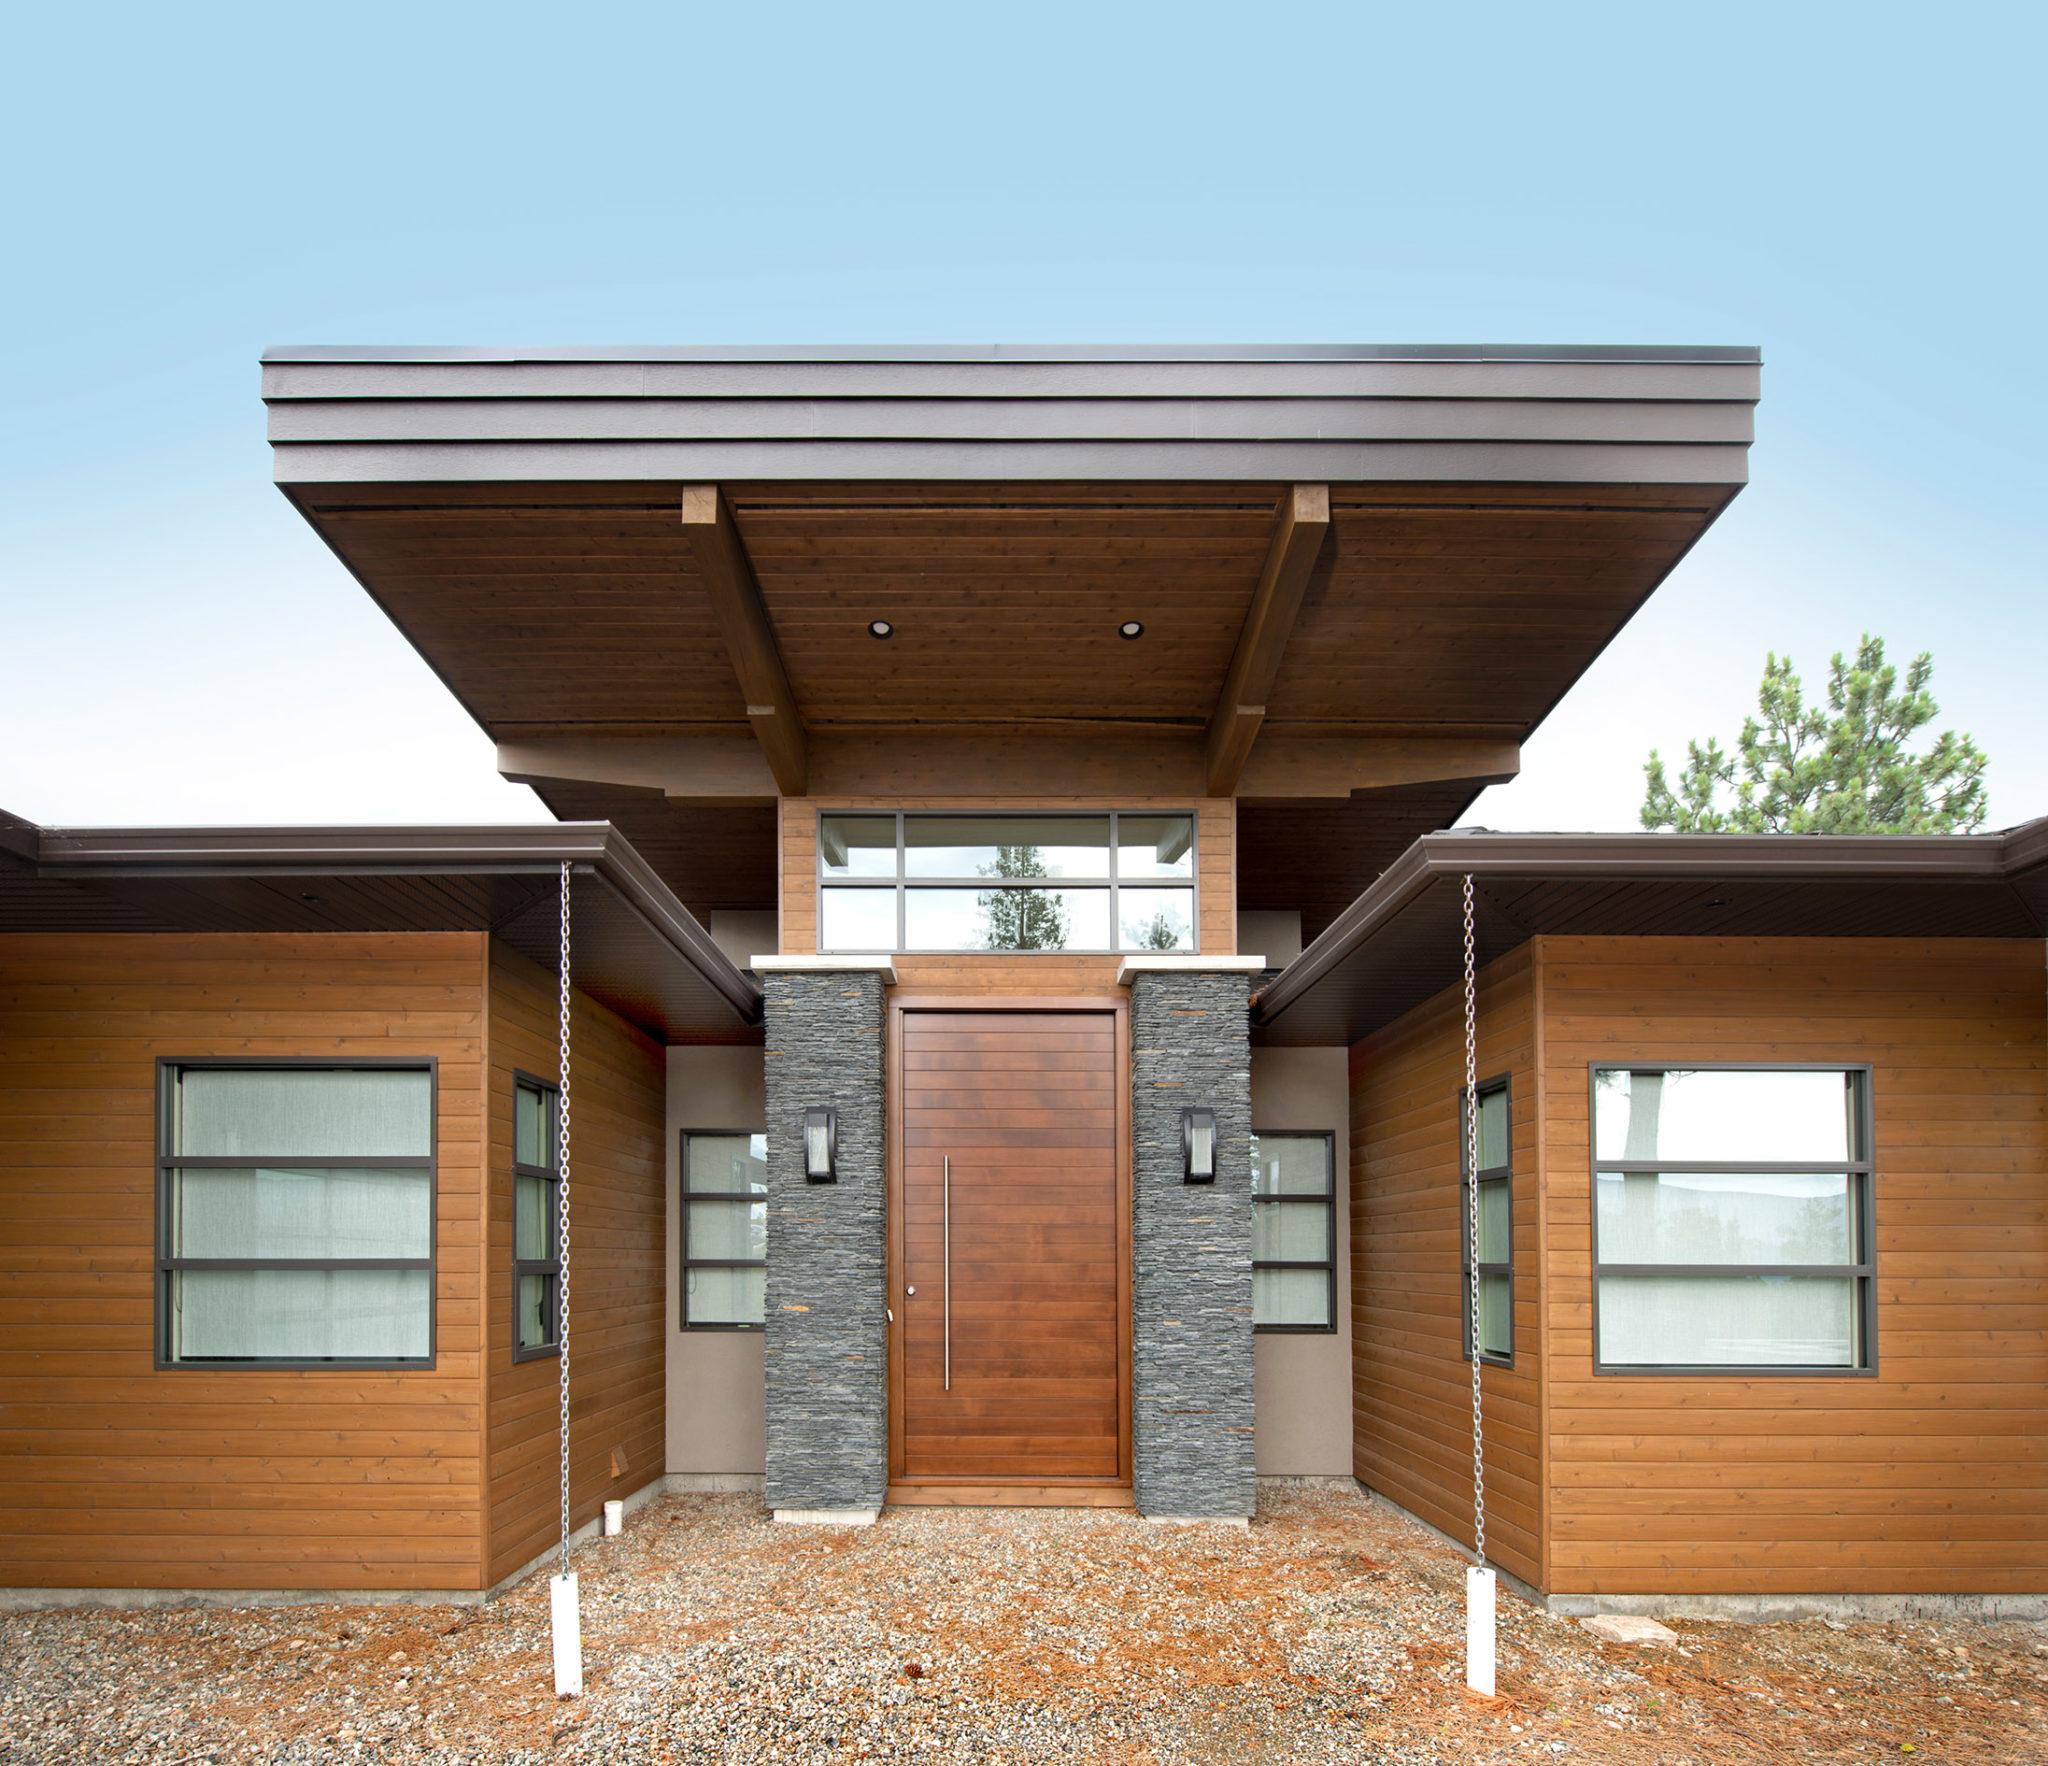
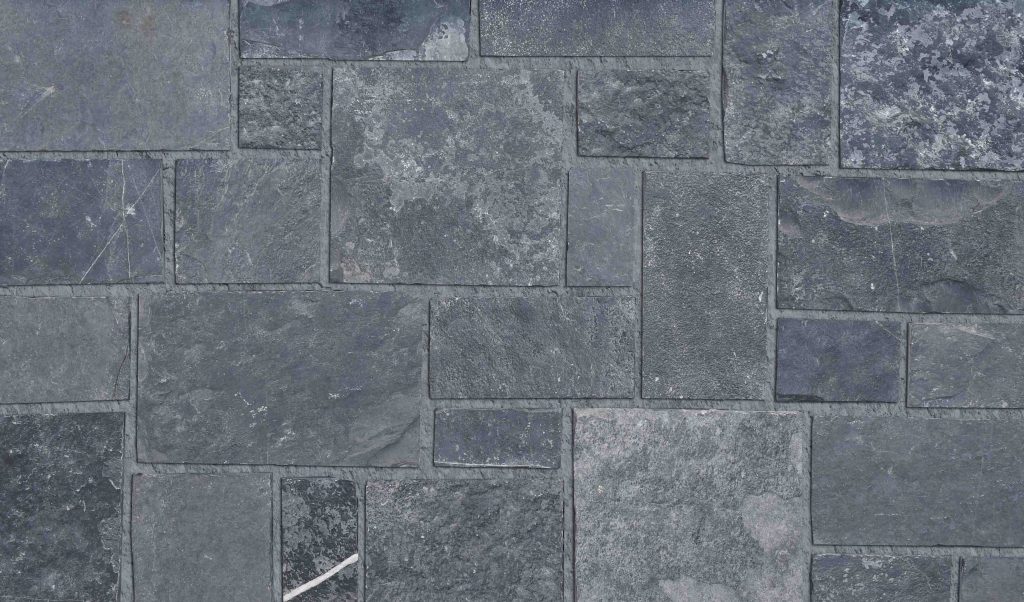
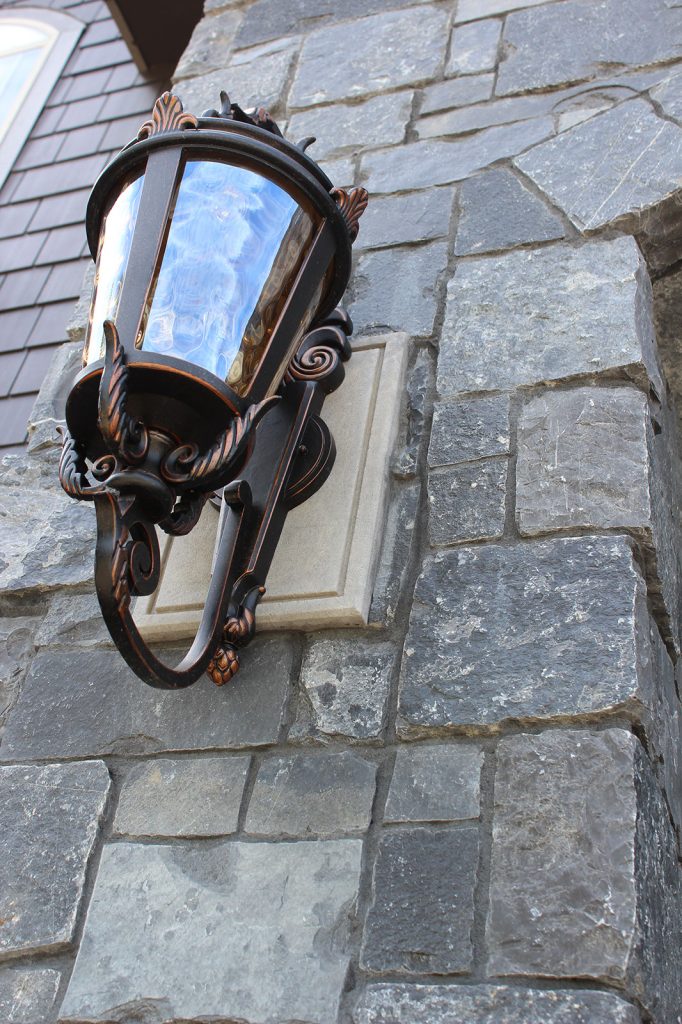
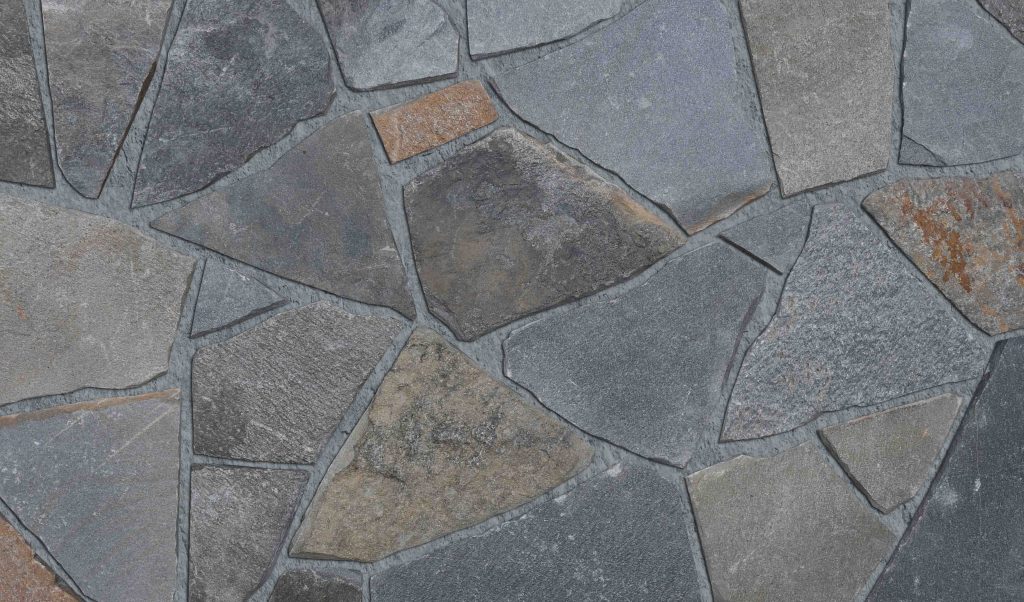
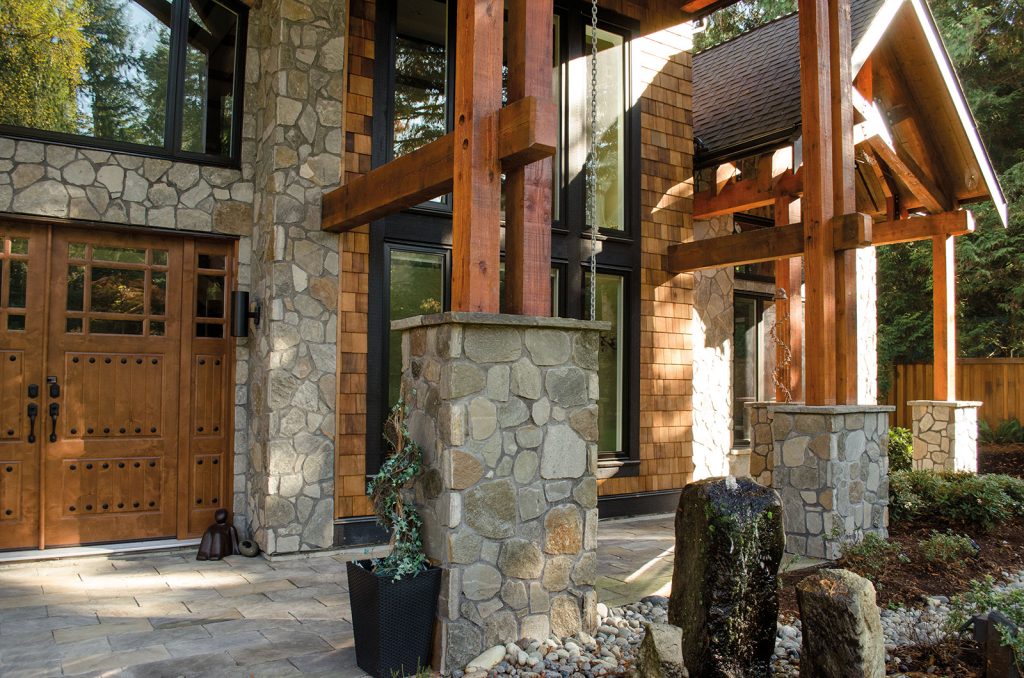
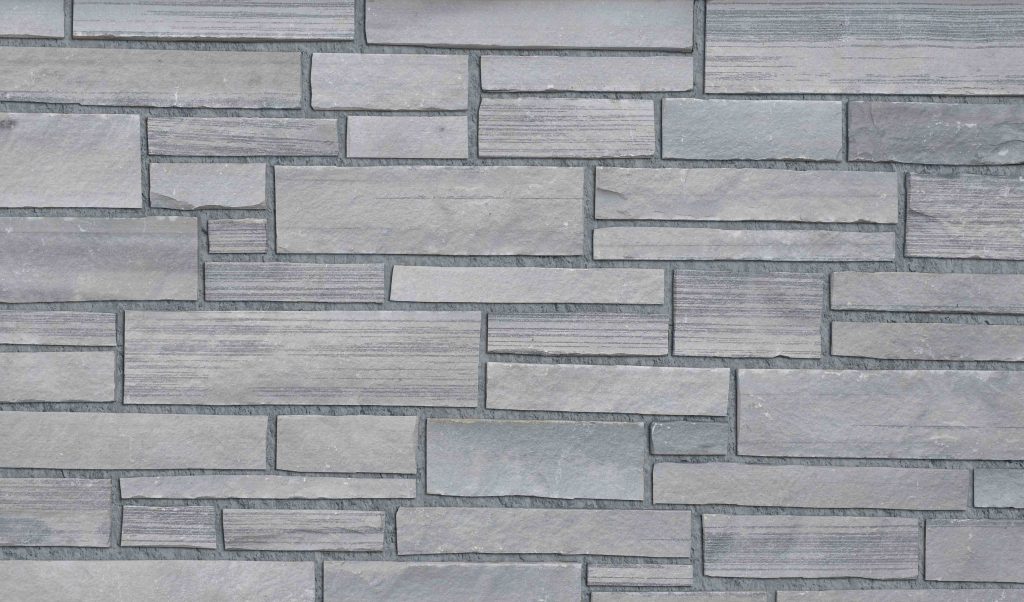
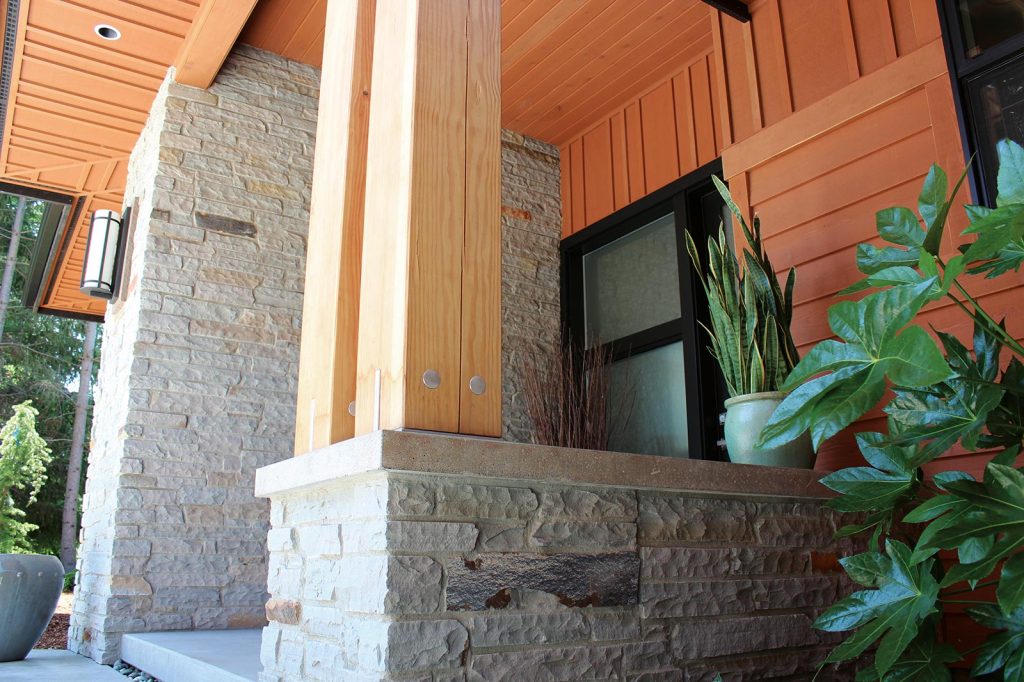
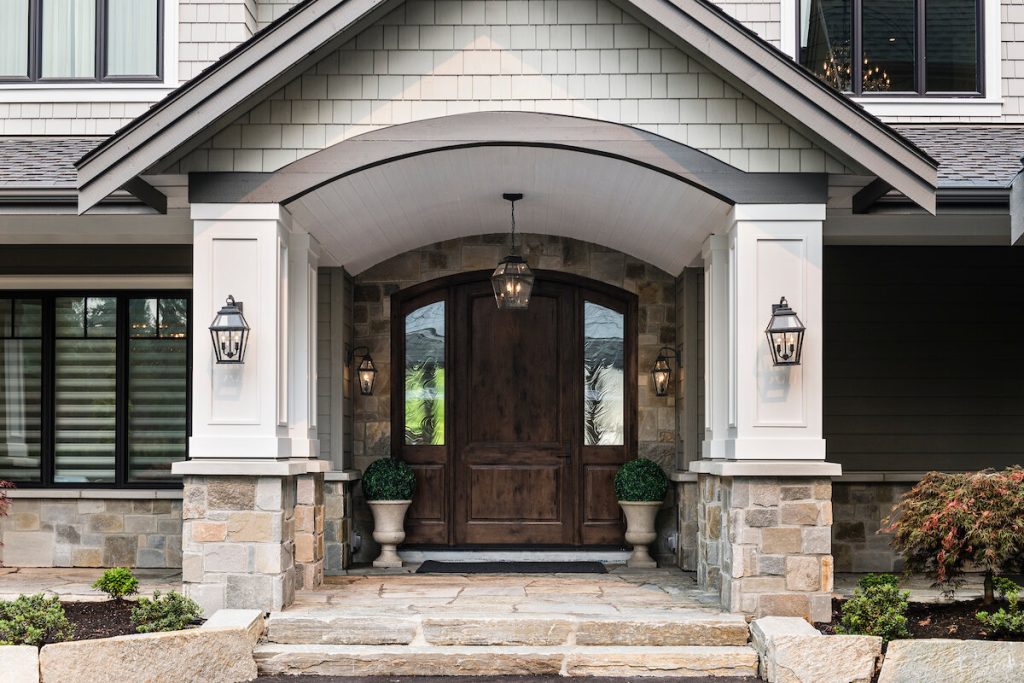
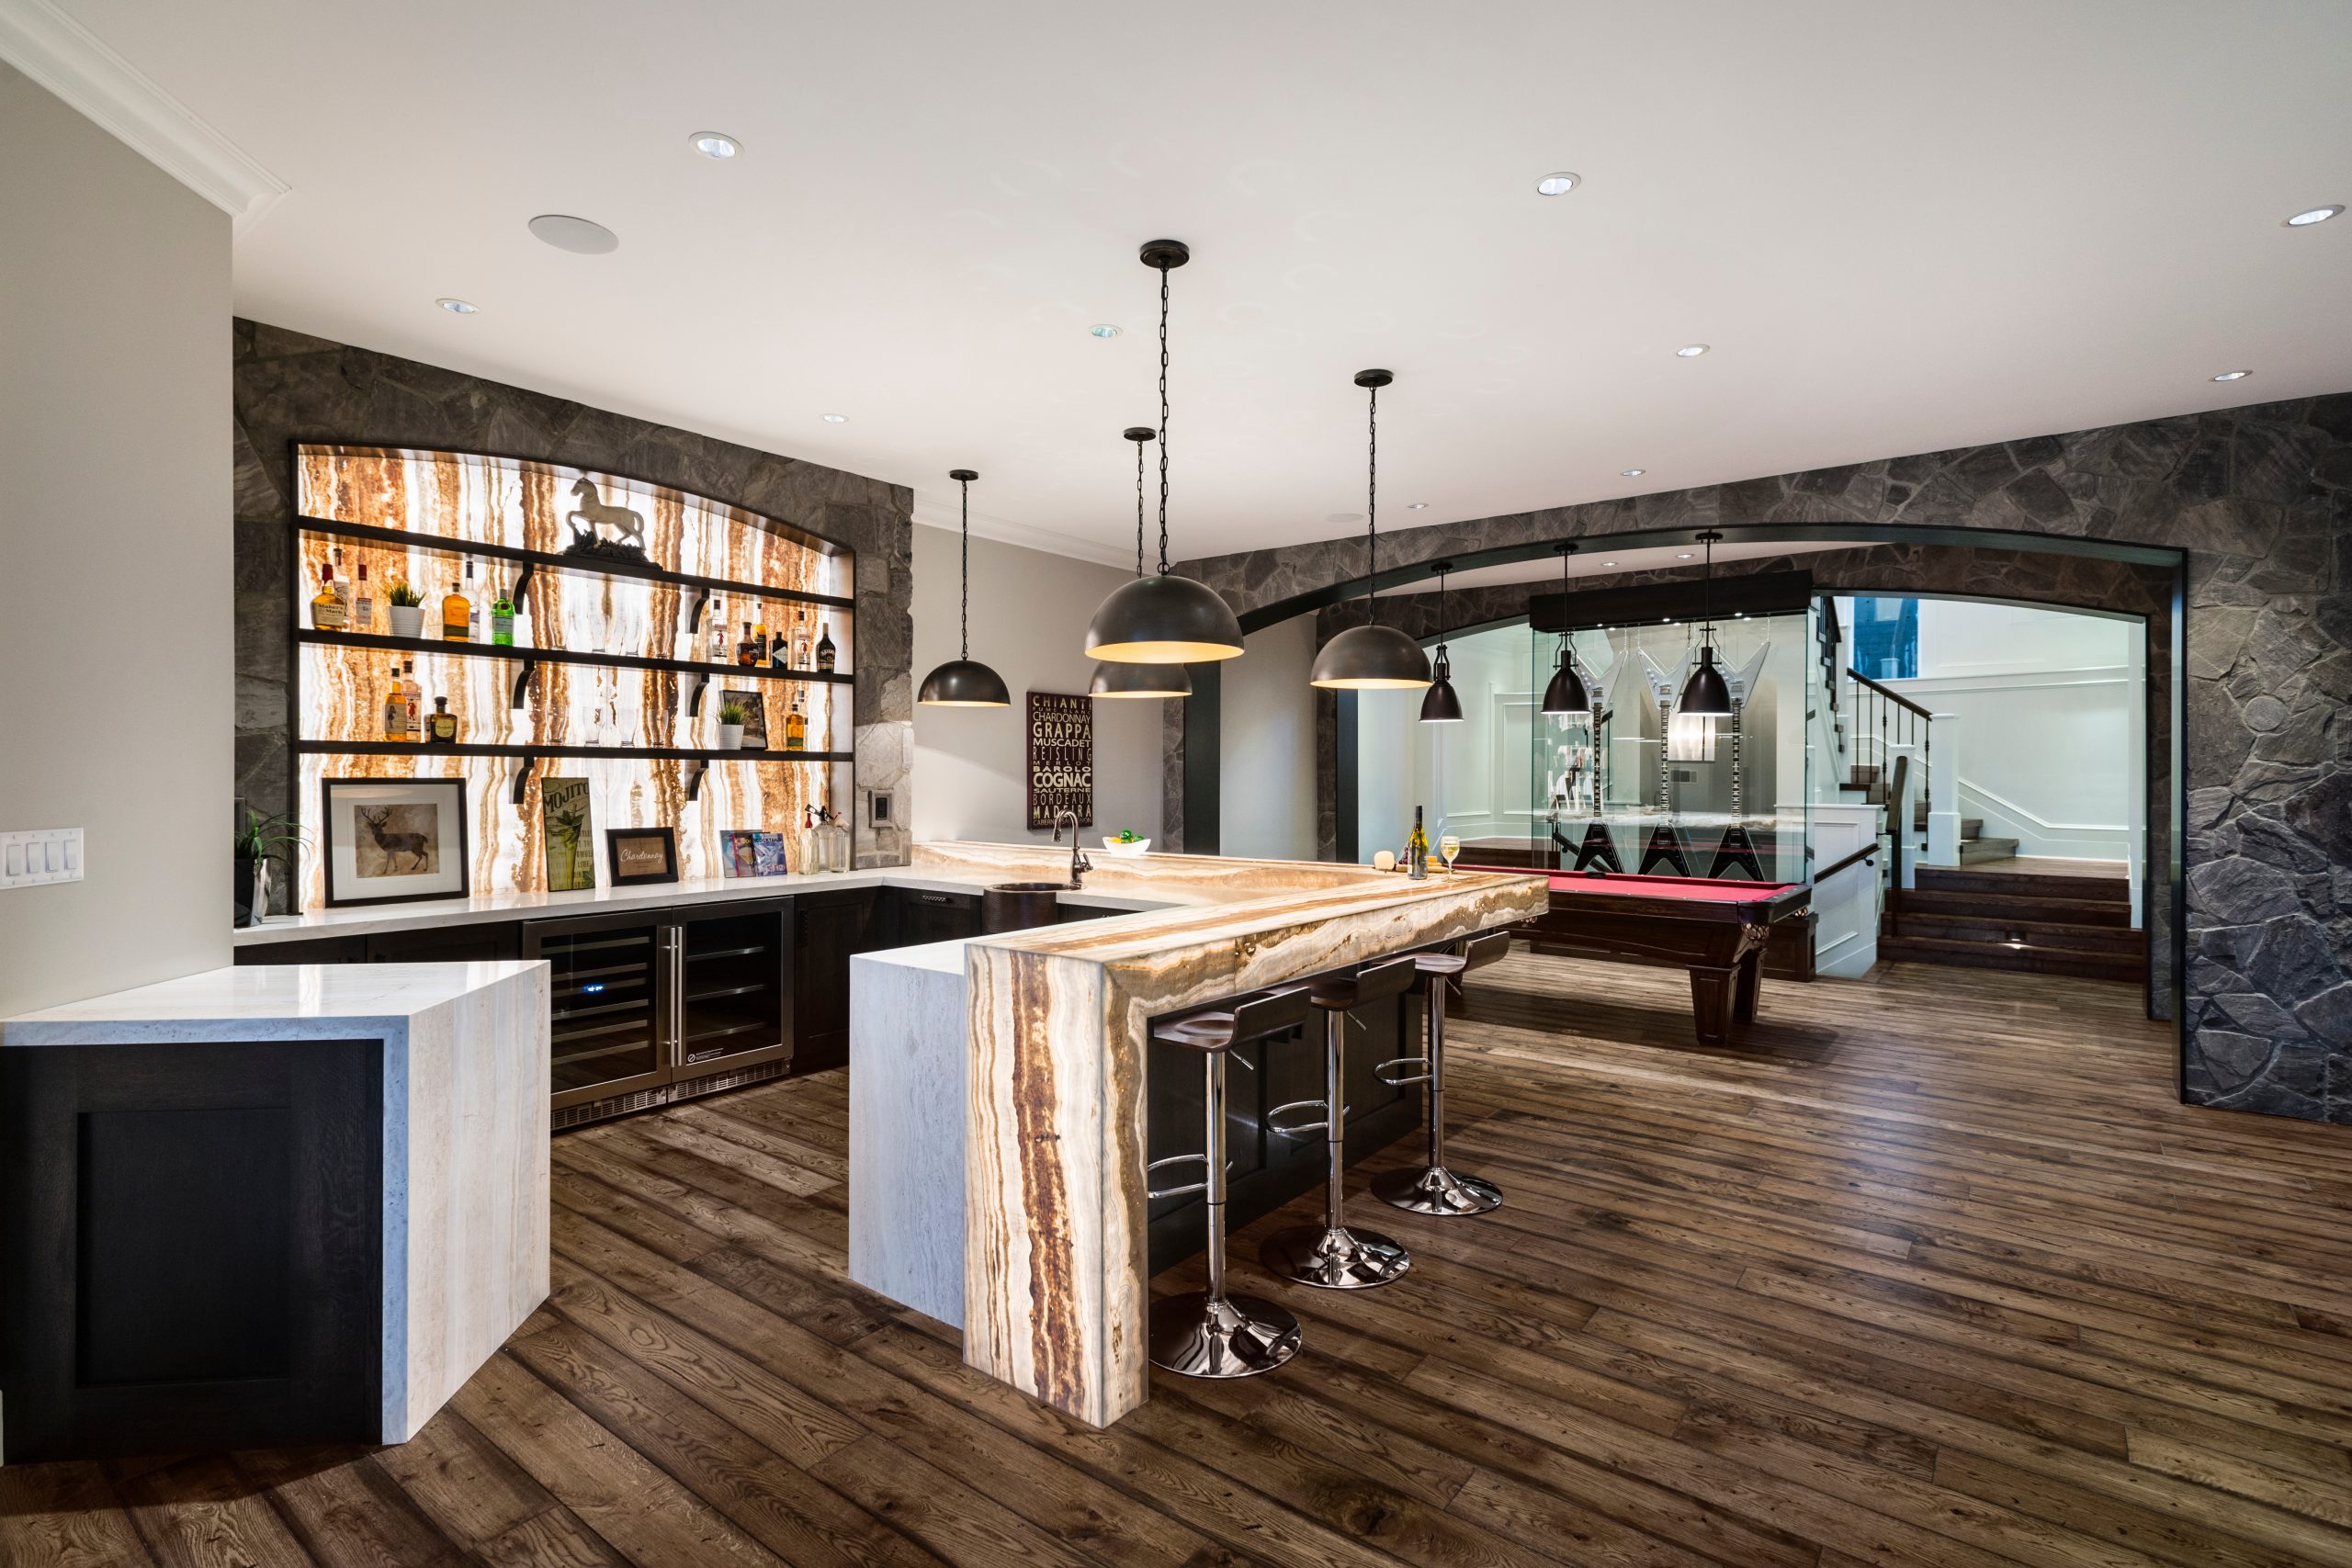
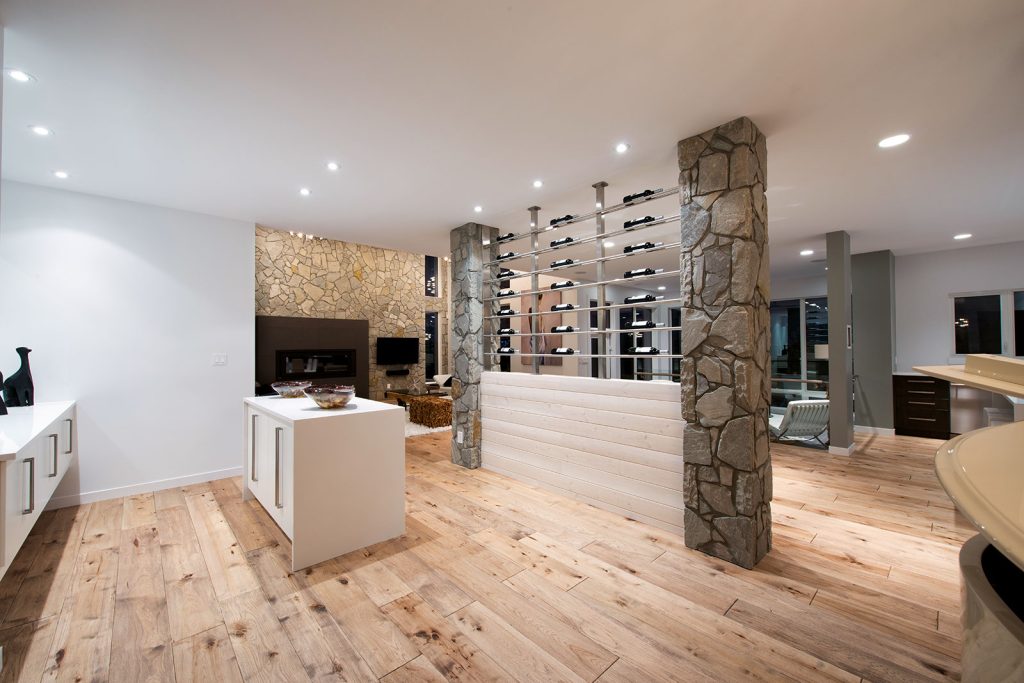
Because manufactured stone veneer comes in a range of profiles, textures, and colors, it can be used to enhance a variety of exterior and interior styles. Perhaps an organic-feeling rough-cut fieldstone profile in earth tones for a cozy comfort-food establishment, dark brown ledgestones for a steakhouse, dry-stacked white stones for a contemporary kitchen, or wood-look shiplap for a small bakery. The options to set a tone with MSV are endless.
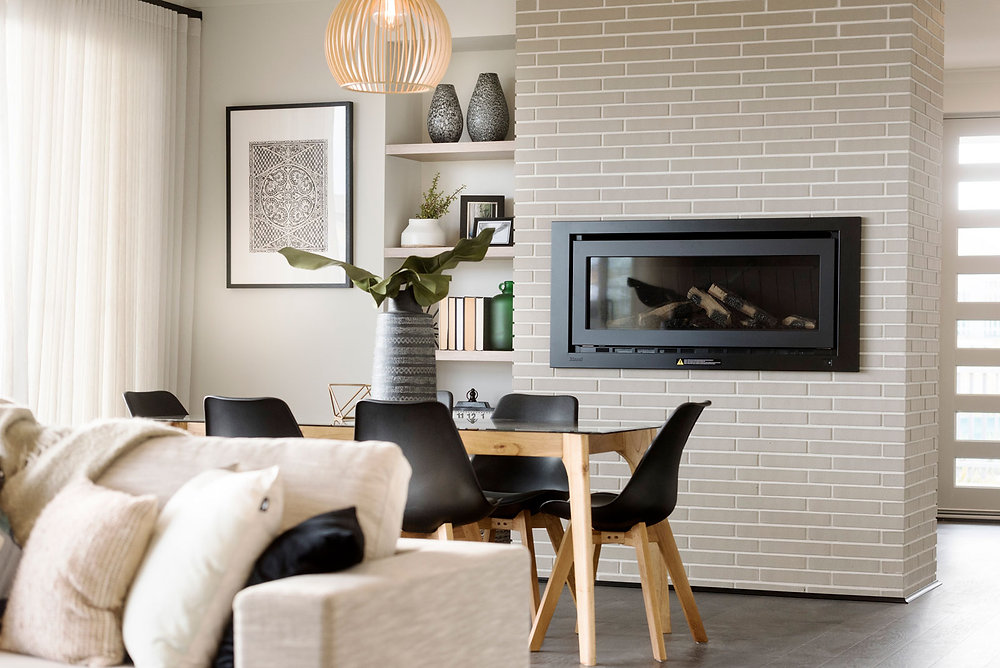
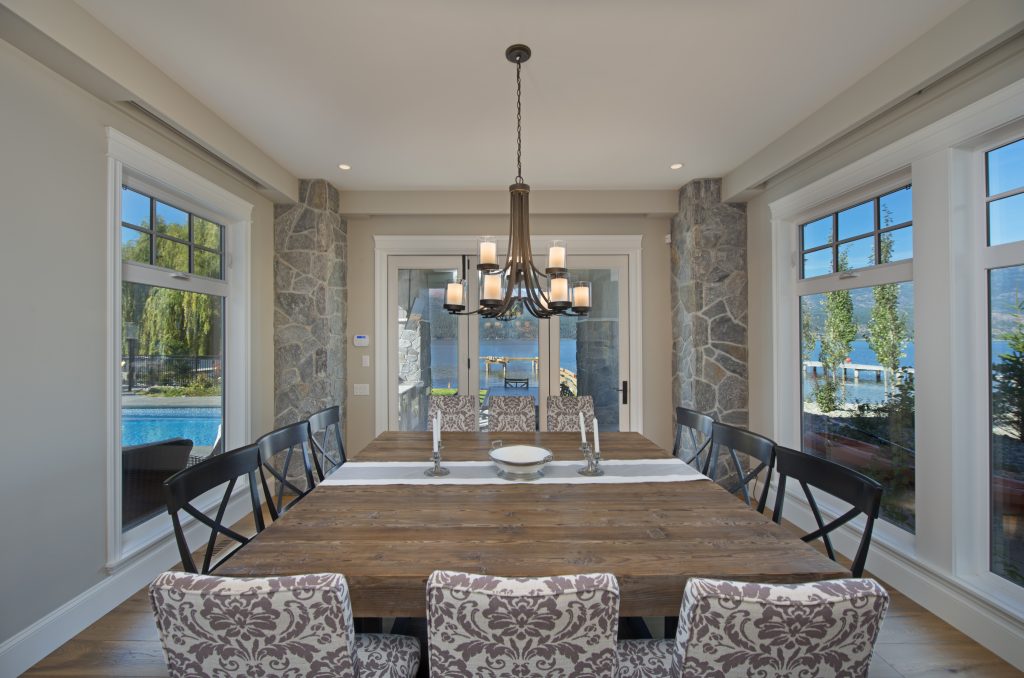
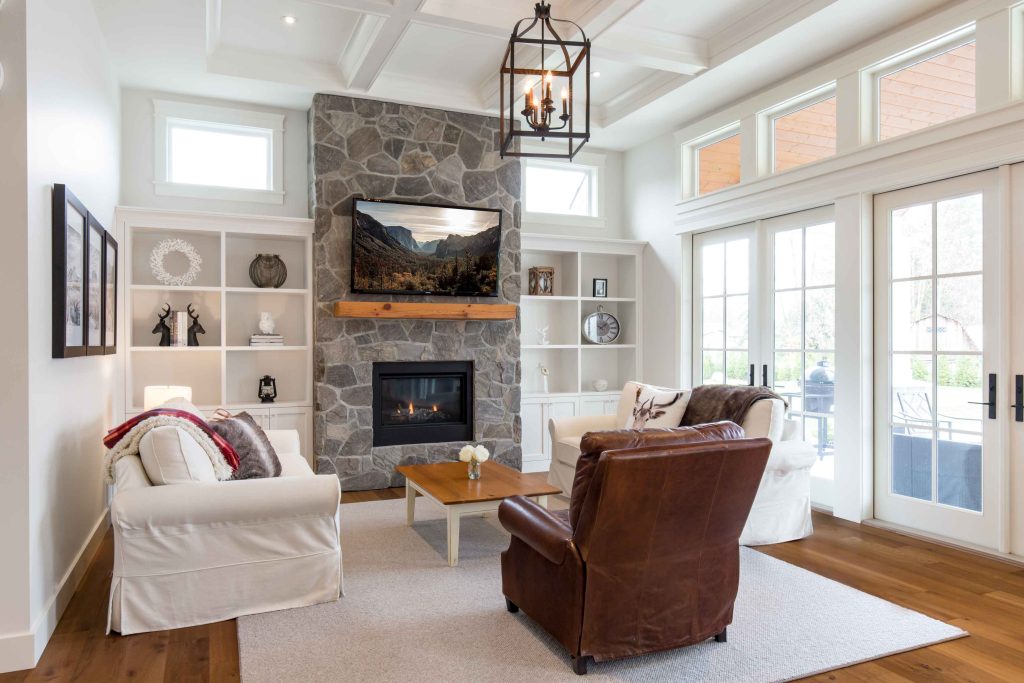
With this versatility, the manufactured stone can be a focal point or a complement. Try accent walls, bar surrounds, fireplace surrounds, or half walls on the interior, and anything from an entryway to a full façade on the exterior.
Replicability
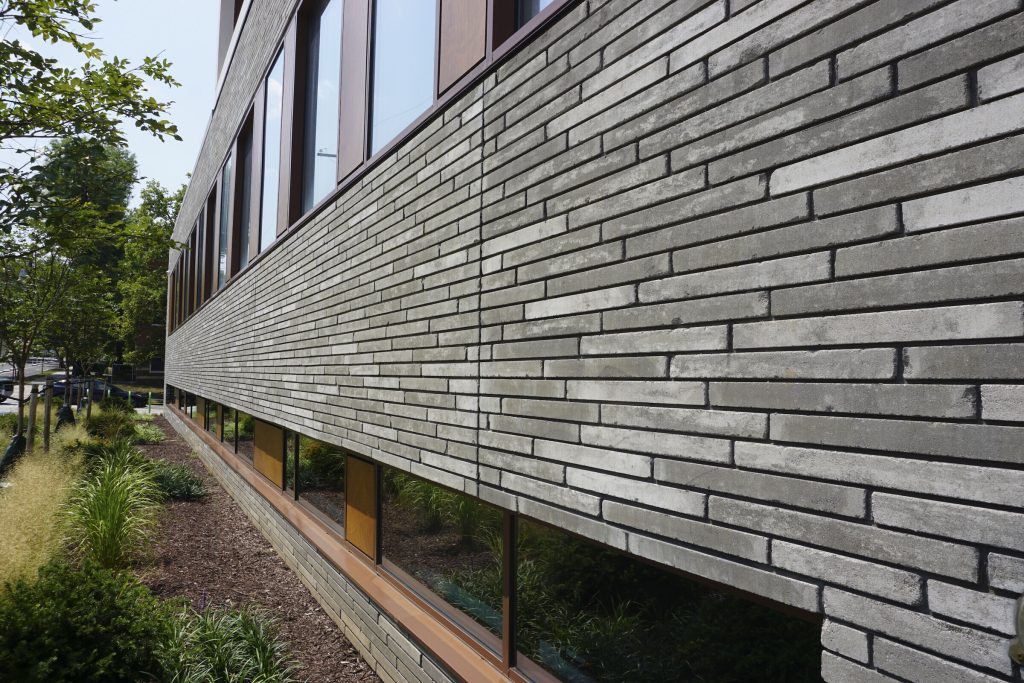
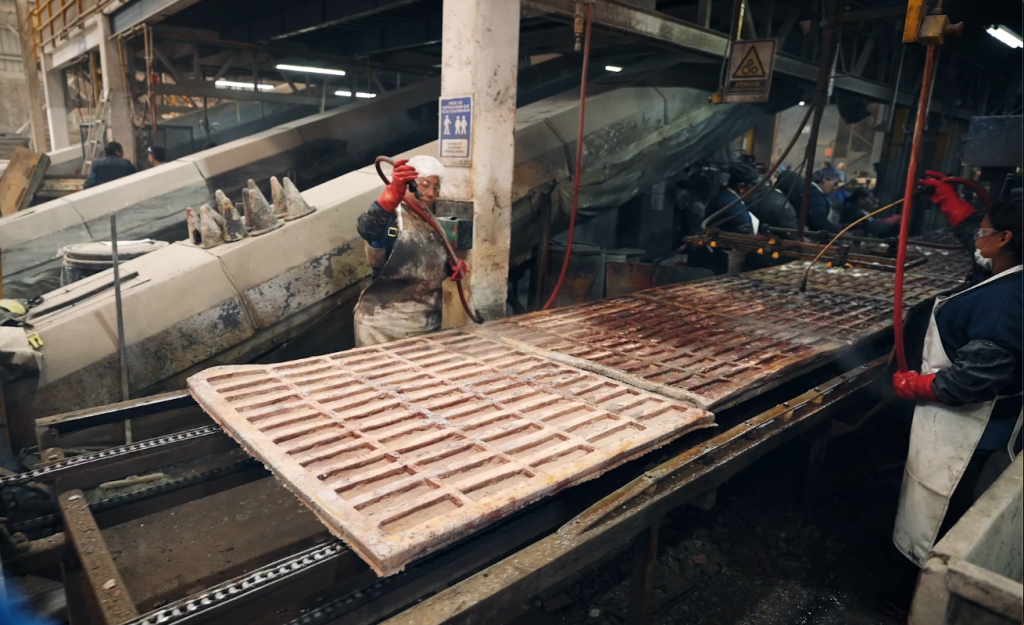
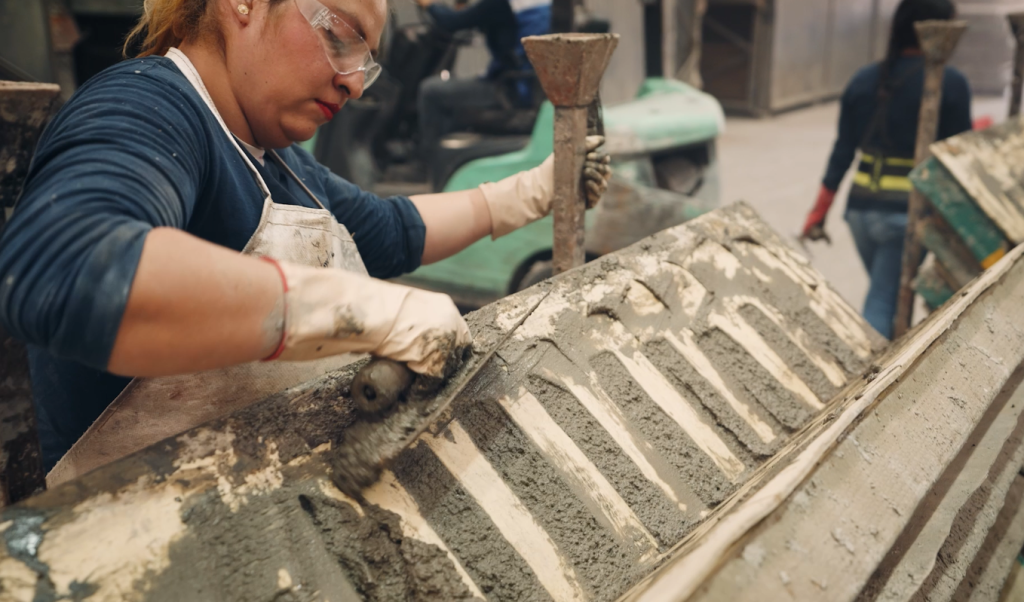
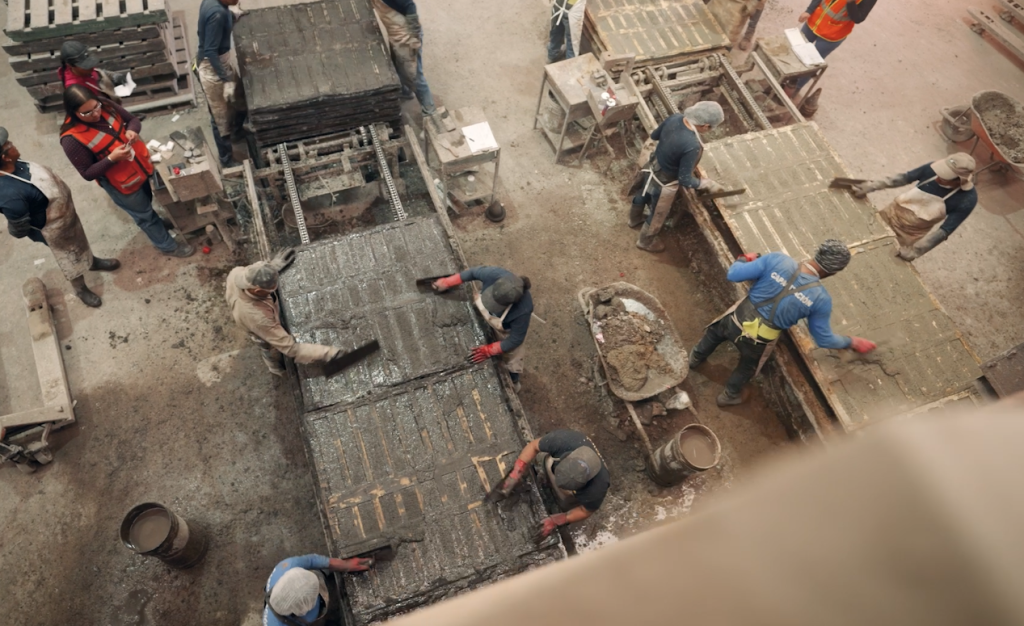
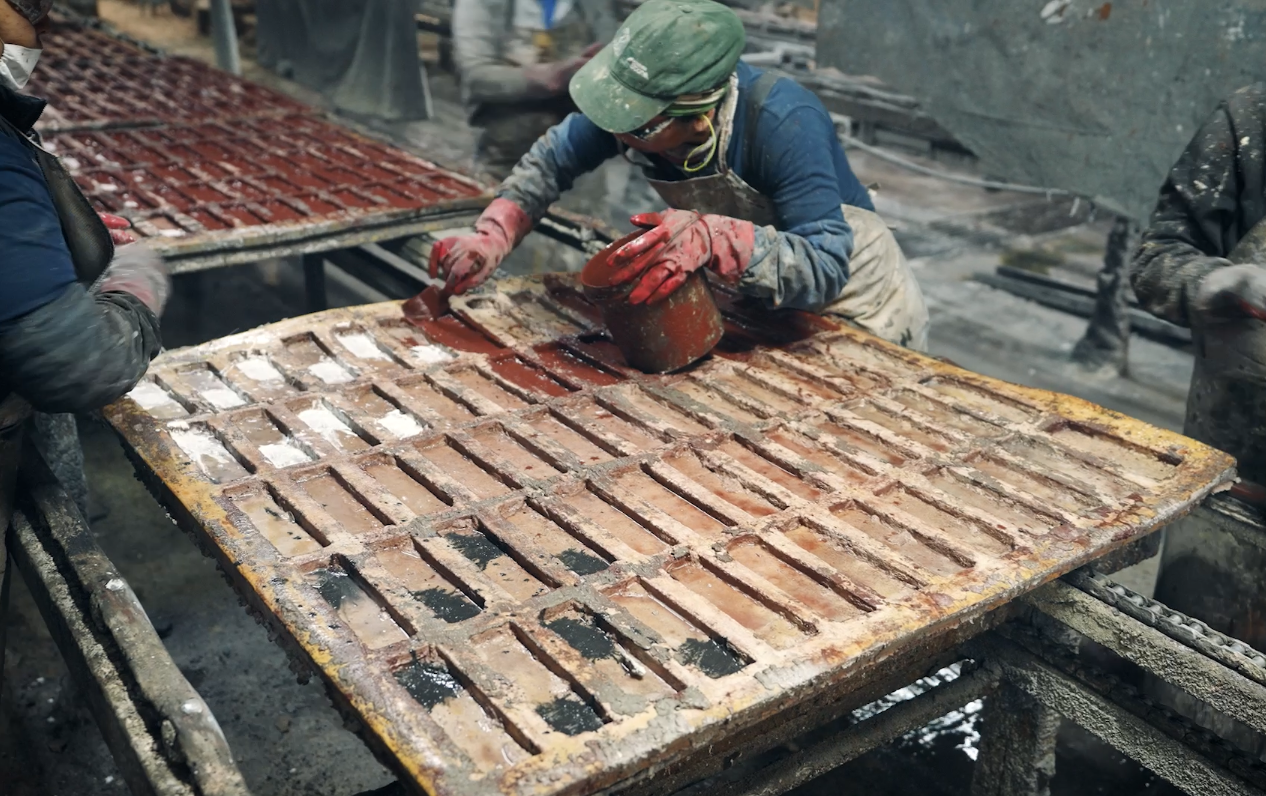
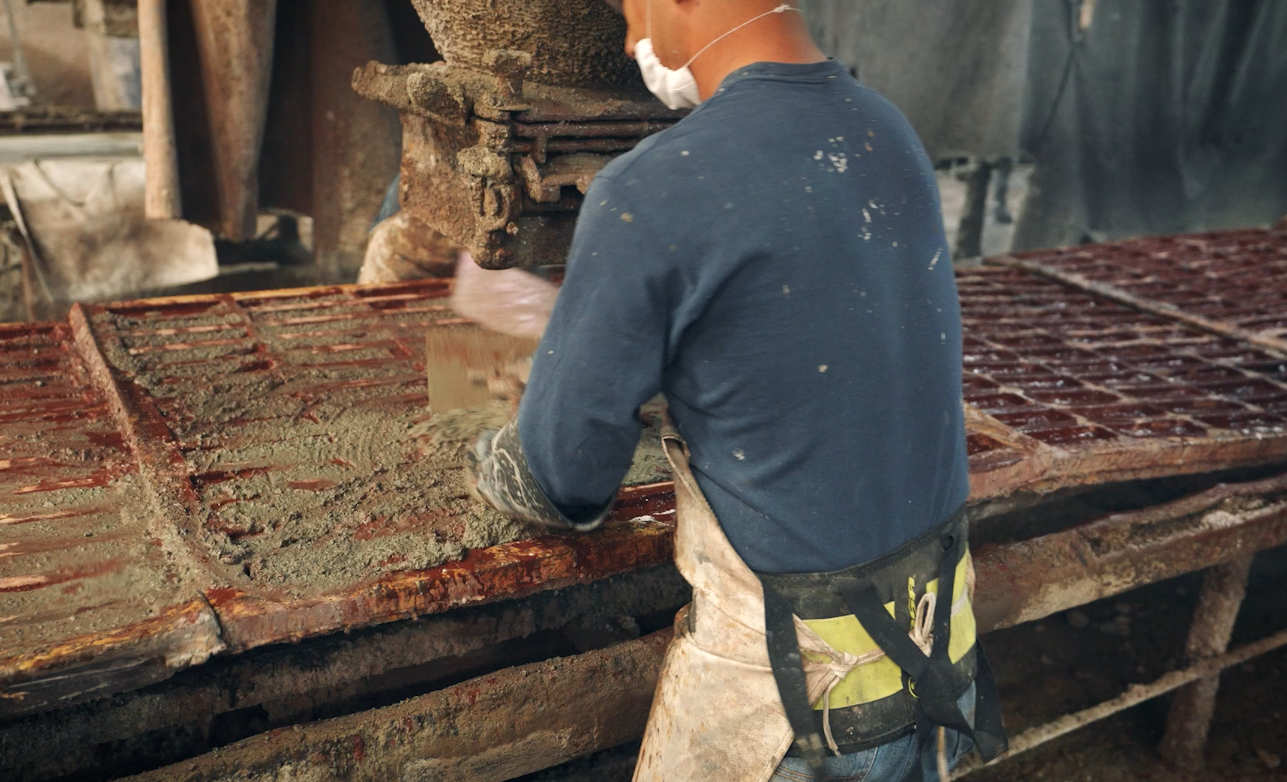
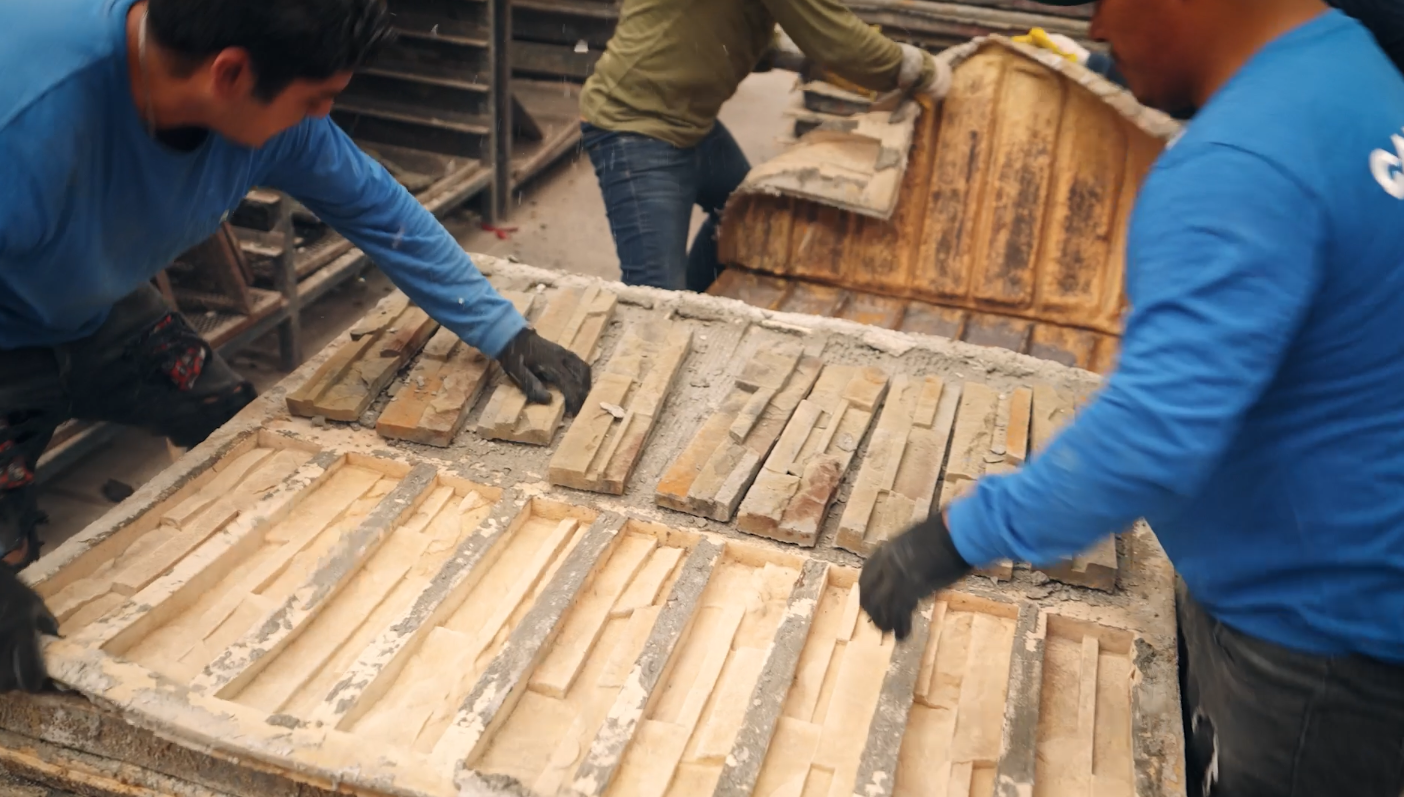
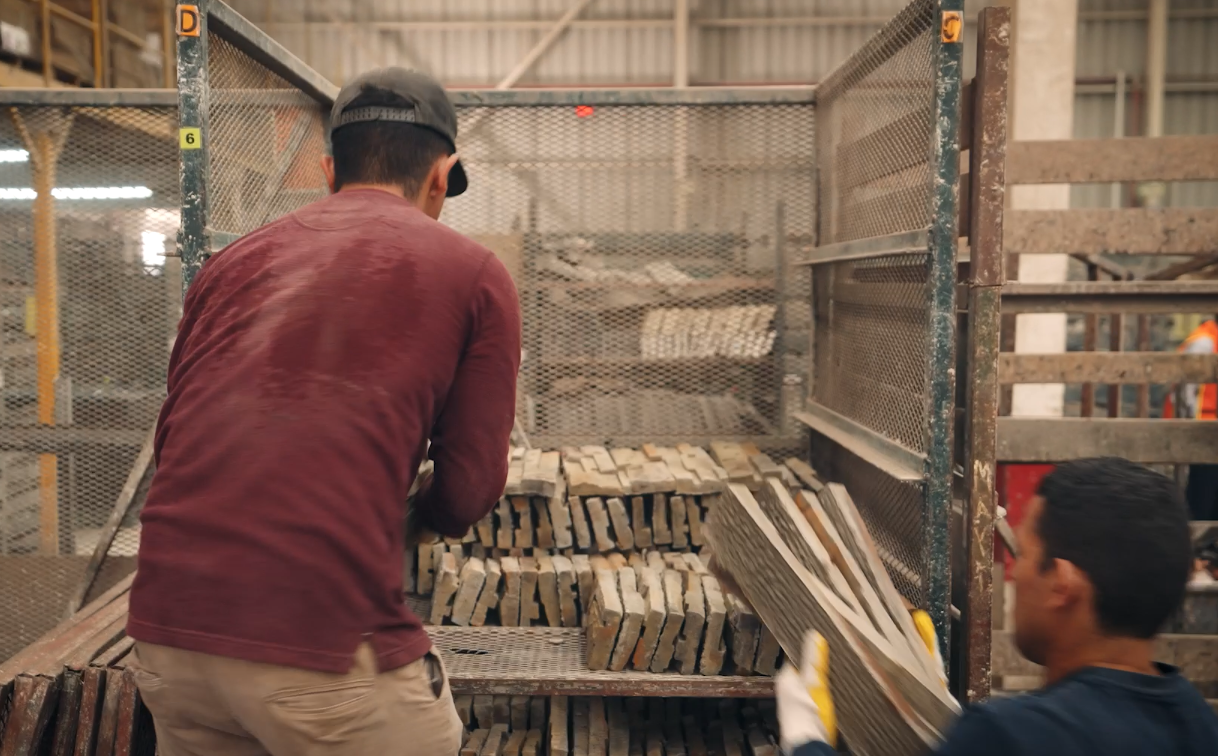
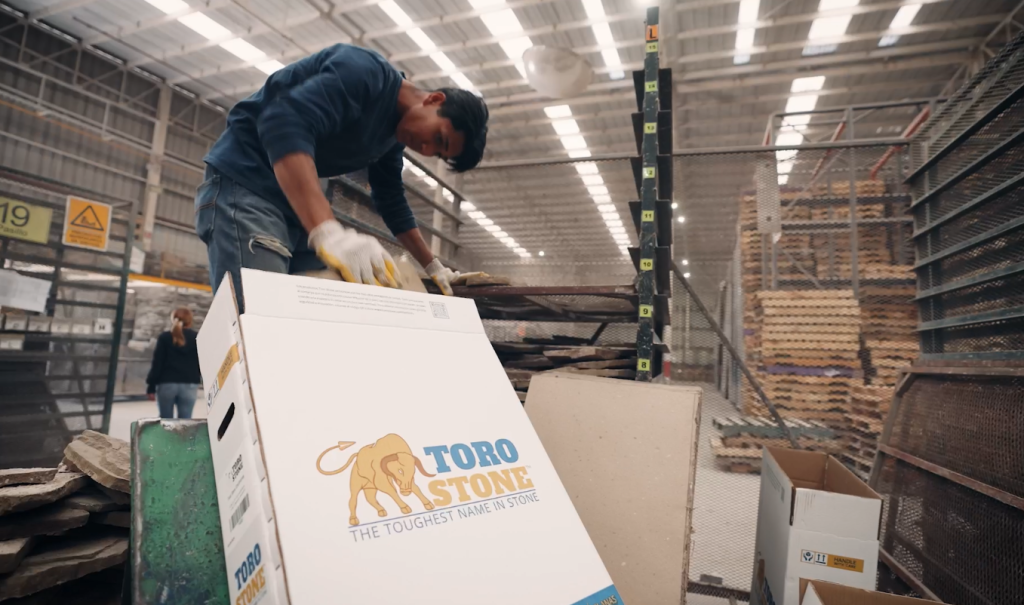
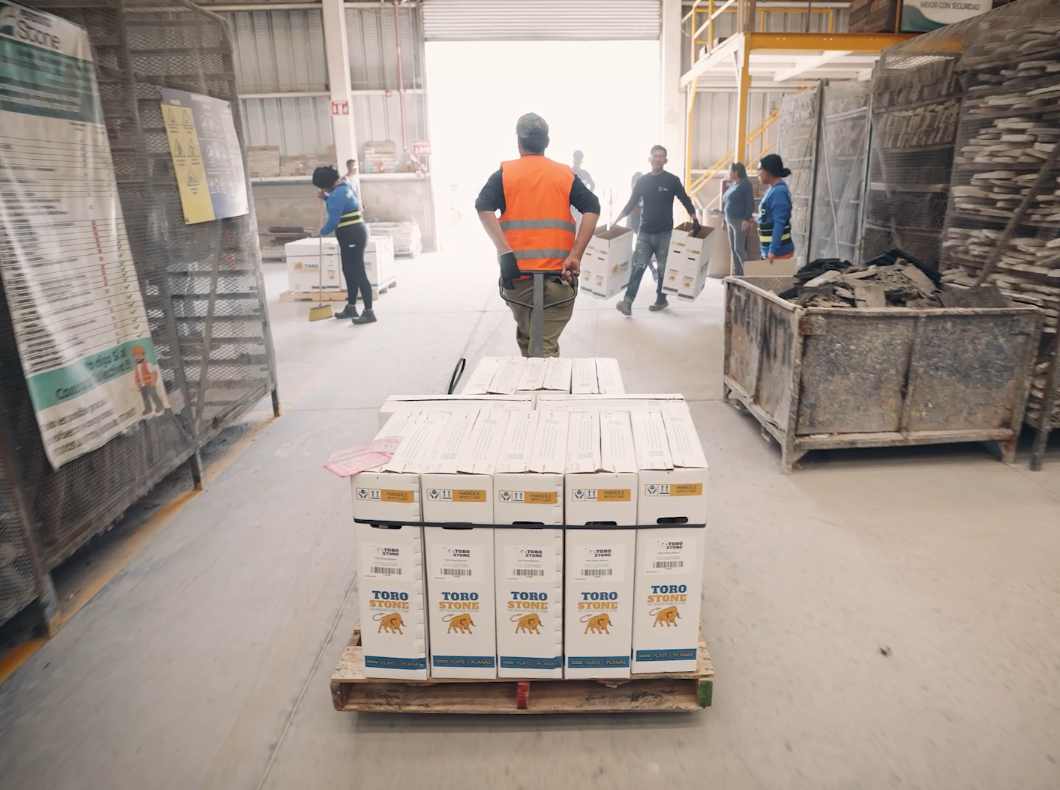
Though manufactured stone is molded from and accurately mimics natural materials, it avoids many of the geographic limitations that natural stone can have. Because it’s manufactured, MSV profiles can be made far from where the natural equivalent would need to be quarried.
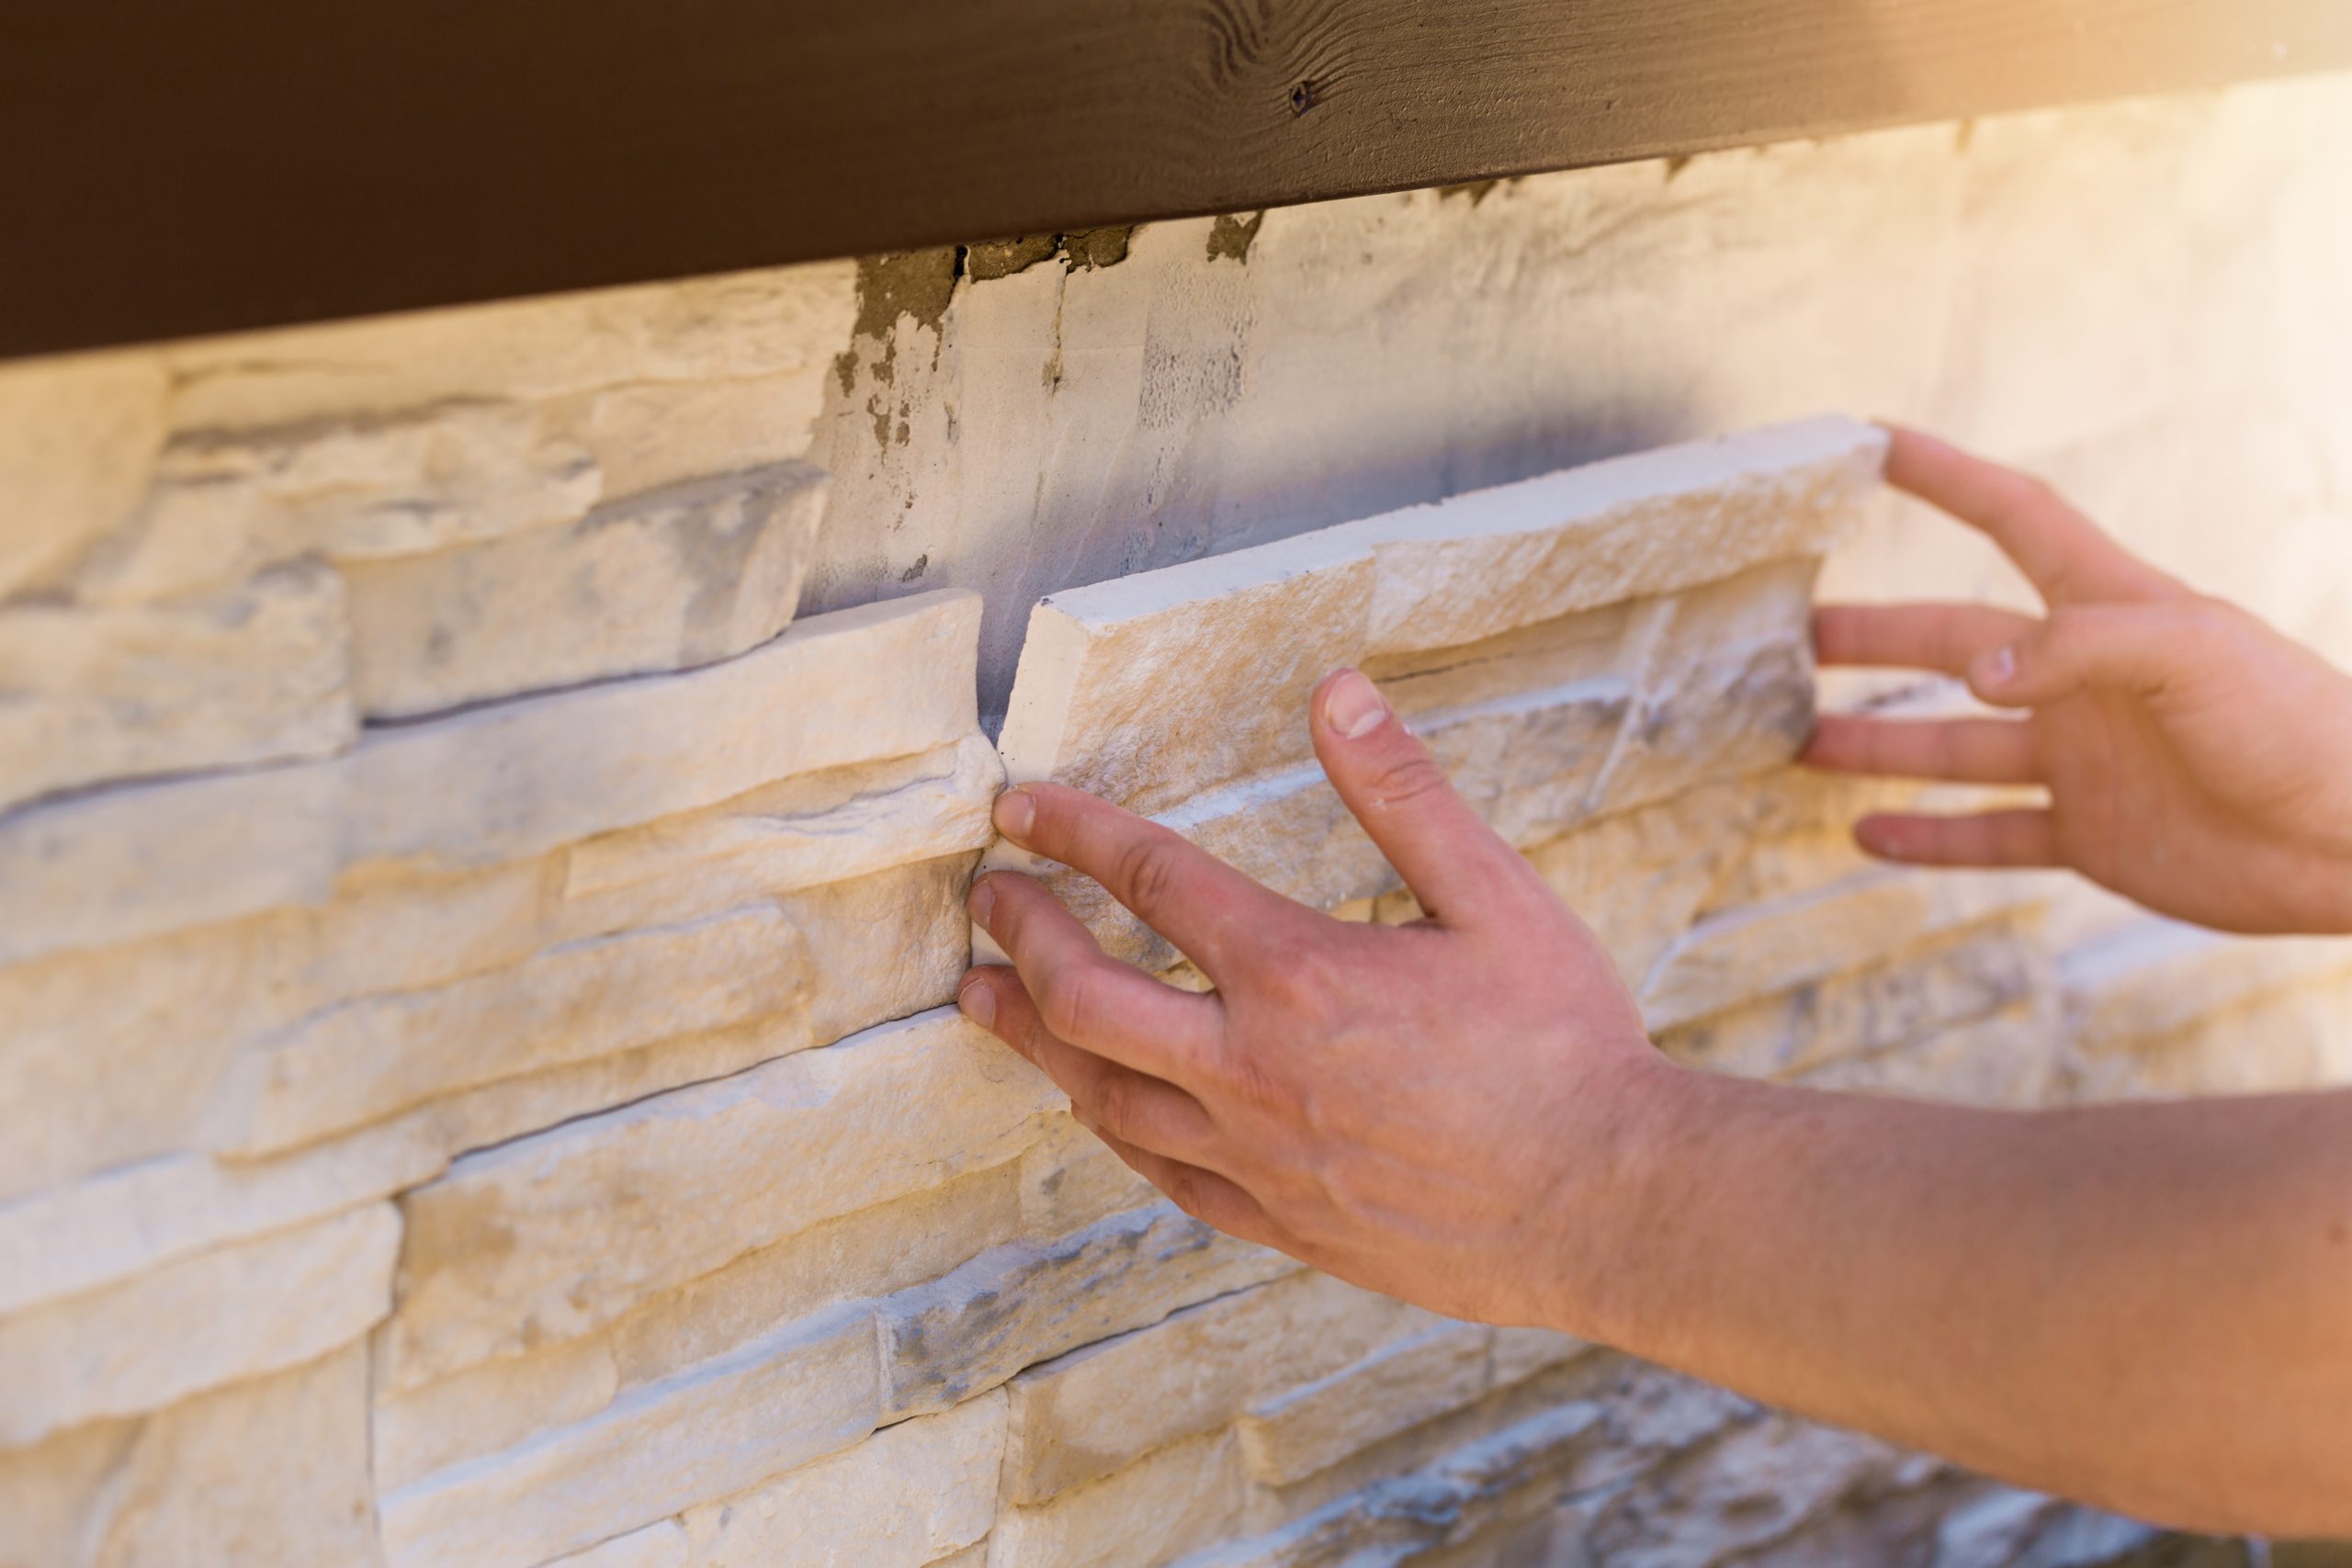
This also means that profiles and stones are typically consistent and readily available, so they can be specified as part of a restaurant company’s brand palette, ensuring buildings are easily recognizable as part of the chain and bringing familiarity to patrons. In addition, this detail makes it easier to replace a stone in the rare event it is damaged.
Durable performance
Manufactured stone can be used in both interior and exterior applications, able to withstand high traffic areas as well as weather. Depending on the product, MSV often carries high fire and wind resistance.
Easy to maintain
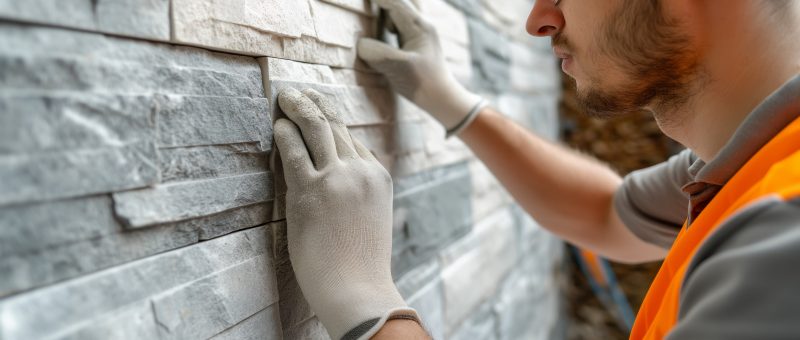
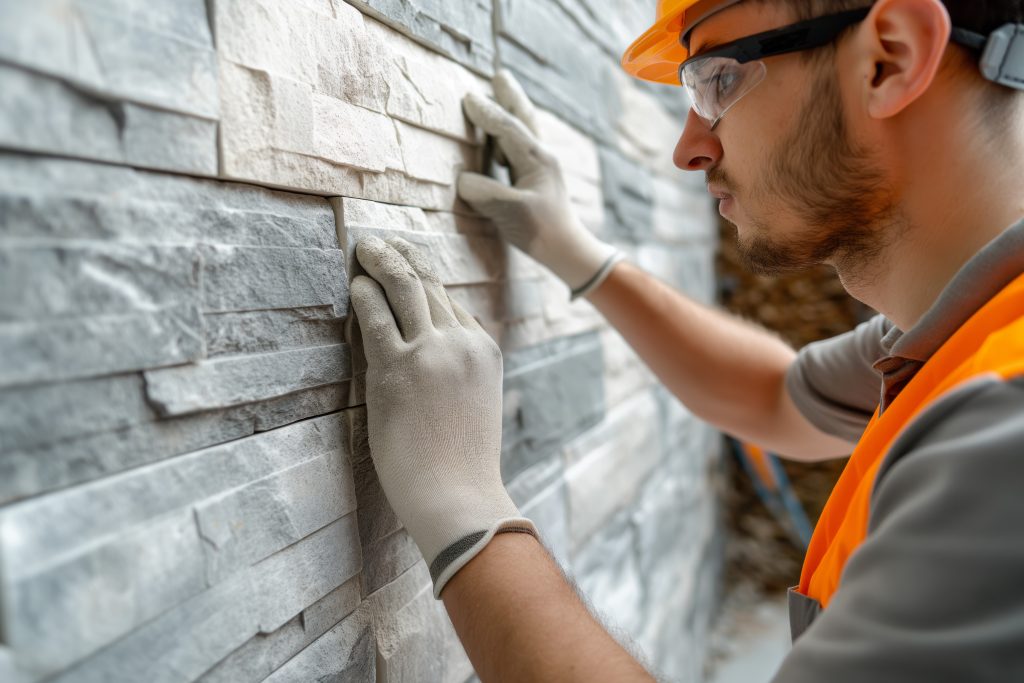
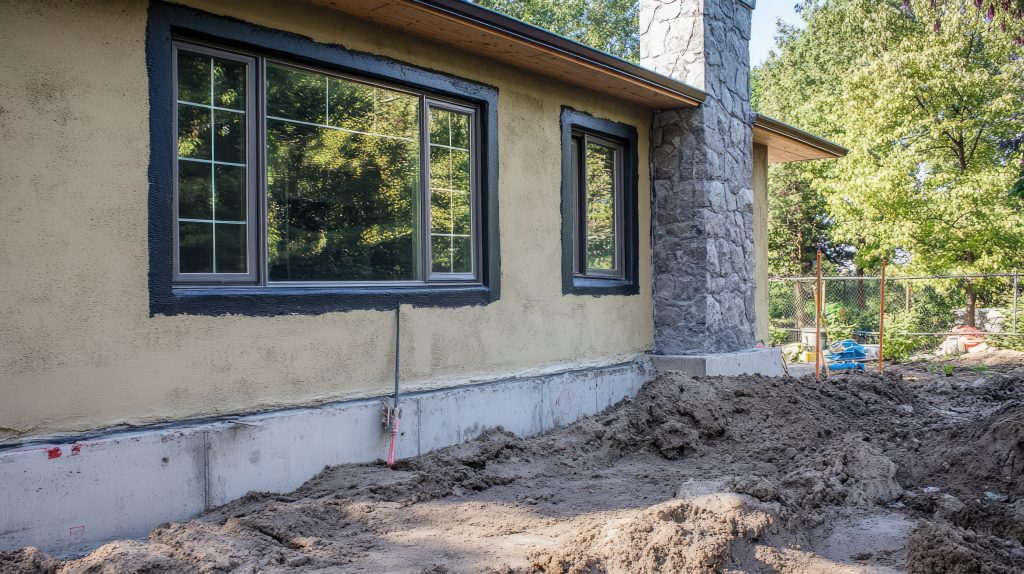
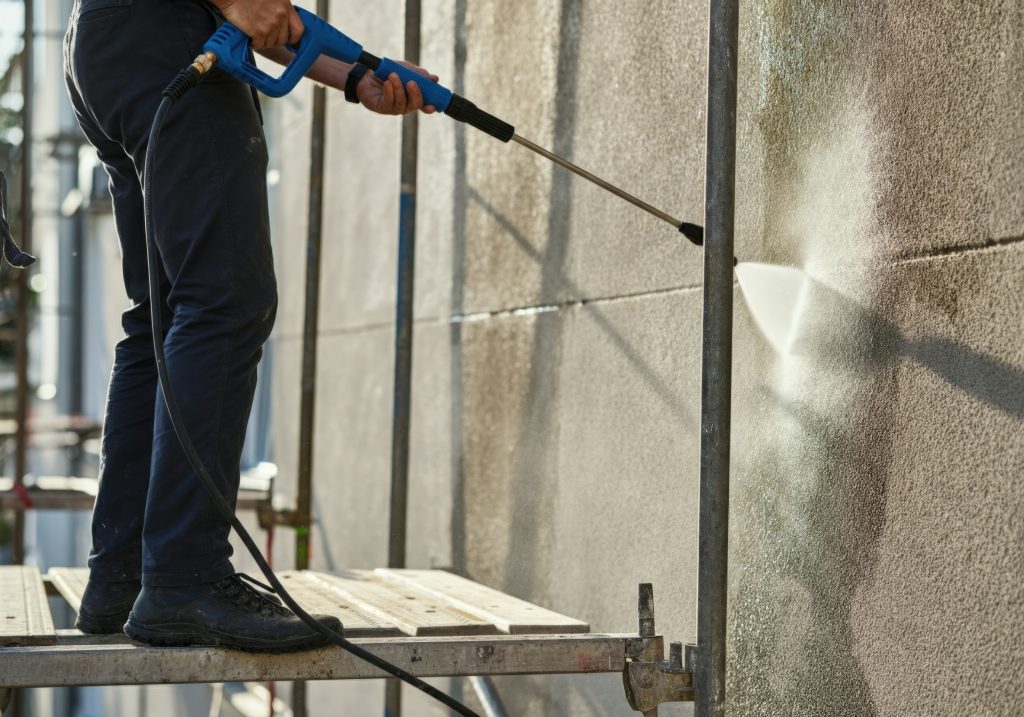
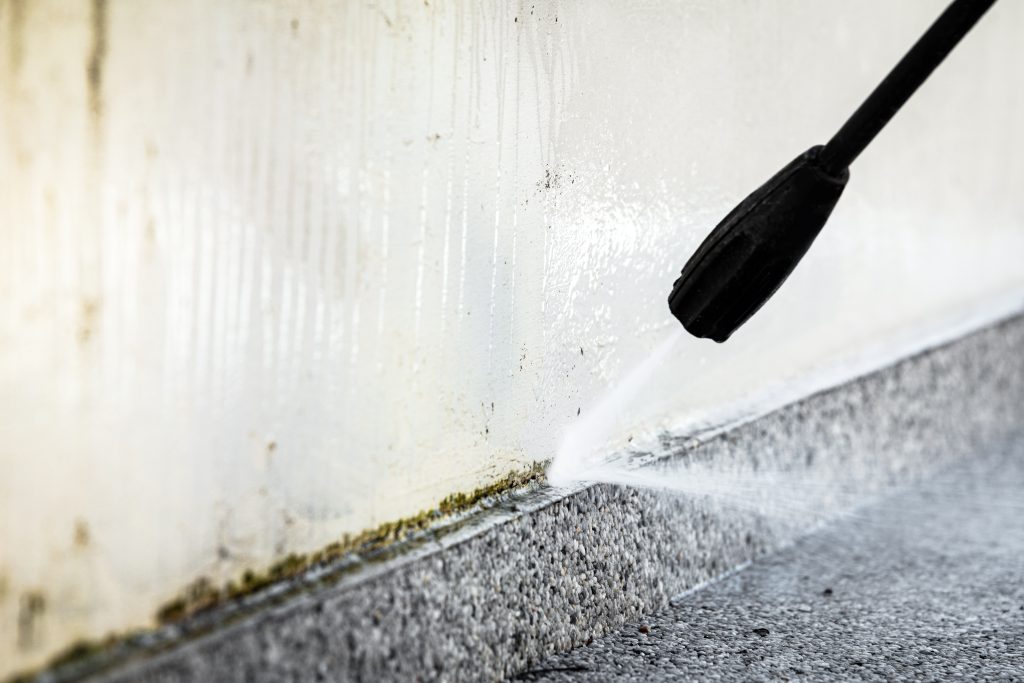
Cleanliness is a top priority for restaurants, and manufactured stone is simple to maintain. On the interior, dusting and an occasional wipe-down with water will keep it looking new. On the exterior, debris and light dirt can be rinsed with water. If a deeper clean is required, it usually just needs a soft brush and a bio-safe cleaner recommended by the manufacturer.
Restaurant Projects Using Manufactured Stone Veneer
Thinking about manufactured stone for your next restaurant project? Here are a few examples to help you get inspired:
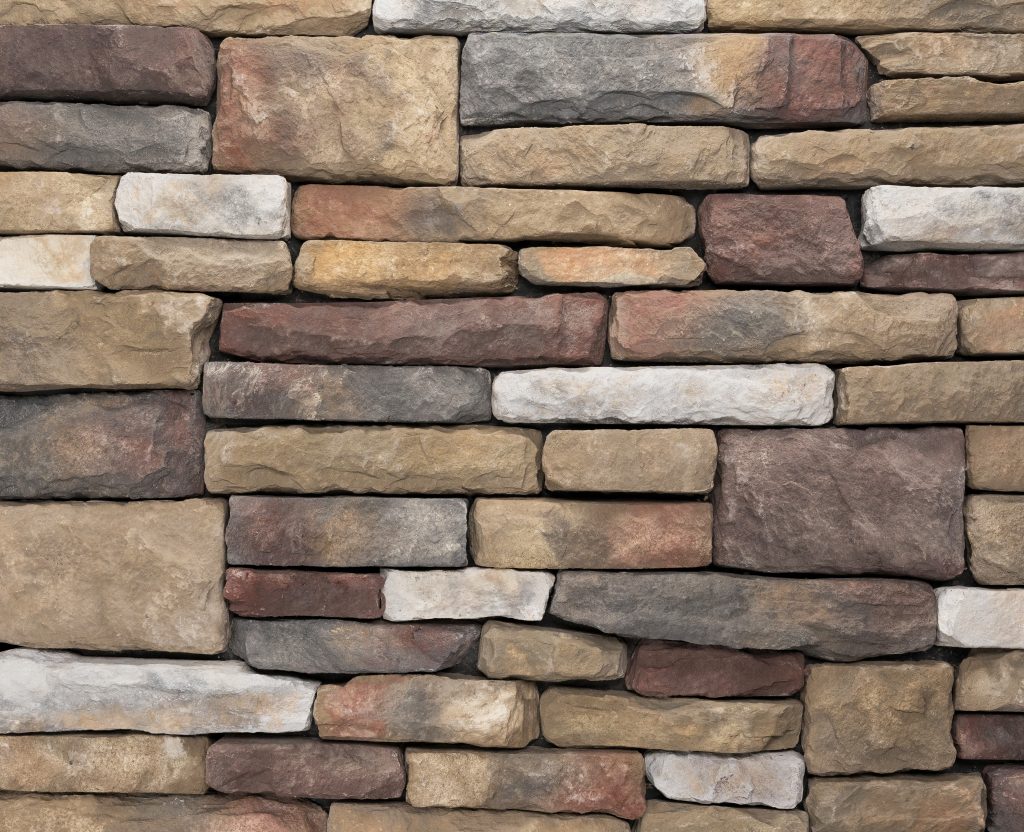
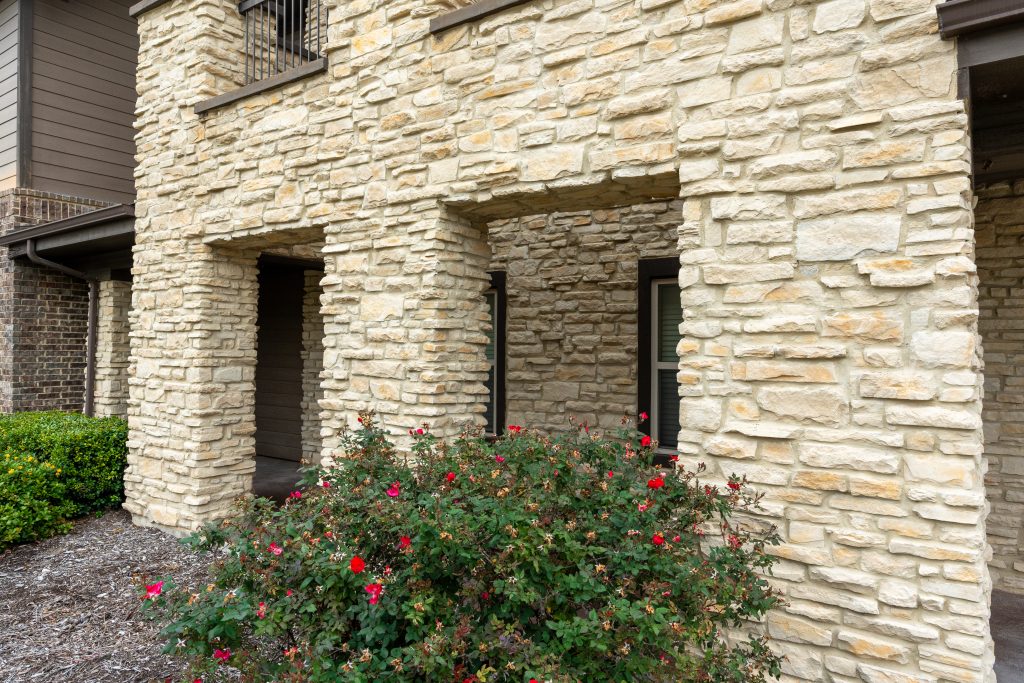
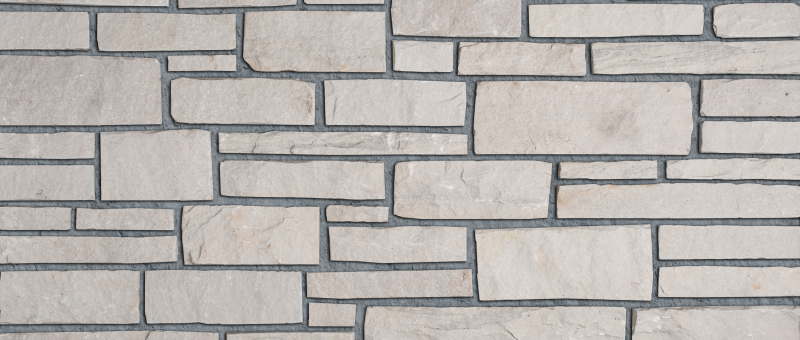
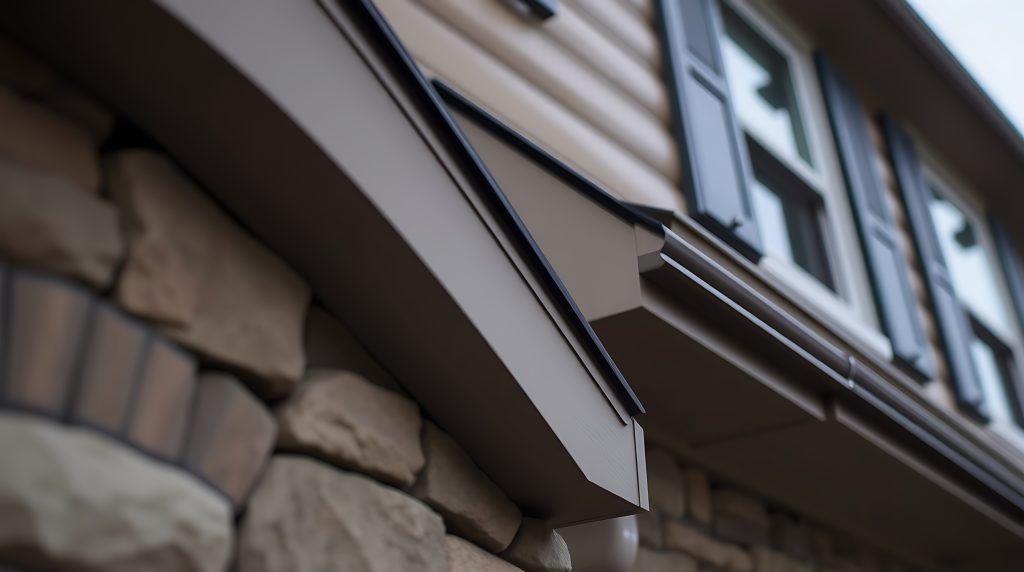
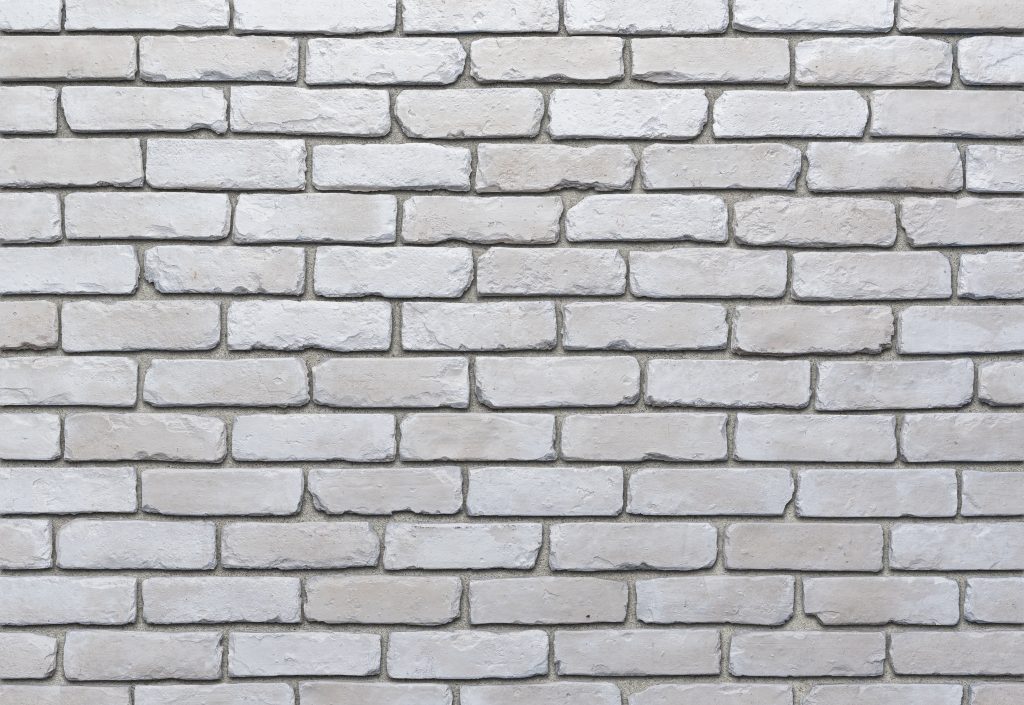
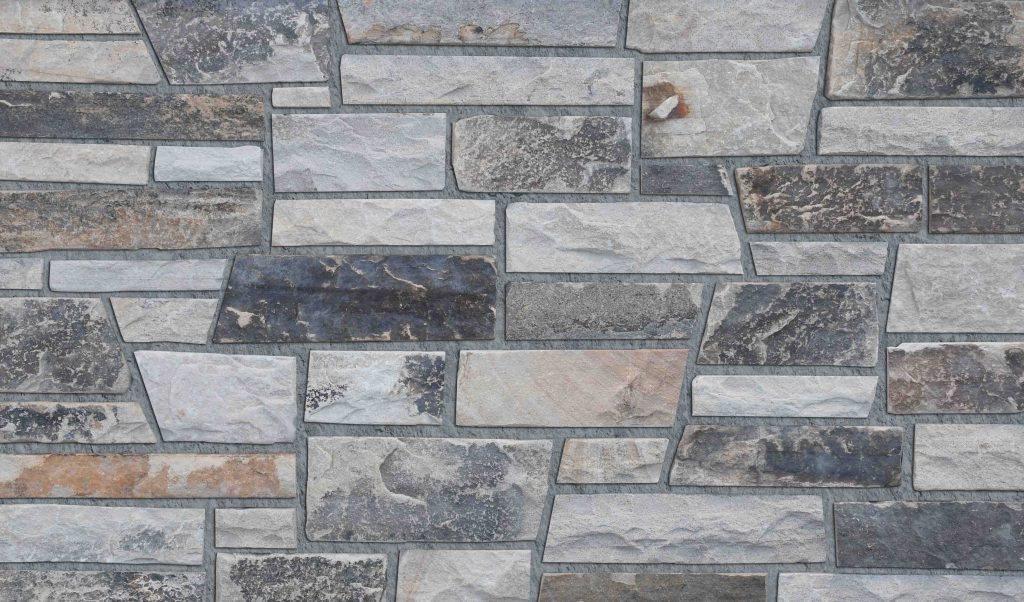
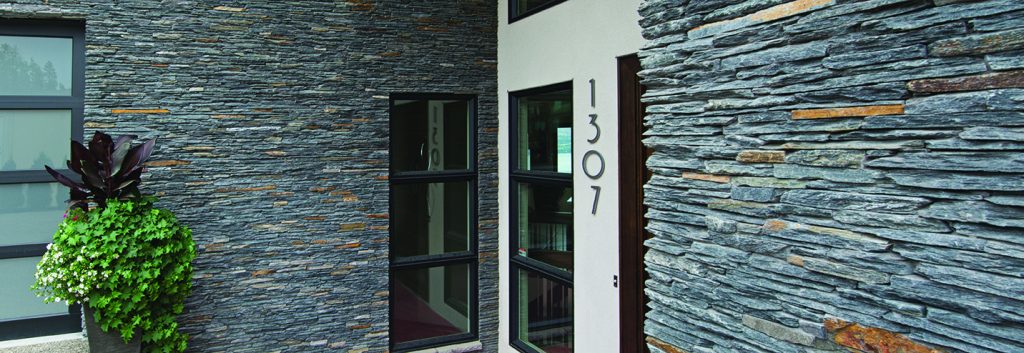
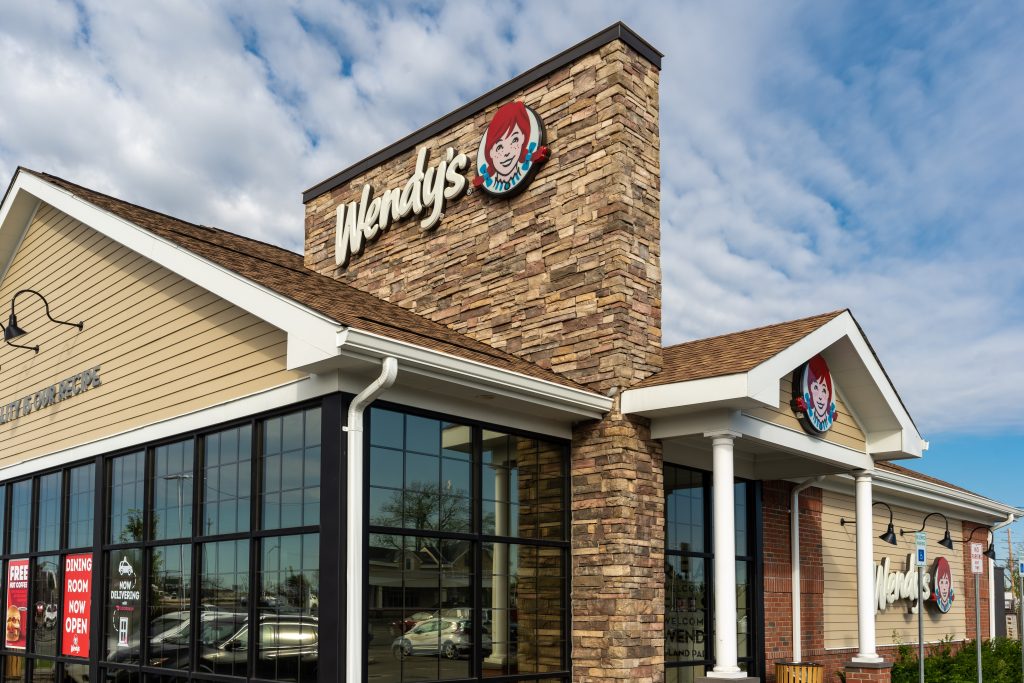
The exterior of this Wedny’s restaurant is easily recognizable and replicable. It features Chardonnay Country Ledgestone from Cultured Stone. The MSV has a rustic, striated surface and angle-cut edges.
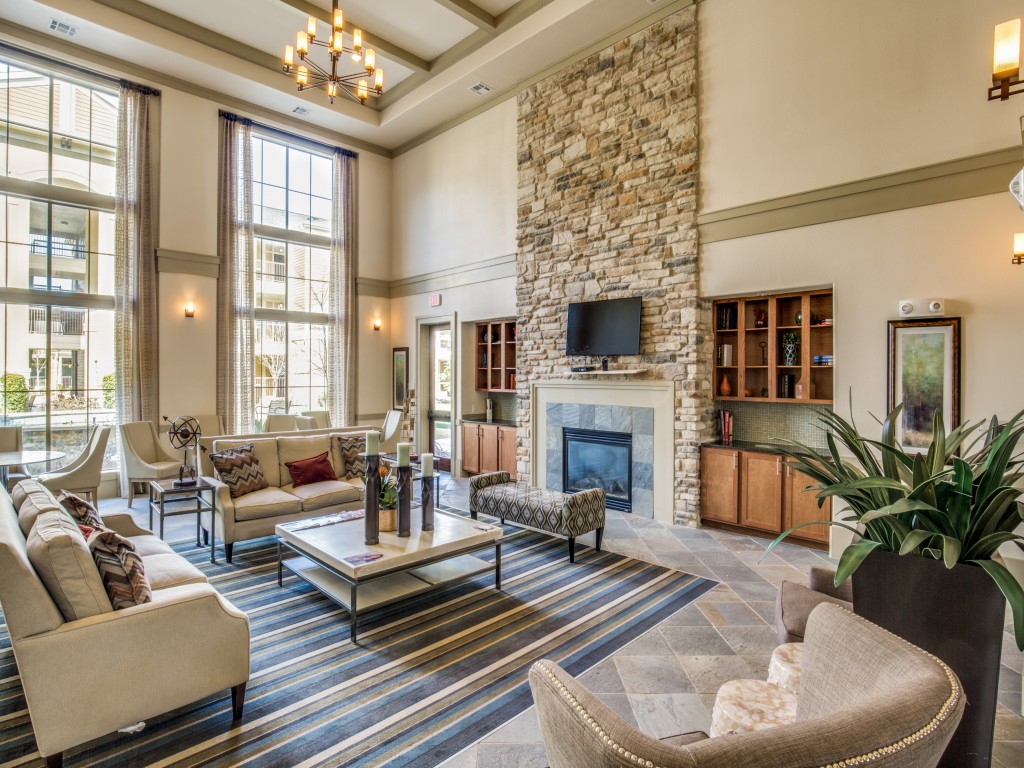
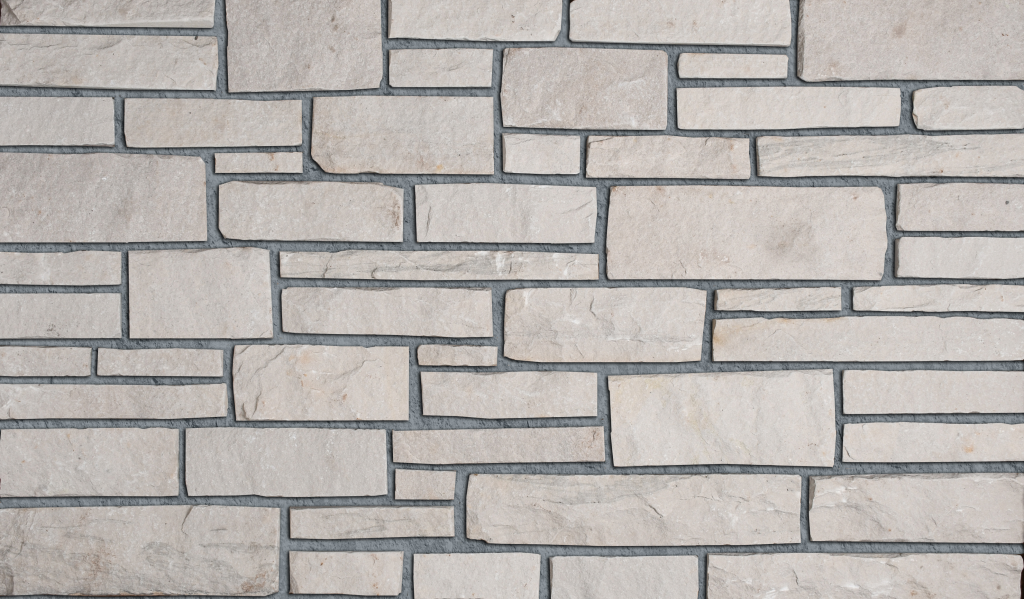
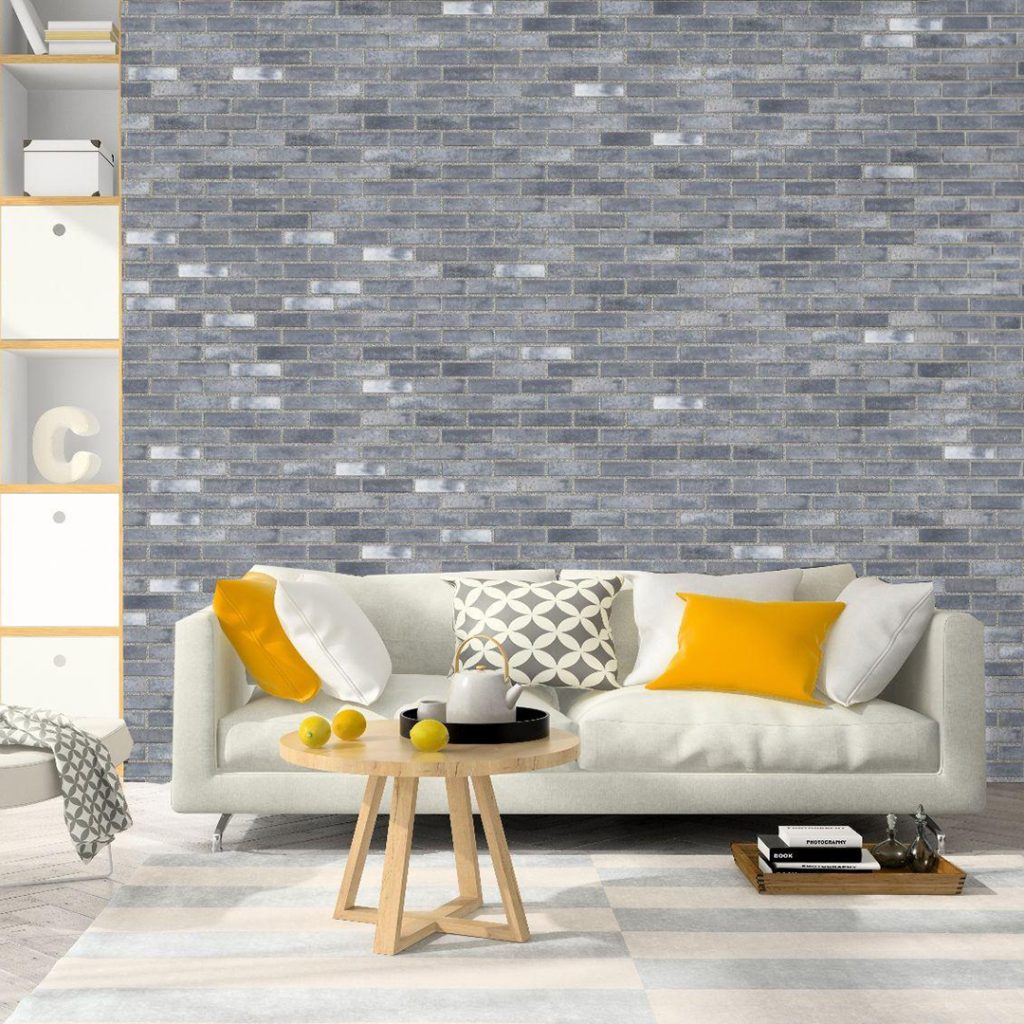
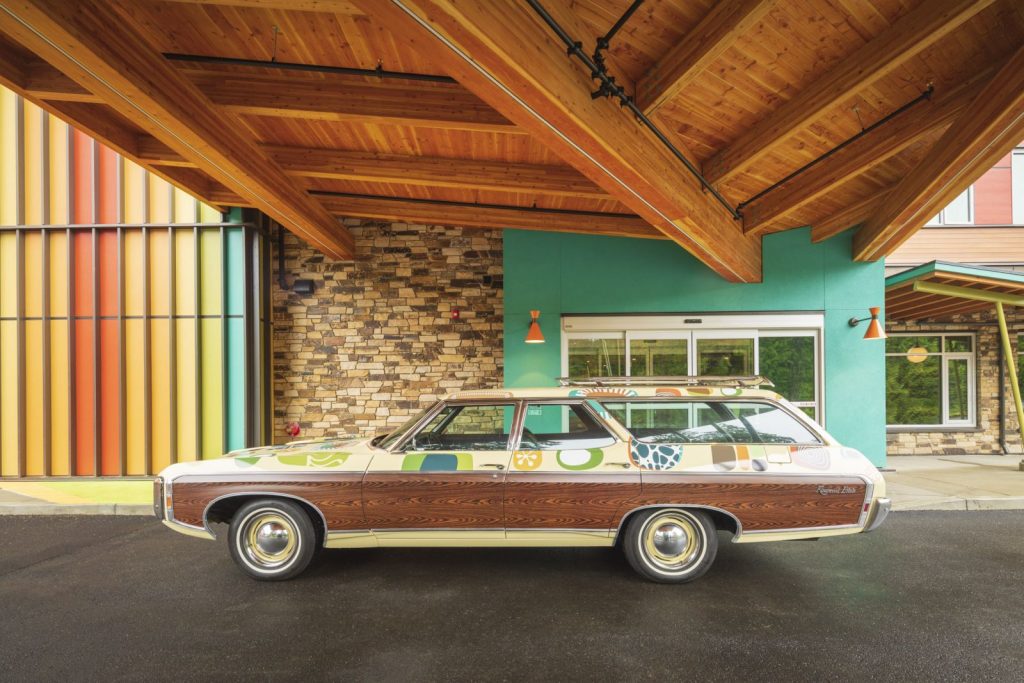
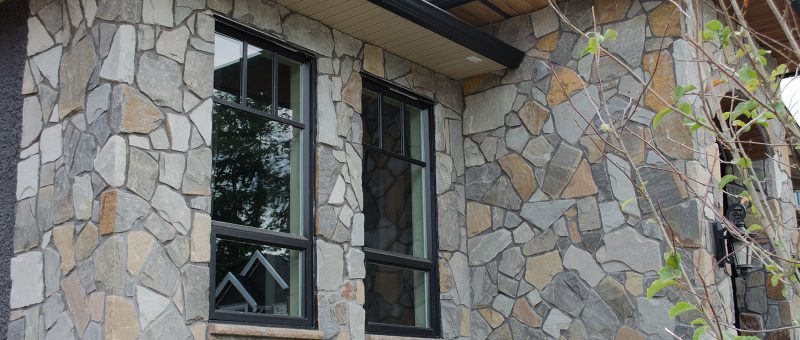
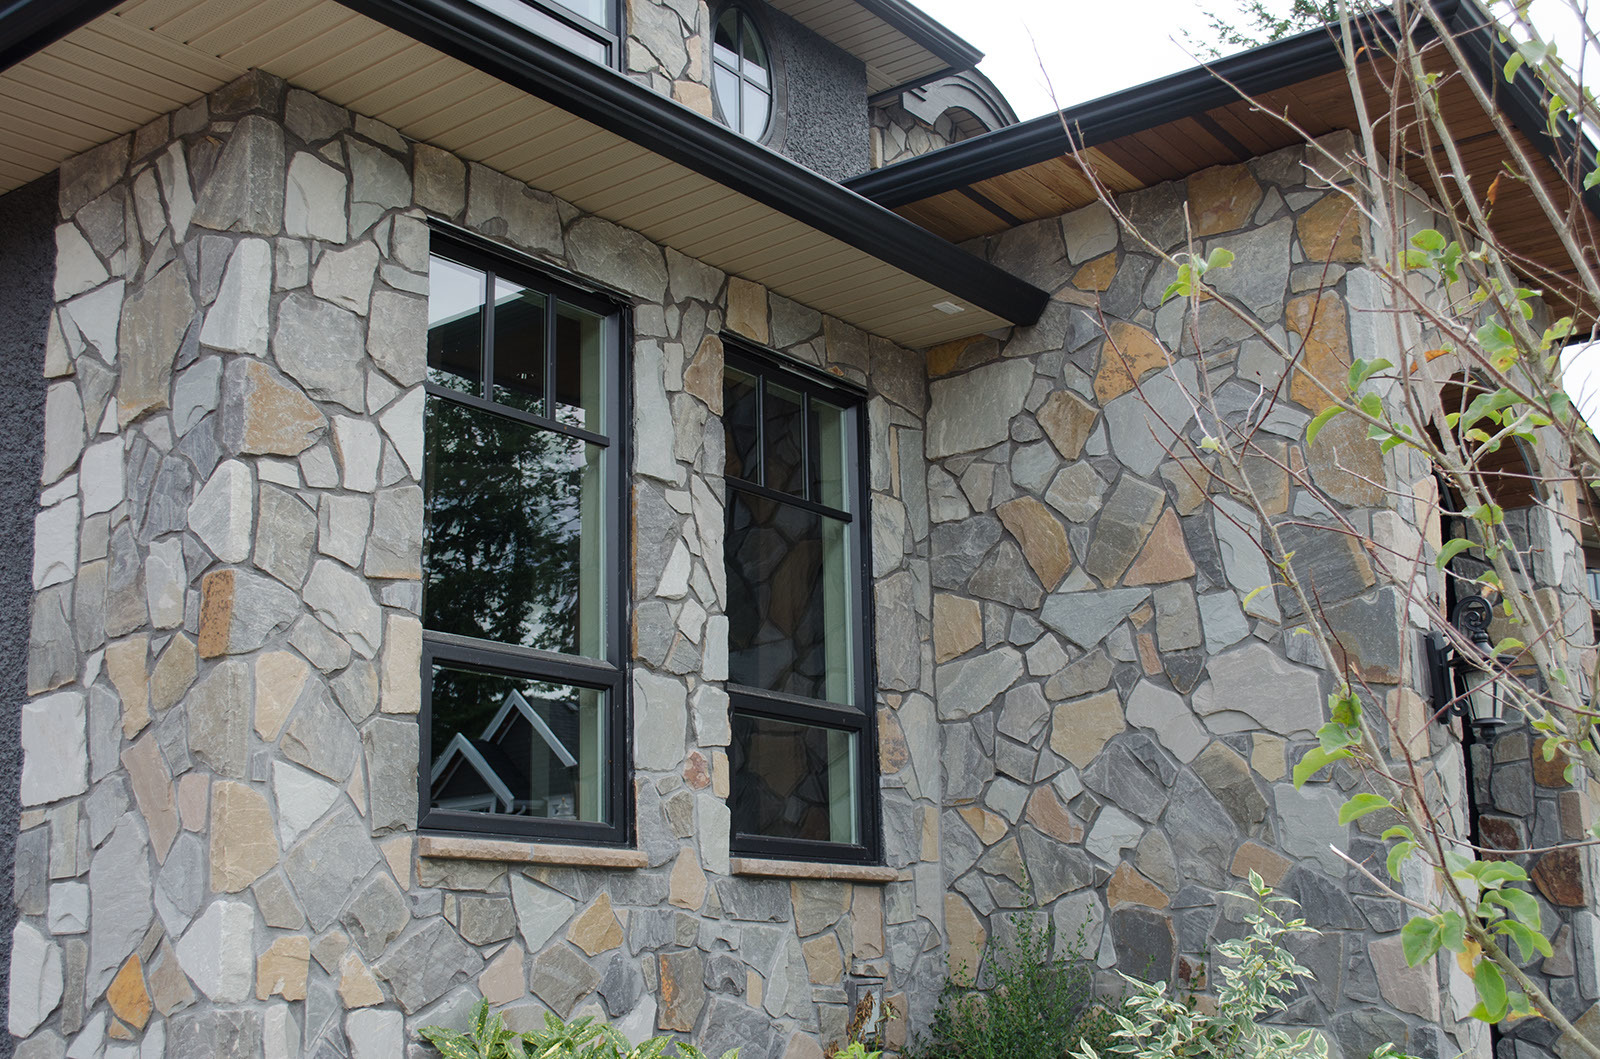
With rustic charm and a warm color palette, Bucks County Southern Ledgestone from Cultured Stone offers a welcoming appeal for this Midwest restaurant.

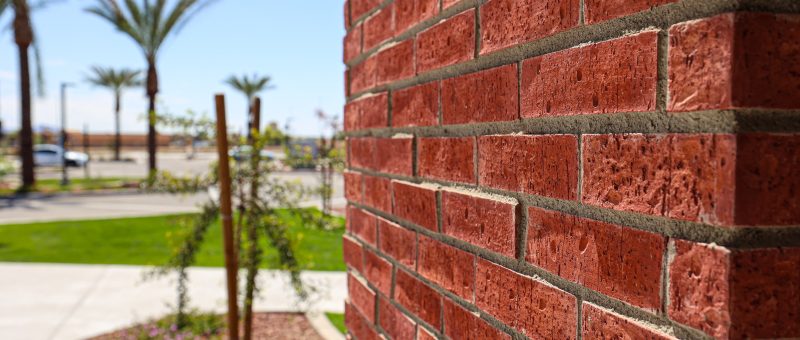
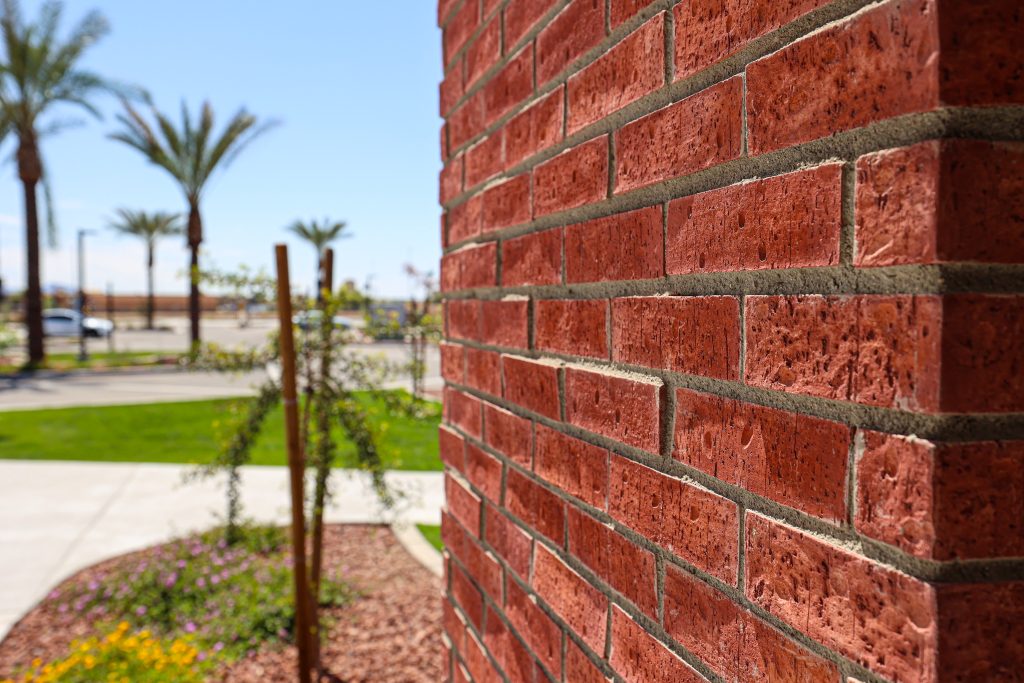
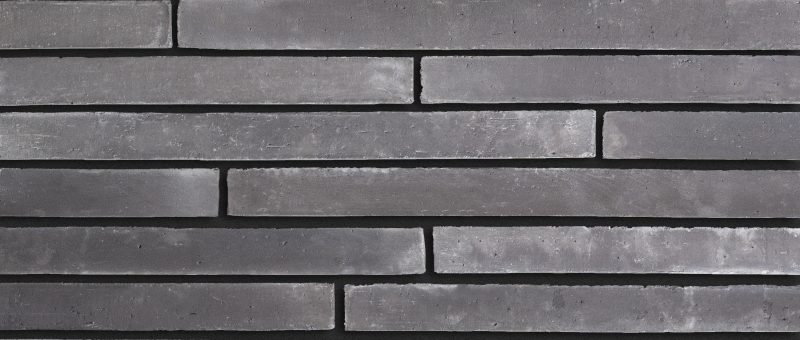
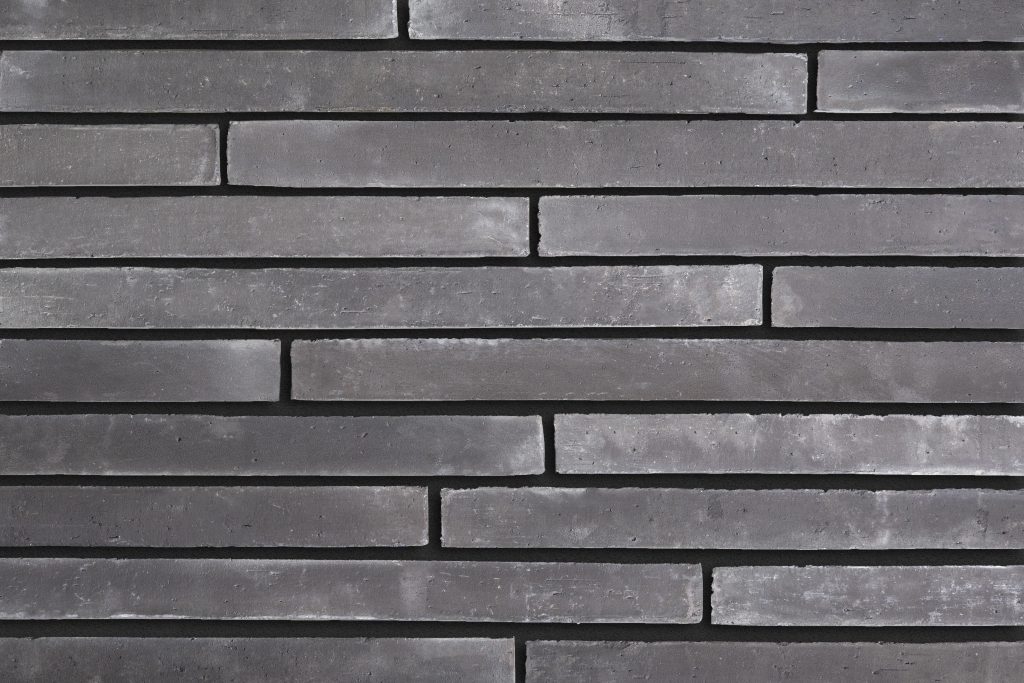
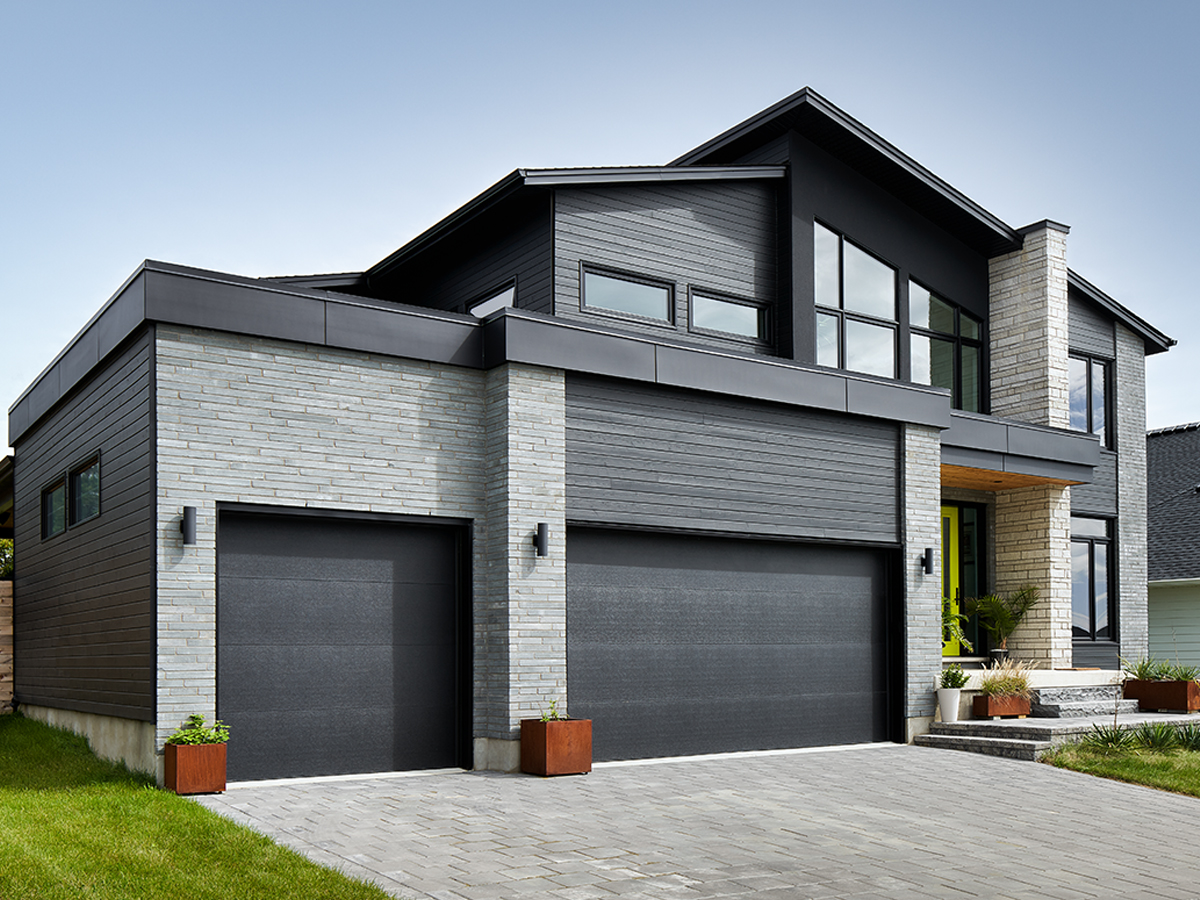
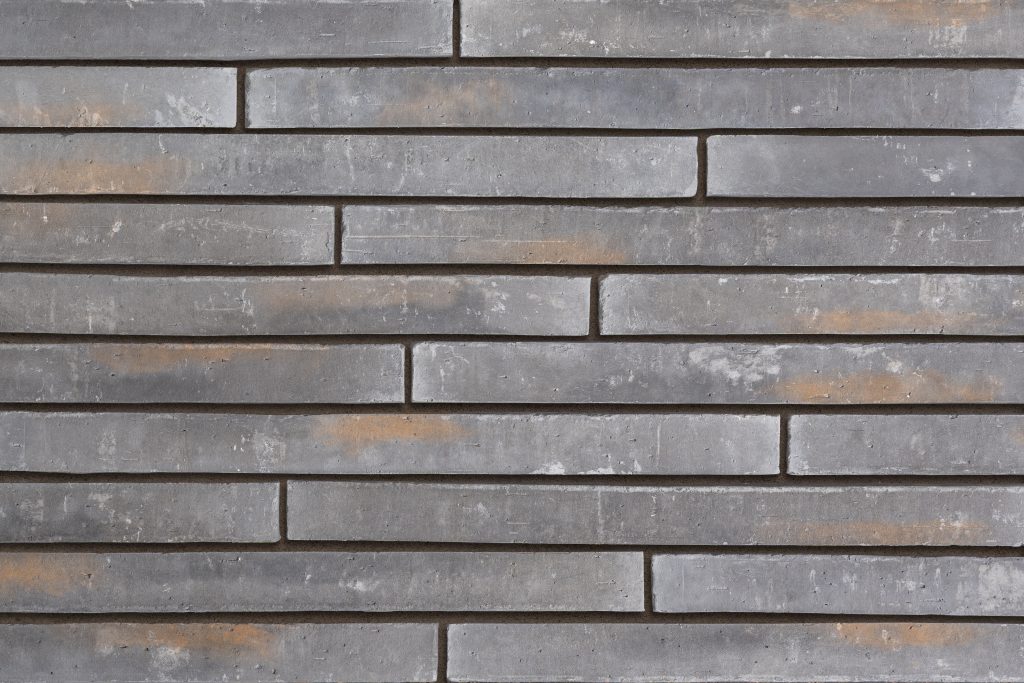
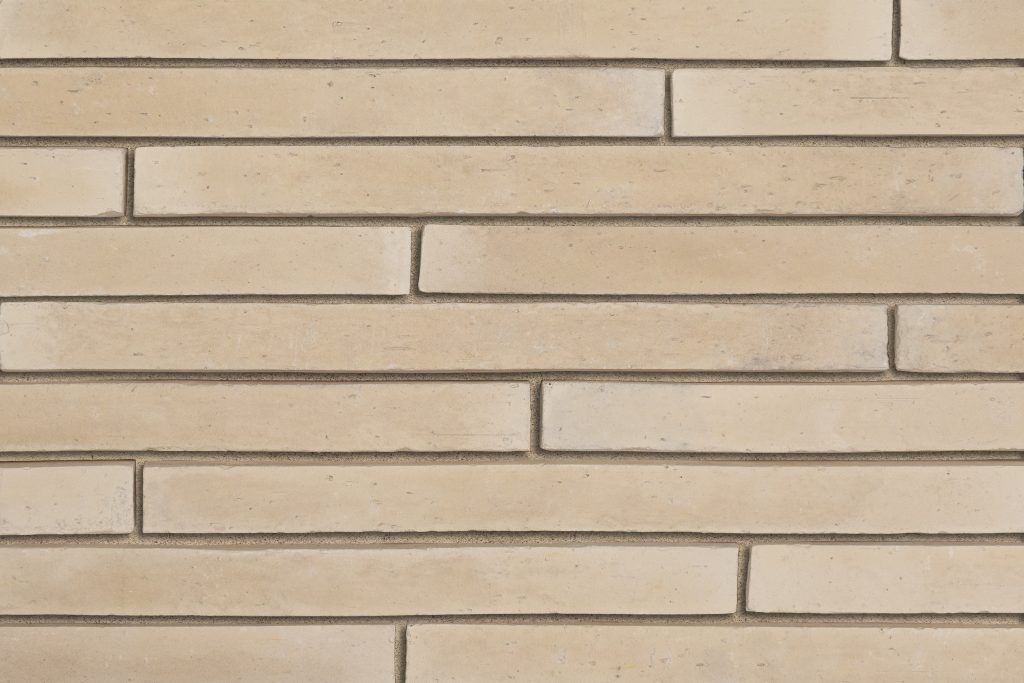
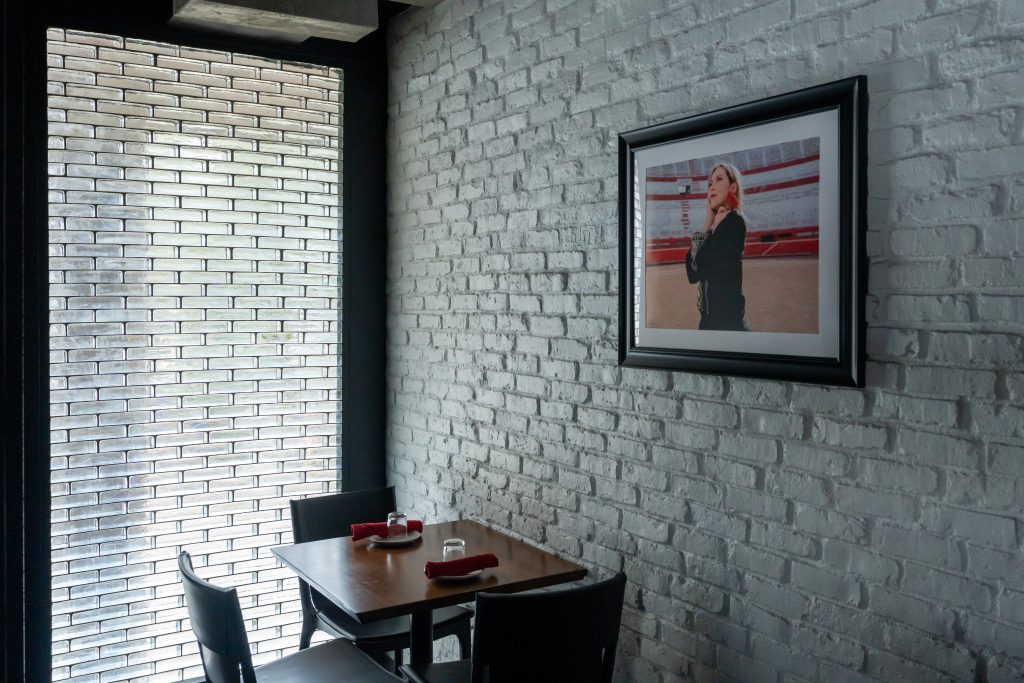
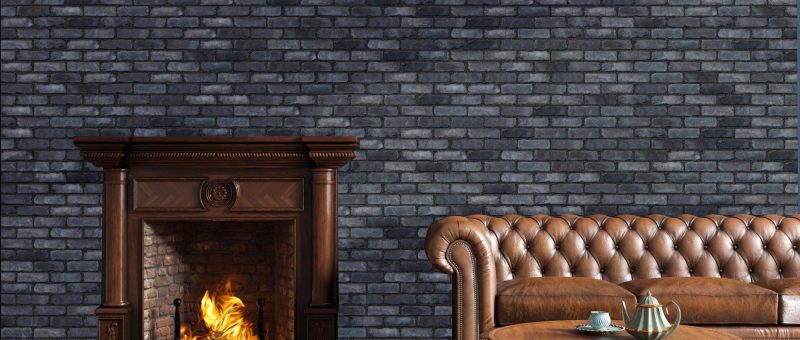
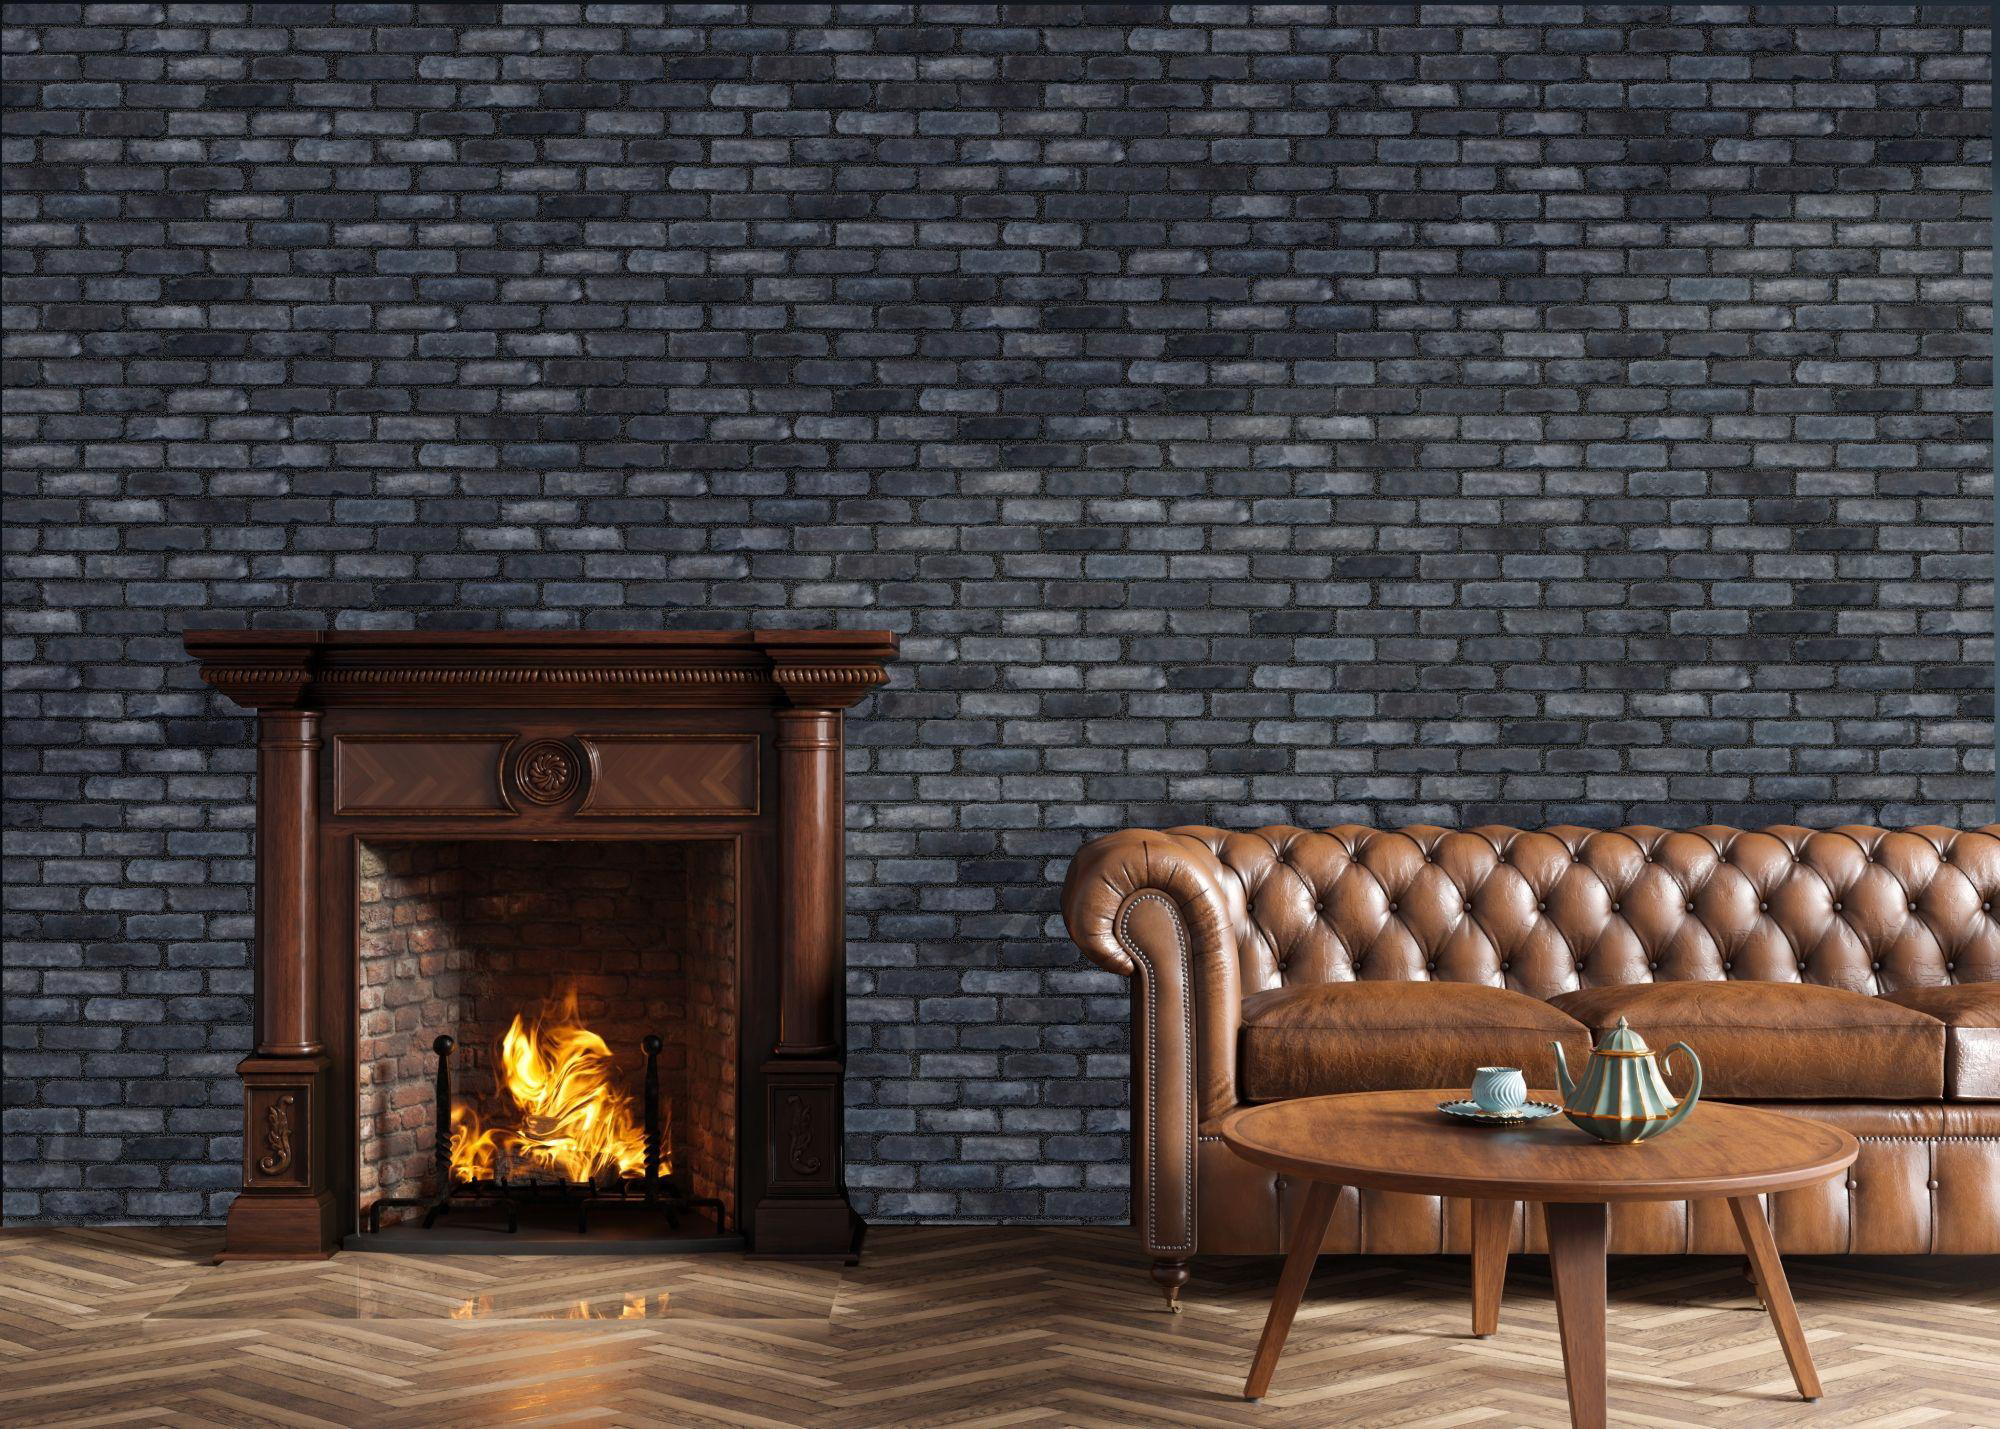
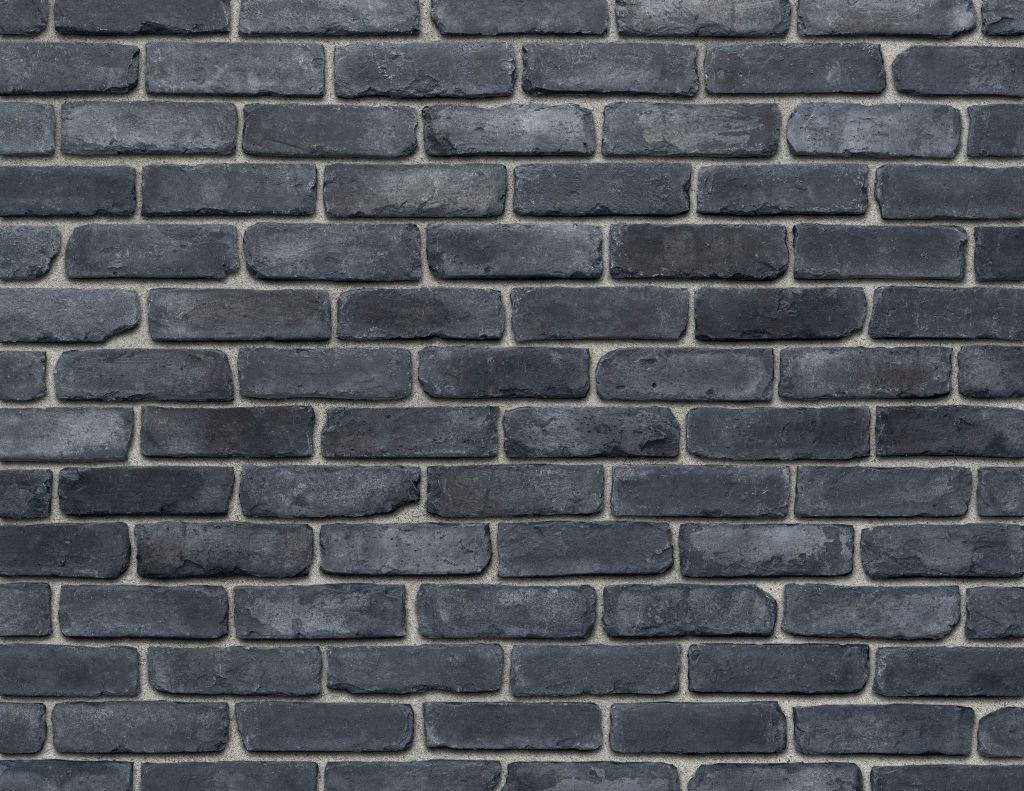
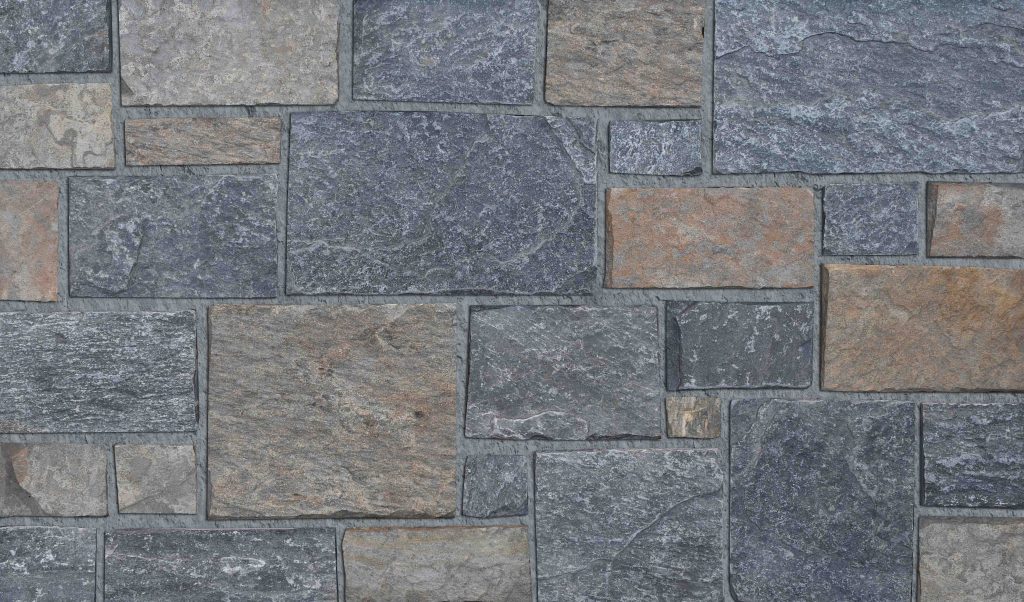
Texas Stone Designs’ Ciloso Luxbrick, installed in a traditional pattern and a chevron pattern, has an aged look that brings the wall of this restaurant to beautiful life.

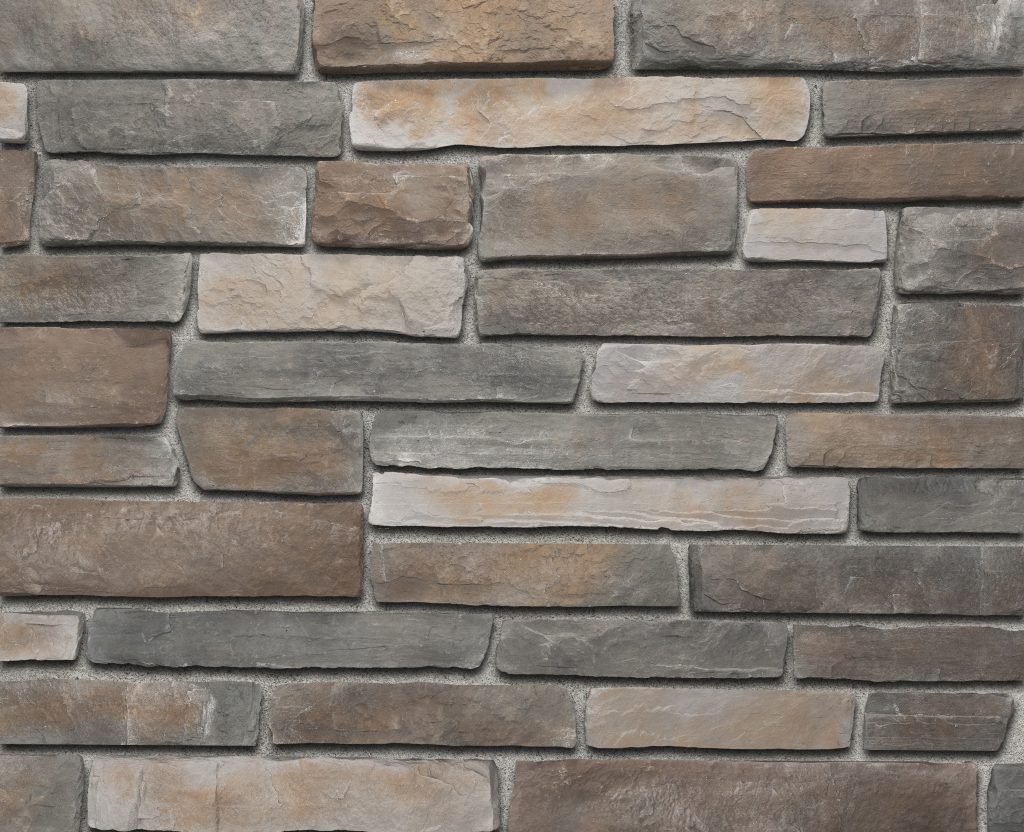
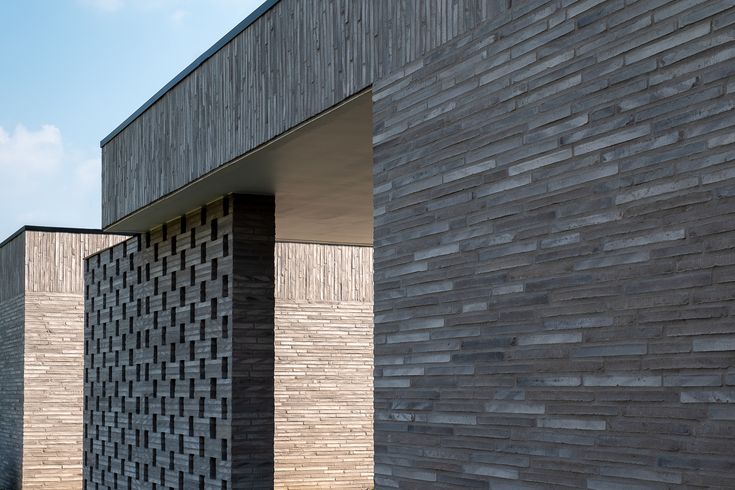
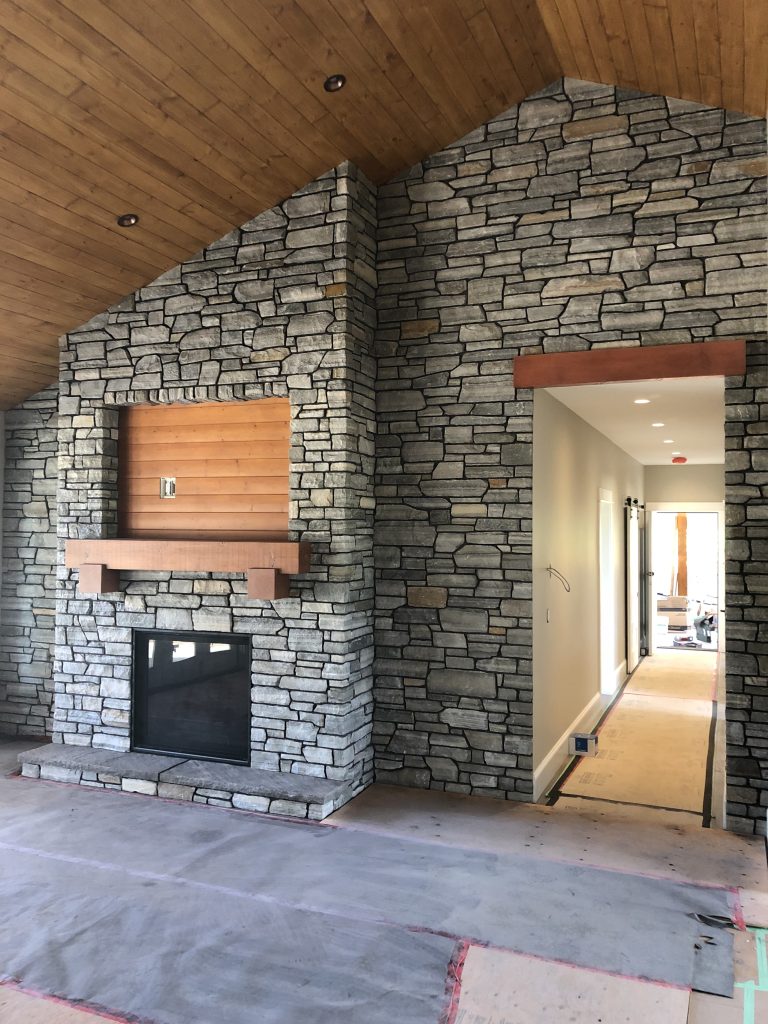
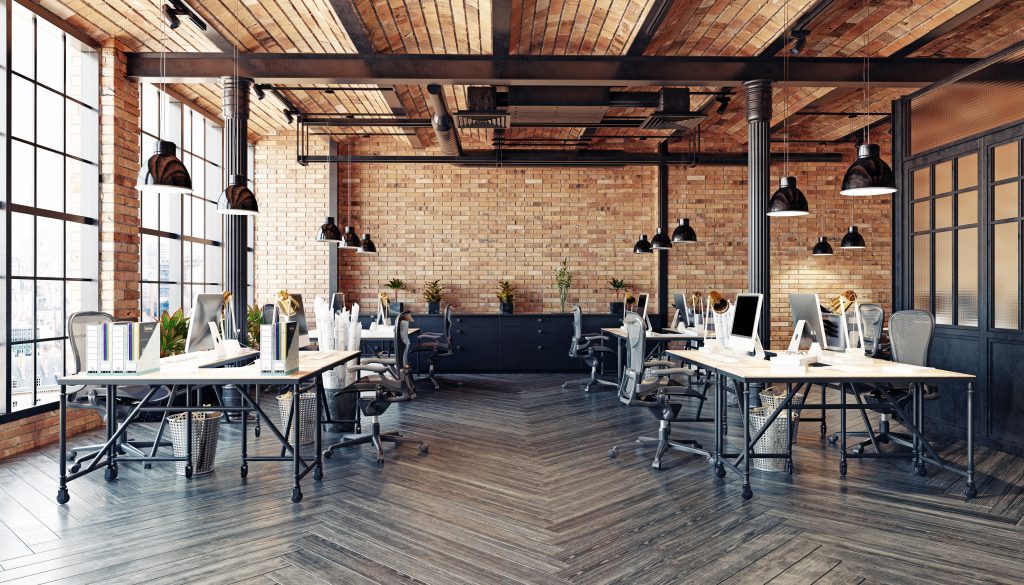
For Petro’s restaurant, the design team specified Horizon Stone’s Handcrafted manufactured stone in Smoky Mountain, which combines rugged symmetry with precise lines for an ageless appeal.

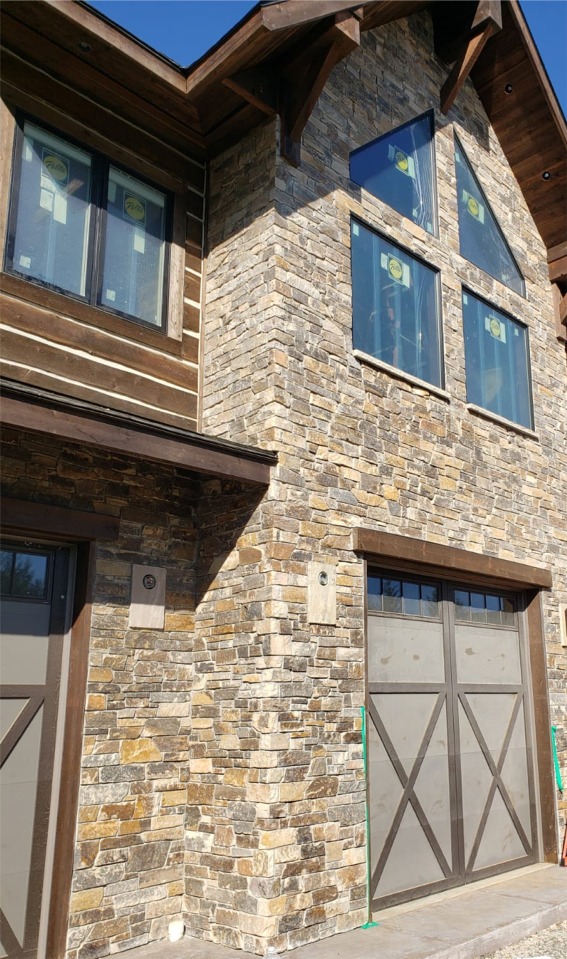
An aesthetic familiar to many, the exterior of this Starbucks franchise features Prestige Stone Products’ Weatherledge profile in Harvest.

Want to learn more about the possibilities of manufactured stone veneer? Visit our MSV page here.
Follow the link below for more industry insights from across the building products world.