From Plant to Wall: The Process Behind Manufactured Stone Veneer
In the world of masonry and home design, manufactured stone veneer has become a game-changer. With its lightweight profile, stunning realism, and cost efficiency, it’s no wonder that builders, designers, and homeowners are turning to brands like Toro Stone® for both interior and exterior applications.
But how exactly is manufactured stone veneer made? What does the journey look like from the manufacturing plant to your home’s fireplace, façade, or feature wall? Let’s explore the full lifecycle of this innovative material.
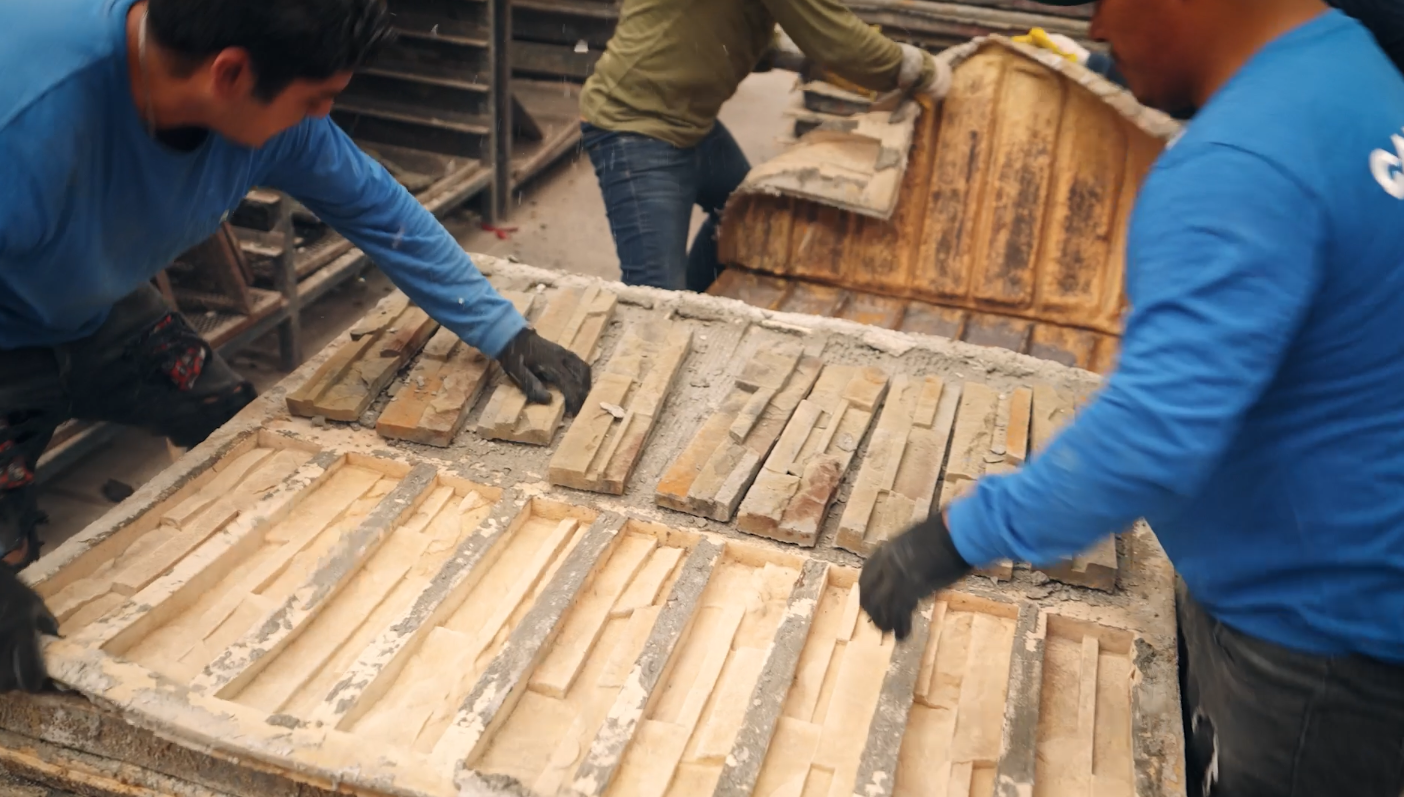
Step 1: The Mold Creation – Capturing the Character of Natural Stone
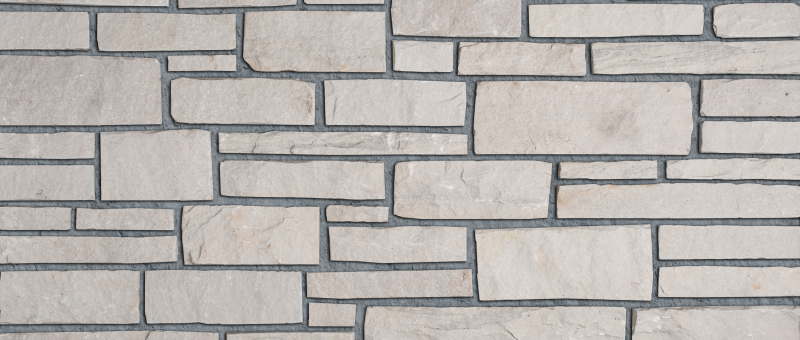
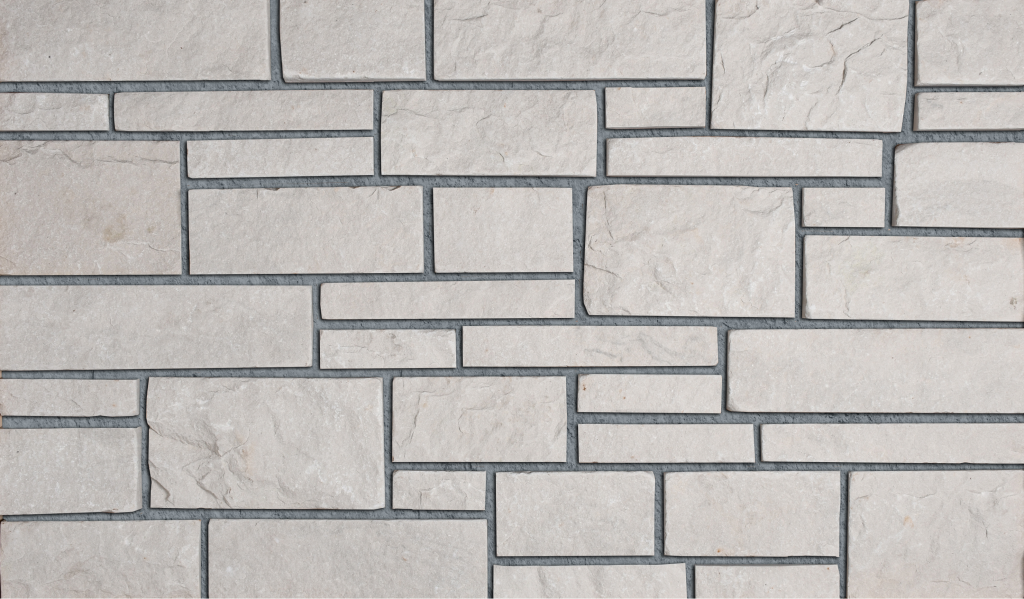
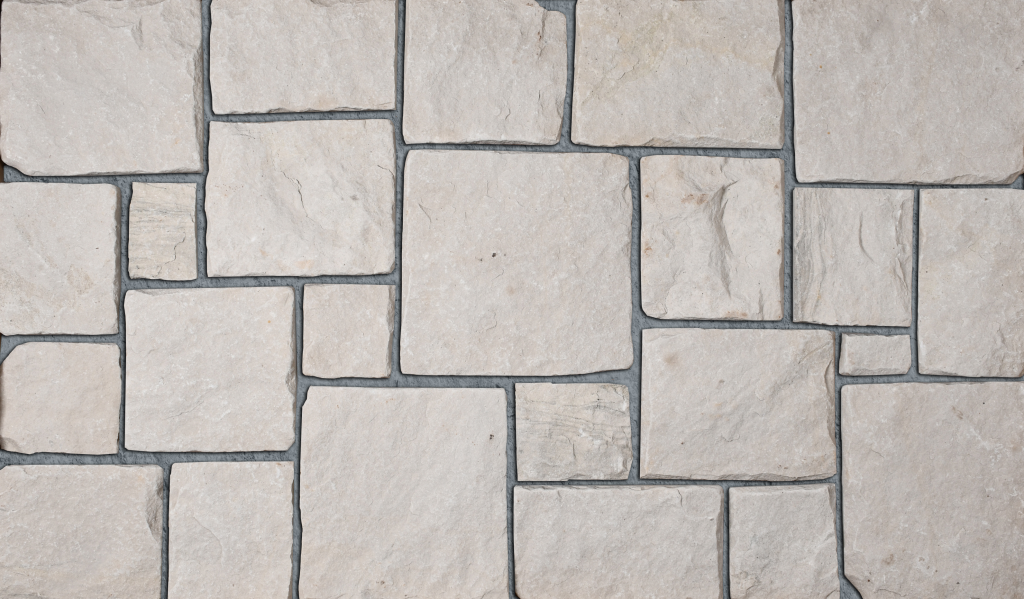
Every piece of manufactured stone veneer starts with a mold. Using hand-selected pieces of natural stone, artisans create rubber or latex molds that capture every detail—ridges, textures, cracks, and veining. This step is essential to achieve the authentic look of real stone, which is a major selling point for discerning homeowners.
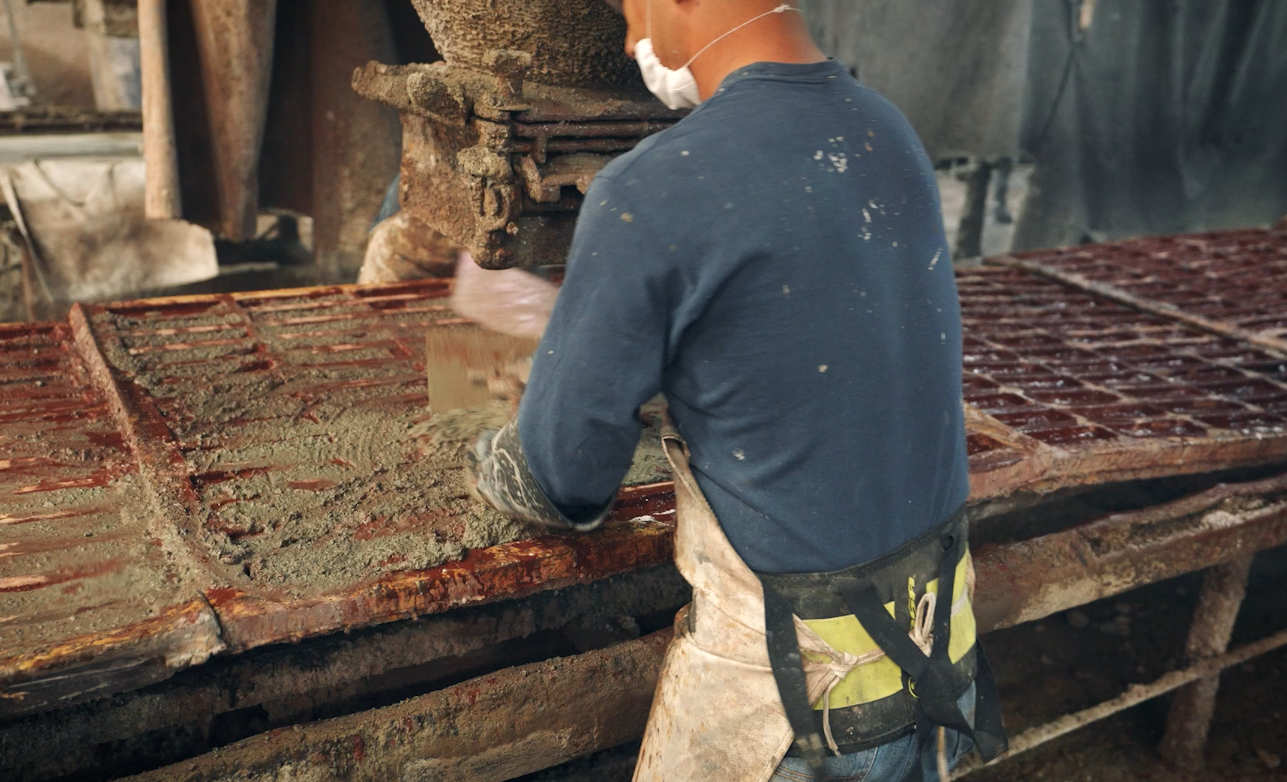
Step 2: The Mix – Blending Raw Materials for Strength and Beauty
Once the molds are ready, it’s time to create the stone mix. The blend usually includes:
- Cement (for strength and durability)
- Lightweight aggregates (to reduce weight)
- Iron oxide pigments (to produce realistic colors)
- Additives (to control curing time and surface quality)
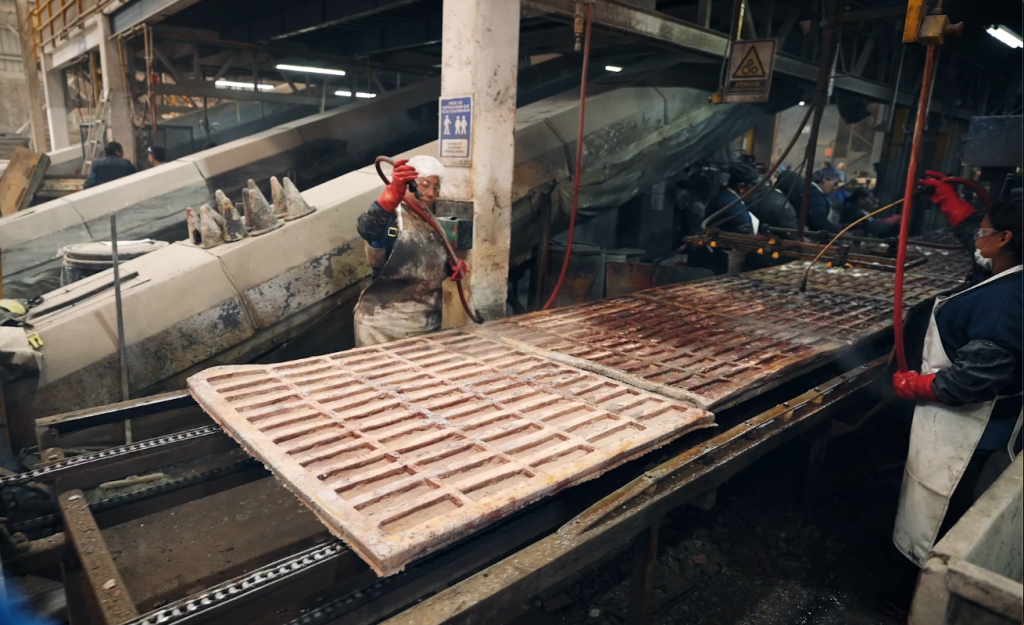
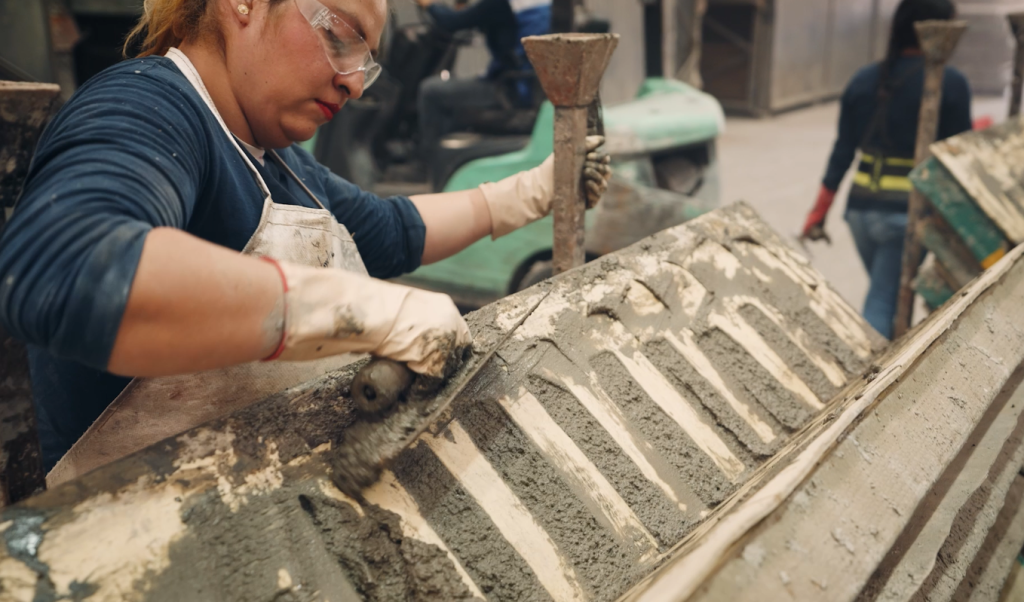
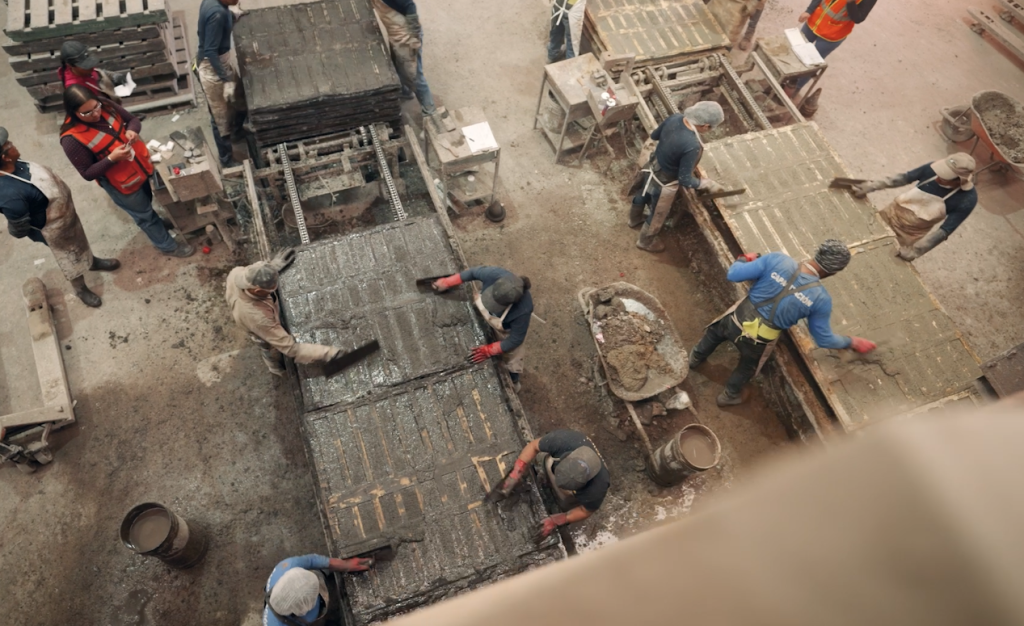
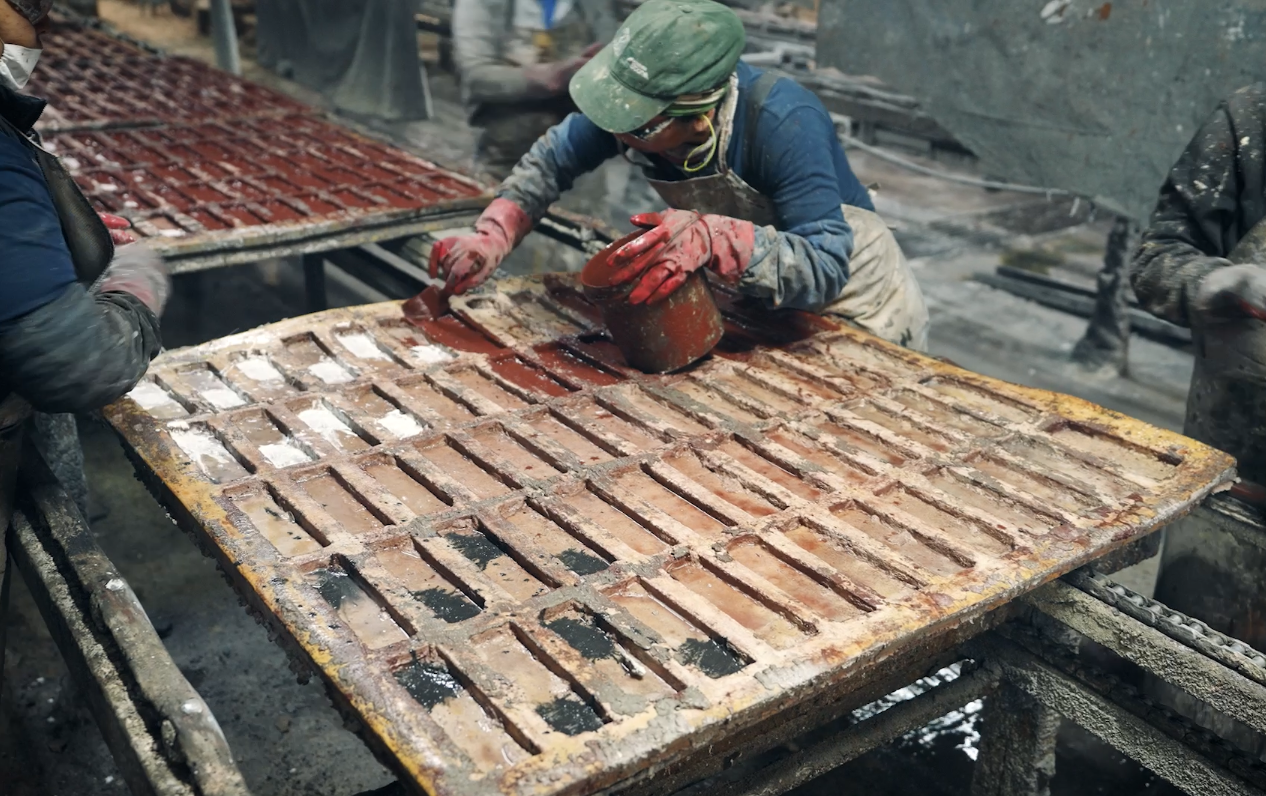
The resulting slurry is poured into the molds and vibrated to eliminate air pockets.
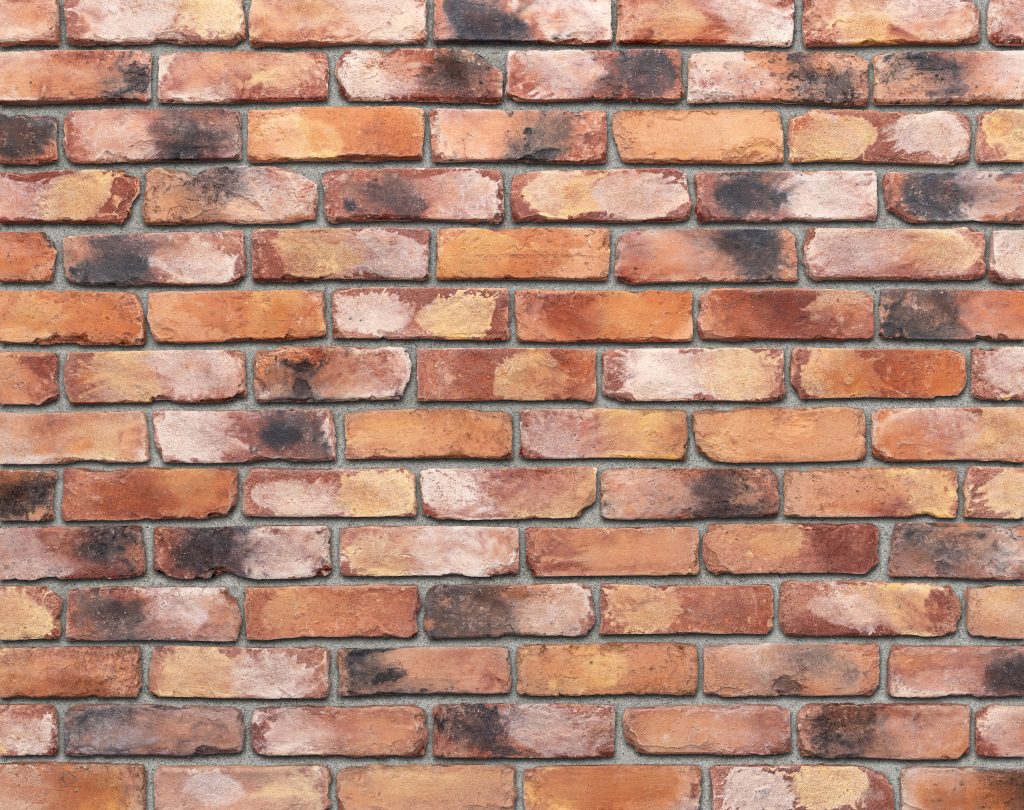
Step 3: Coloring – Bringing Stone to Life
Pigments are added throughout the mix, not just on the surface. This ensures that the color runs through the veneer, increasing fade resistance and realism. Some pieces may also receive hand-painted surface coloring for added variation and depth.
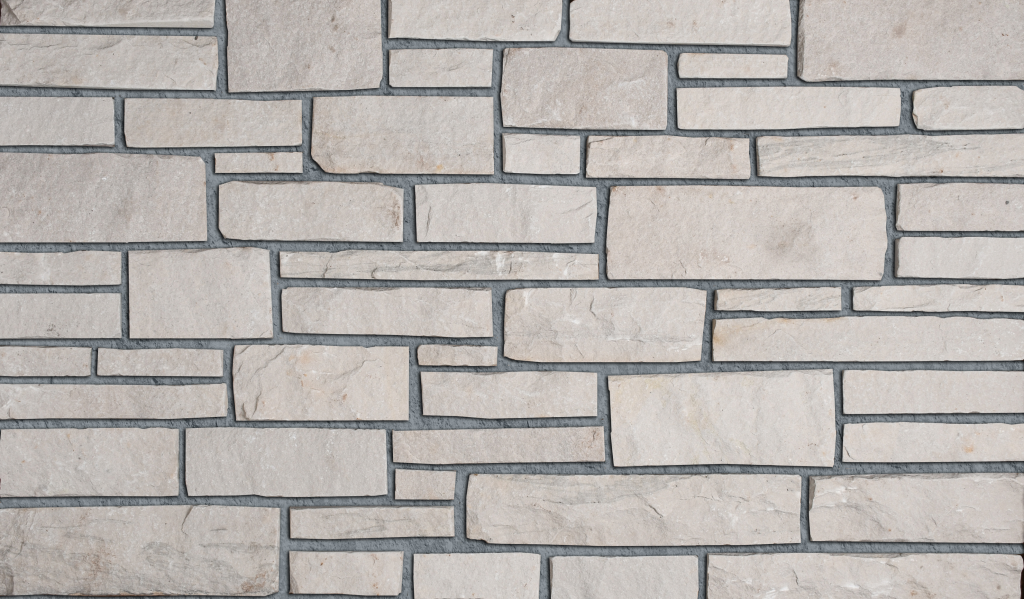
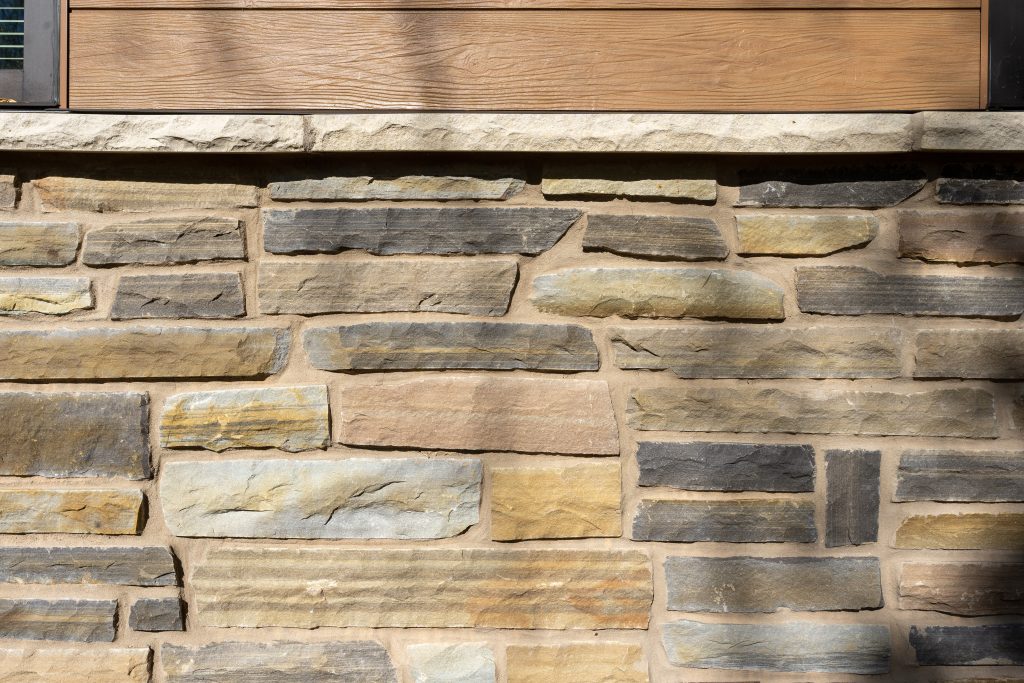
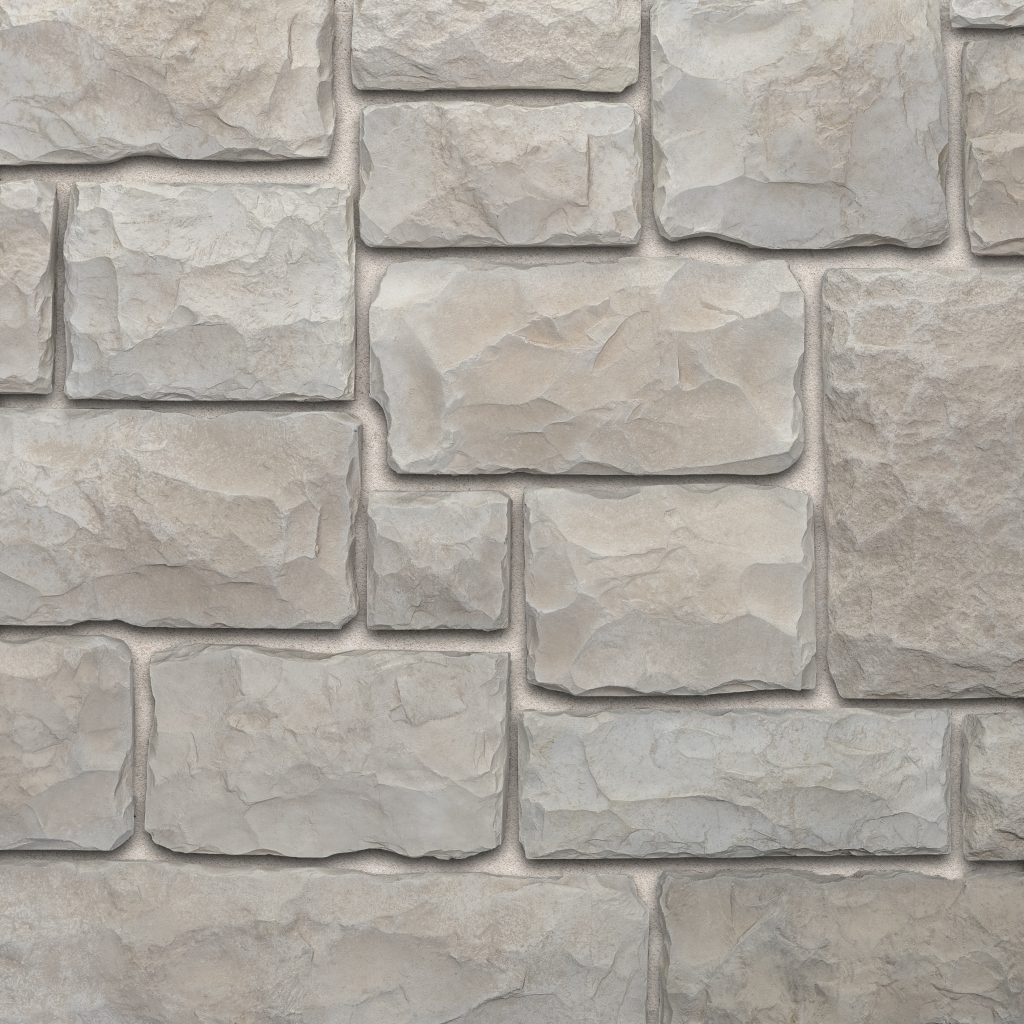
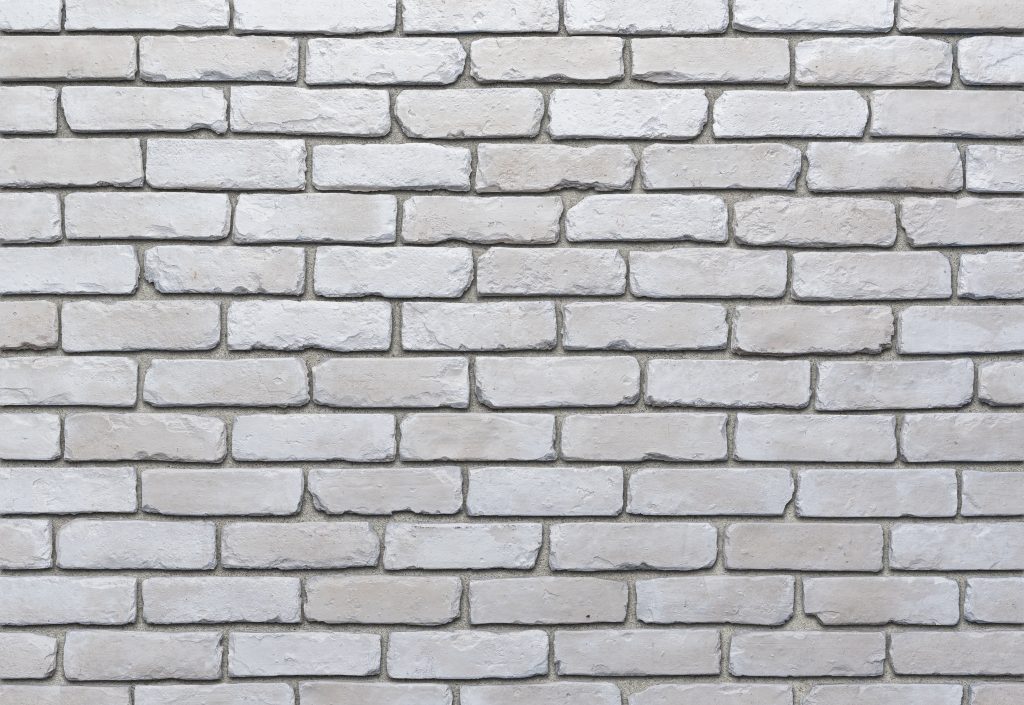
The use of iron oxide pigments to mimic natural stone shades allows manufactures like Toro Stone® to offer a wide range of styles from limestone to fieldstone to ledge stone.
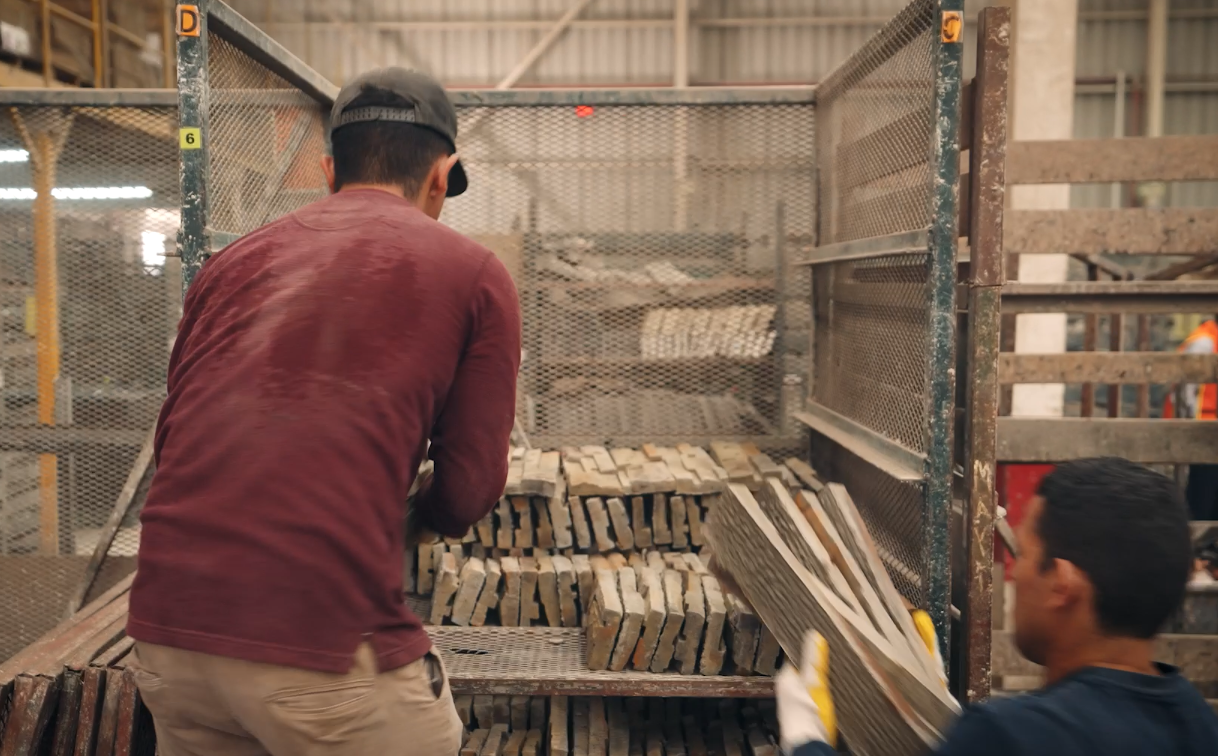
Step 4: Curing – Strength Through Controlled Conditions
After molding, the pieces are sent to a controlled curing environment. Here, temperature and humidity are carefully regulated to ensure the stone veneer develops its full strength without cracking or warping.
This step is critical to creating a product that performs in all climates and can withstand freeze-thaw cycles, UV exposure, and other environmental stresses.
Step 5: Quality Control – Inspection and Testing
Before being packaged and shipped, every batch undergoes rigorous quality control inspections. This includes:
- Visual inspections for surface defects
- Dimensional checks for consistency
- Strength and color testing
Toro Stone® also adheres to ASTM C1670 standards for manufactured stone veneer, providing peace of mind to builders, architects, and stone masons.
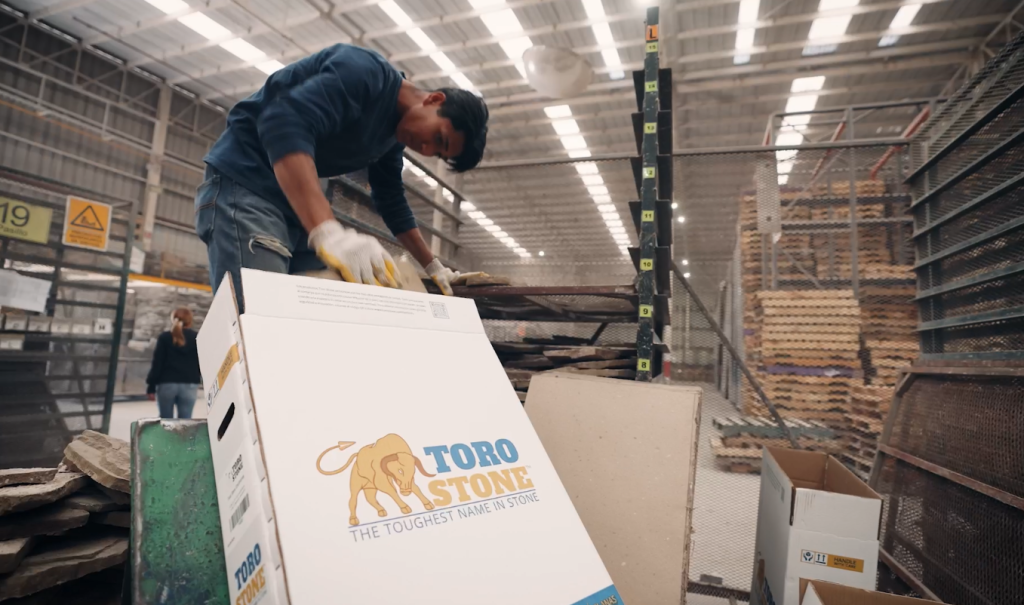
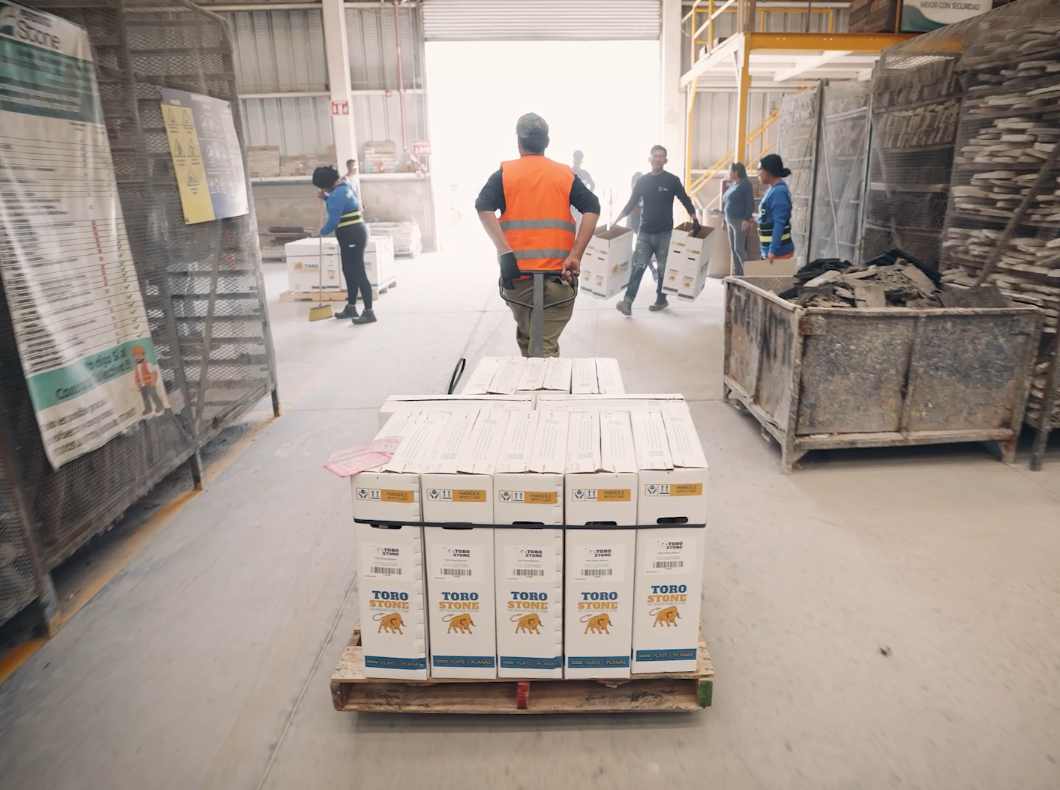
Step 6: Packaging and Shipping – From Plant to Project Site
Once approved, the pieces are packaged securely and labeled by product type and color. Their lightweight nature makes them easy to transport and install, reducing shipping costs and labor strain on job sites.
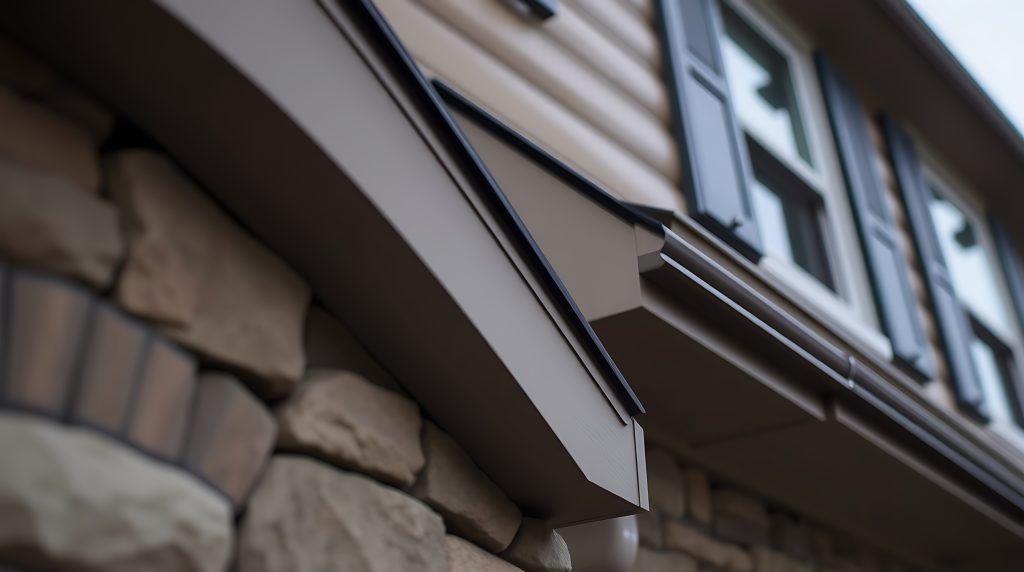
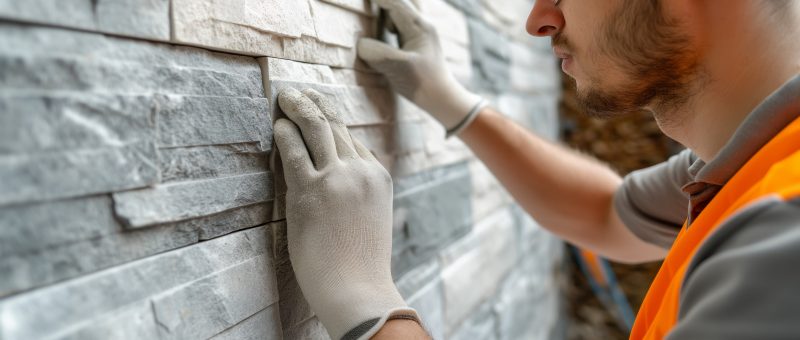
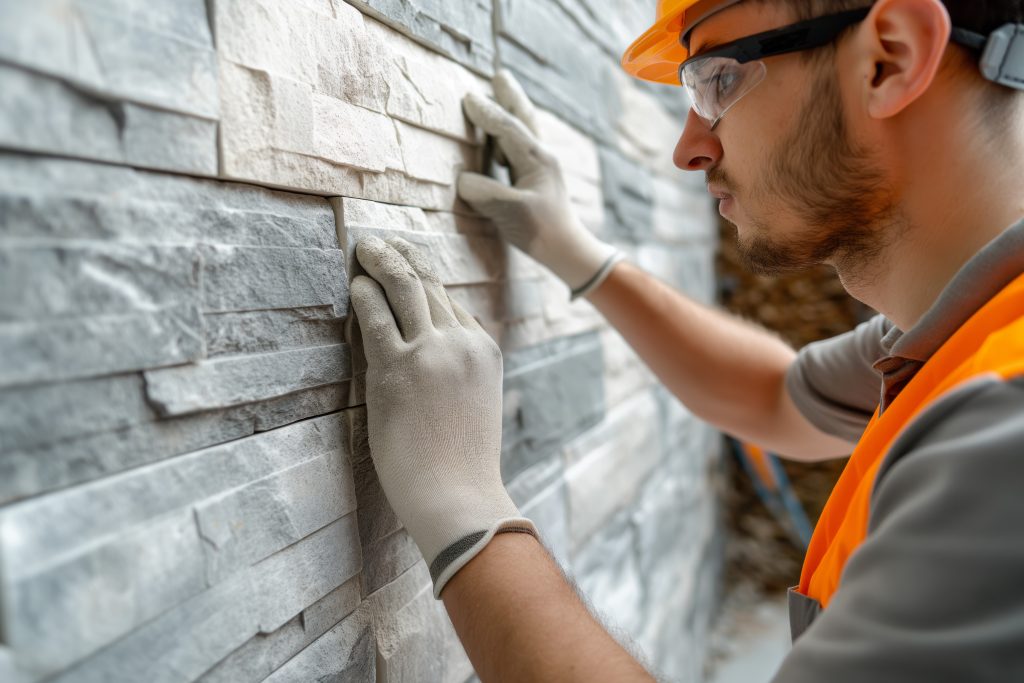
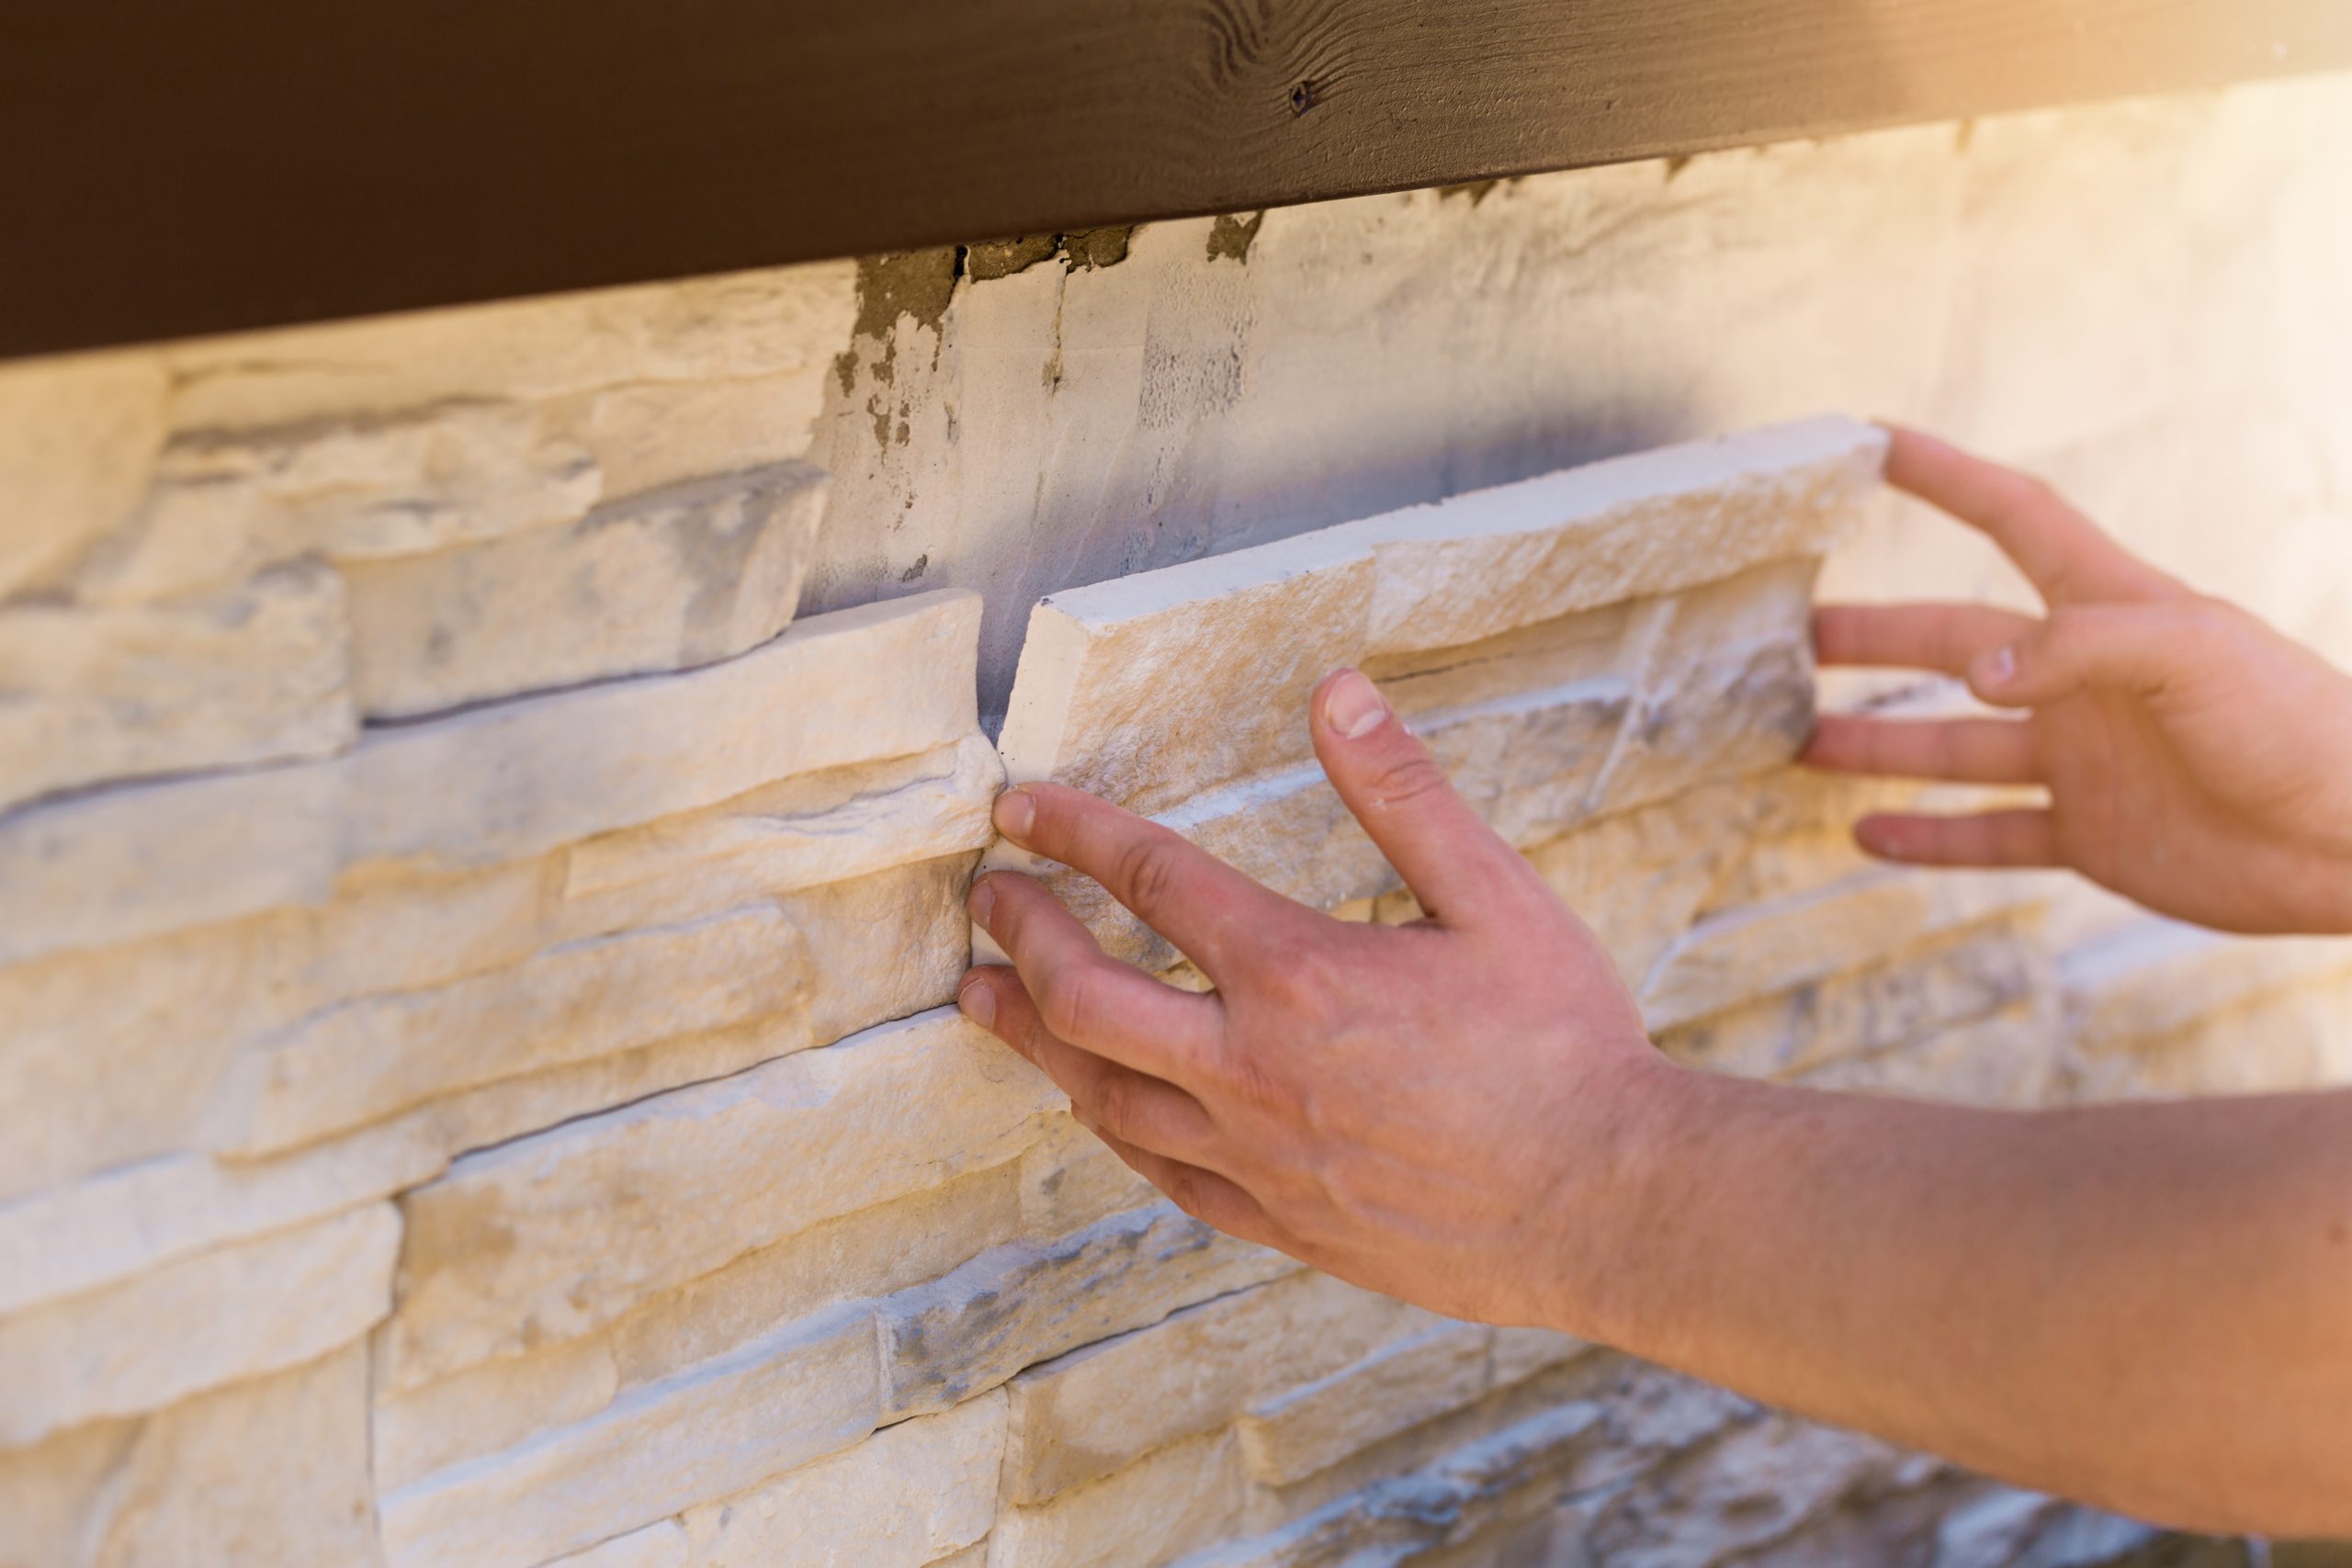
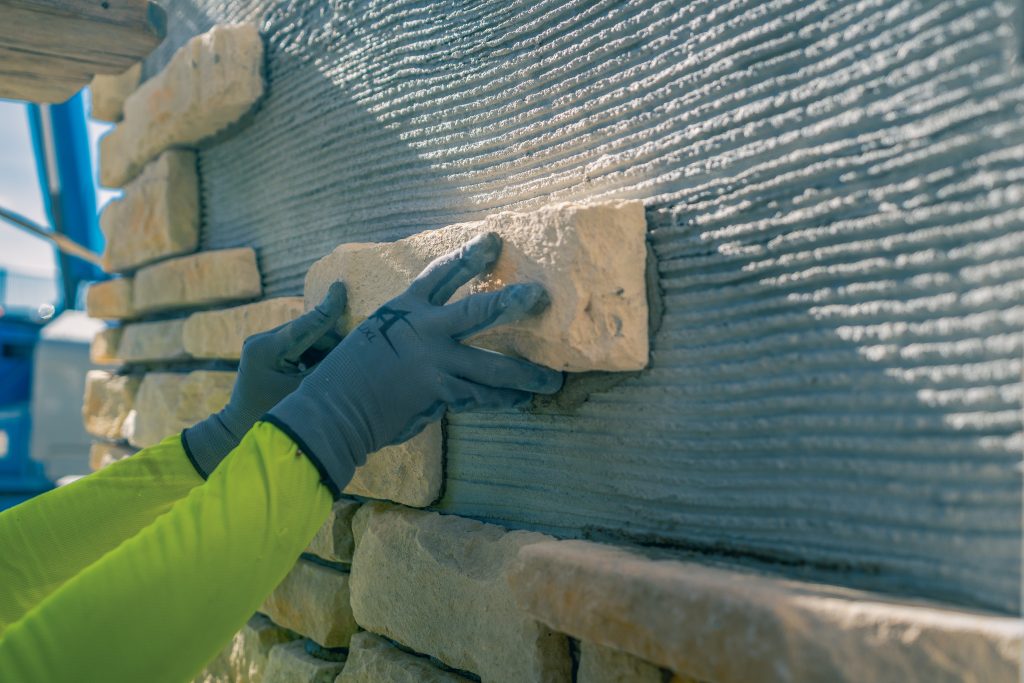
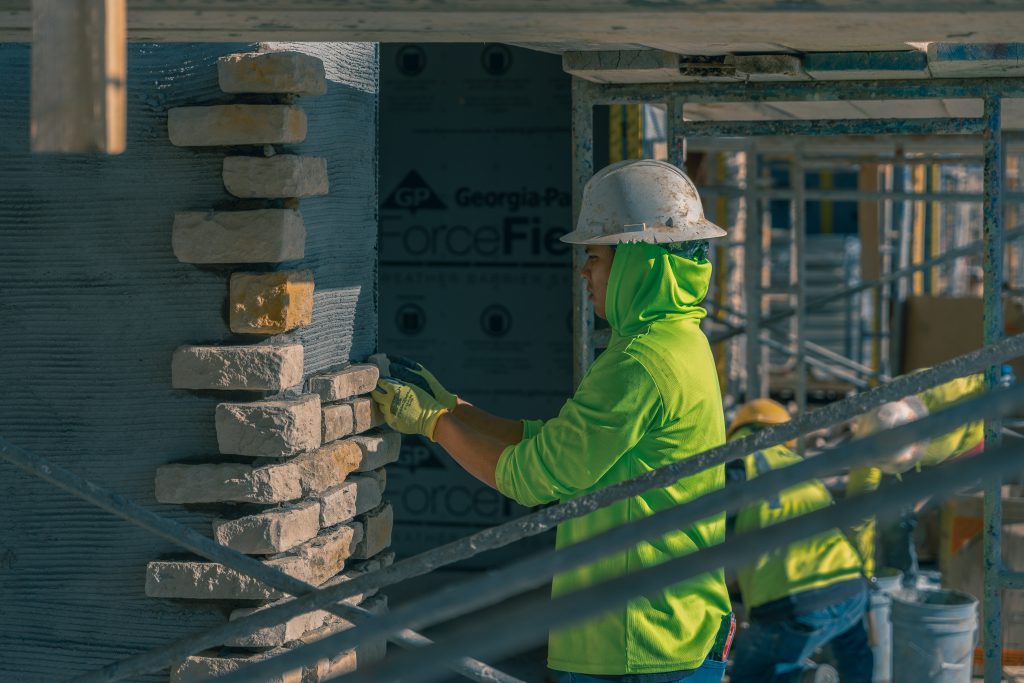
Step 7: Installation – From Skilled Hands to Finished Walls
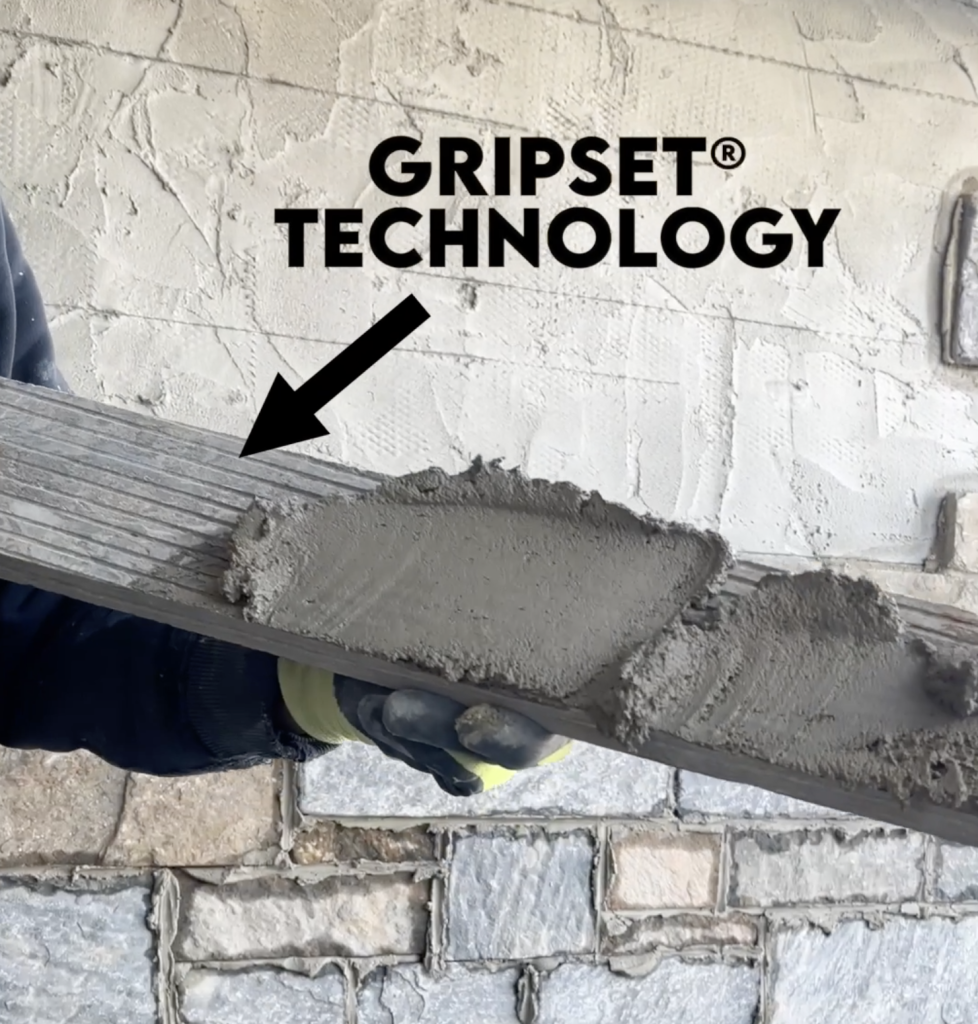
At the job site, masons and contractors install the product using industry-standard methods, including:
- Metal lath and scratch coat for proper adhesion
- Mortar application for joints or seamless dry-stack installs
- Sealing (optional, depending on exposure)
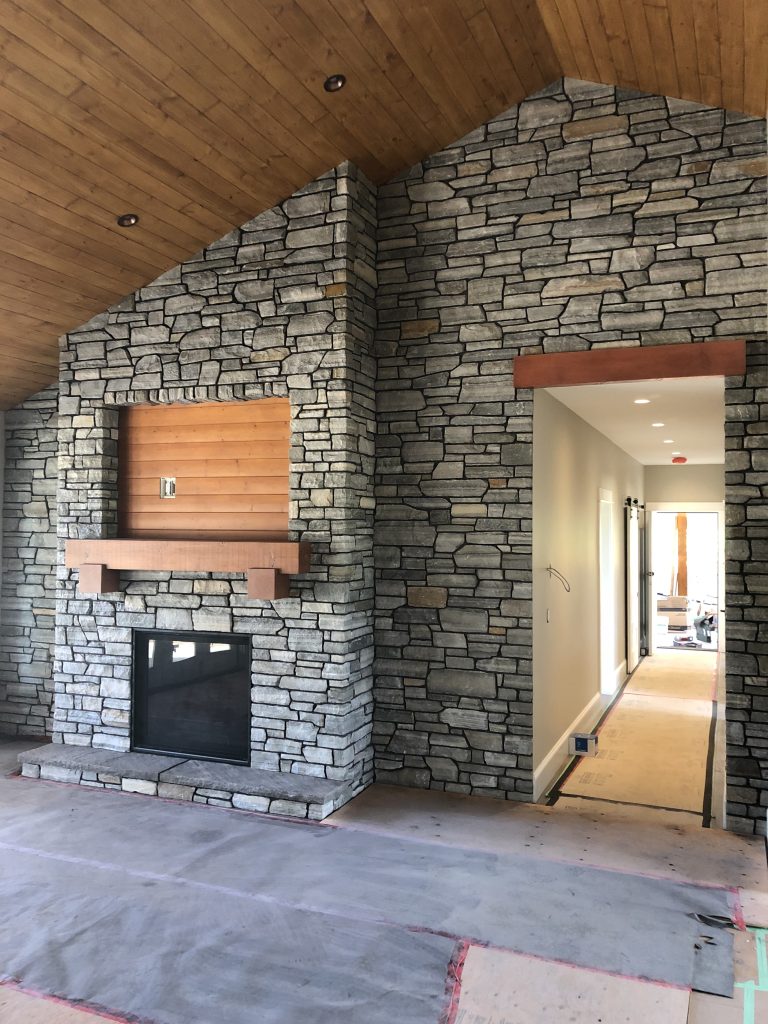
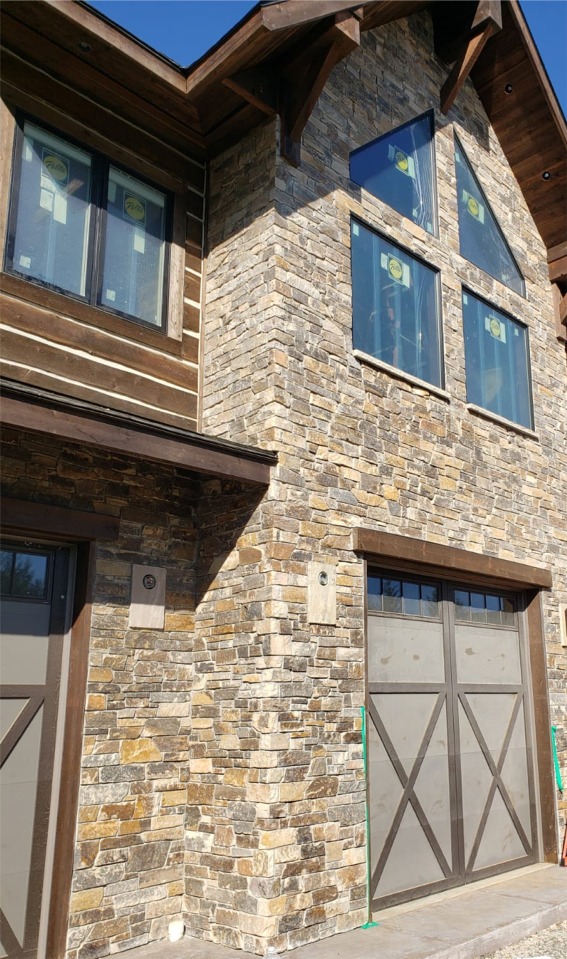
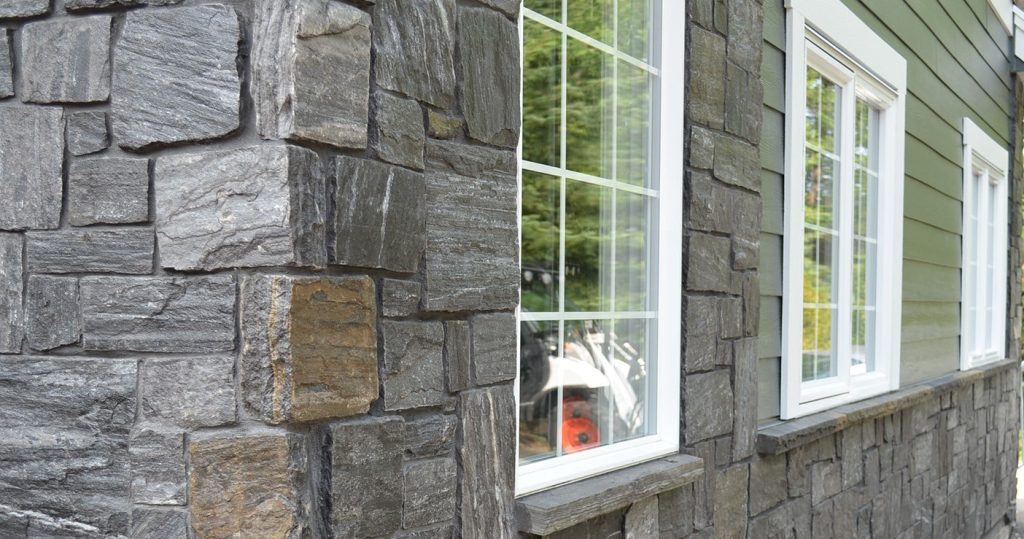
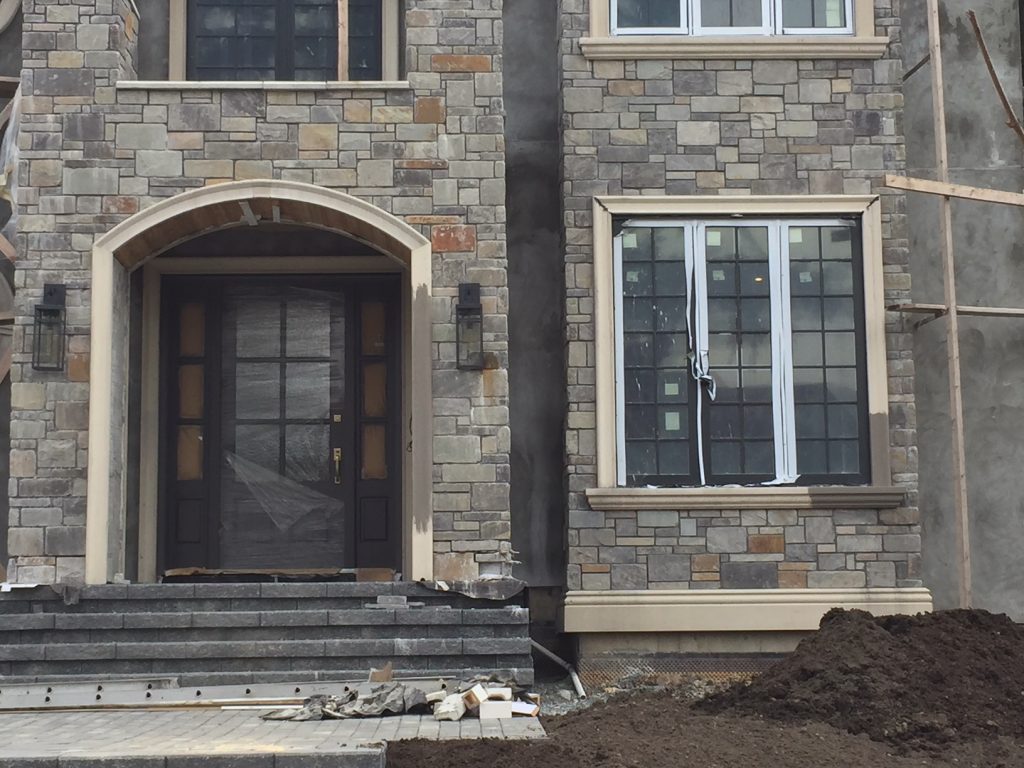
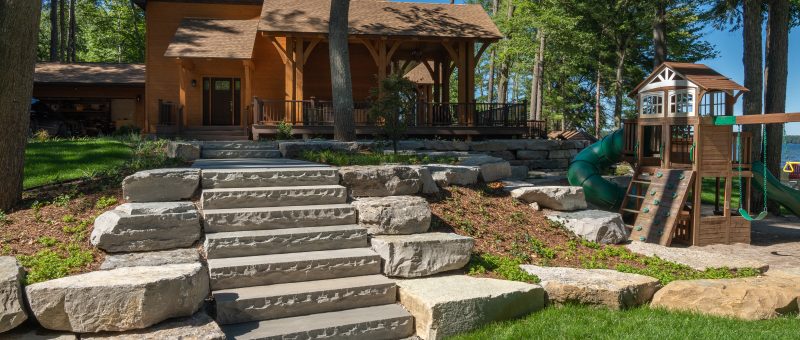
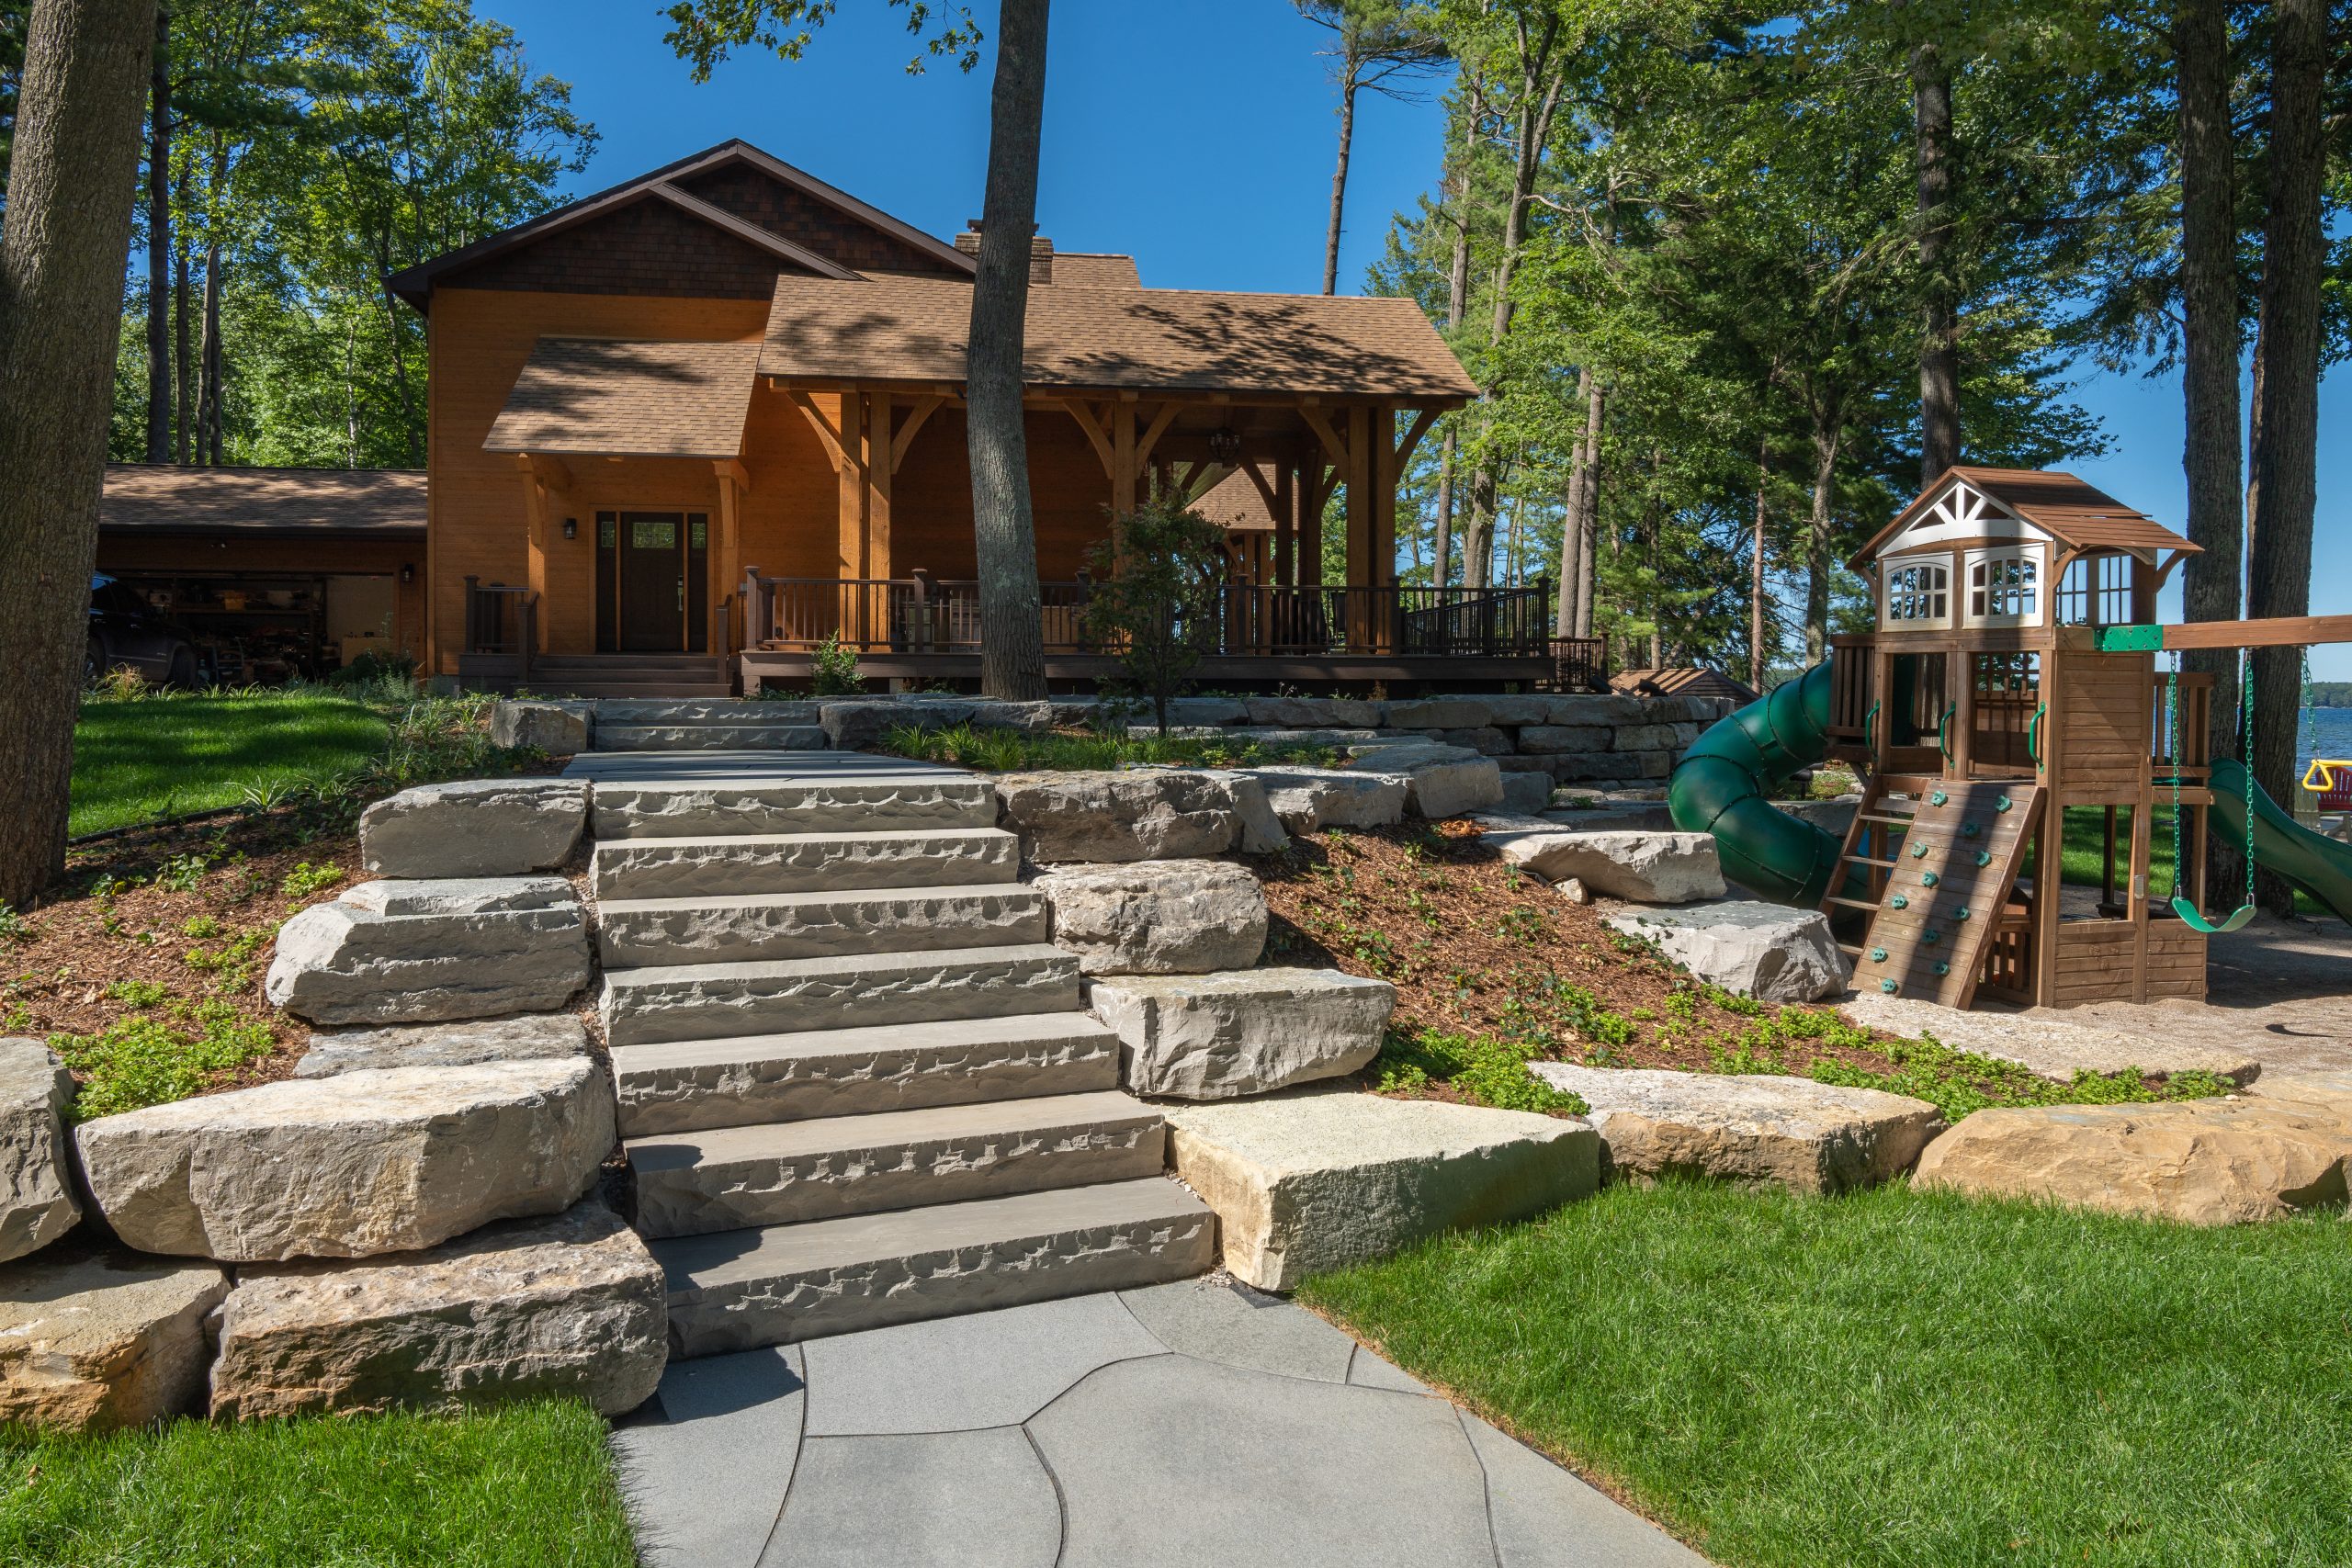
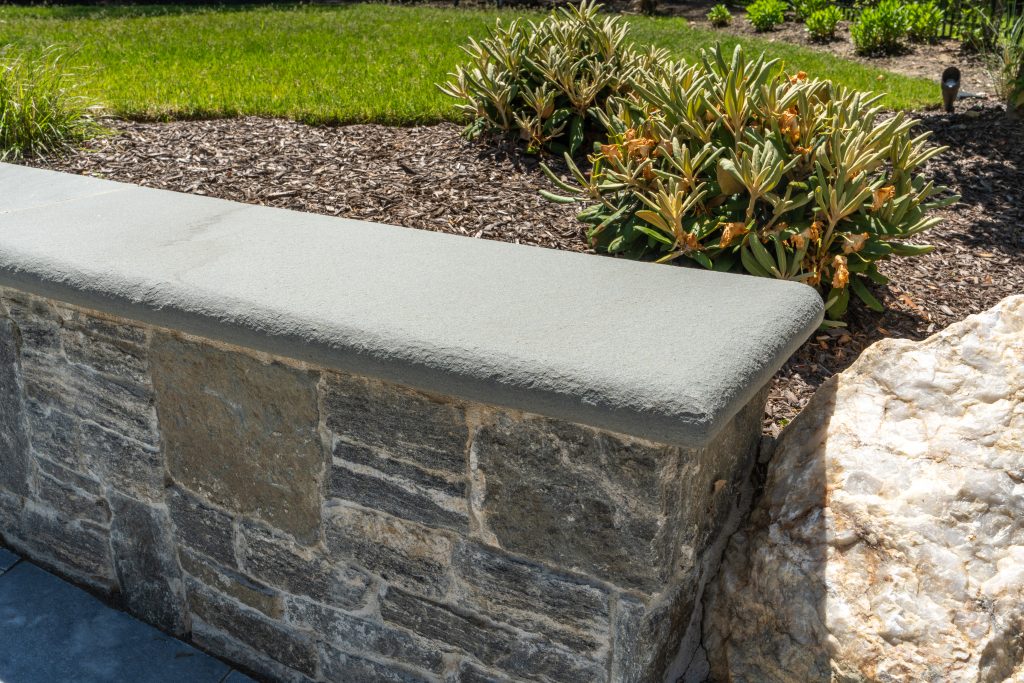
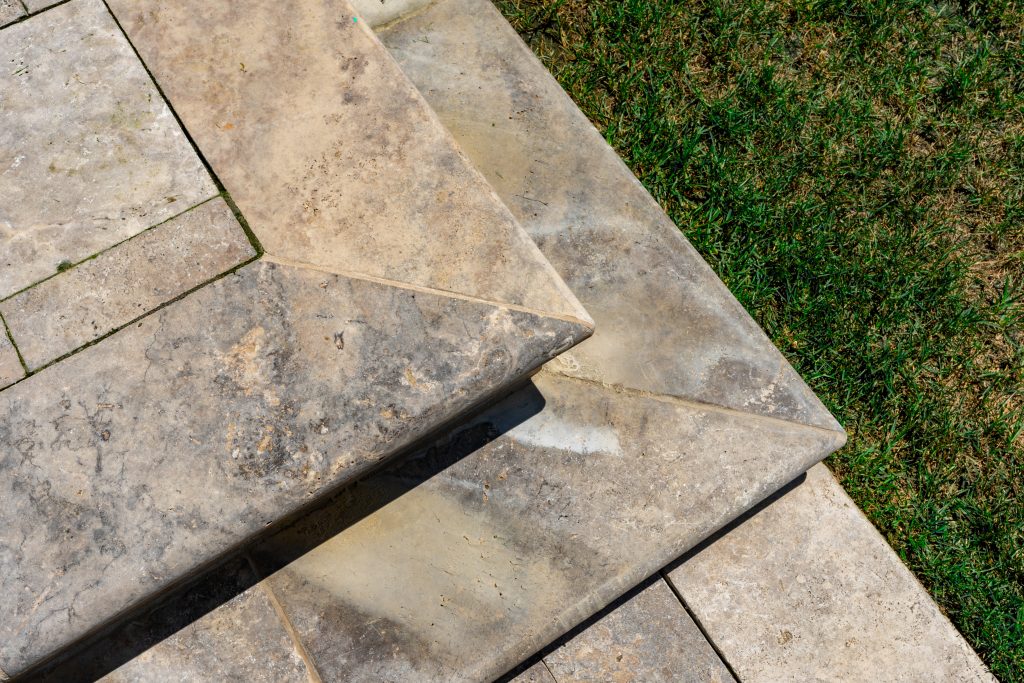
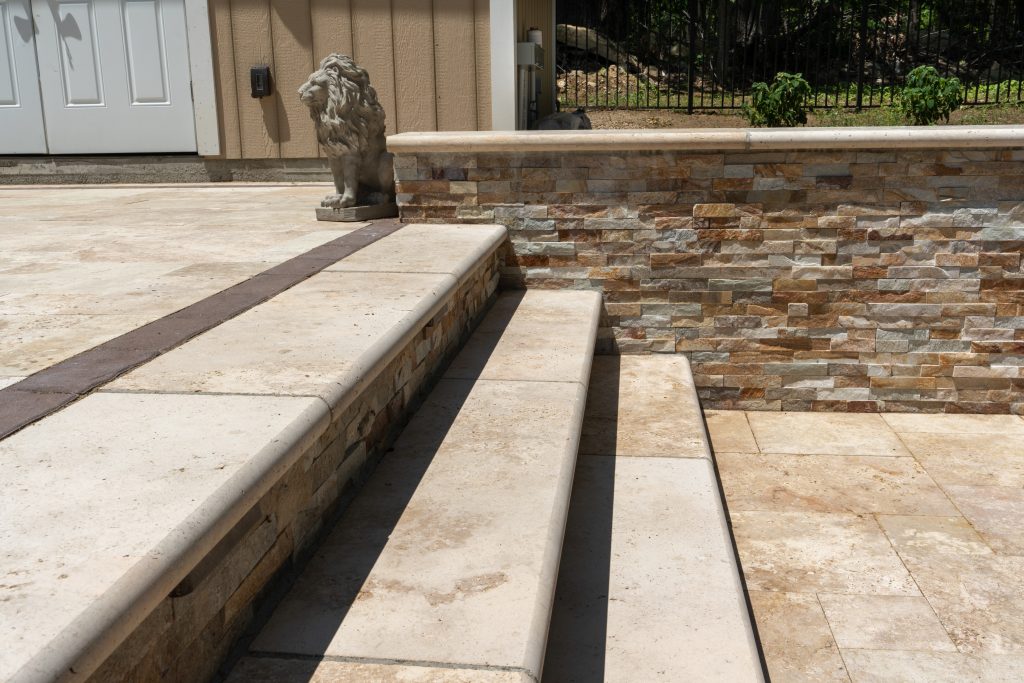
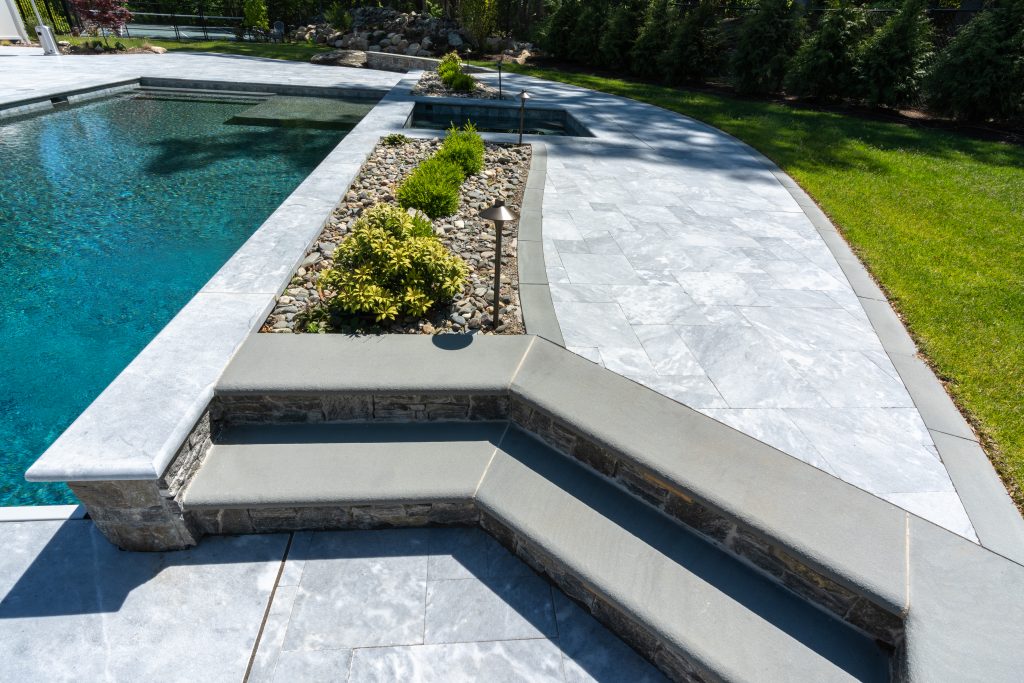
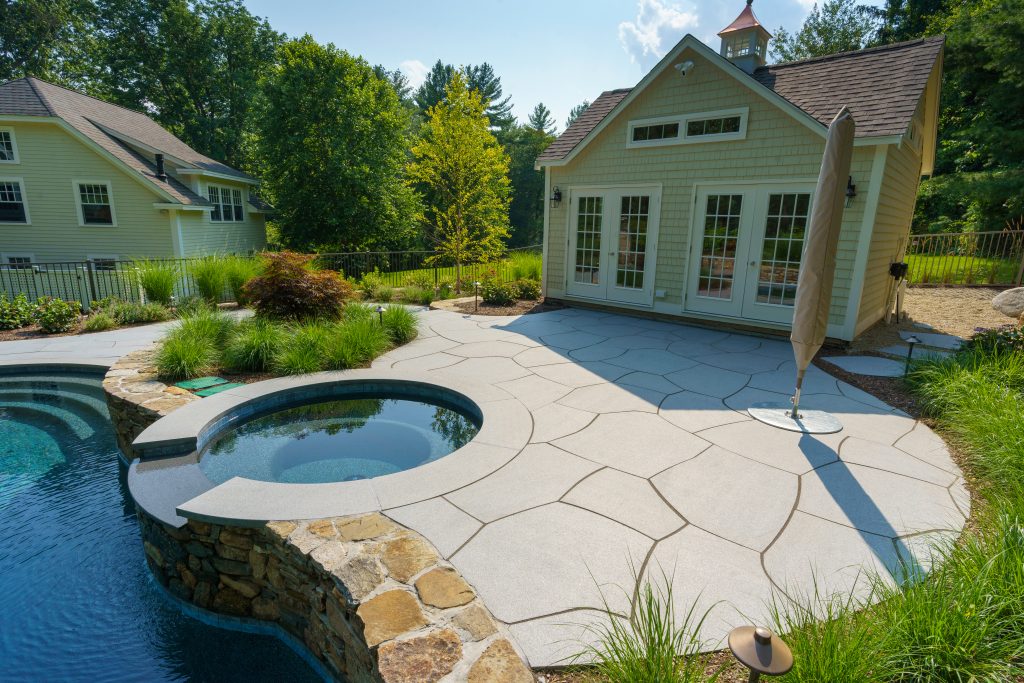
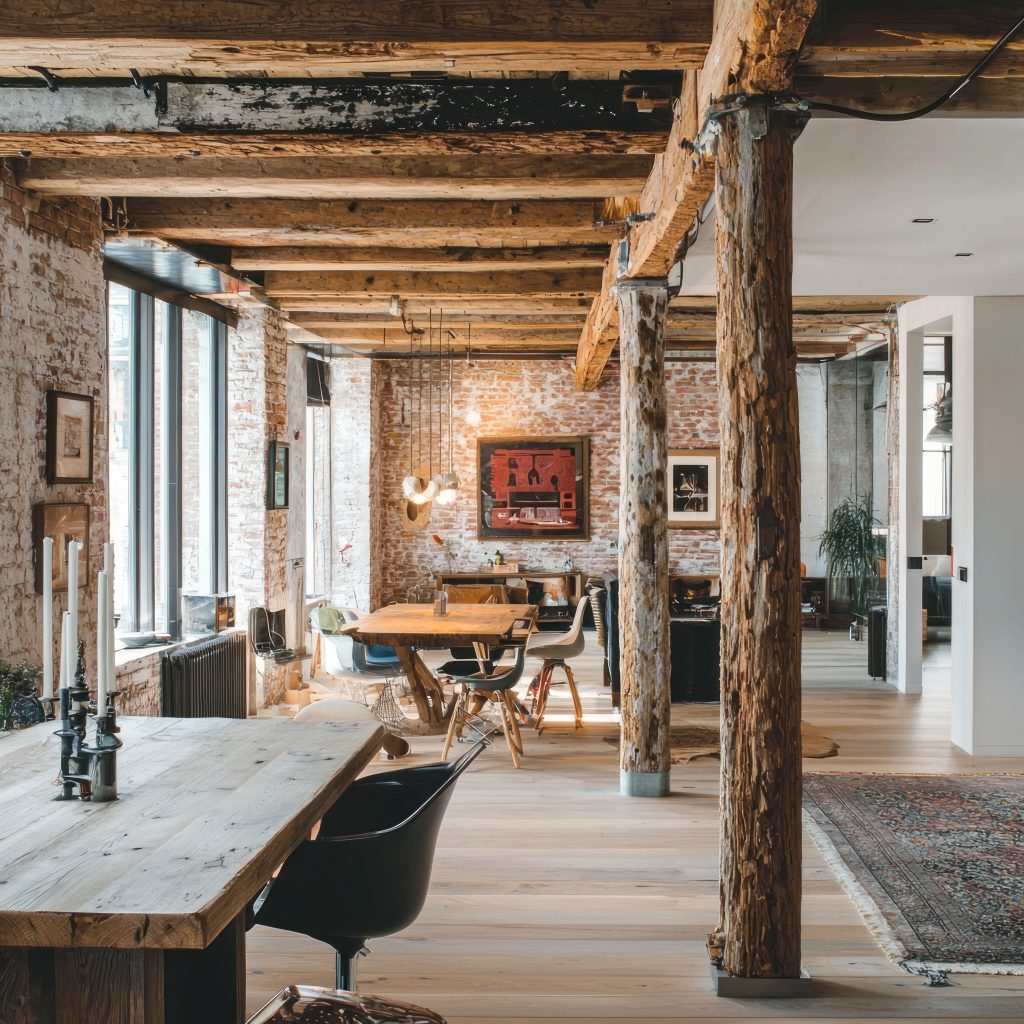
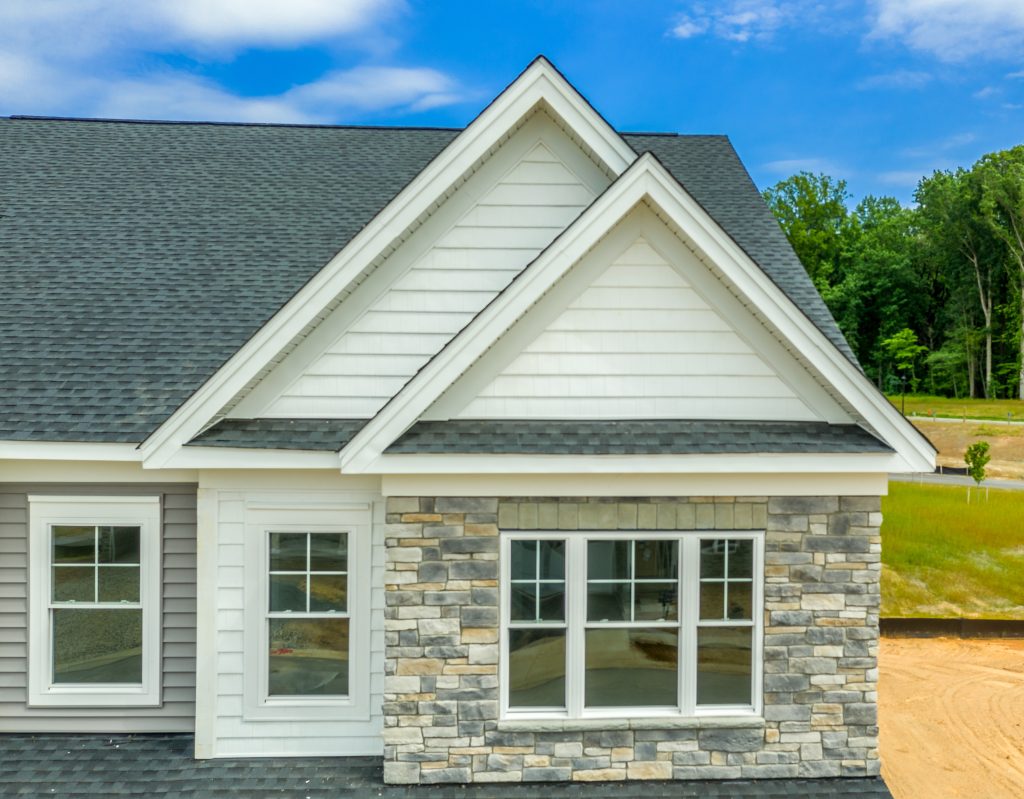
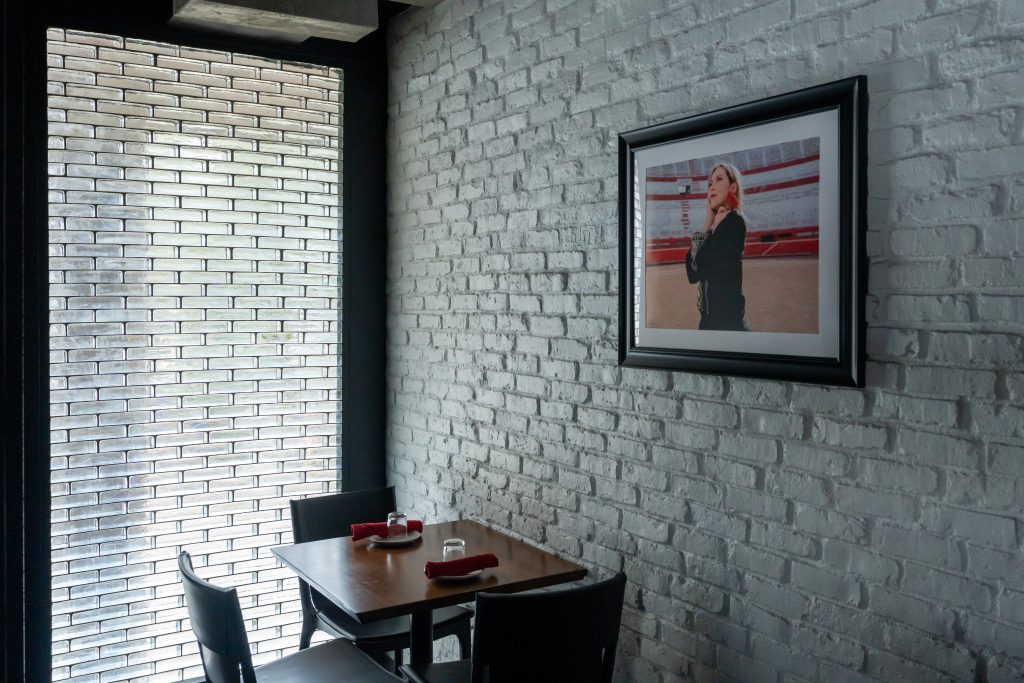
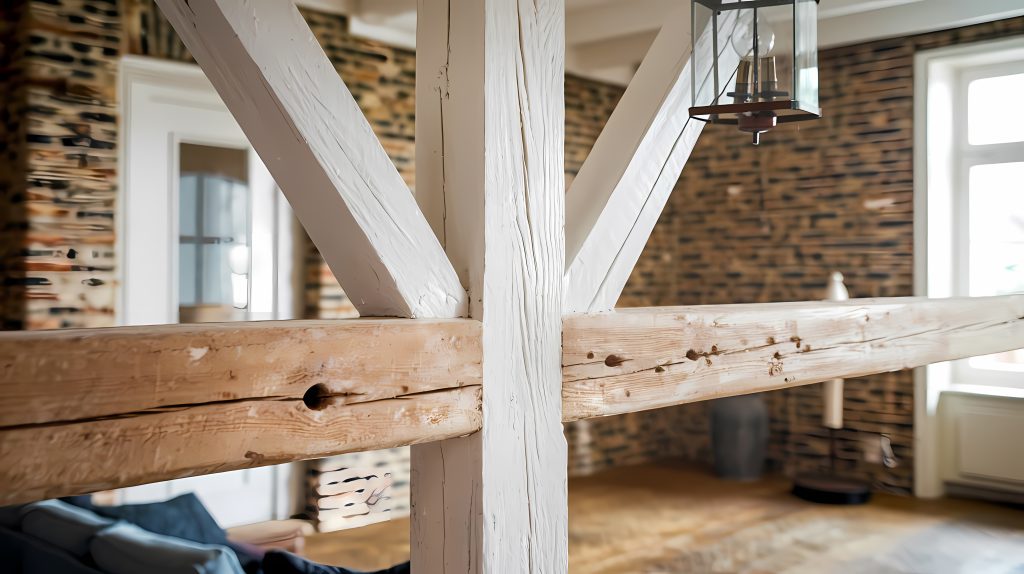
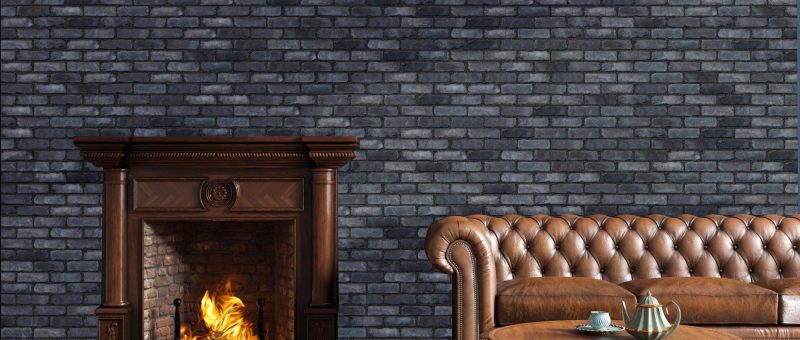
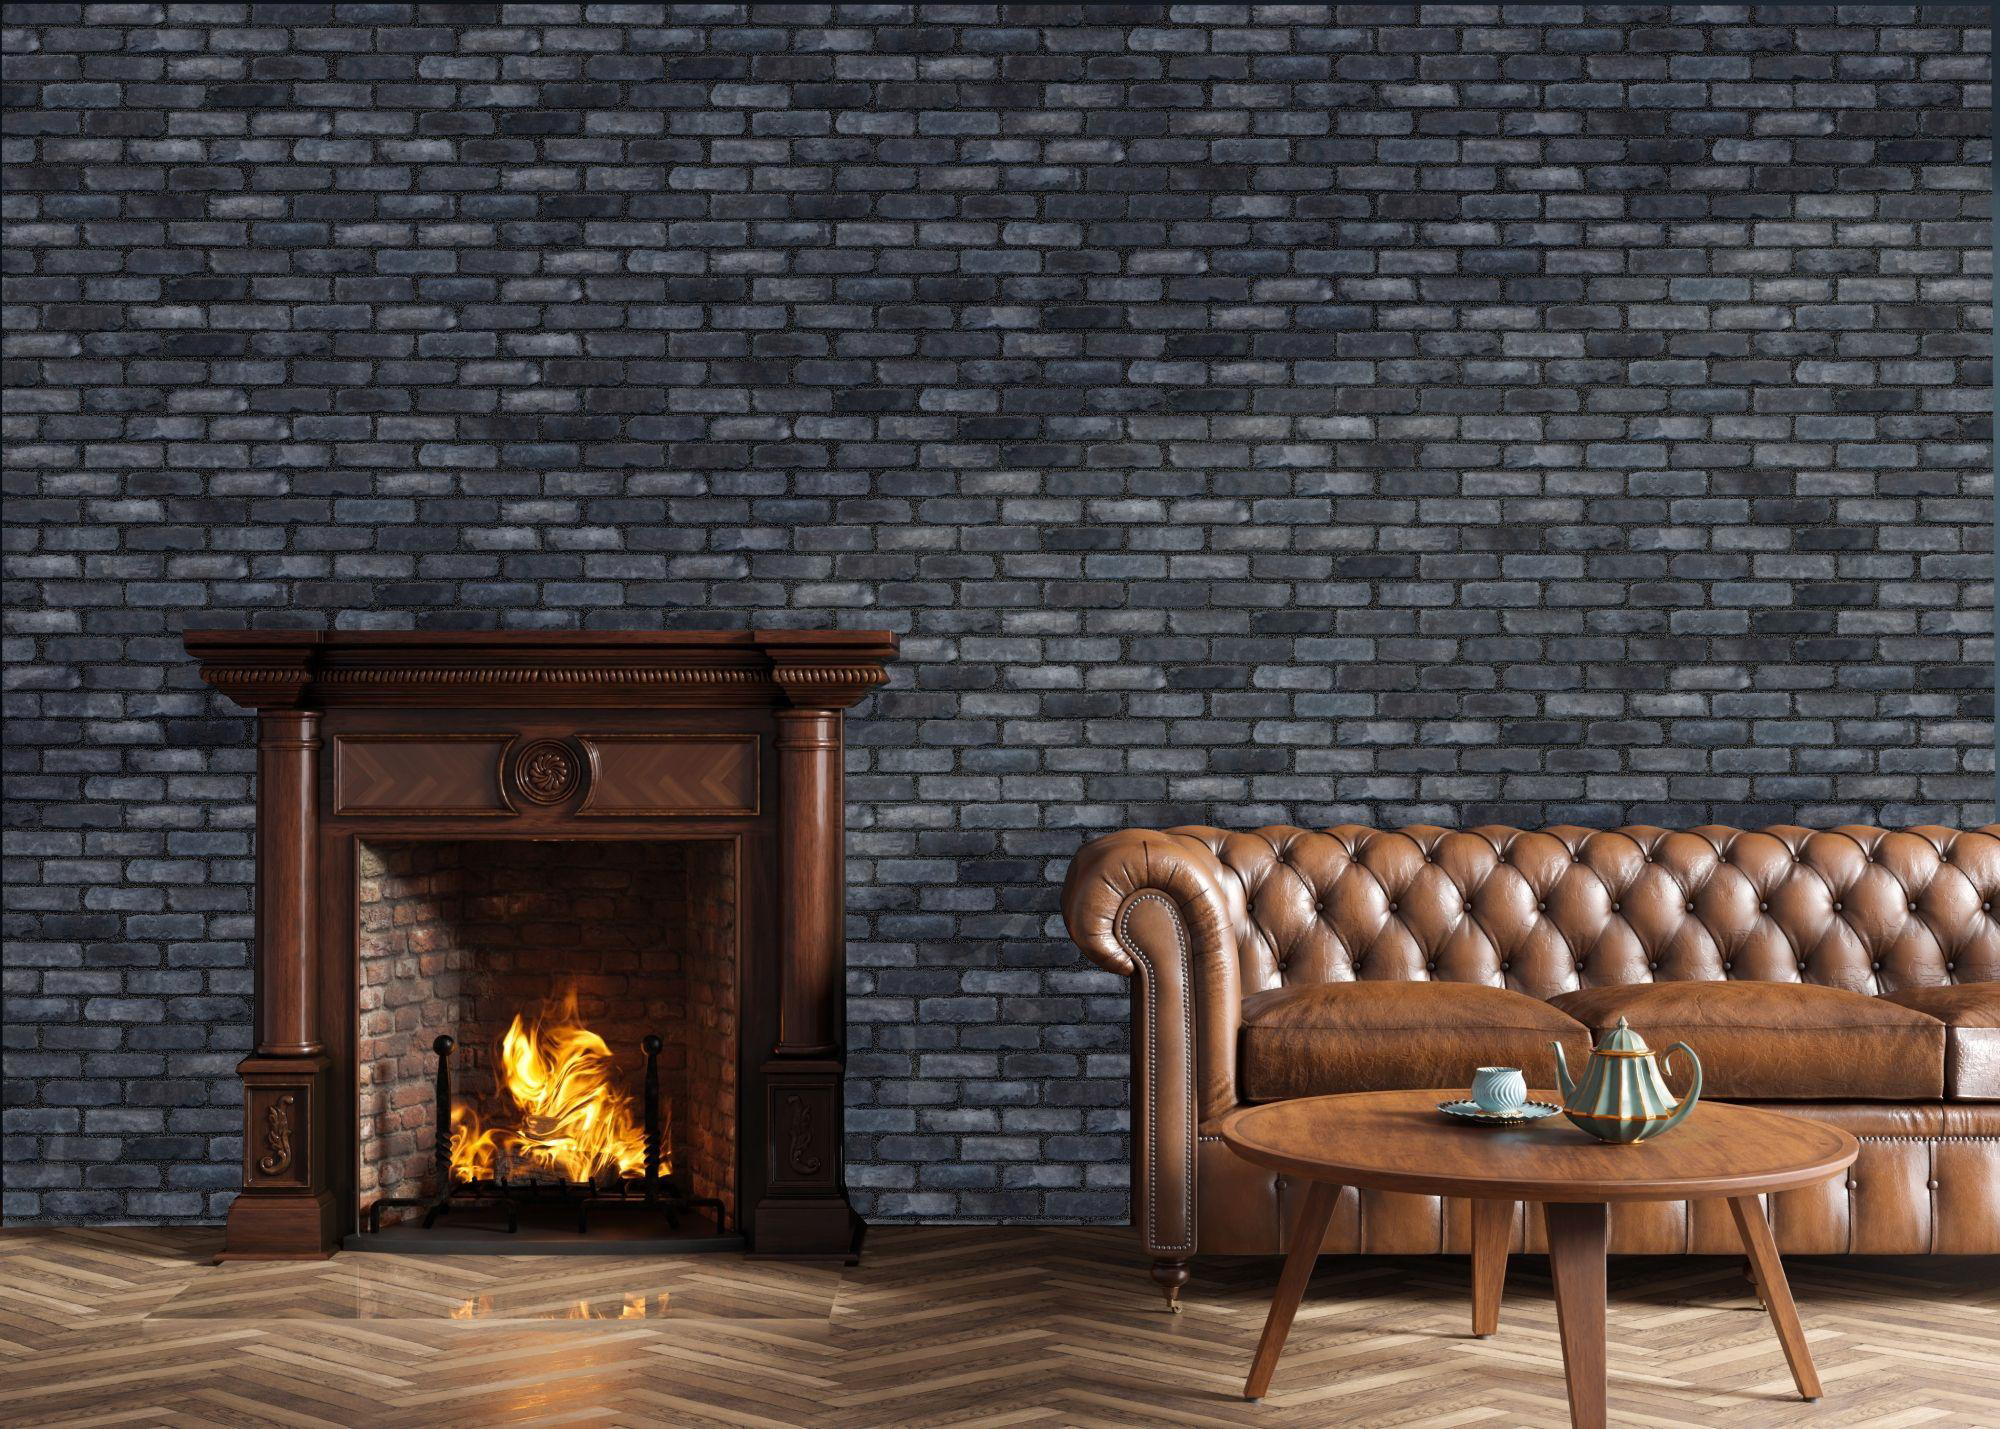
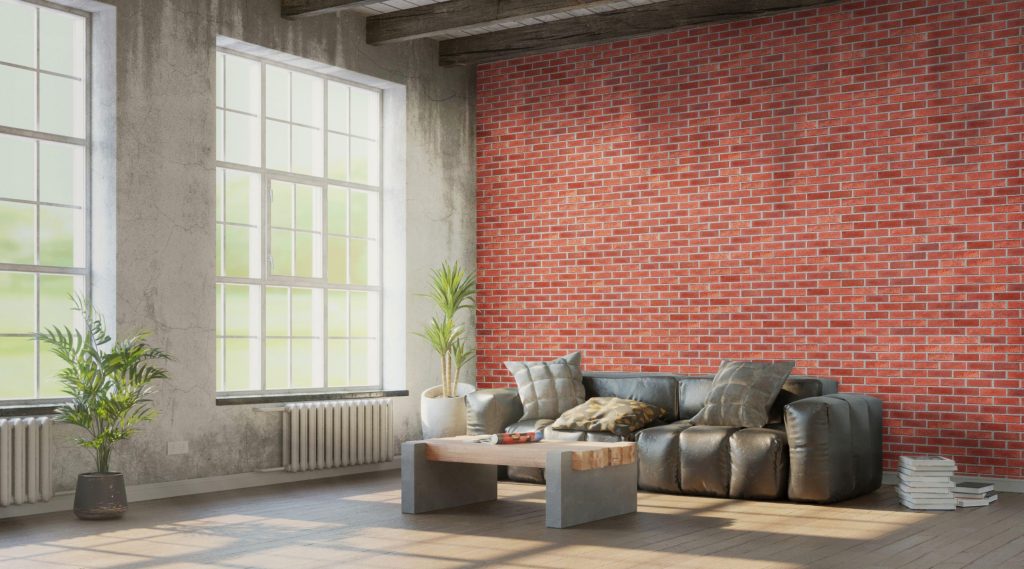
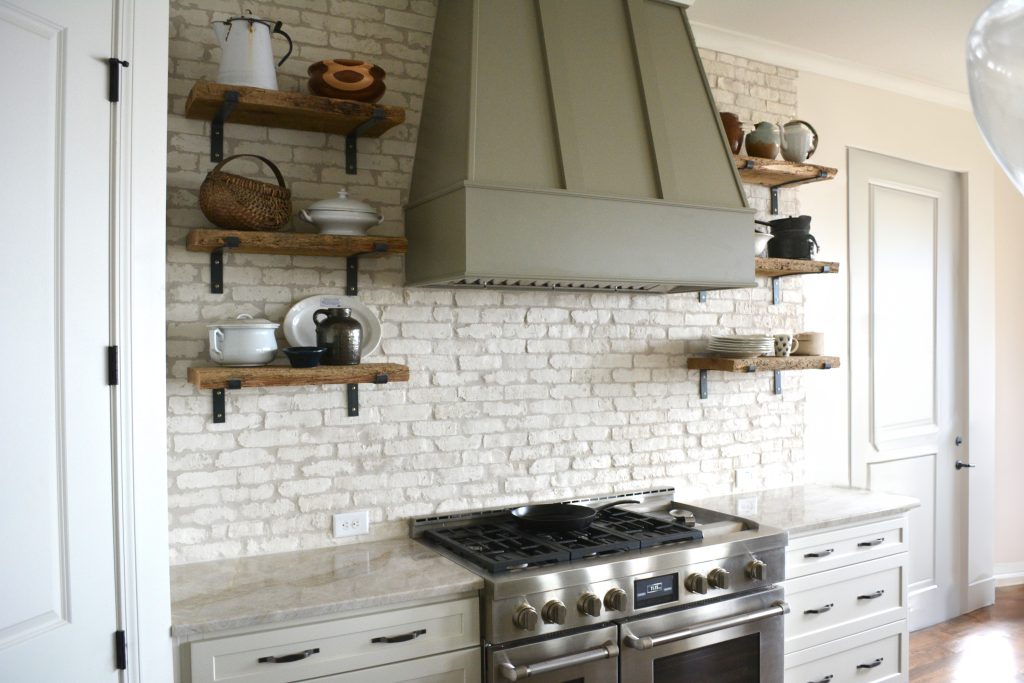
Manufactured stone veneer is ideal for everything from exterior facades to interior accent walls, fireplaces, columns, and entryways. It provides the charm of natural stone without the structural limitations.
Conclusion: Engineered for Beauty, Designed to Last
The manufacturing process behind stone veneer is equal parts science and craftsmanship. By following this rigorous process—from mold creation to final inspection—companies like Toro Stone® produce materials that meet the highest standards of aesthetics, durability, and sustainability.
Whether you’re a homeowner planning a remodel or a mason choosing a product line, understanding this journey helps you appreciate why manufactured stone veneer is such a smart and stylish investment.

Follow the link below for more industry insights from across the building products world.