2026 Design Trends Featuring Stone and Brick
Stone and brick continue to stand out as design favorites in 2026, celebrated not just for their beauty, but for the sense of history, texture, and permanence they bring to a space. Here’s a look at the trends shaping how these timeless materials will be used this year.
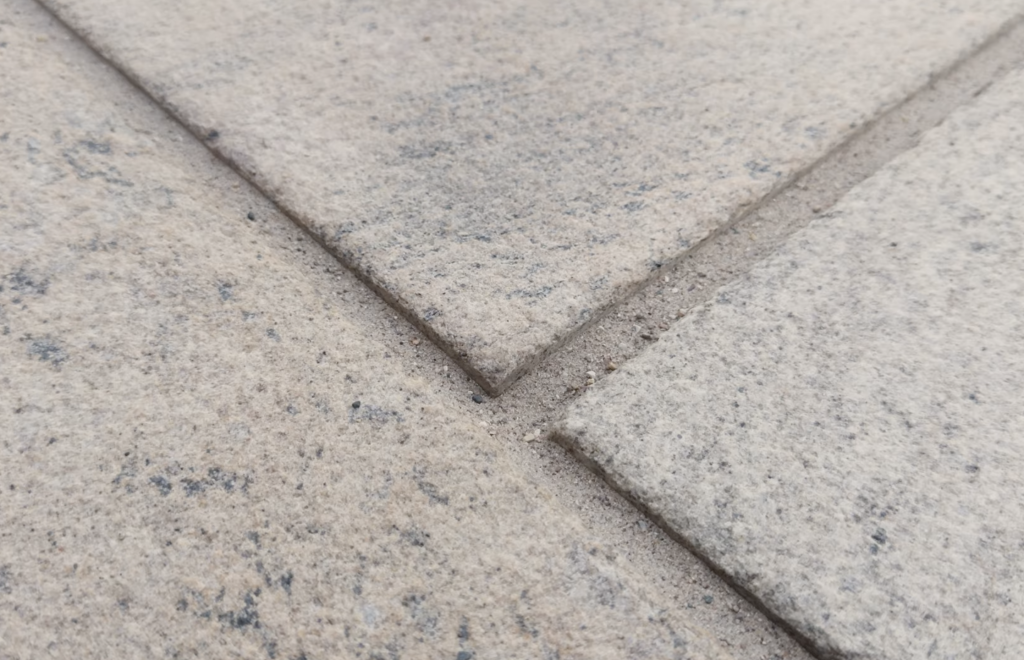
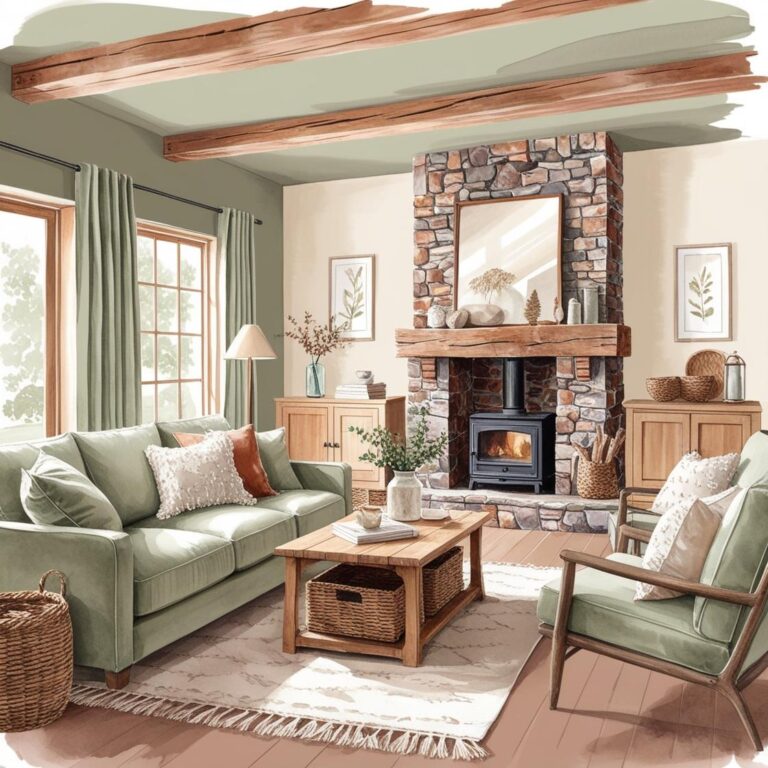
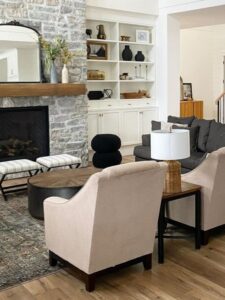
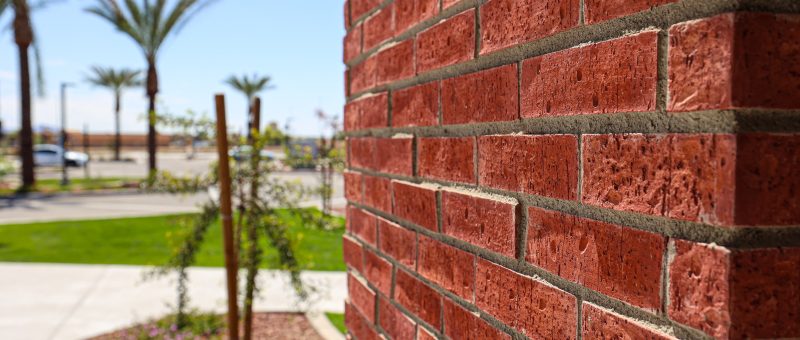
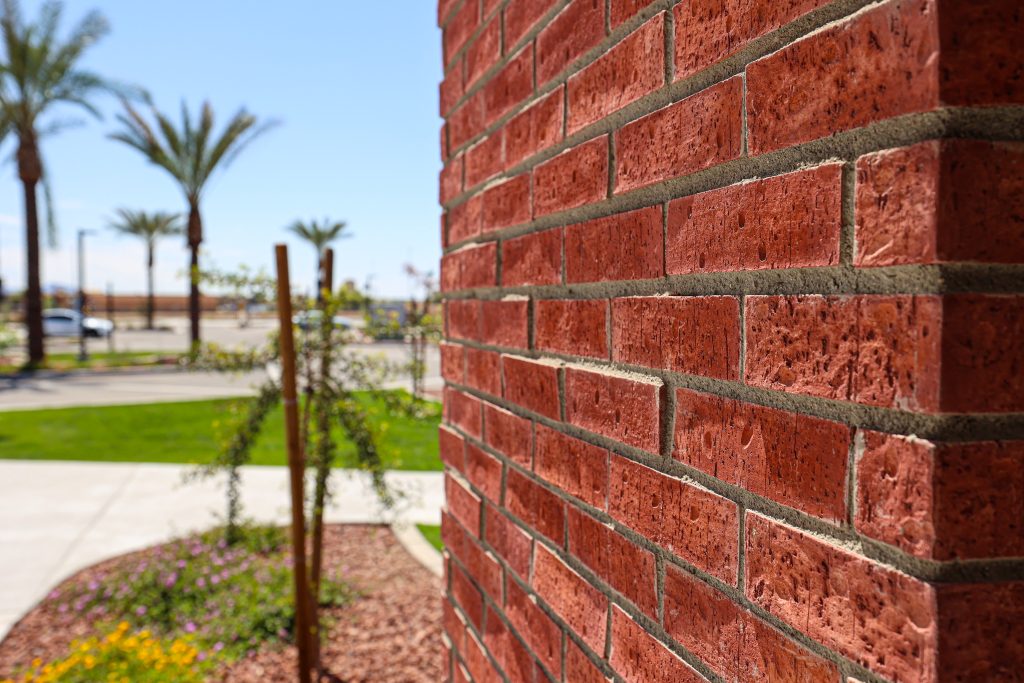
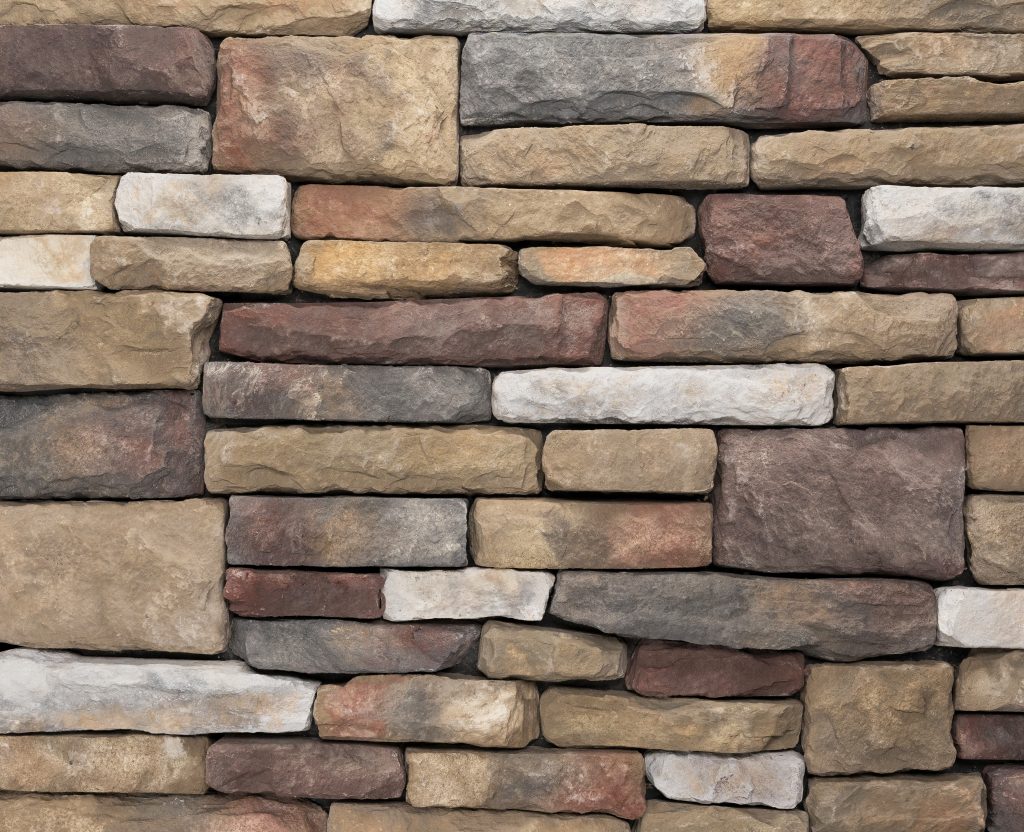
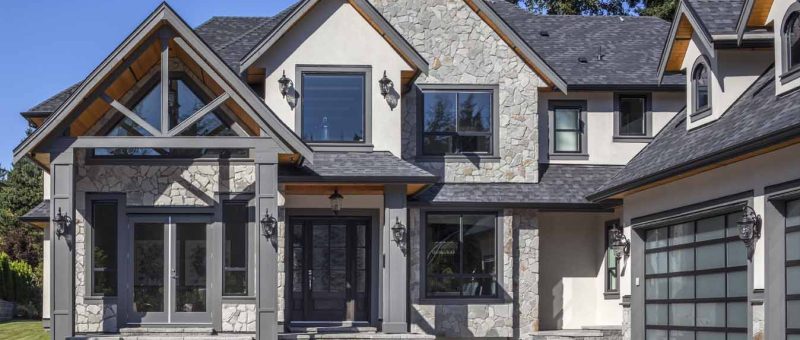
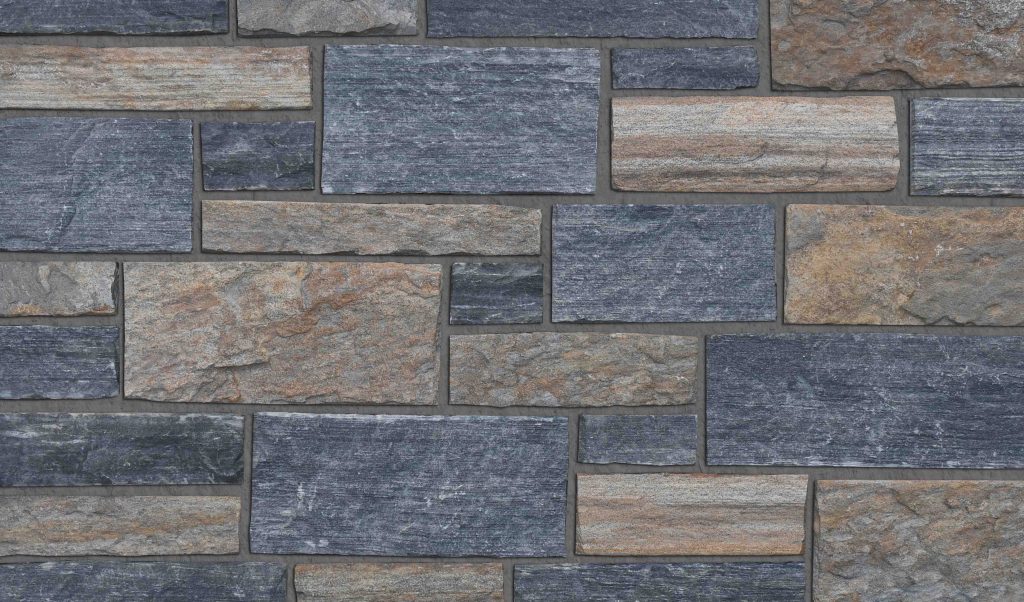
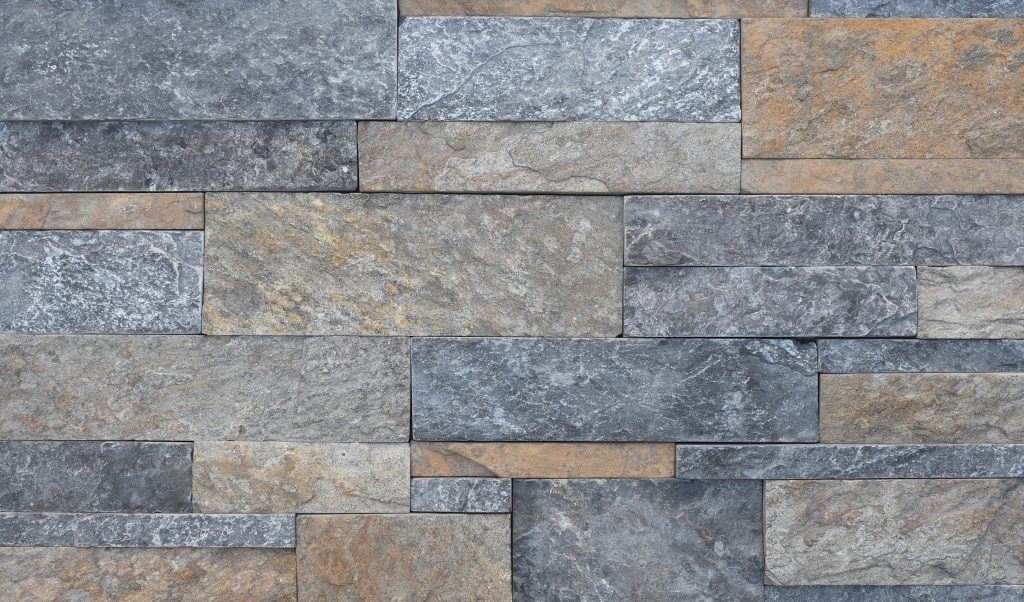
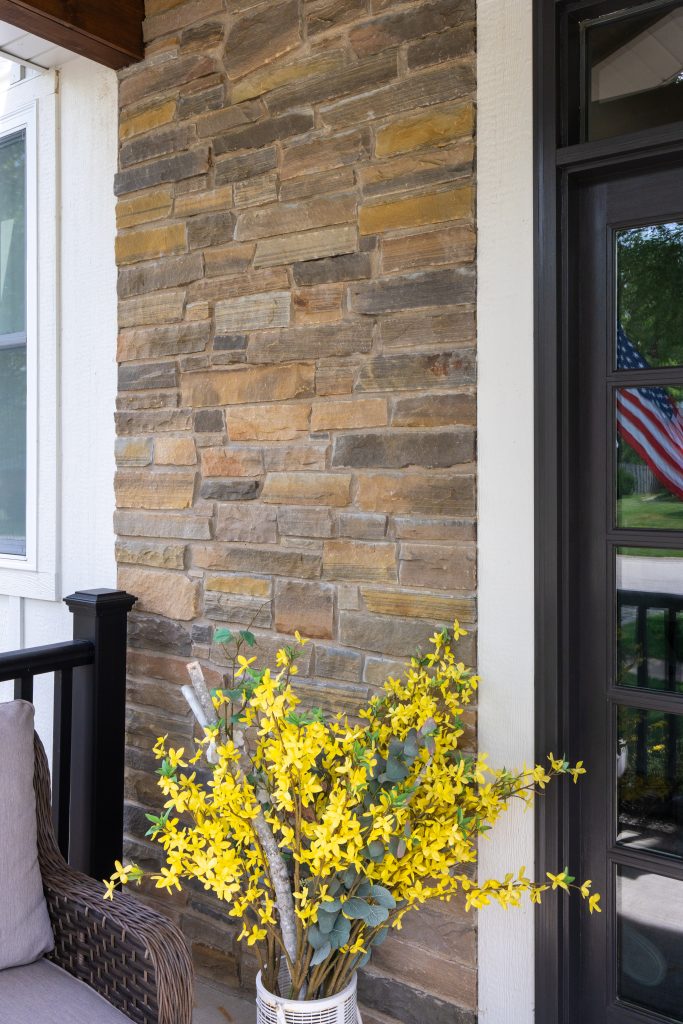
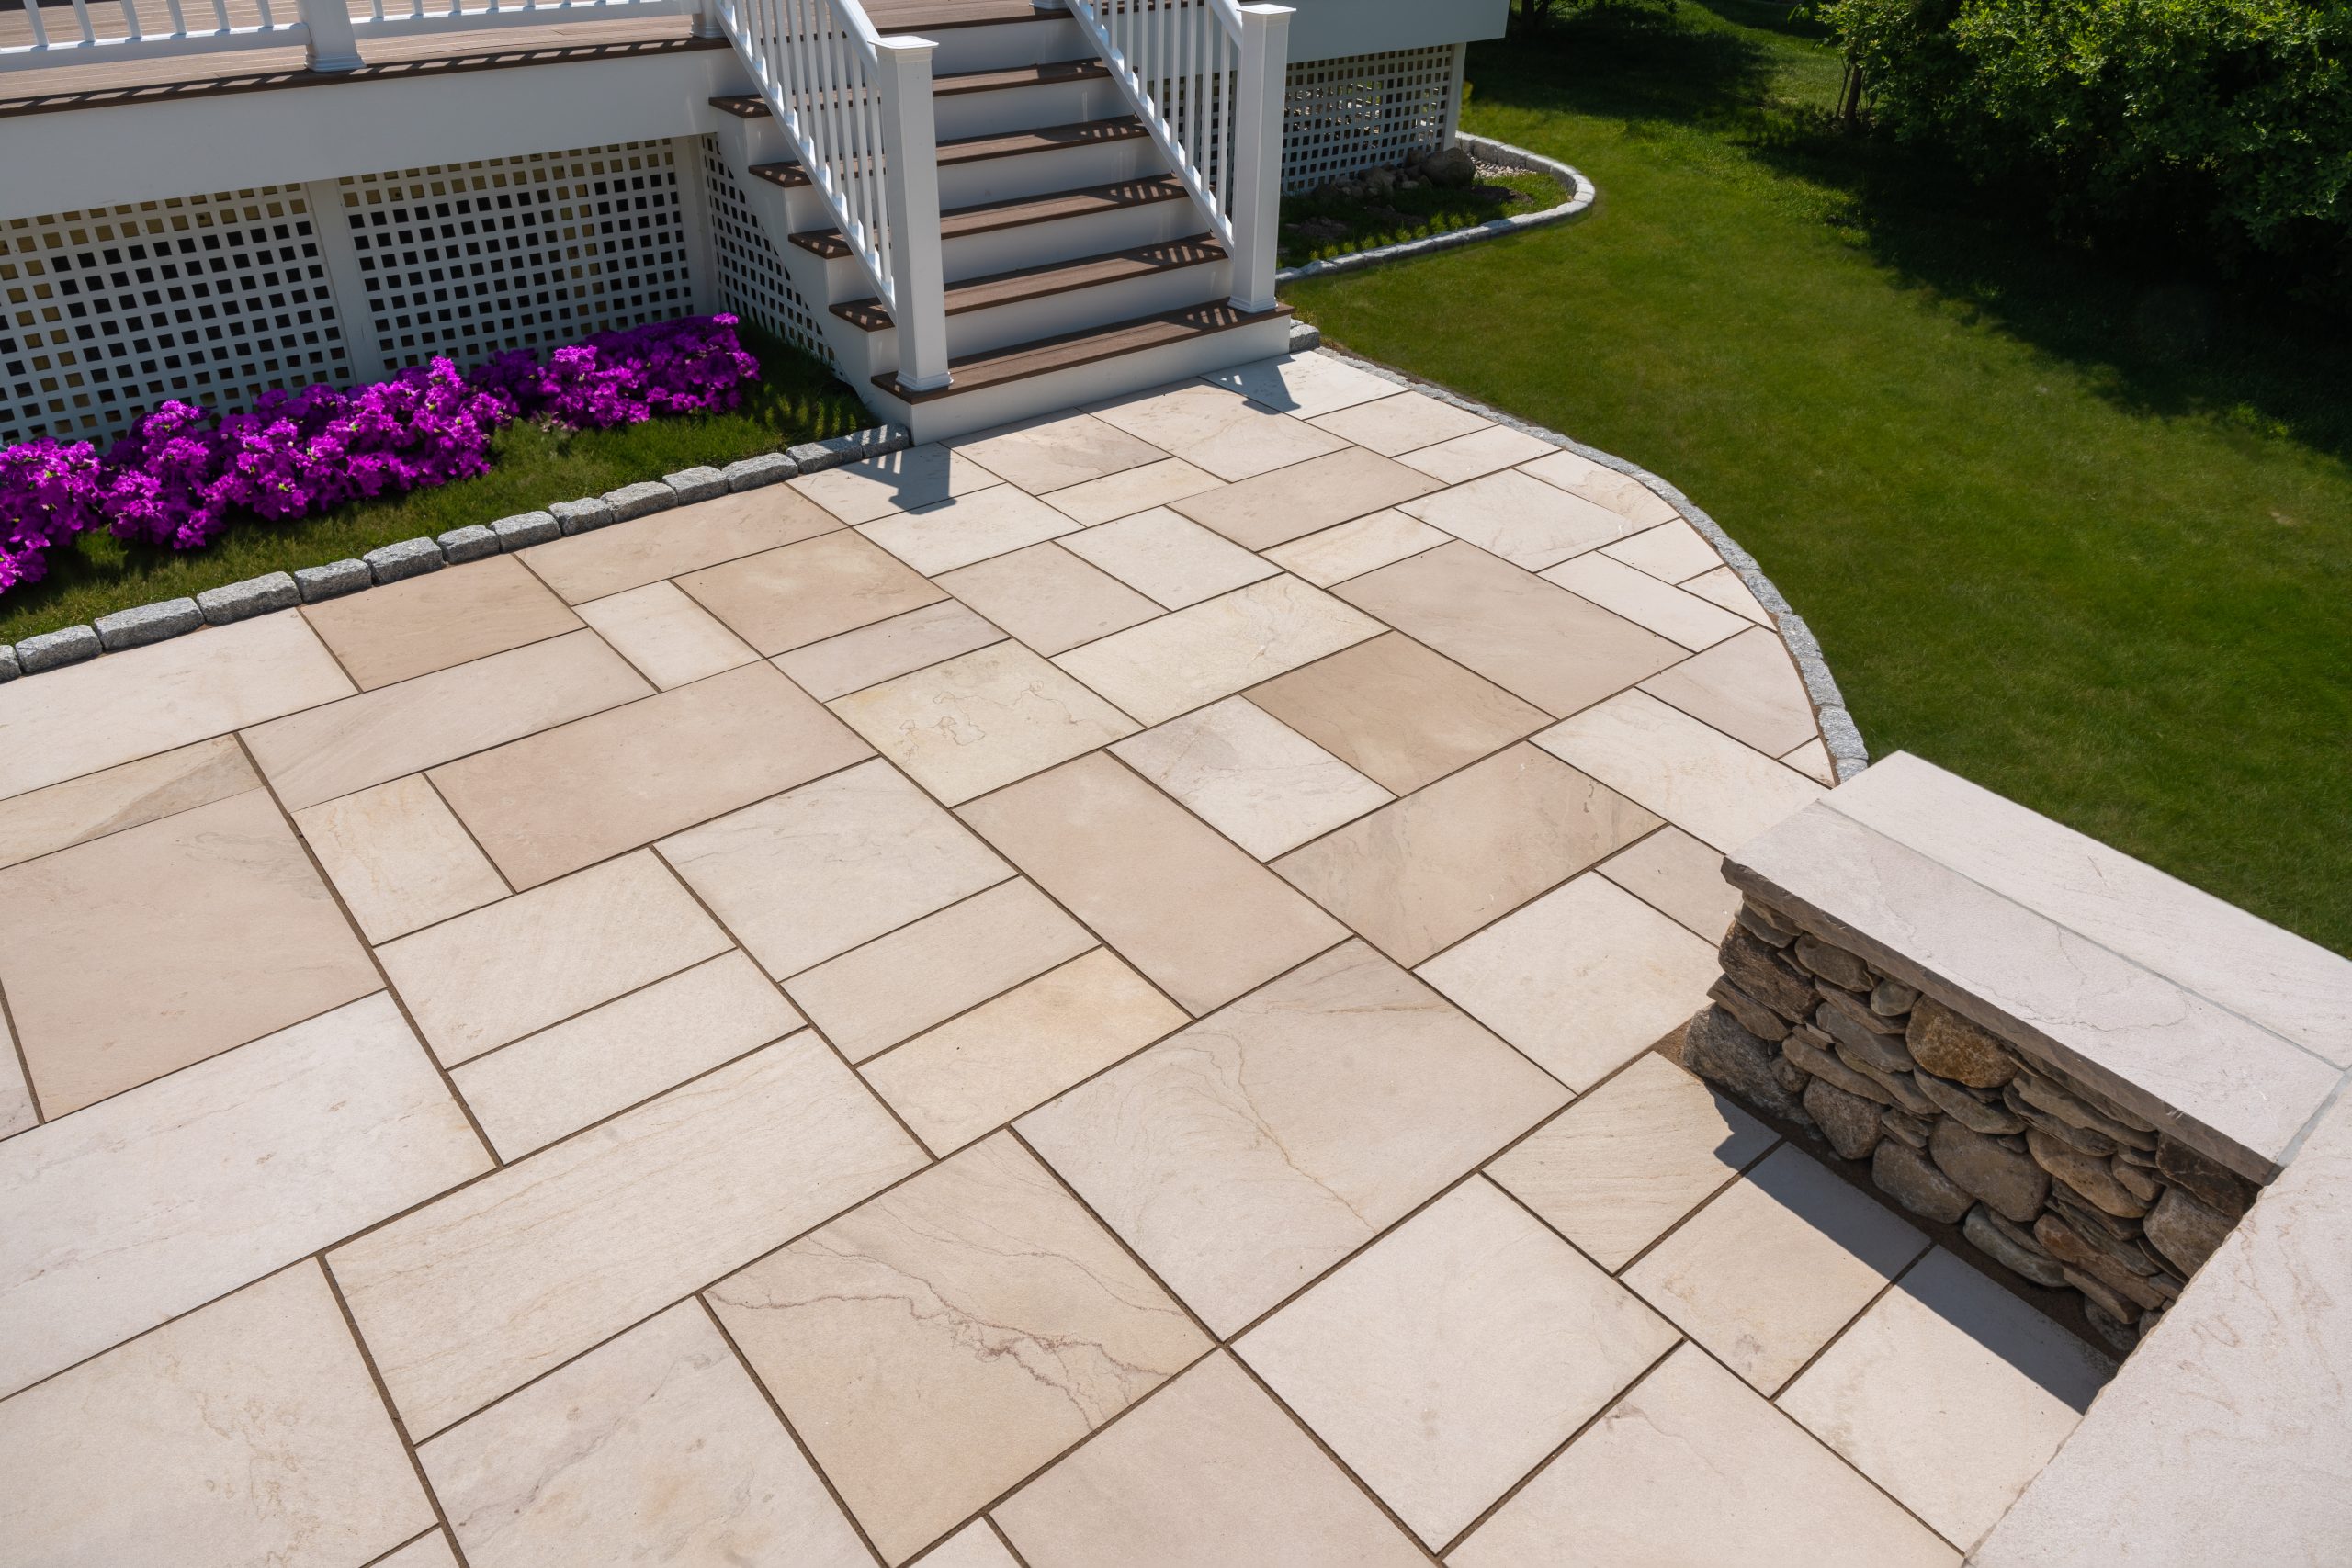
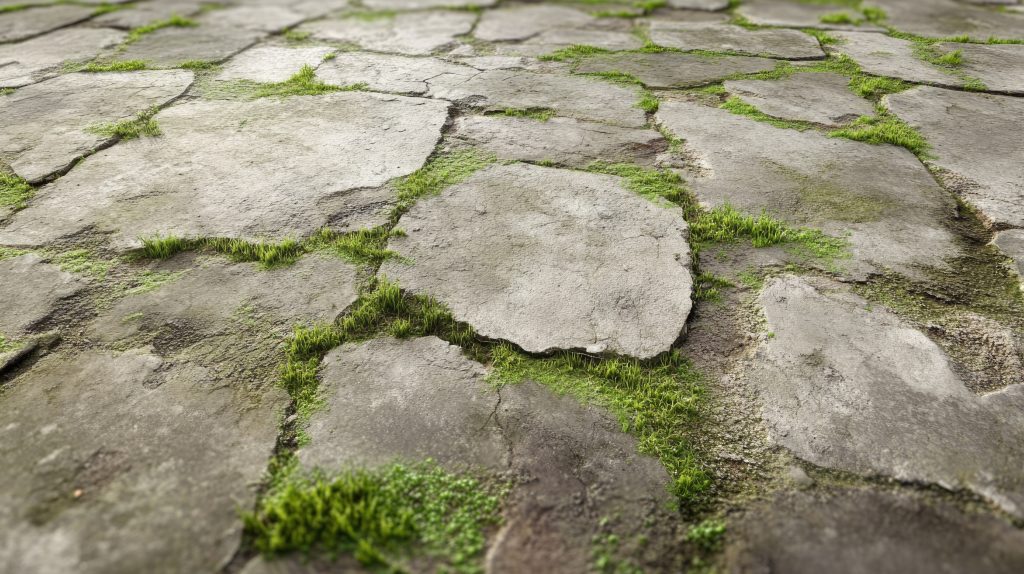
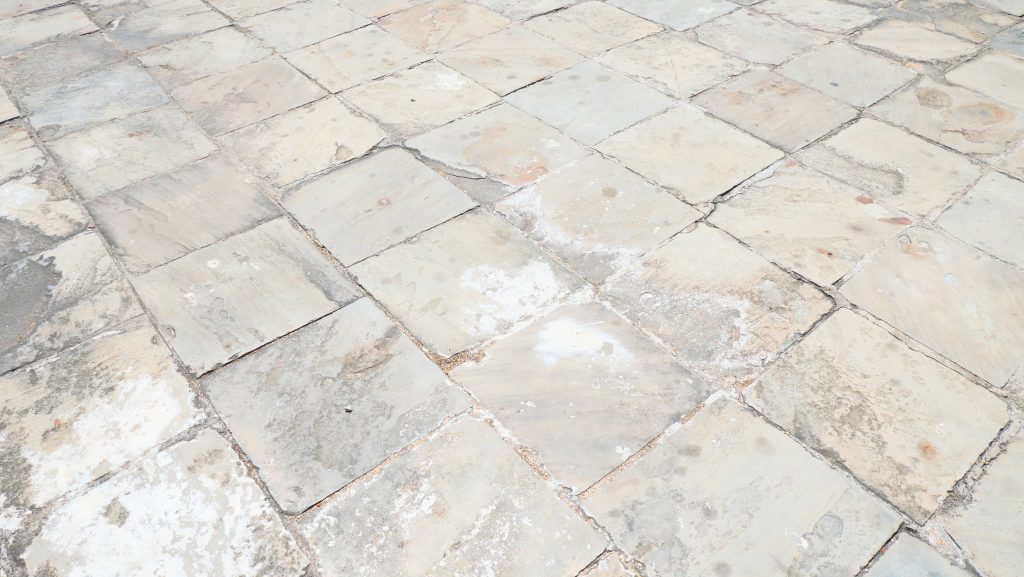
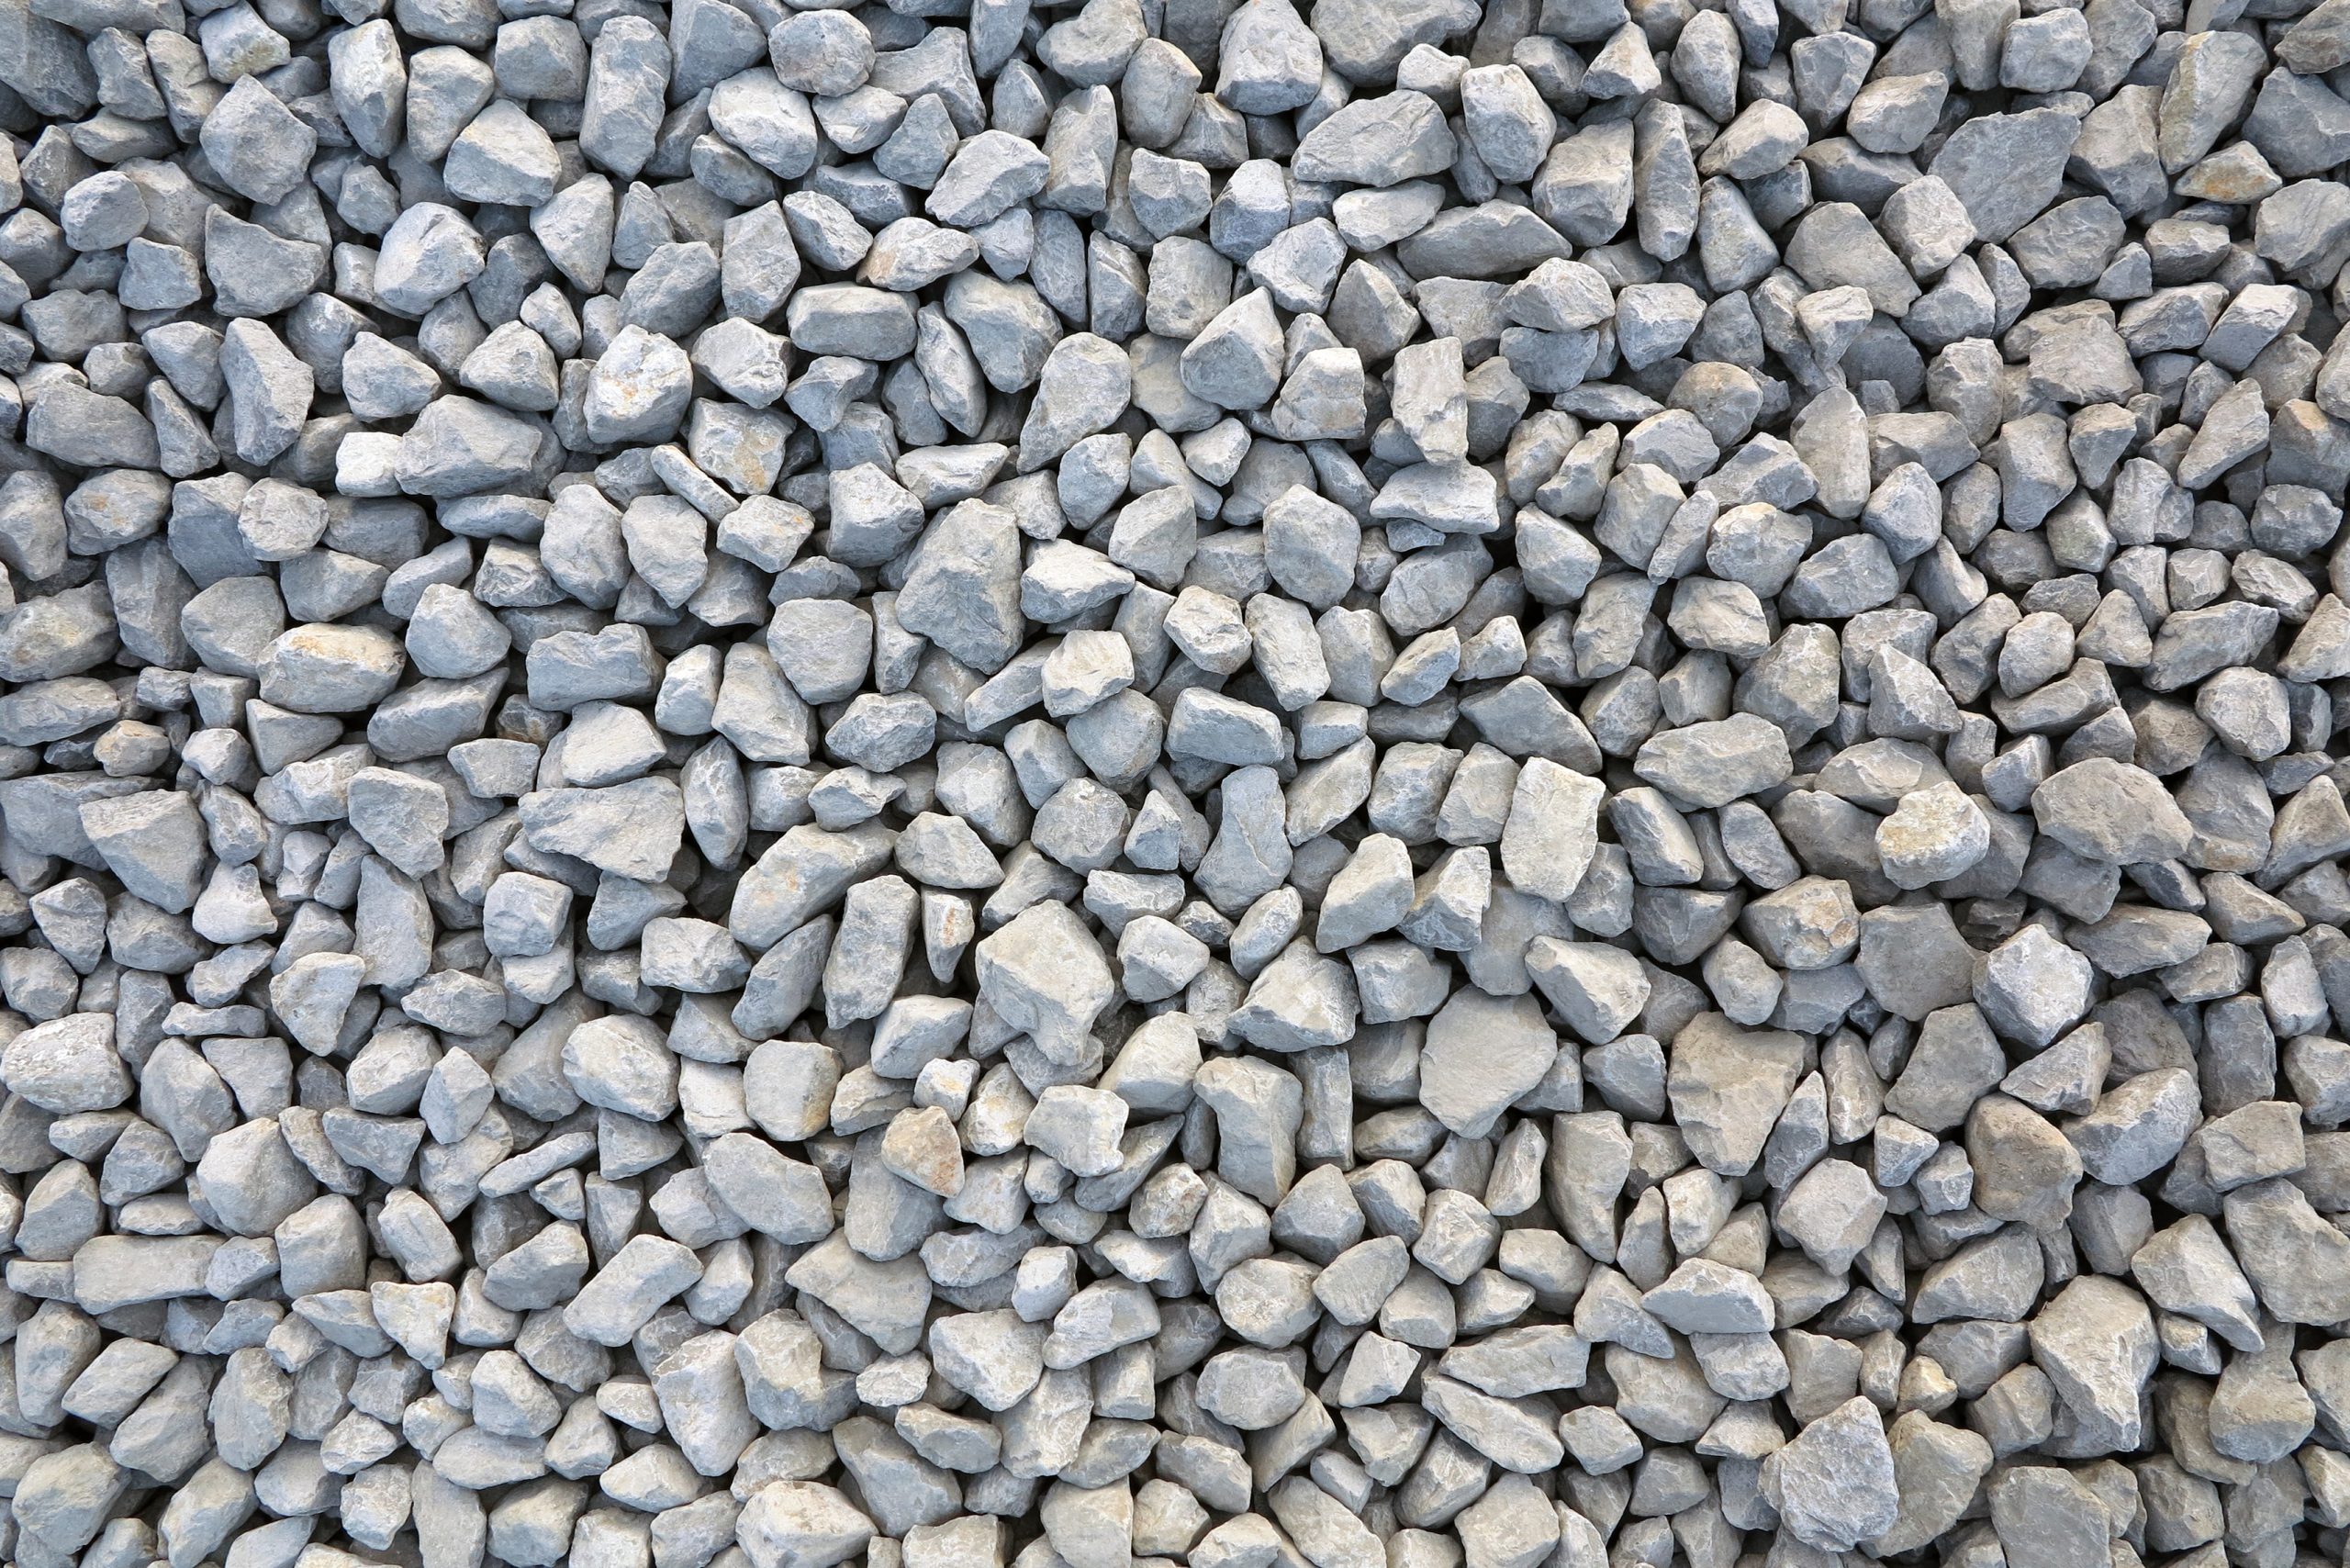
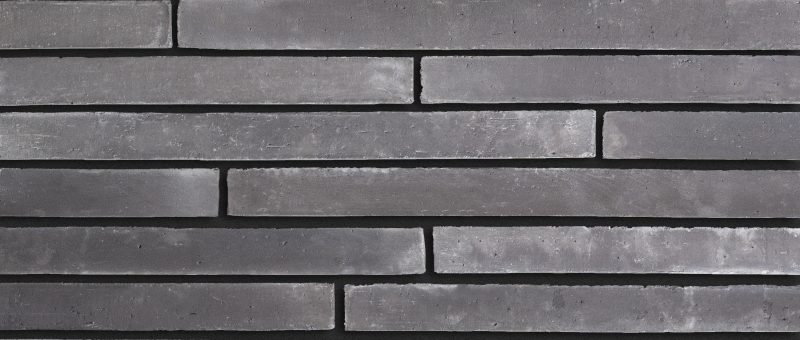
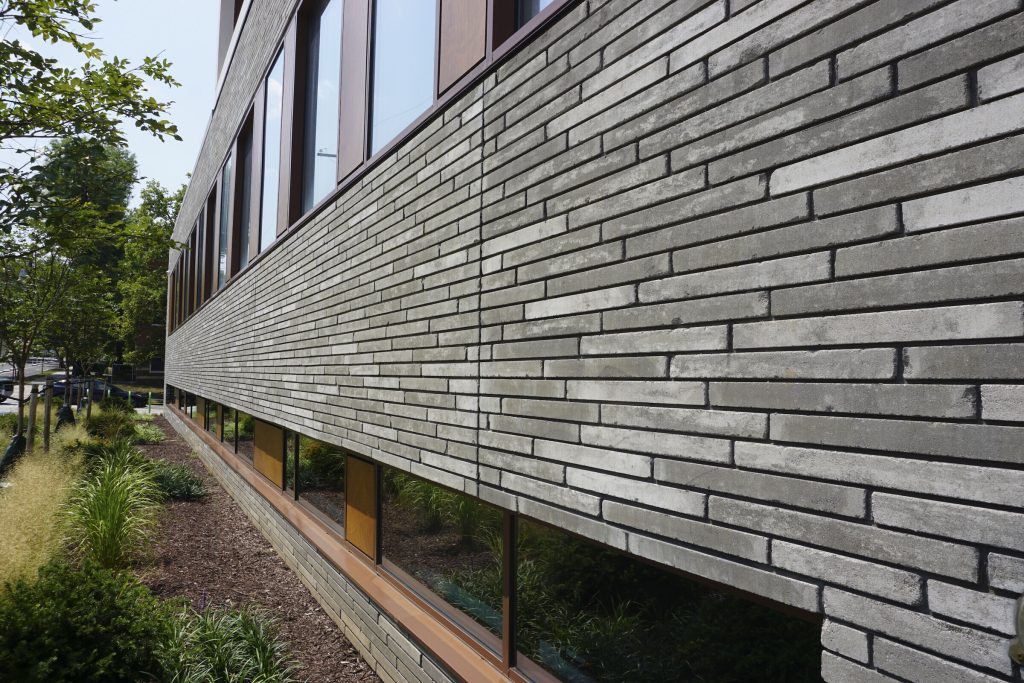
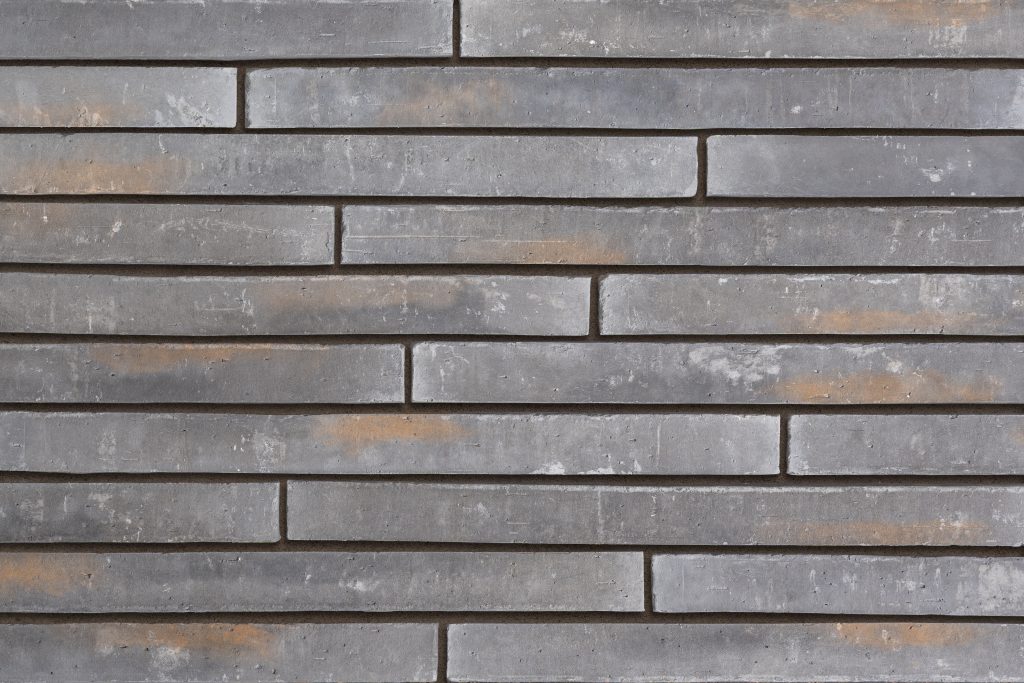
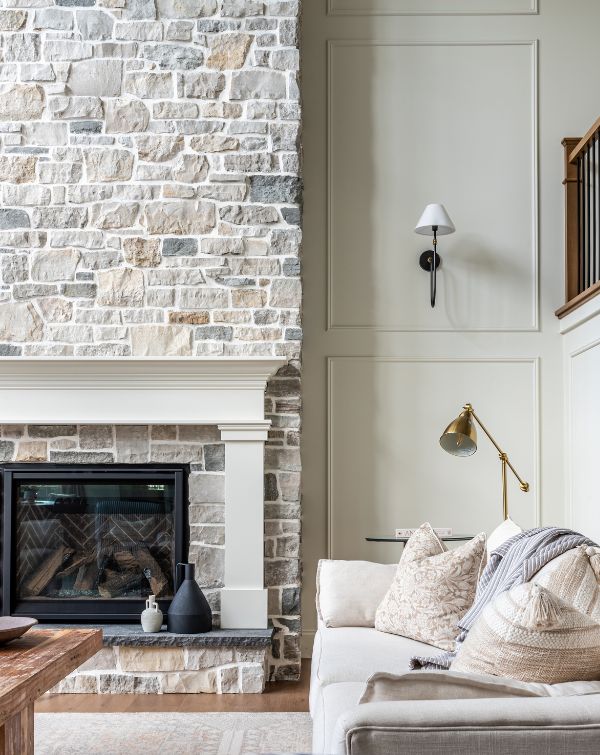
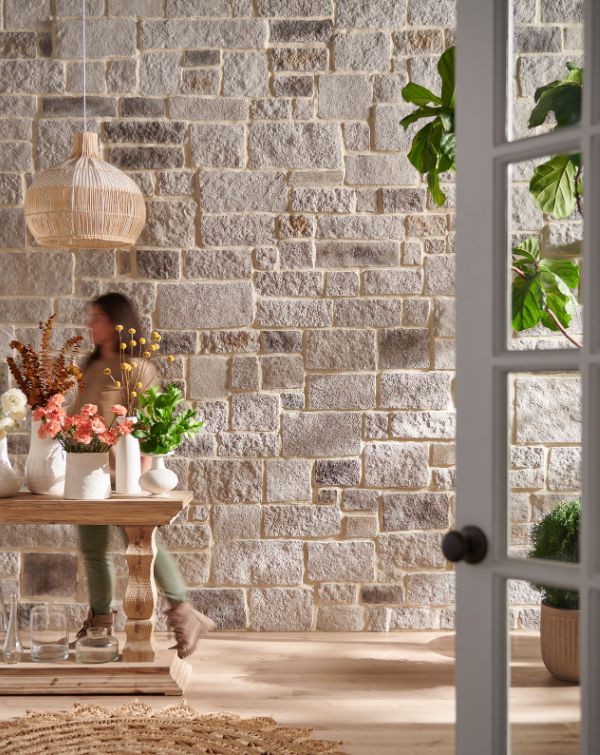
Natural, Textured Masonry
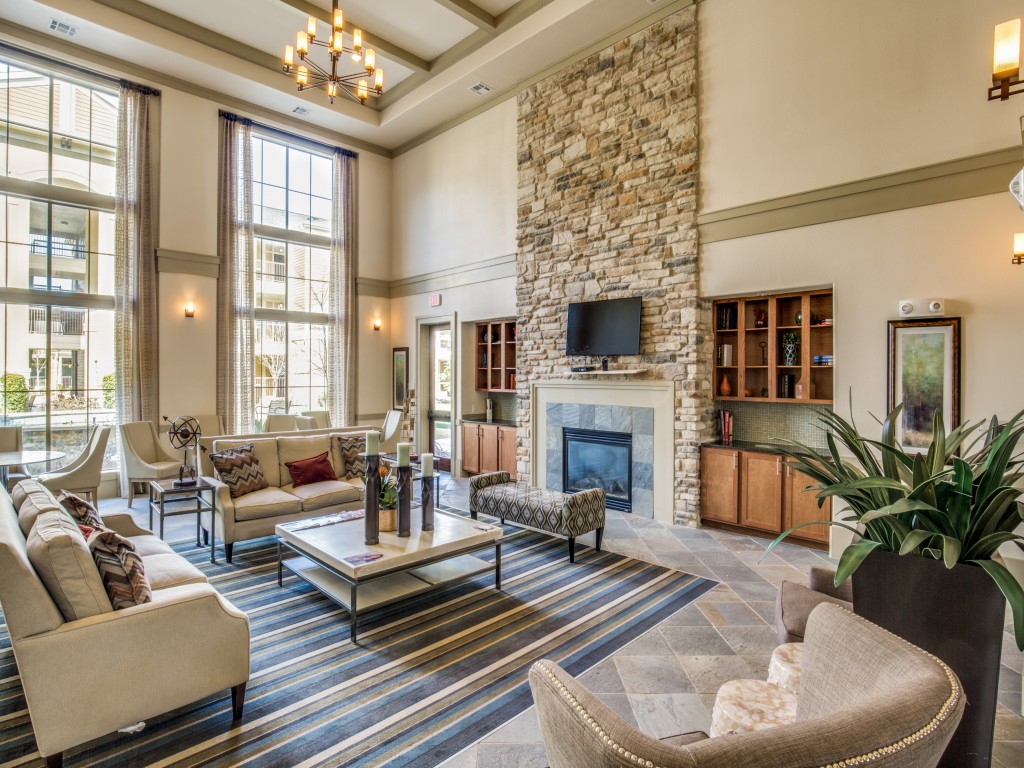
Homeowners and designers are gravitating toward stone and brick with character, finishes that feel a little rugged, a little imperfect, and full of story. Think weathered brick, hand-split ledgestone, or organic fieldstone with uneven edges. Instead of covering entire rooms, these materials are being used with intention – as statement fireplaces, feature walls, or architectural accents that instantly ground a space.
This shift comes from a desire for homes that feel authentic and rooted. After years of sleek, polished surfaces dominating interiors, textured masonry offers warmth, depth, and a sense of timelessness that modern design alone can’t provide.
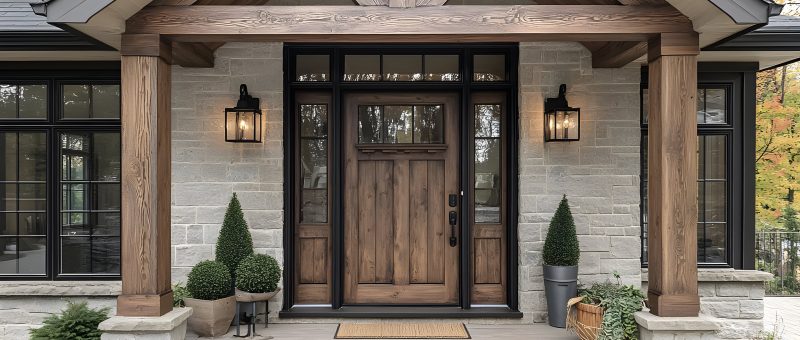
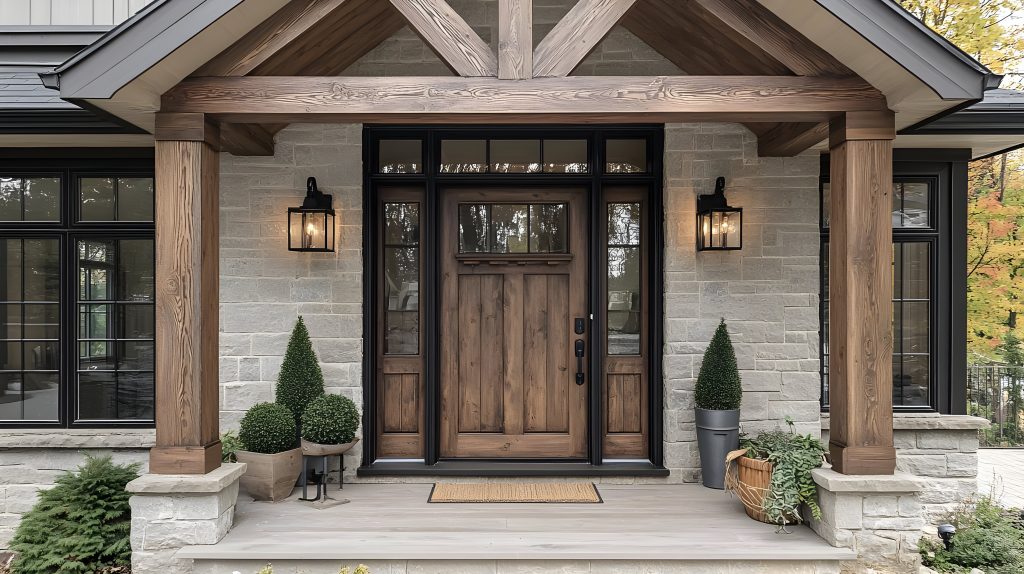
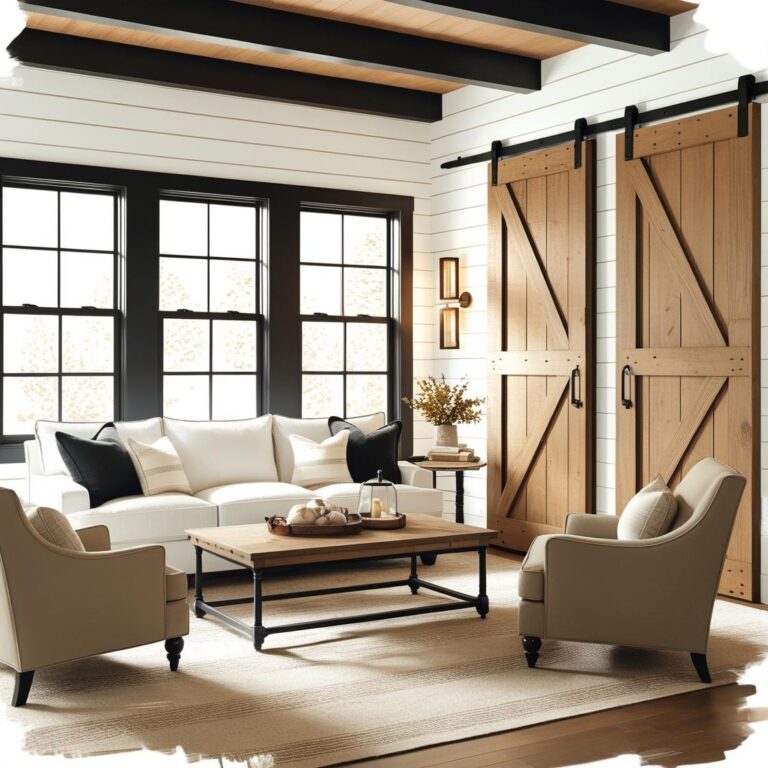
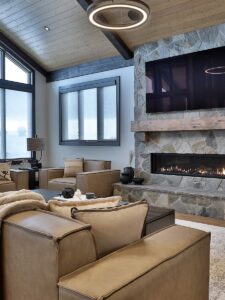
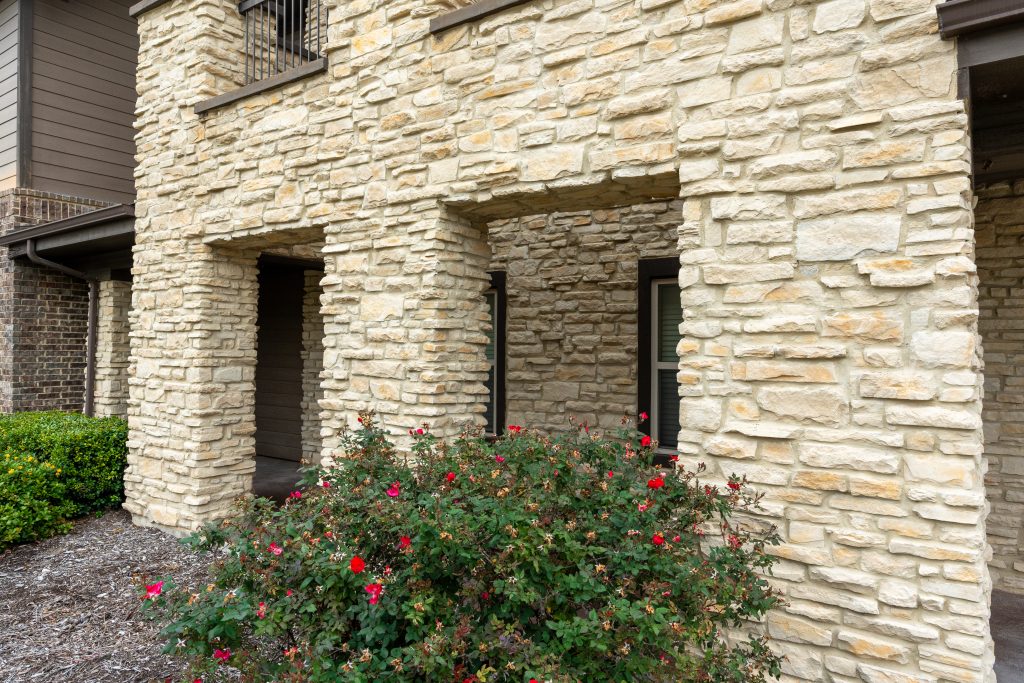
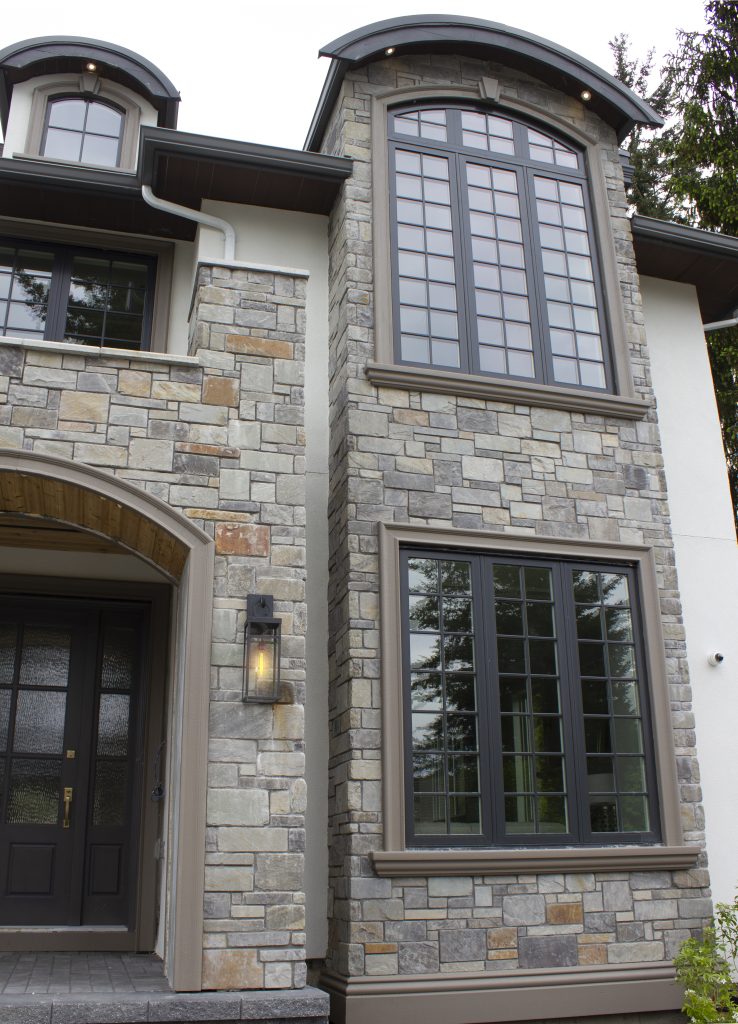
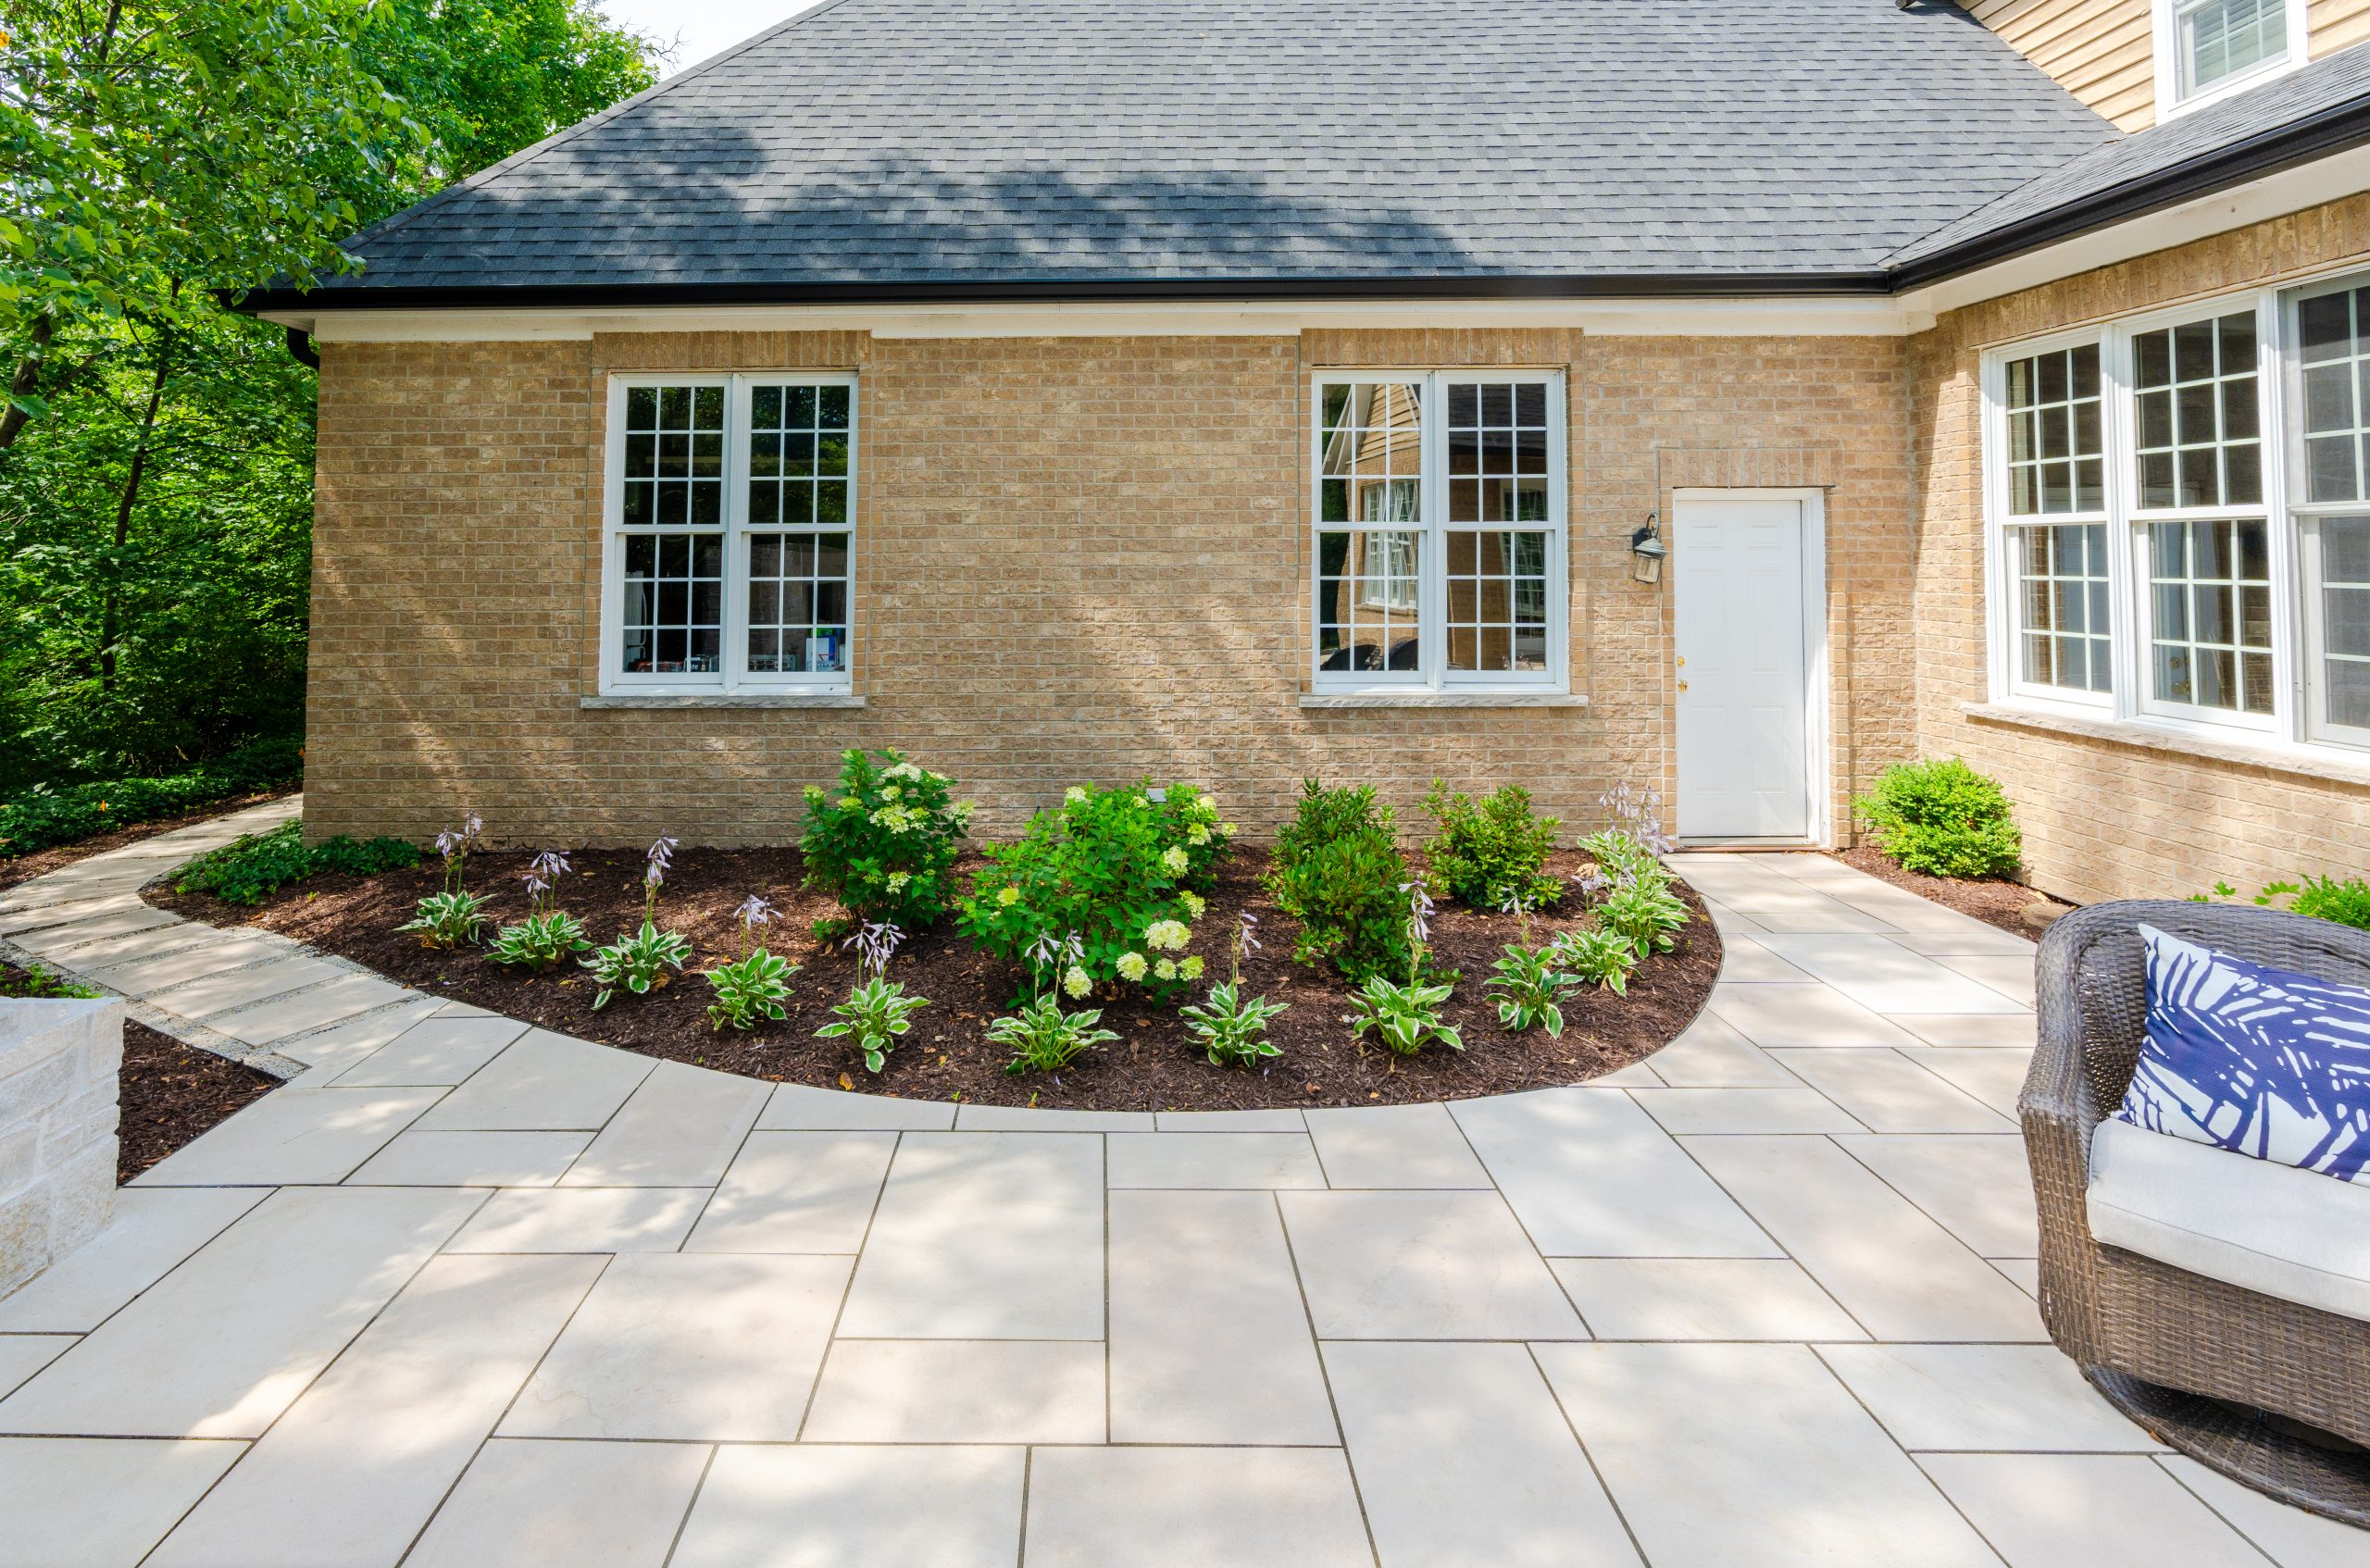
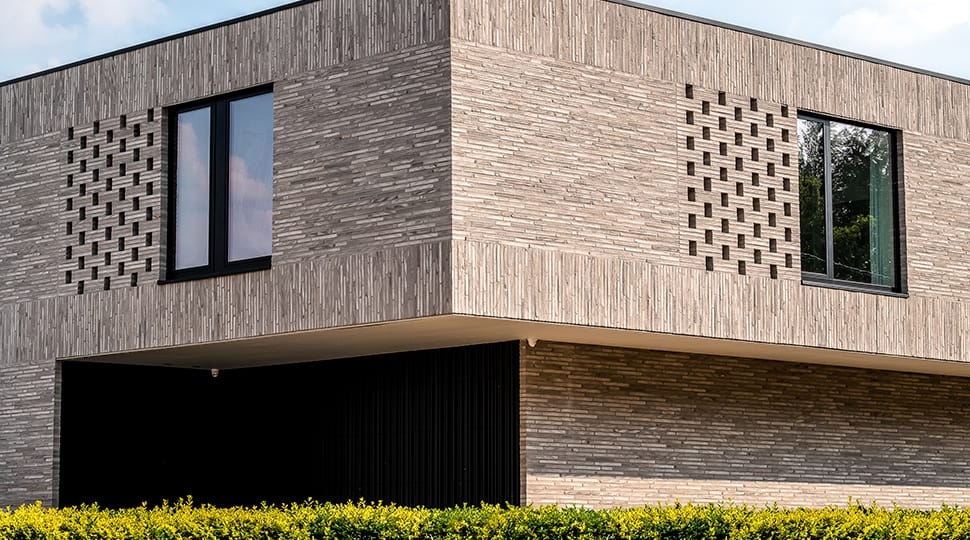
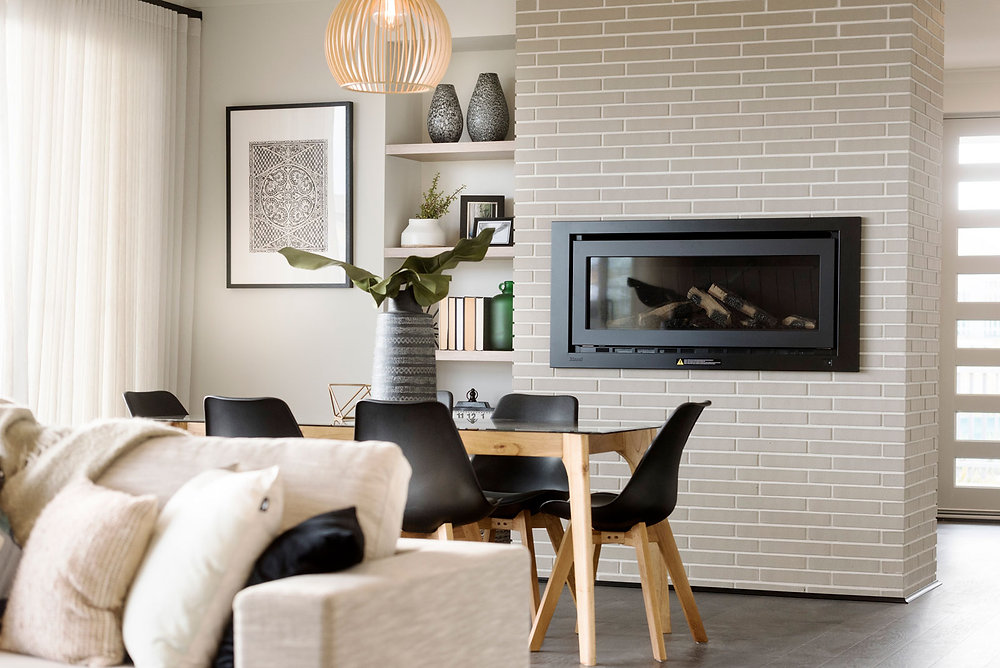
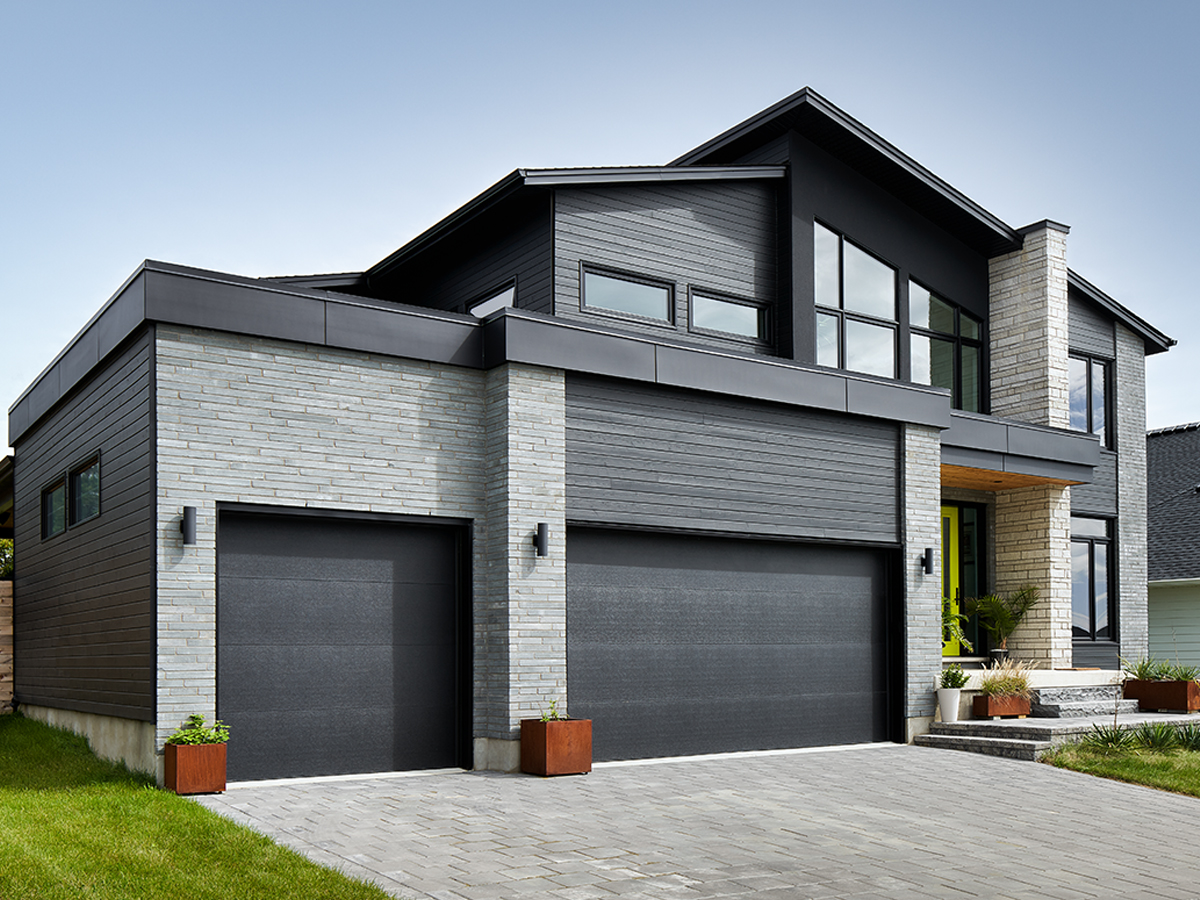
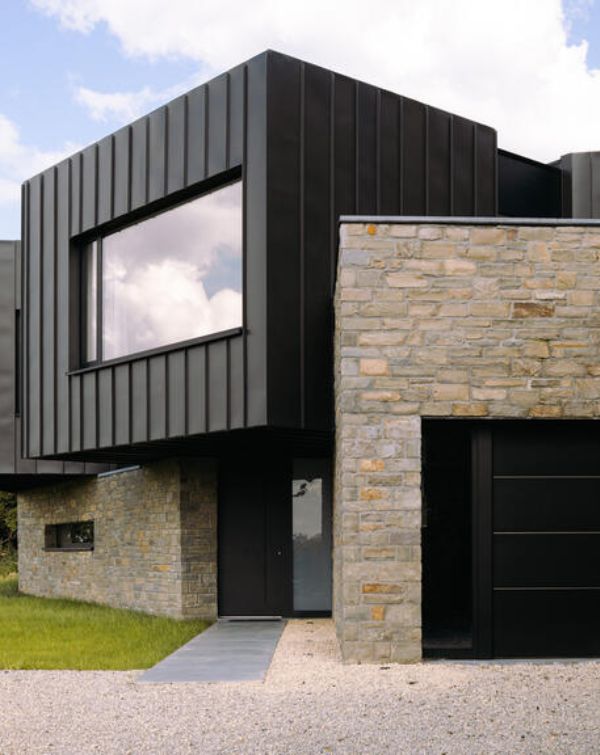
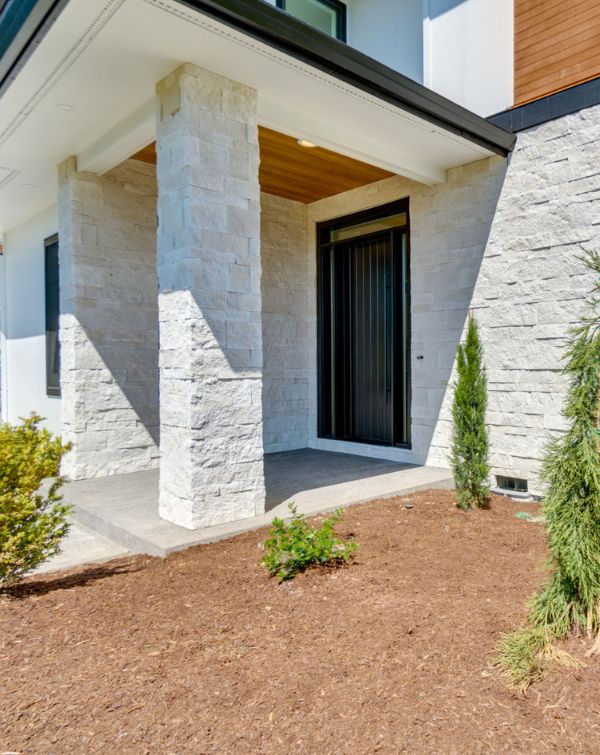
Mixed-Material & Contrast-Driven Design
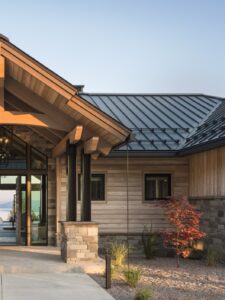
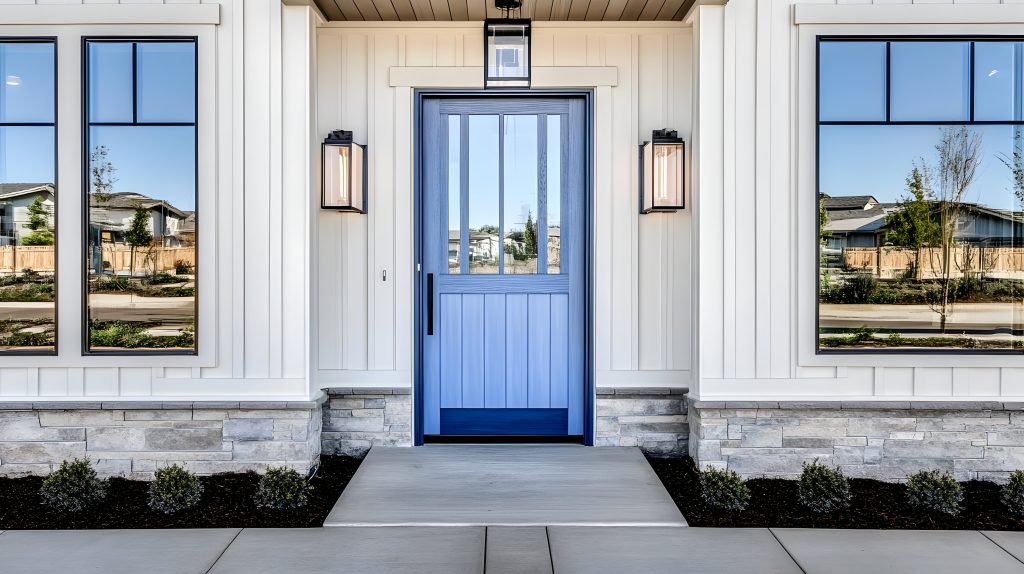
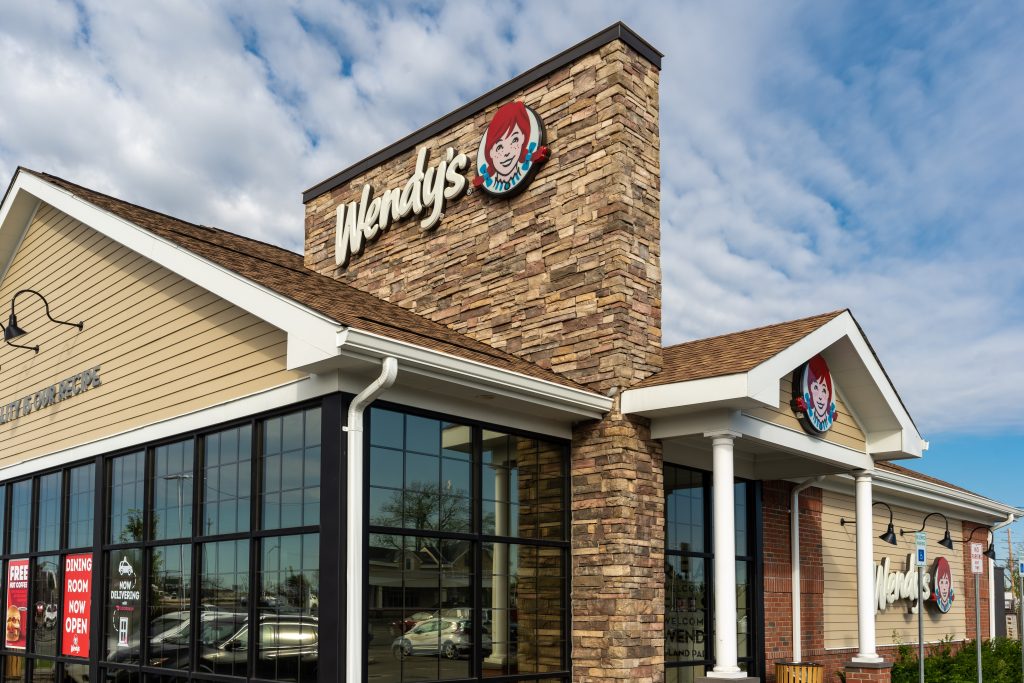
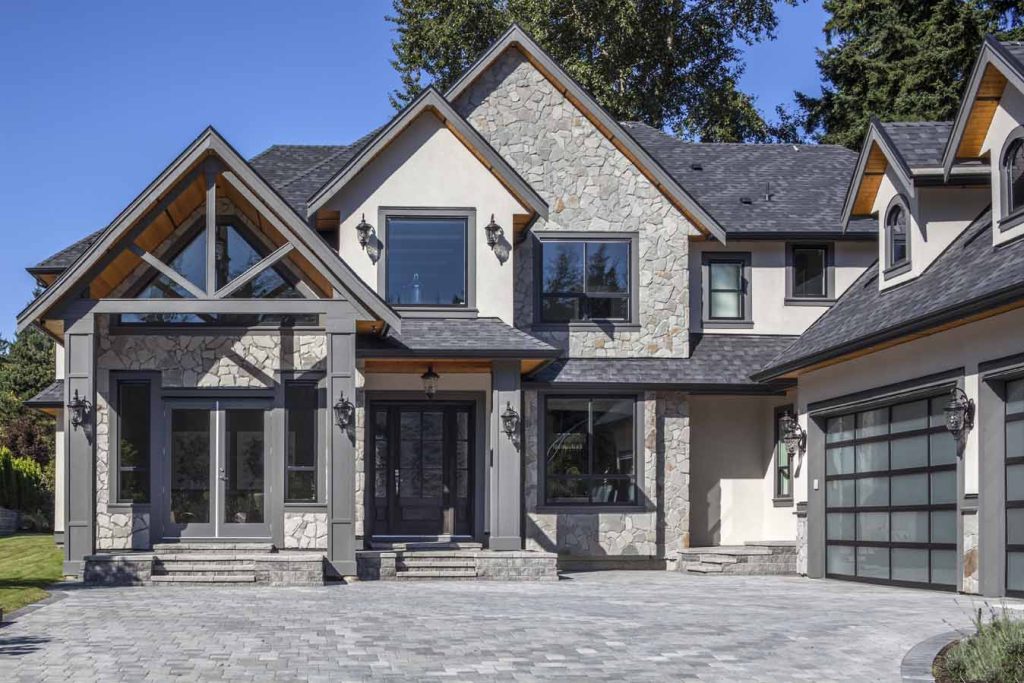
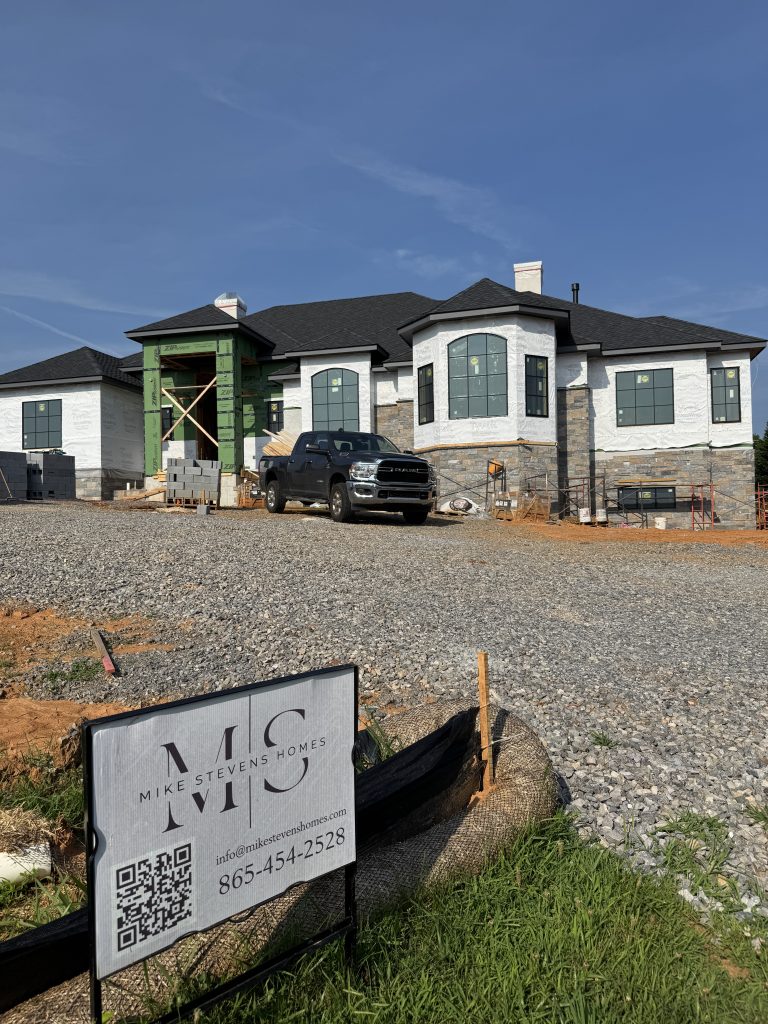
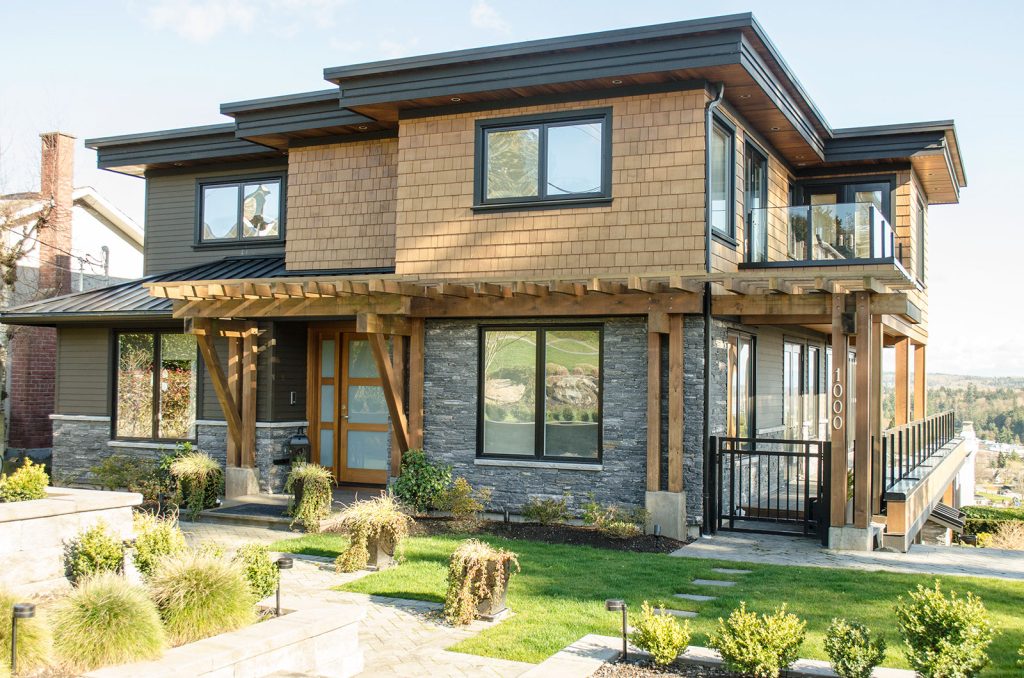
Another major trend is the art of pairing stone or brick with modern materials. When masonry is combined with elements like glass, steel, concrete, or warm wood, the result is a balanced blend of old and new.
On exteriors, this might mean a stone-clad entry framed by minimalist windows or brick paired with metal accents to boost curb appeal. Indoors, mixing a stone feature wall with smooth plaster or natural wood creates a space that feels layered and contemporary without losing its warmth. This style resonates with homeowners looking for design that feels both grounded in tradition and refreshed for today.
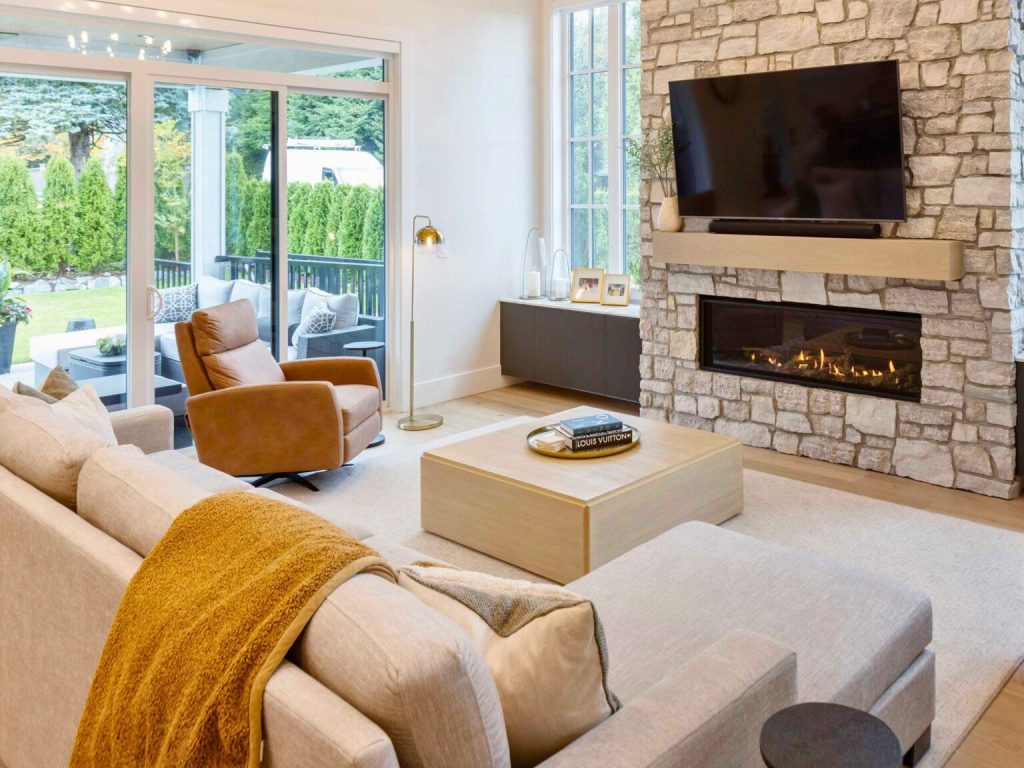
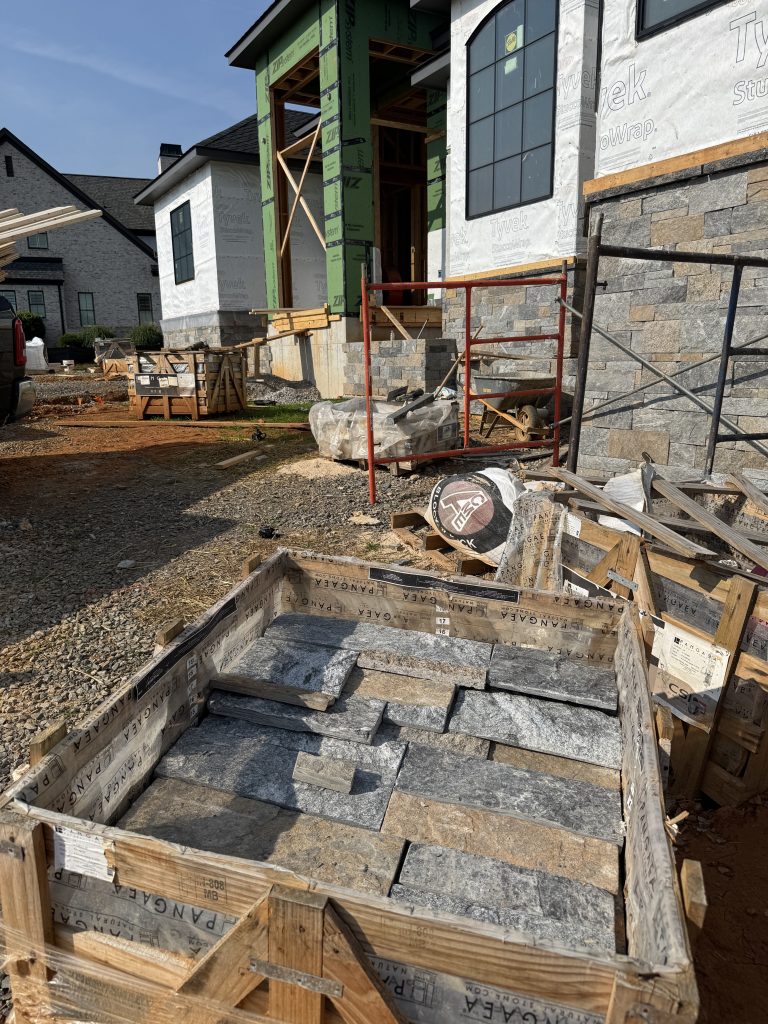
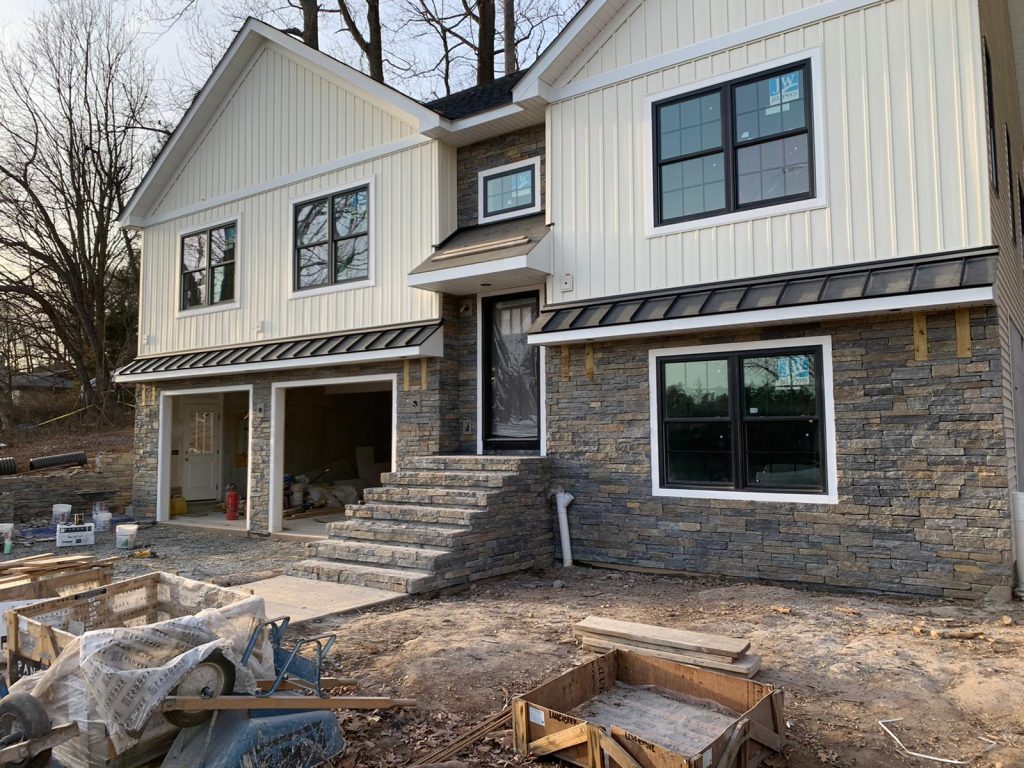
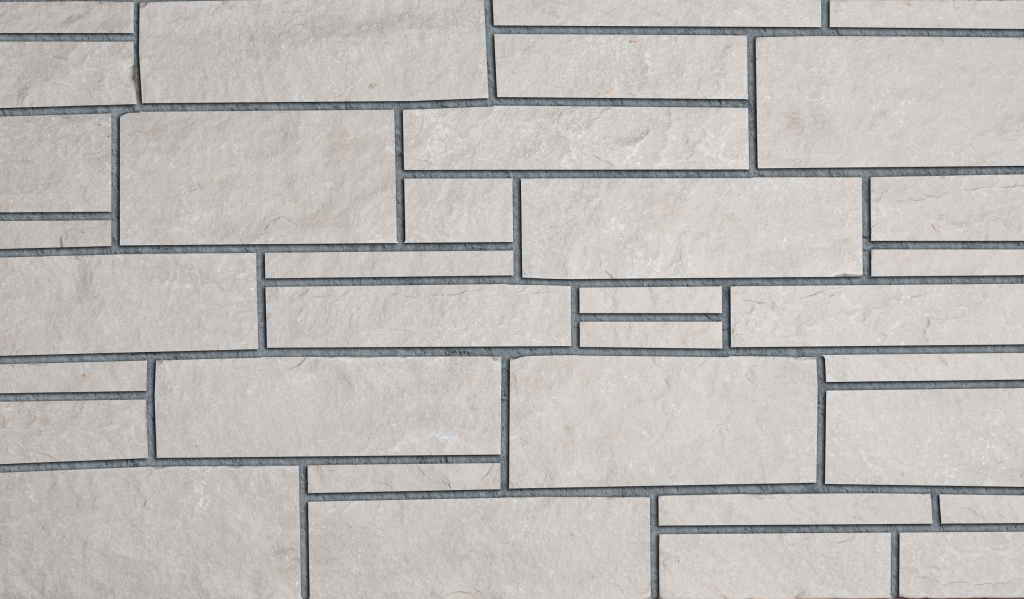
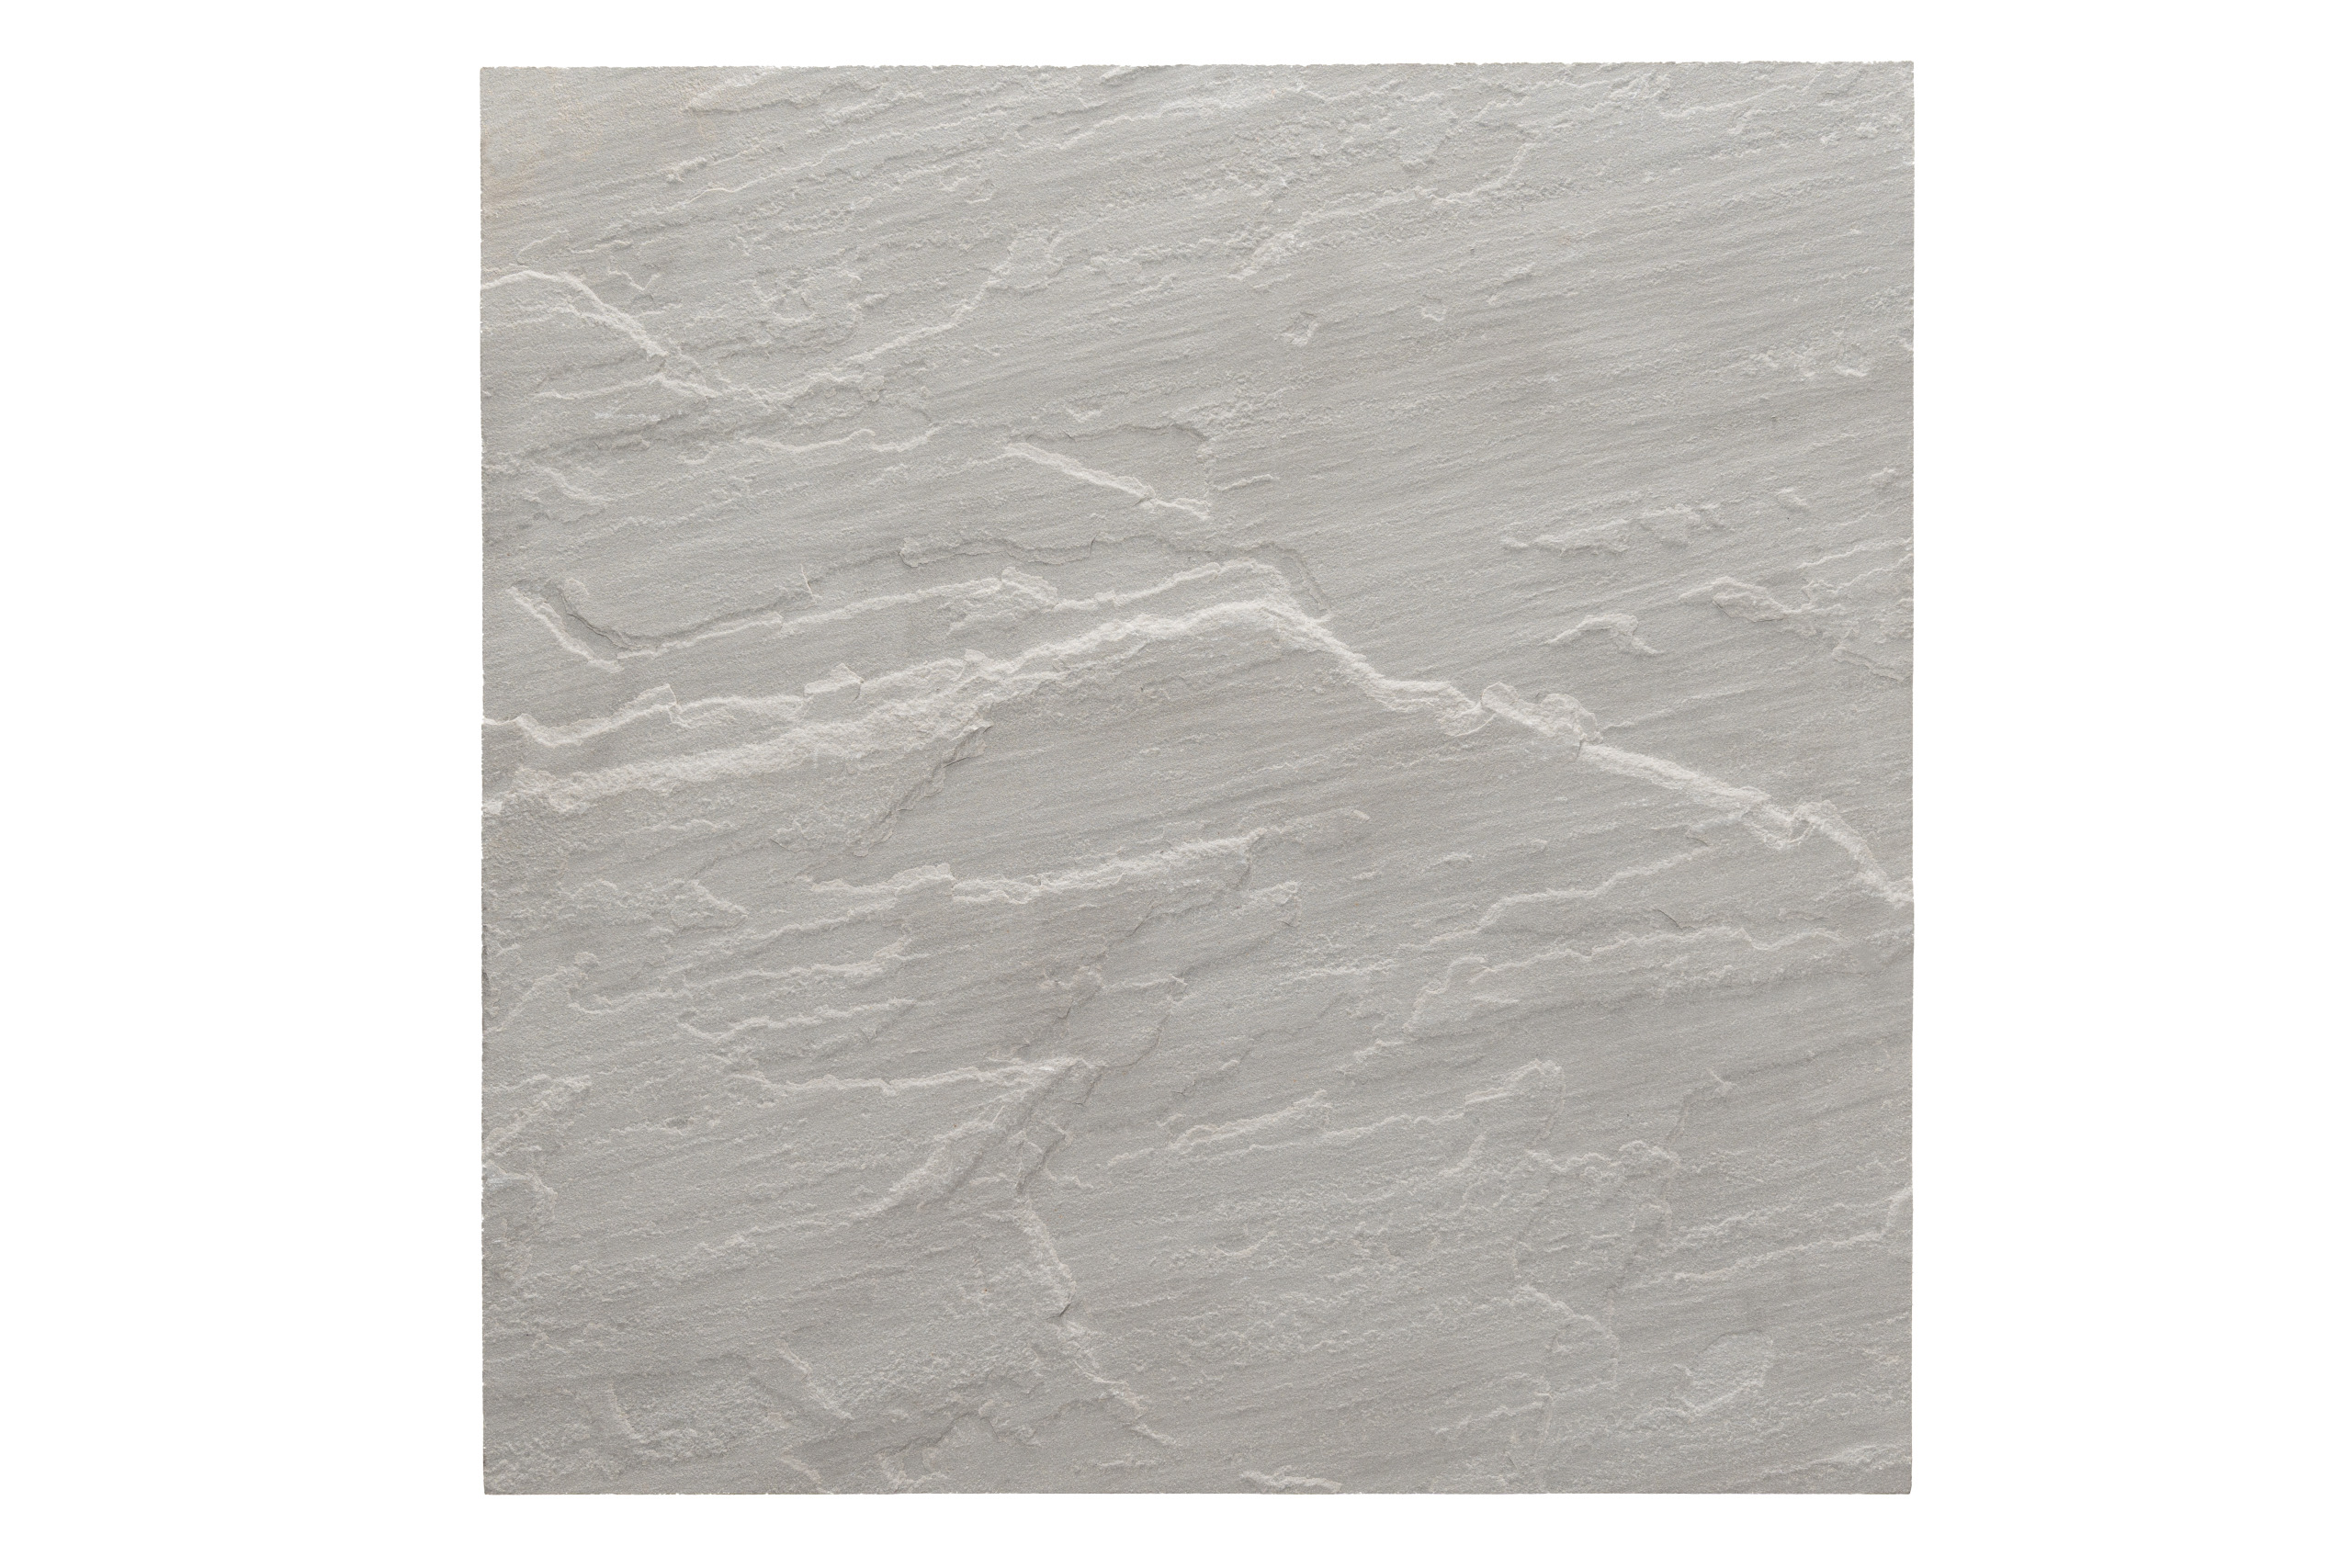
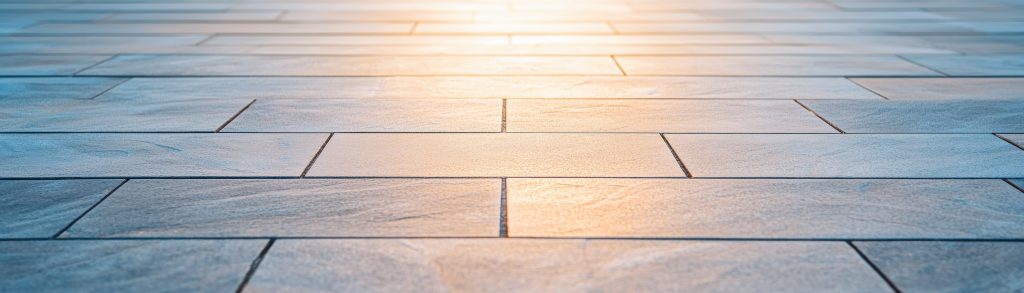
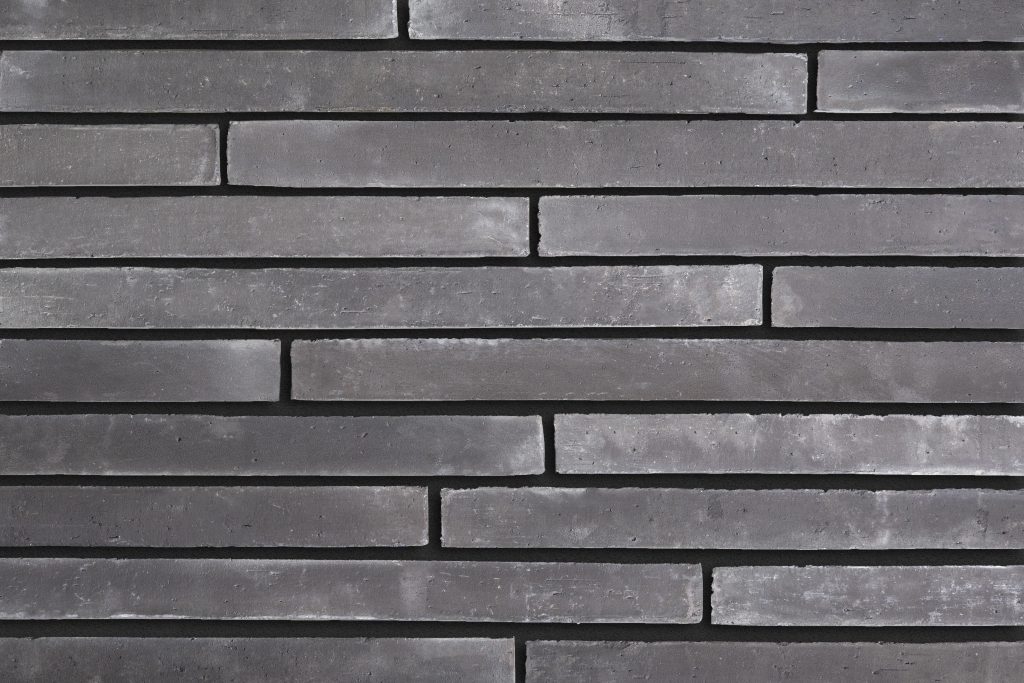
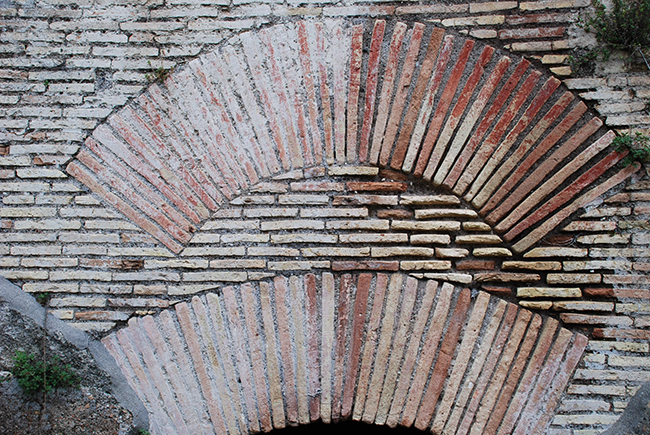
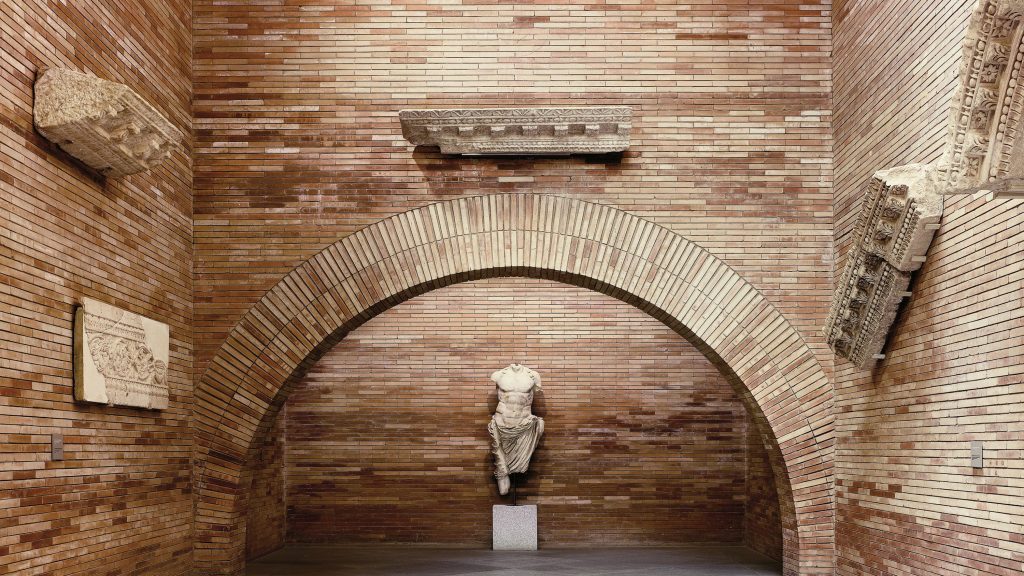
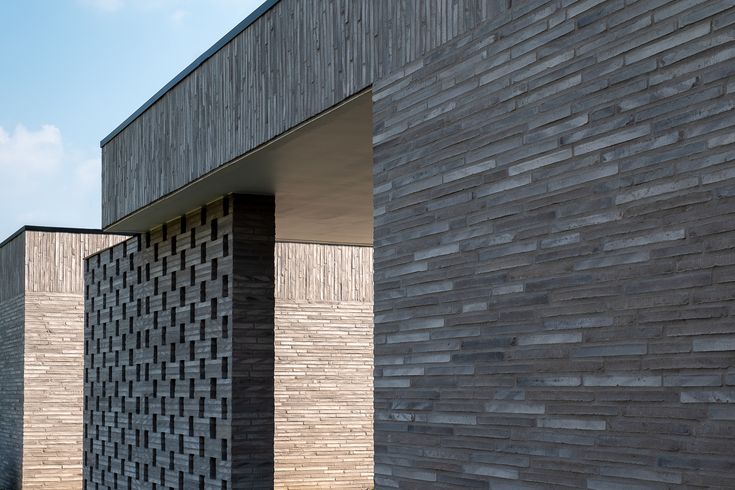
Large-Format & Modular Masonry Applications
Clean lines and bold surfaces are also on the rise, thanks to large-format stone veneer panels and thin veneer brick products. These options reduce grout lines and create sweeping, uninterrupted textures that feel modern and refined.
Designers are also experimenting with fresh layouts, from vertical stacking to creative herringbone patterns, bringing a custom touch to classic materials. Modular systems are especially appealing for renovations, offering the look of full masonry with easier installation and greater flexibility.
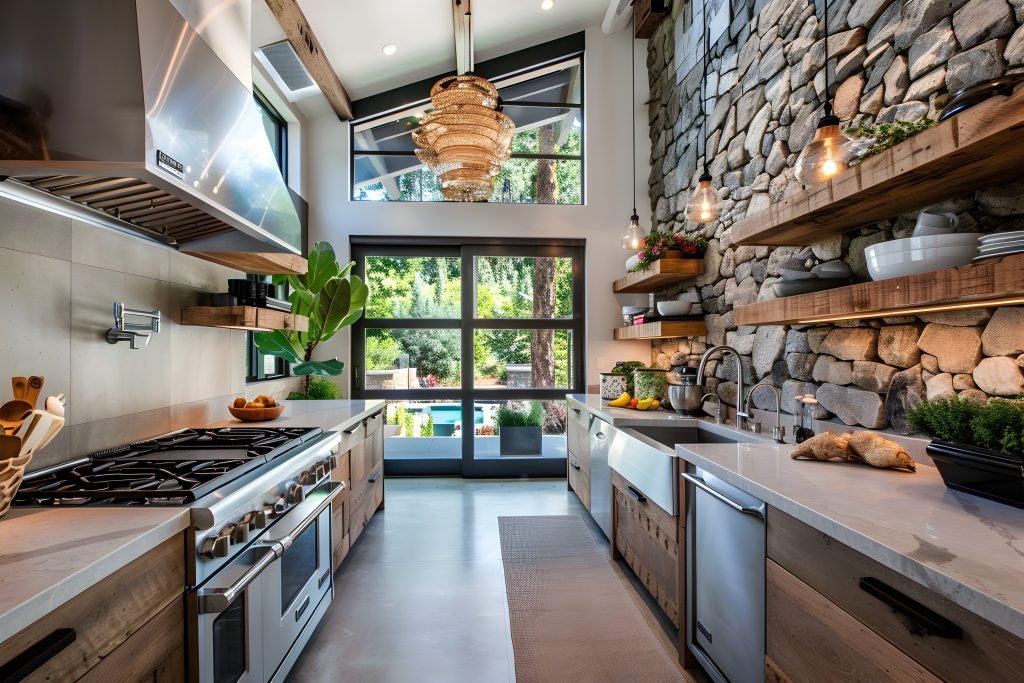
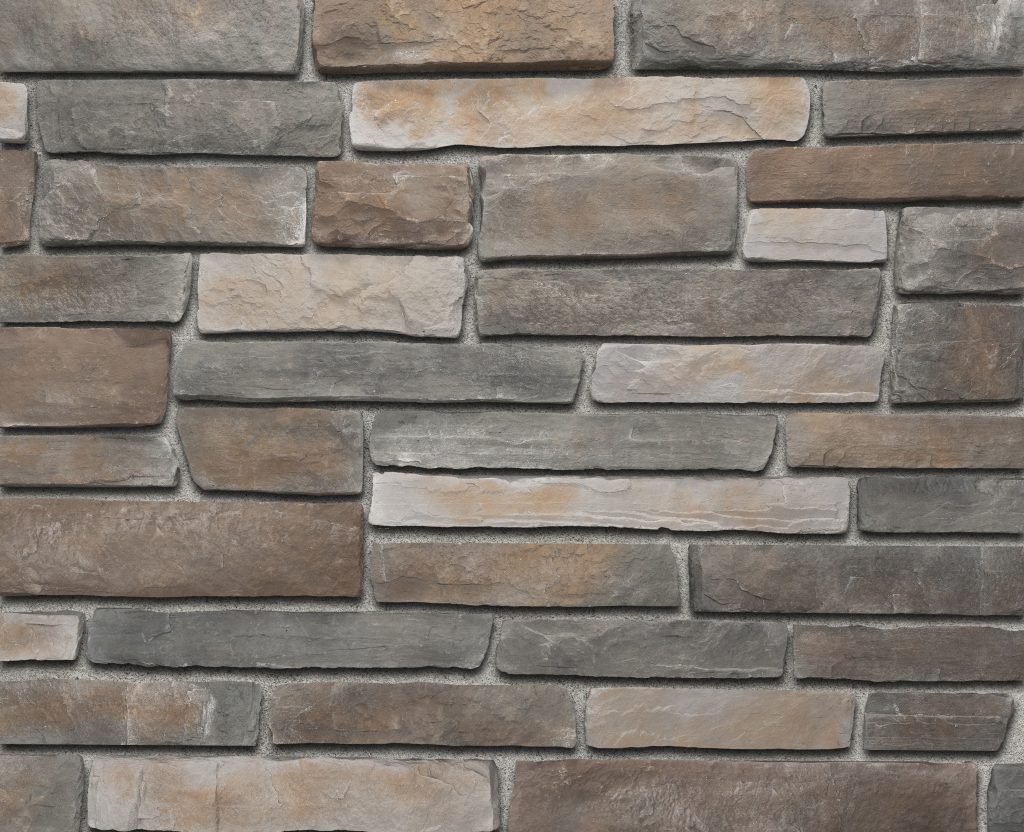
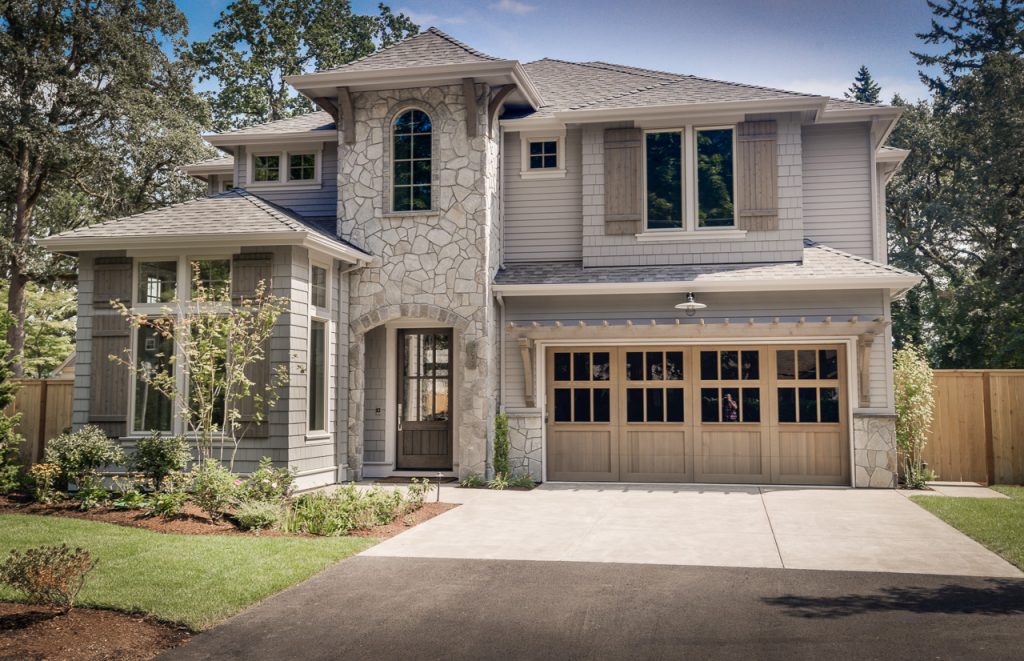
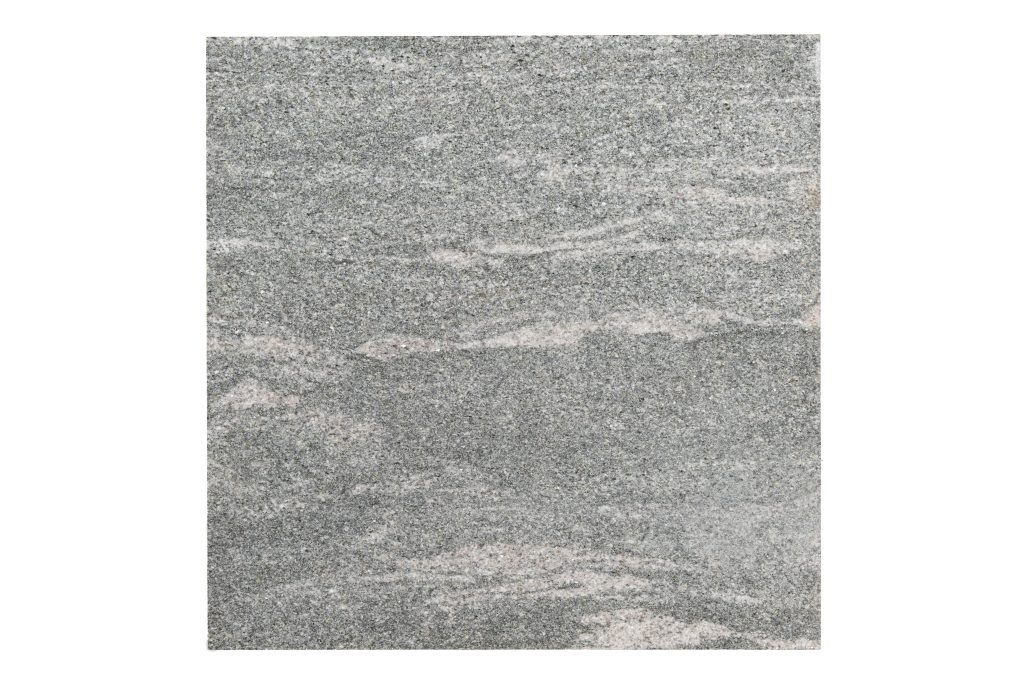
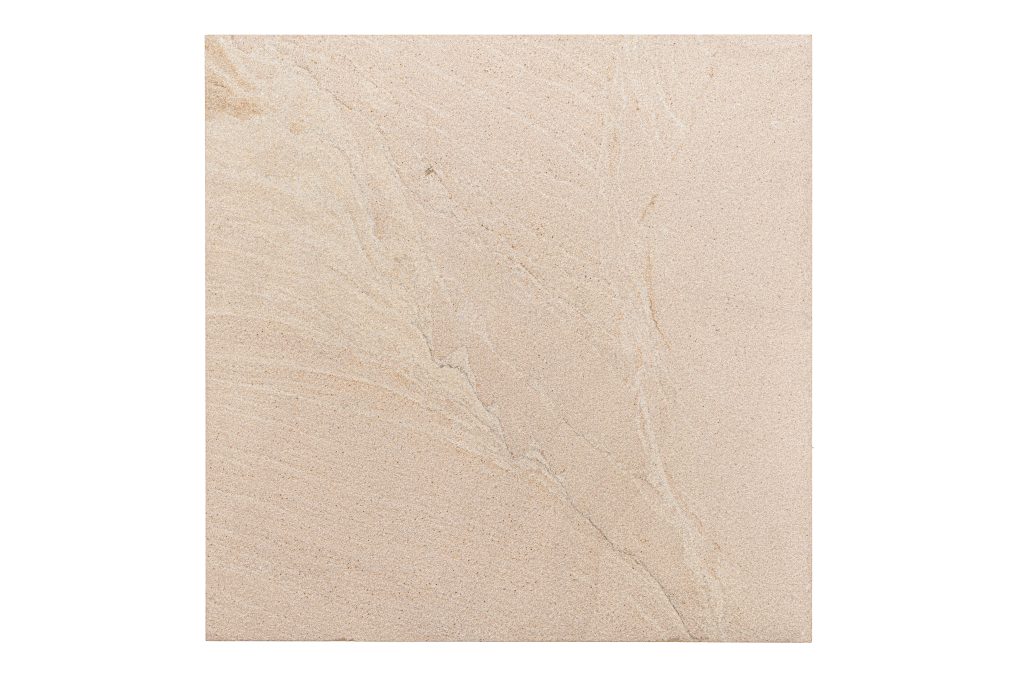
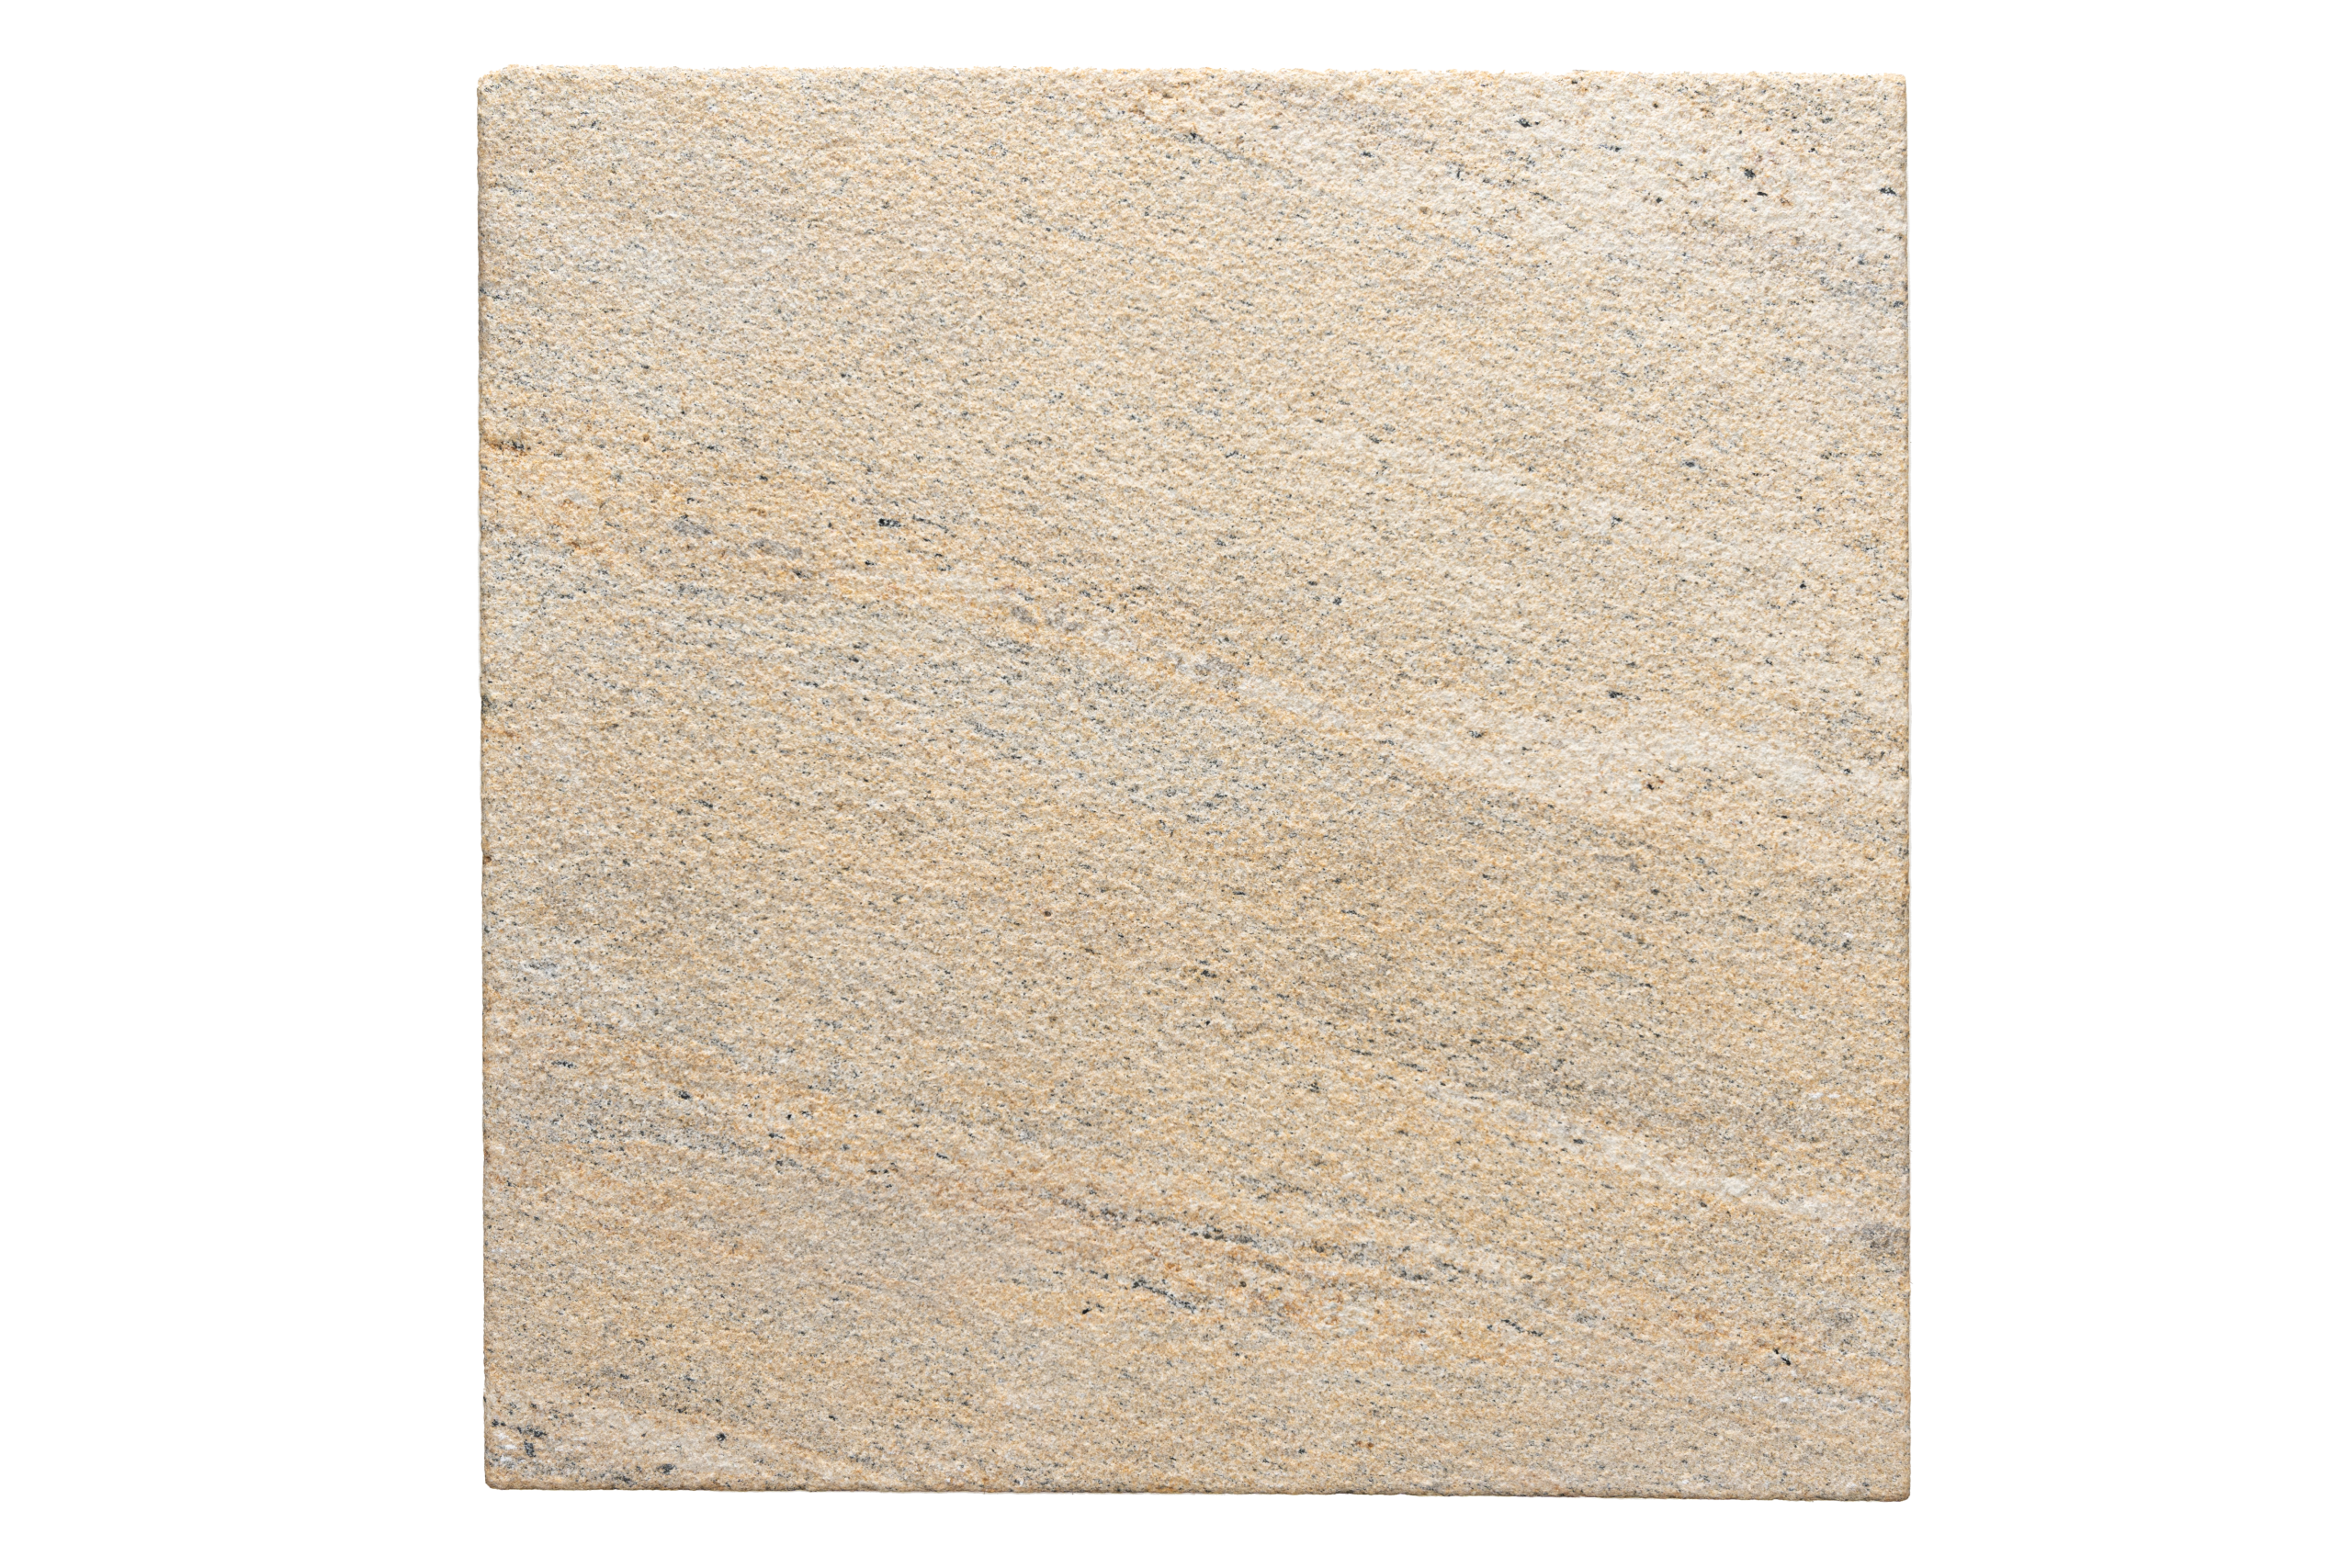
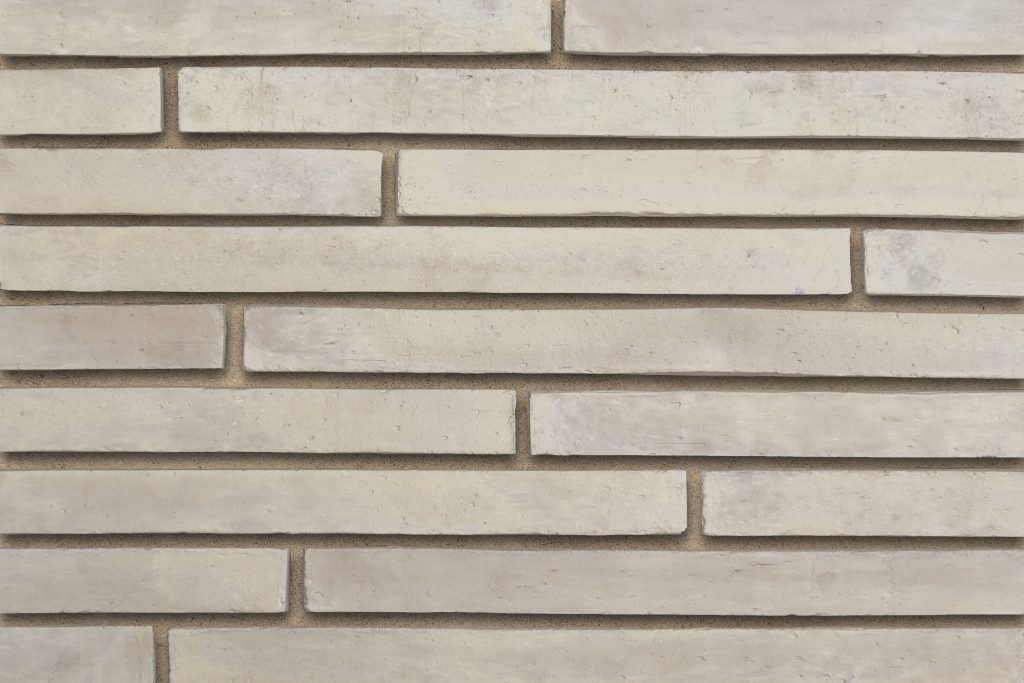
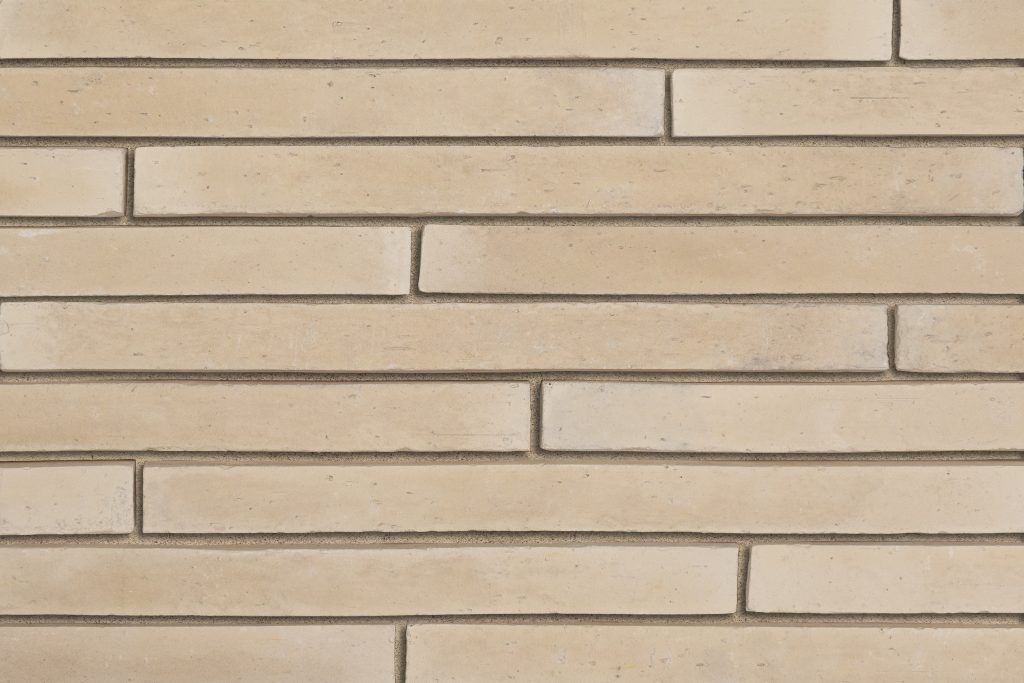
Organic “Quiet Luxury” & Earth-Focused Palettes
Warm, nature-inspired color palettes are shaping 2026 design, making stone and brick natural standouts. Soft clay, muted terracotta, olive, taupe, and ochre pair beautifully with masonry’s organic texture. This look supports the growing “quiet luxury” movement, spaces that favour subtle sophistication, natural materials, and timeless finishes over bold trends.
“Warm minimalism” is also on the rise, blending stone, brick, wood, and textured fabrics for interiors that feel calm, inviting, and grounded, a sense of comfort many homeowners are craving.
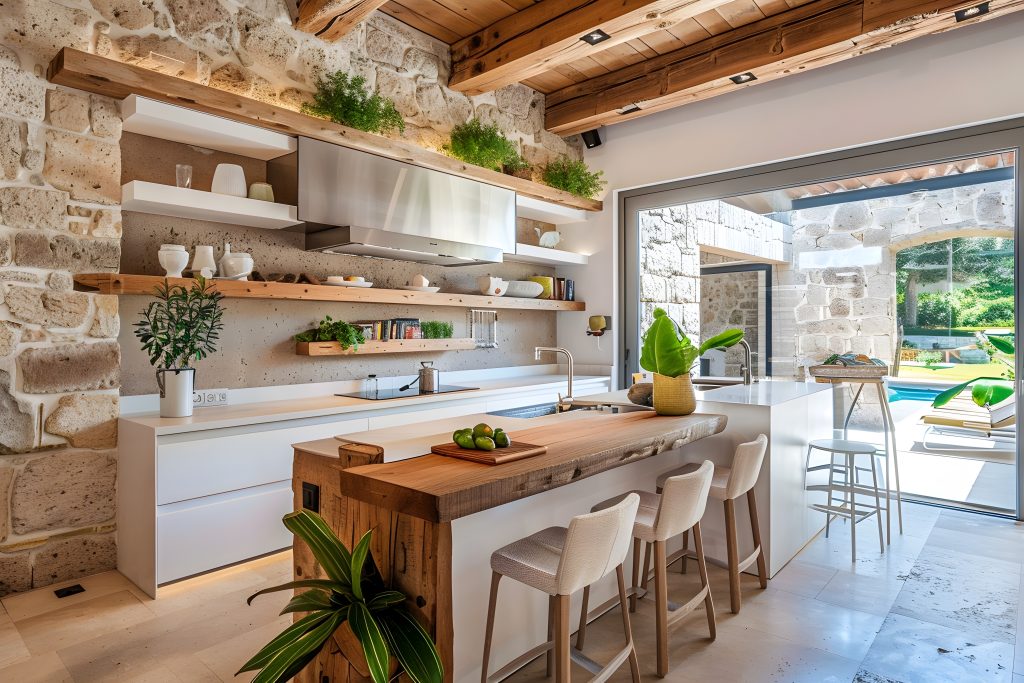
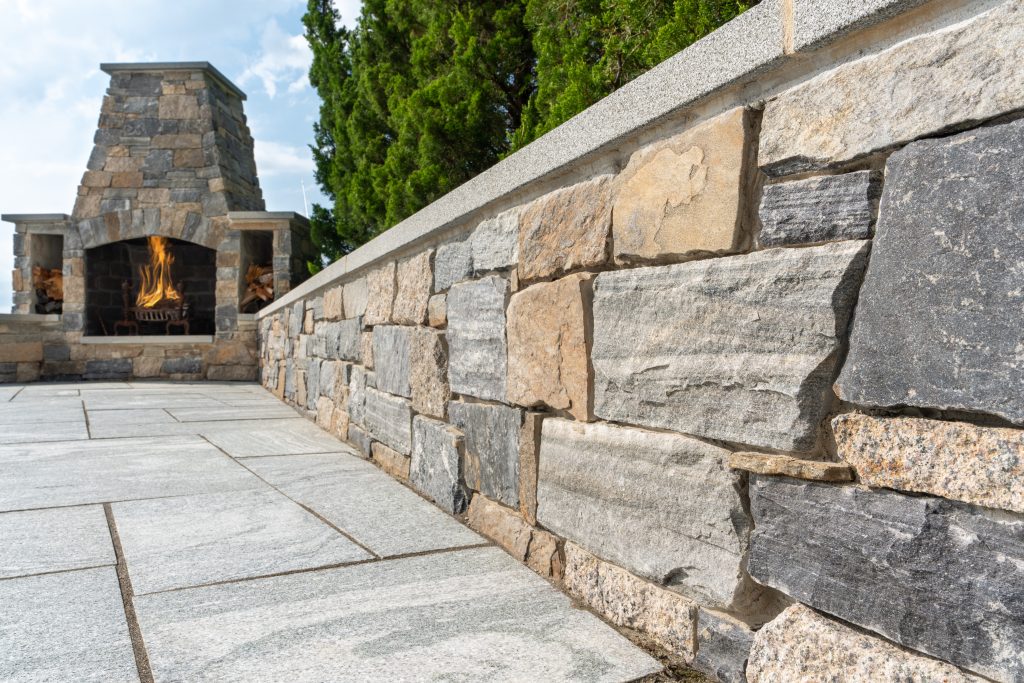
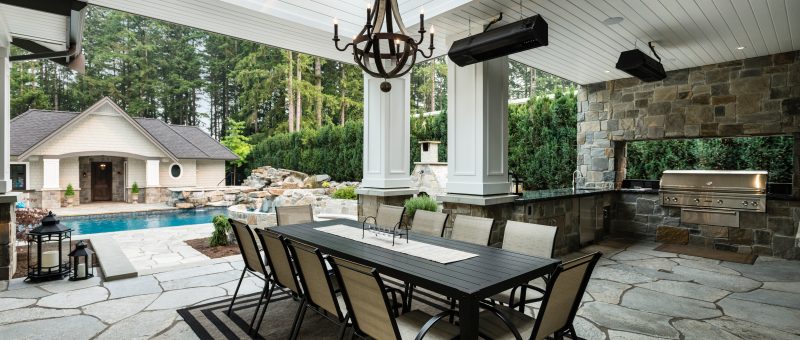
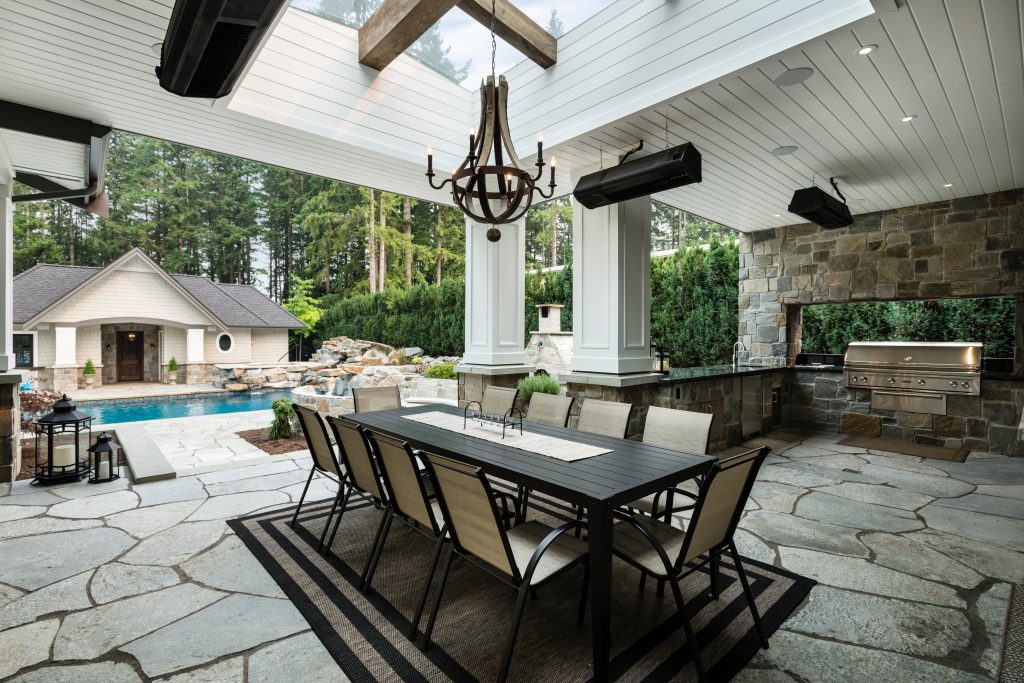
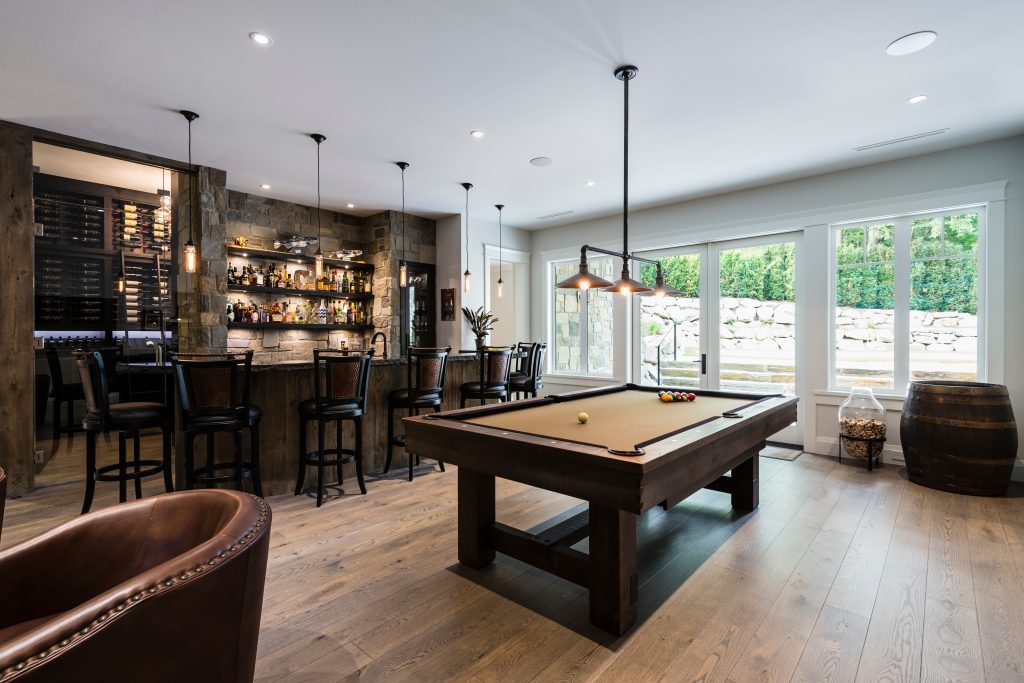
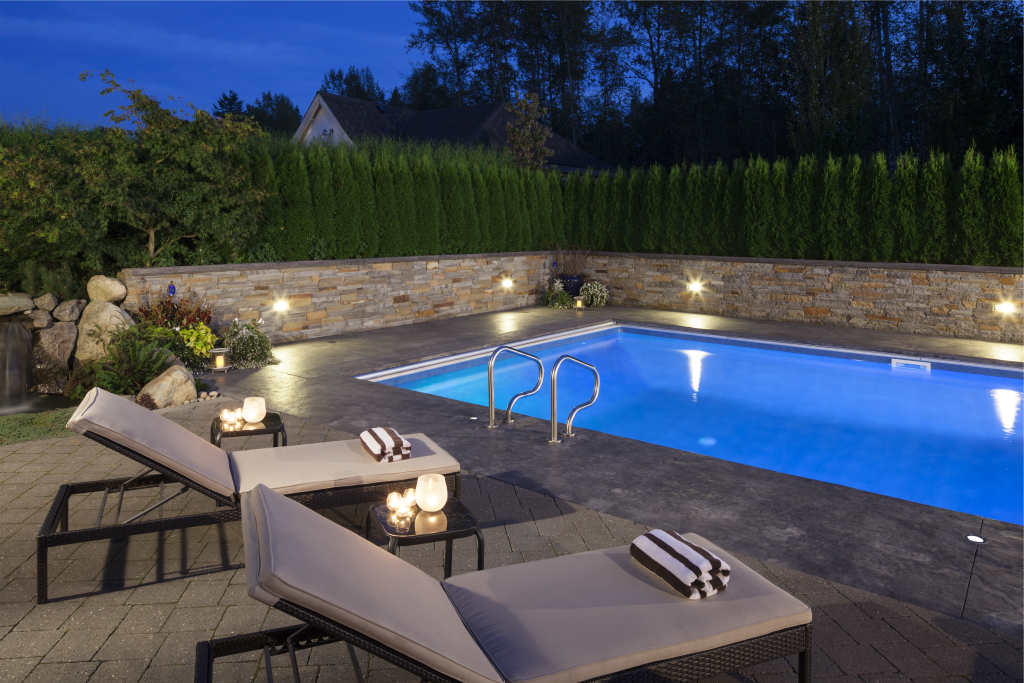
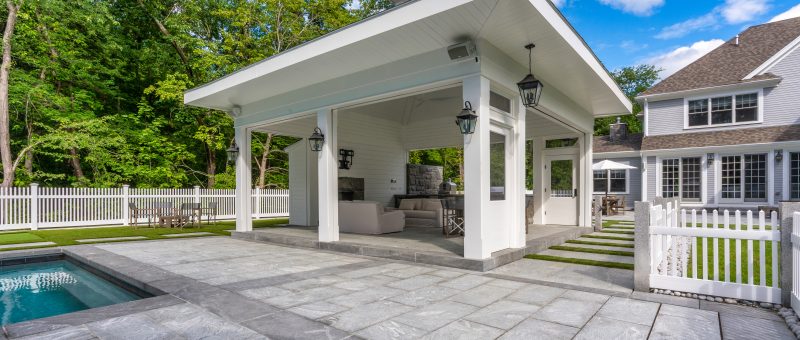
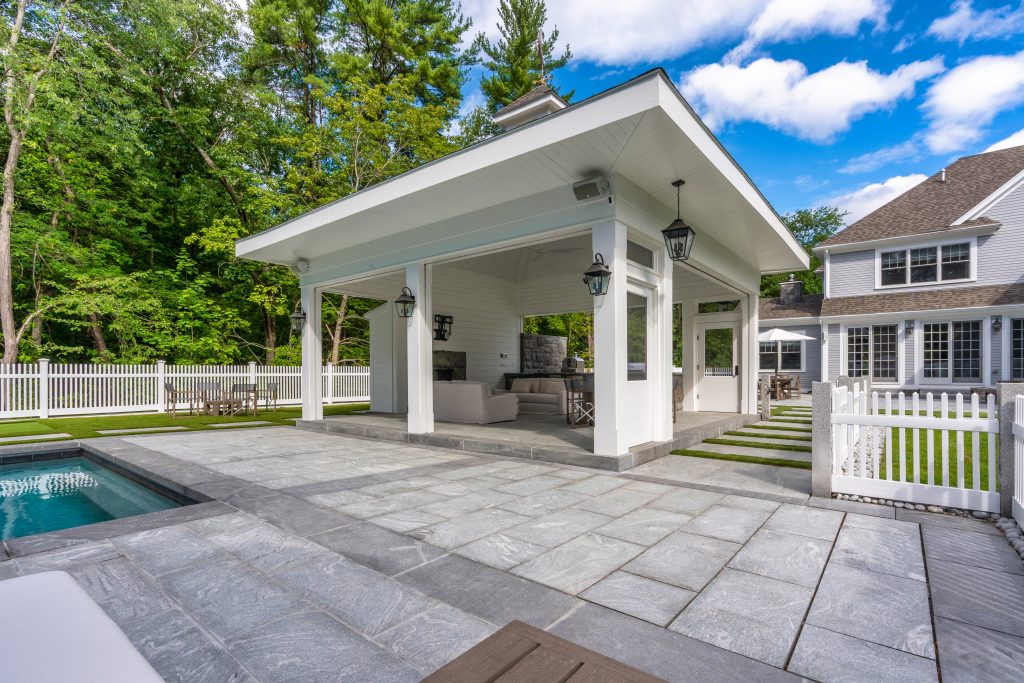
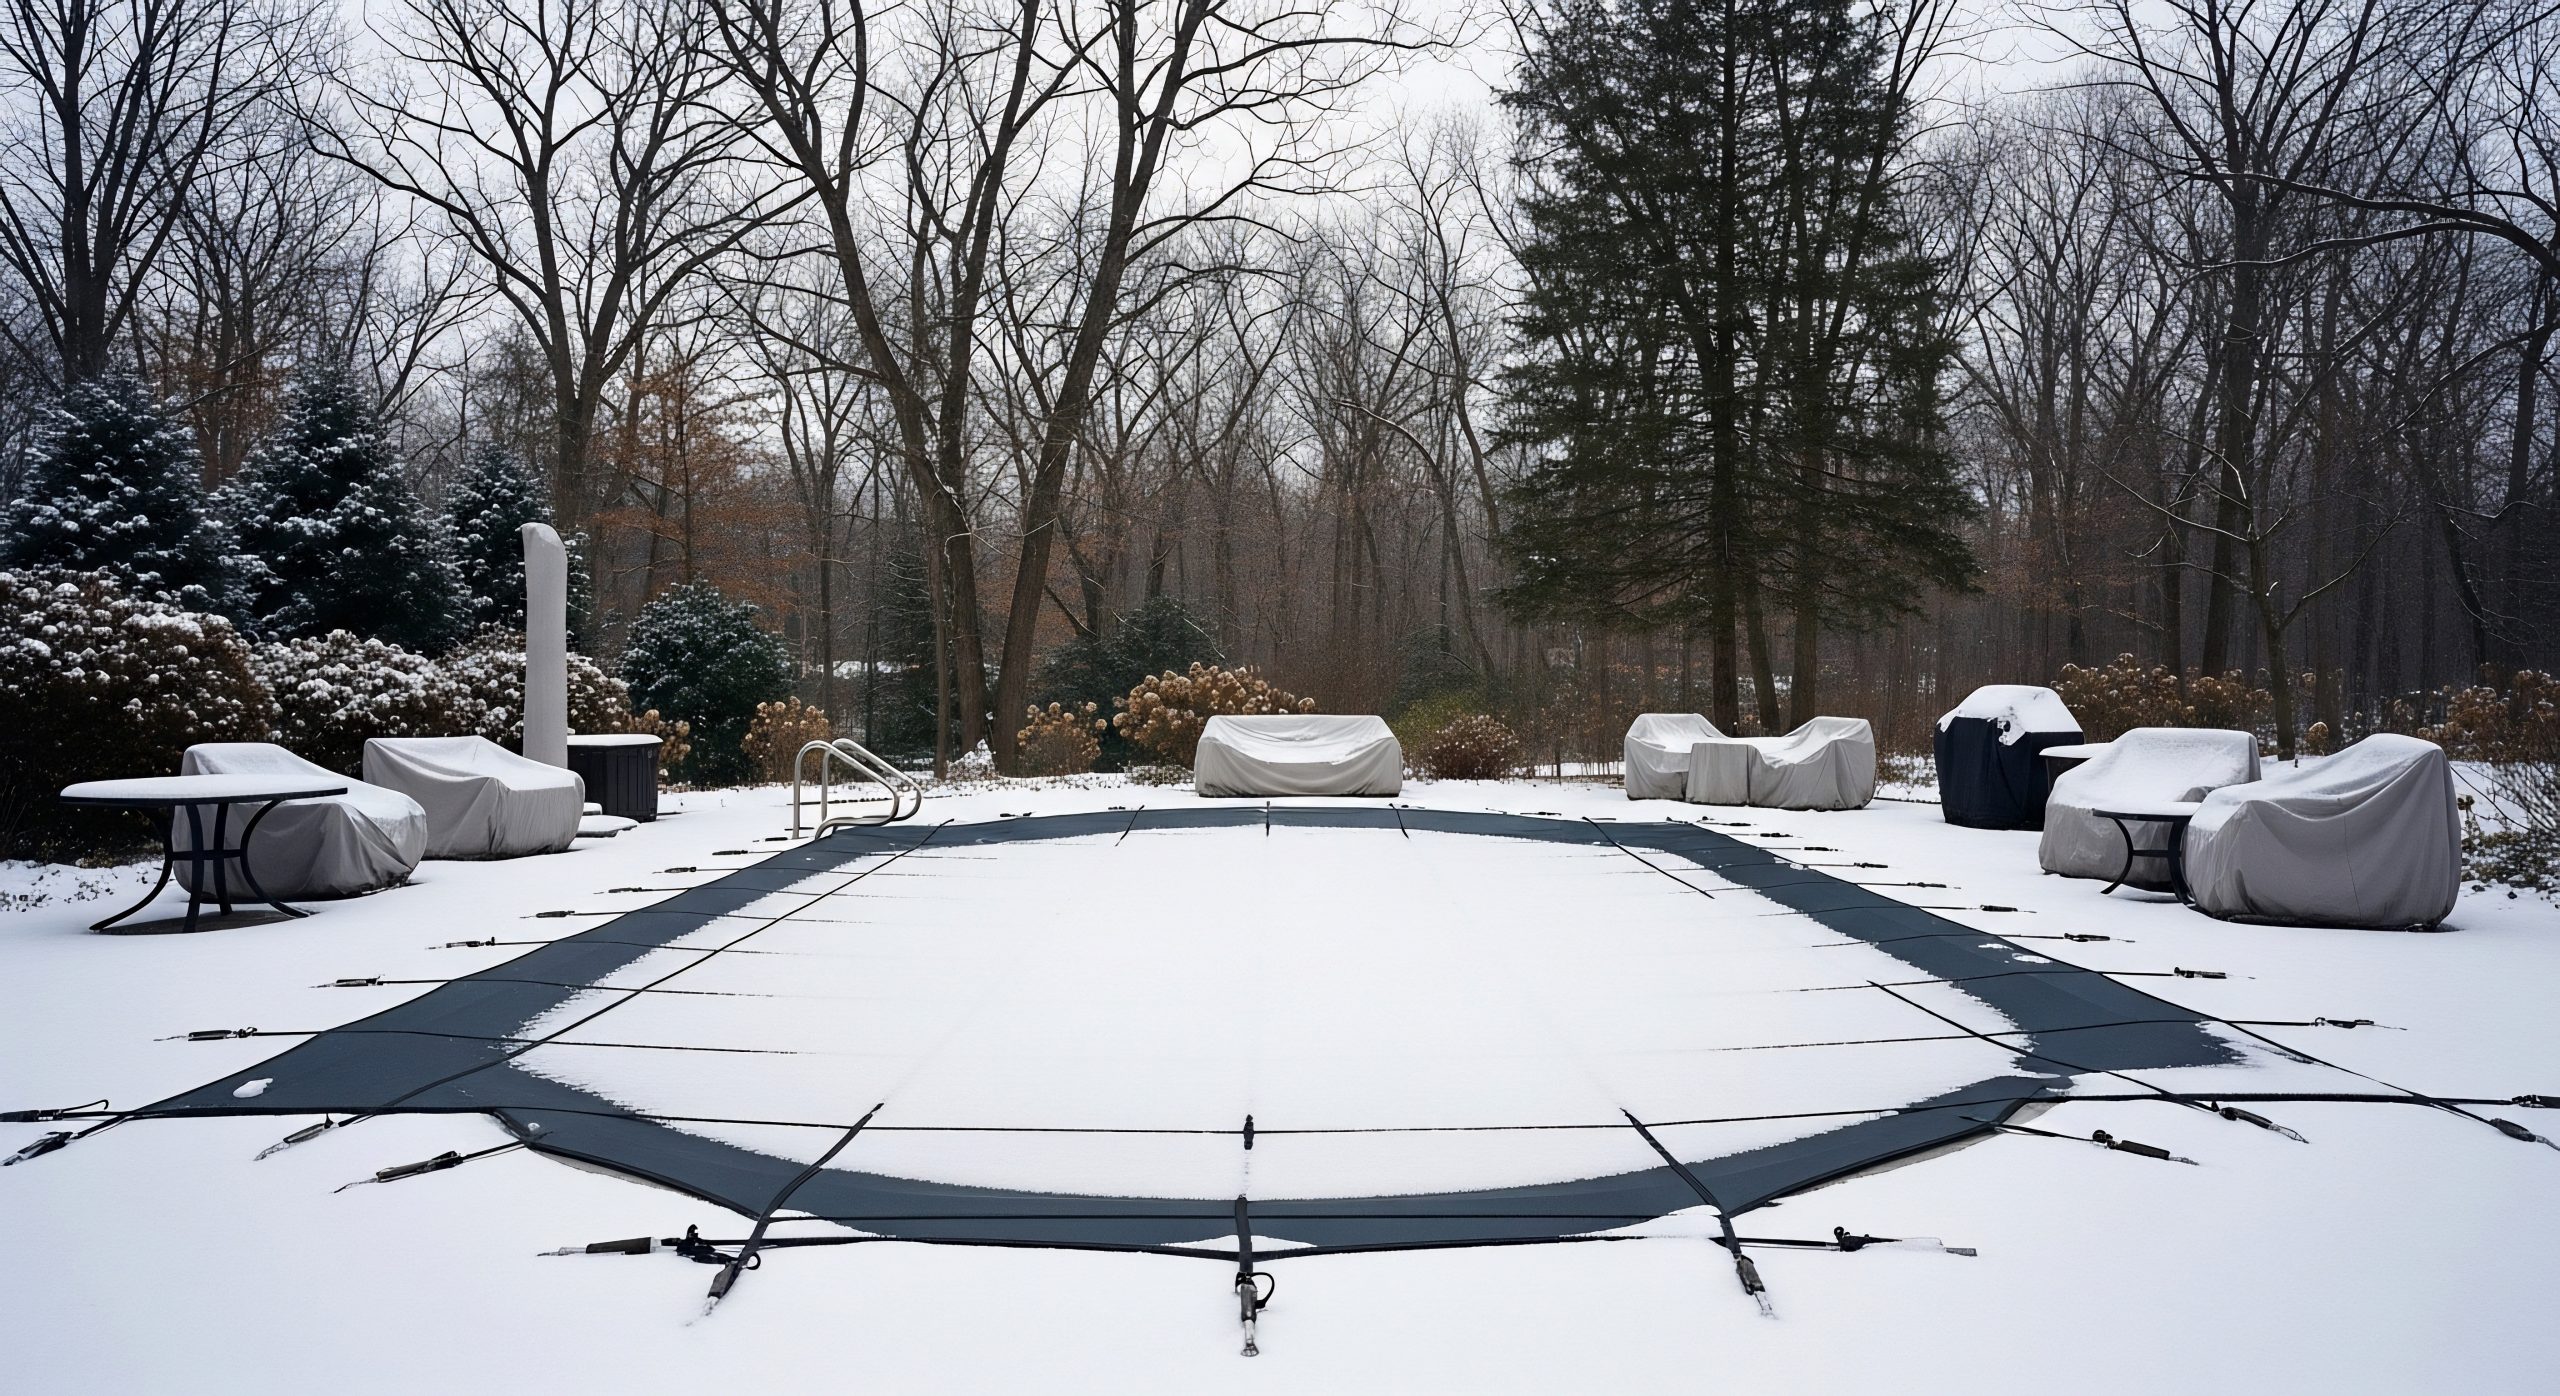
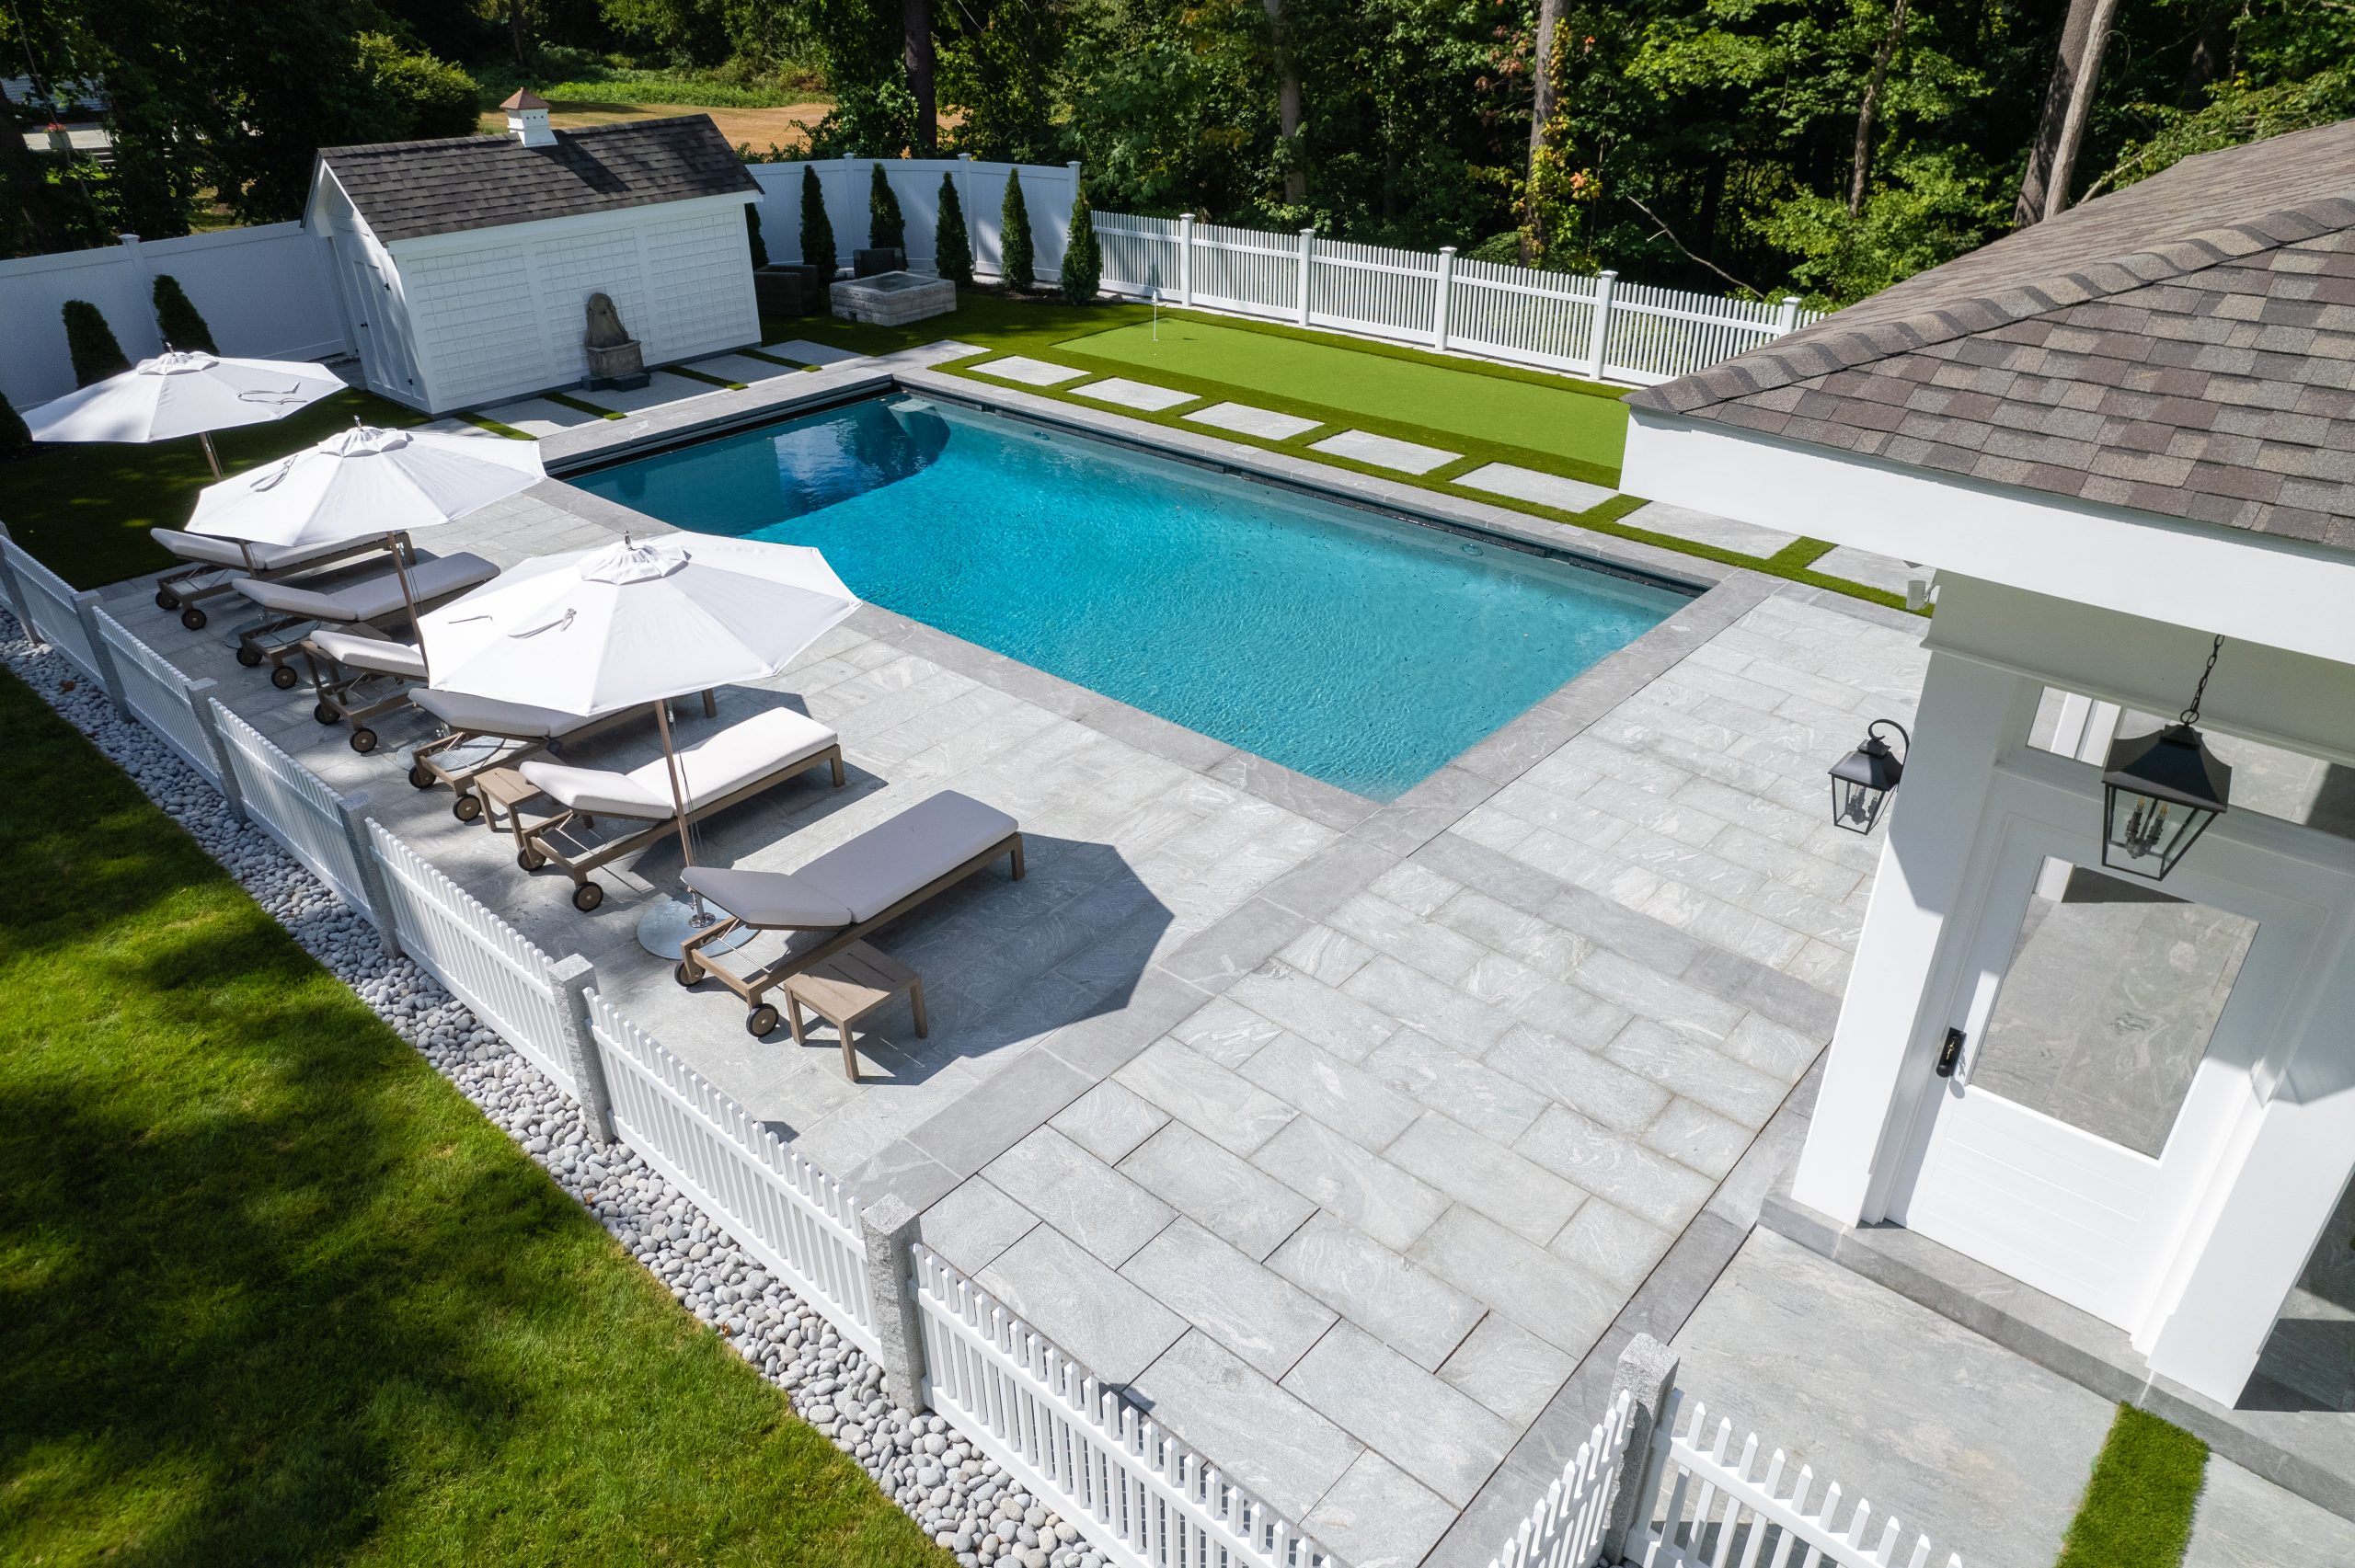
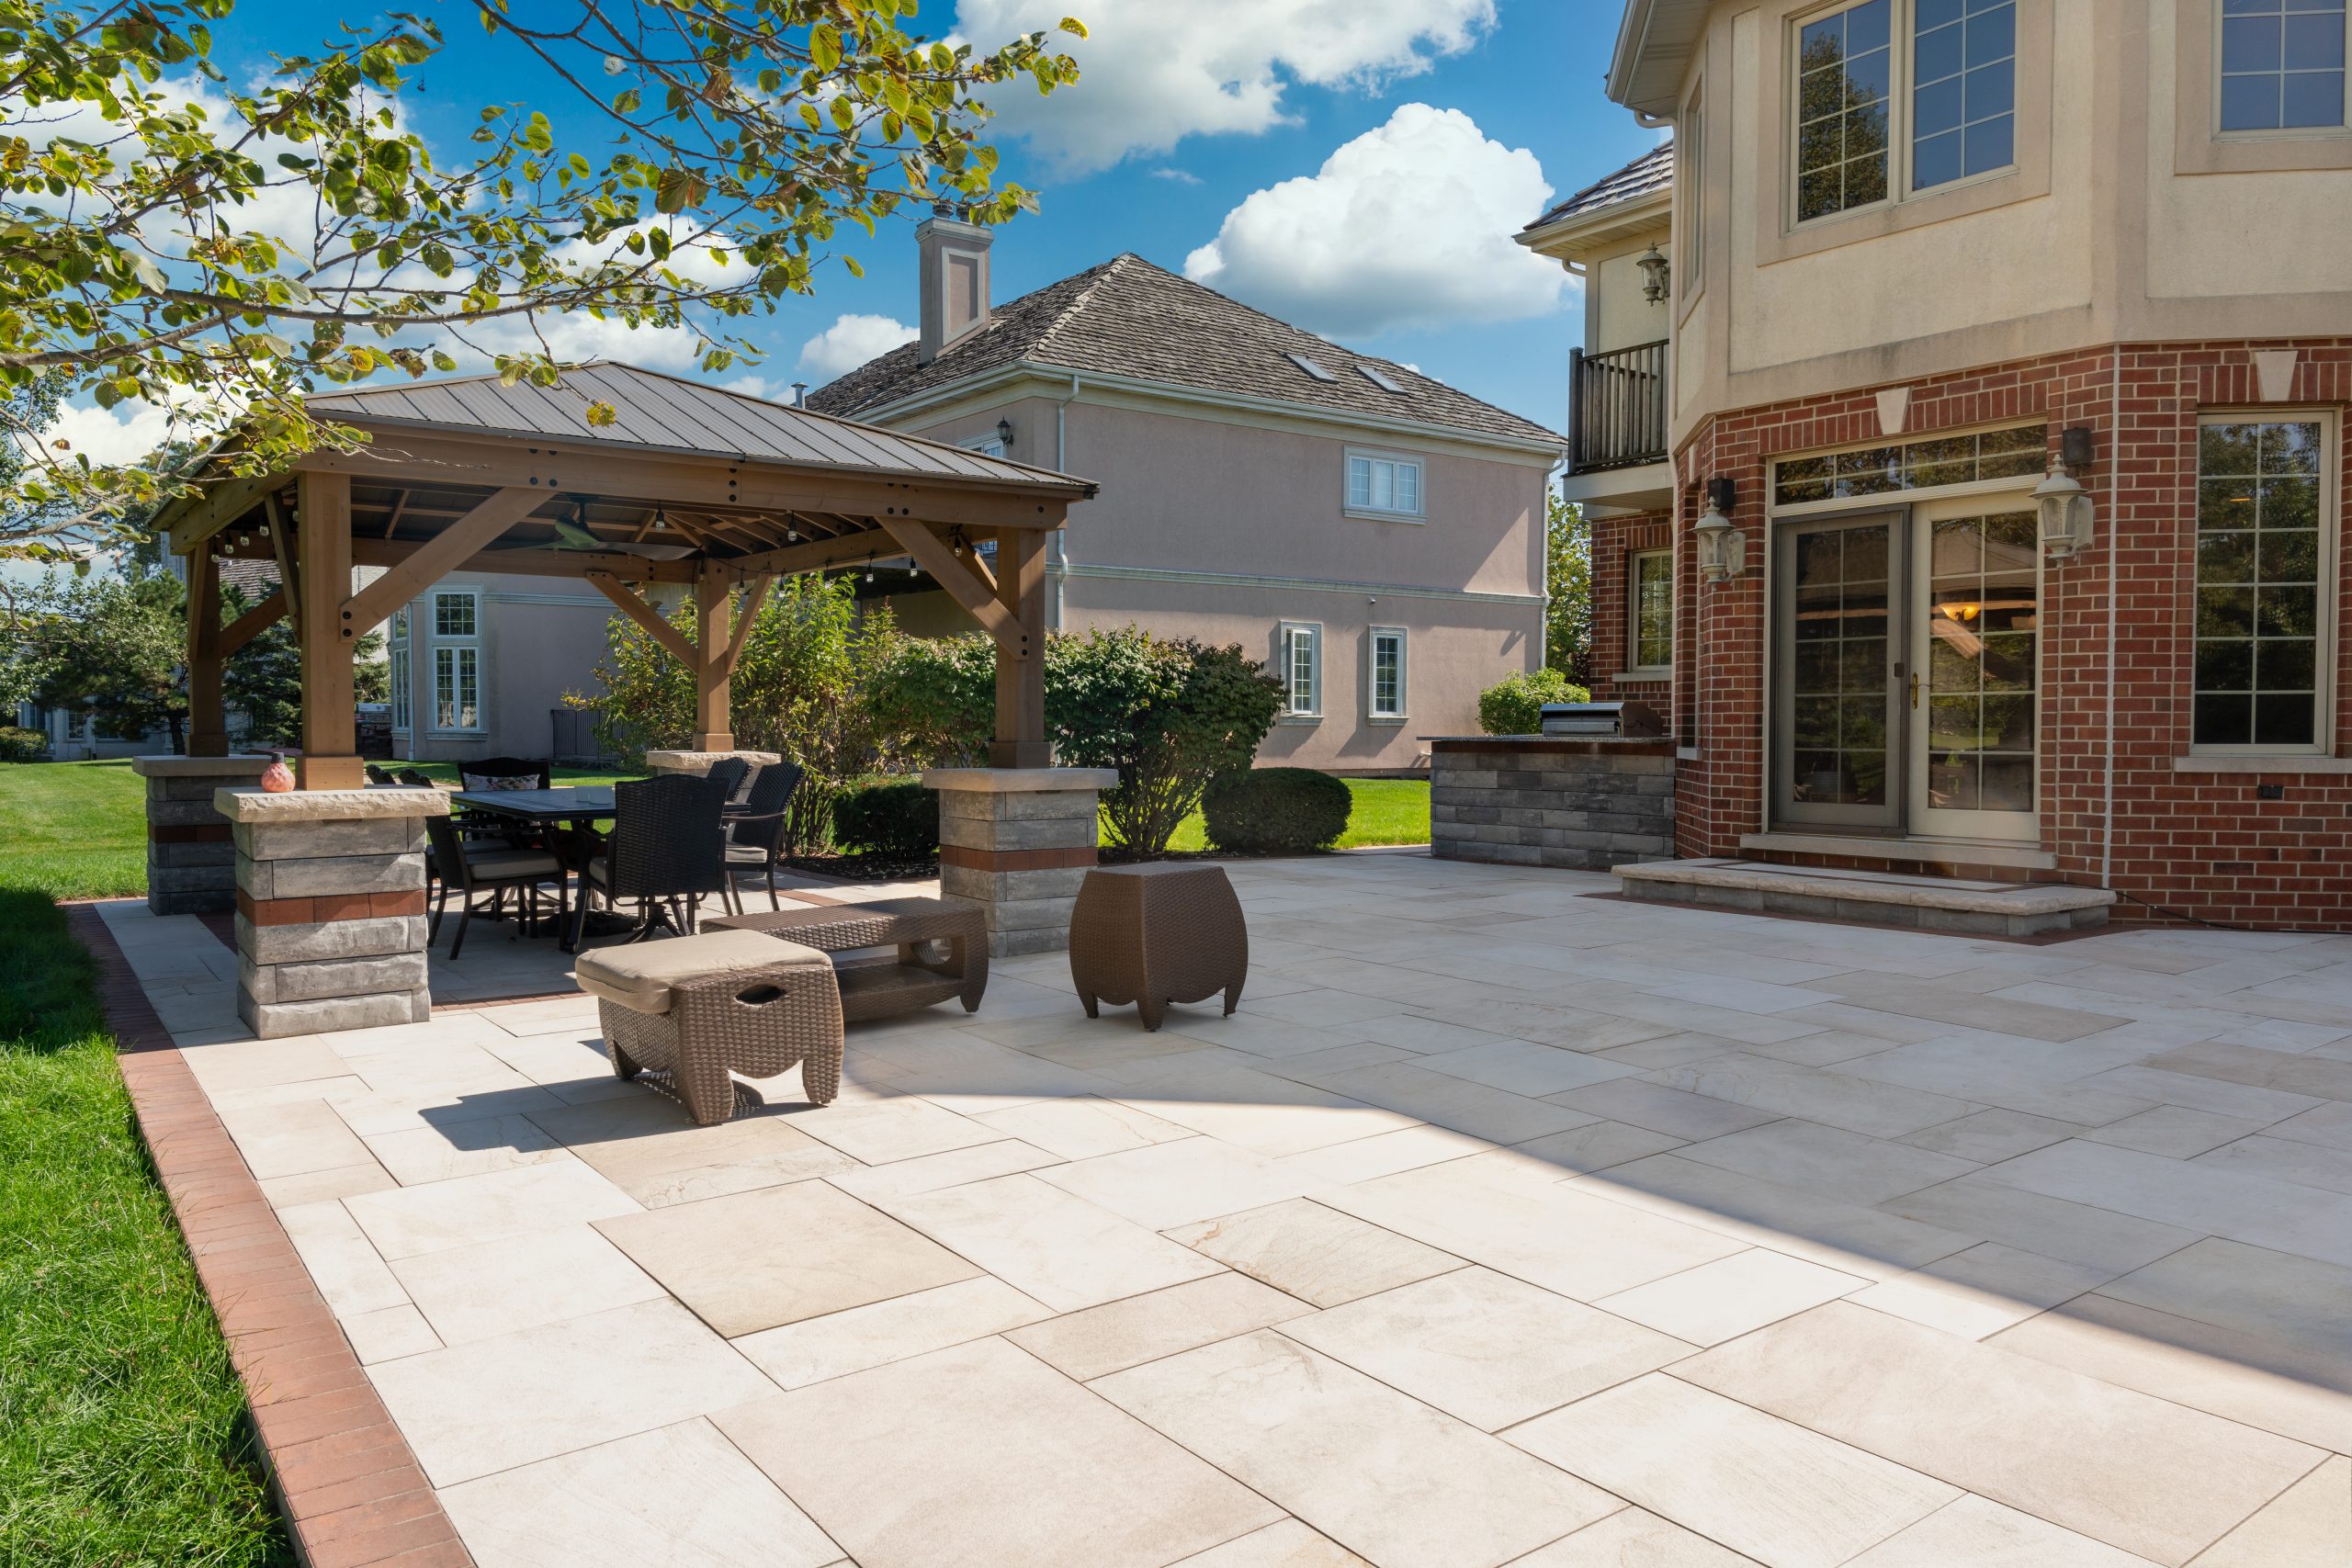
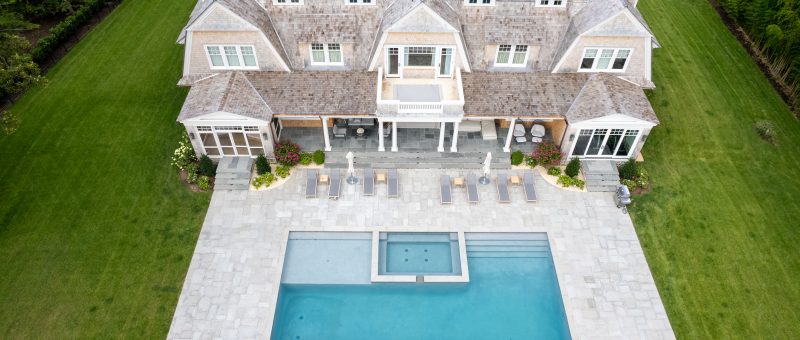
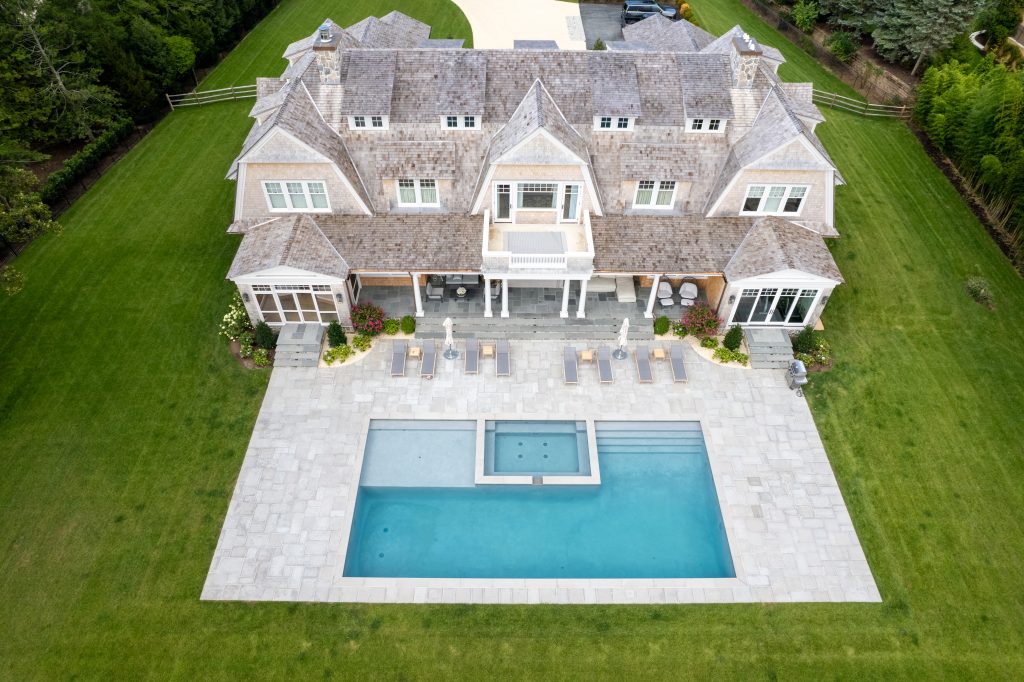
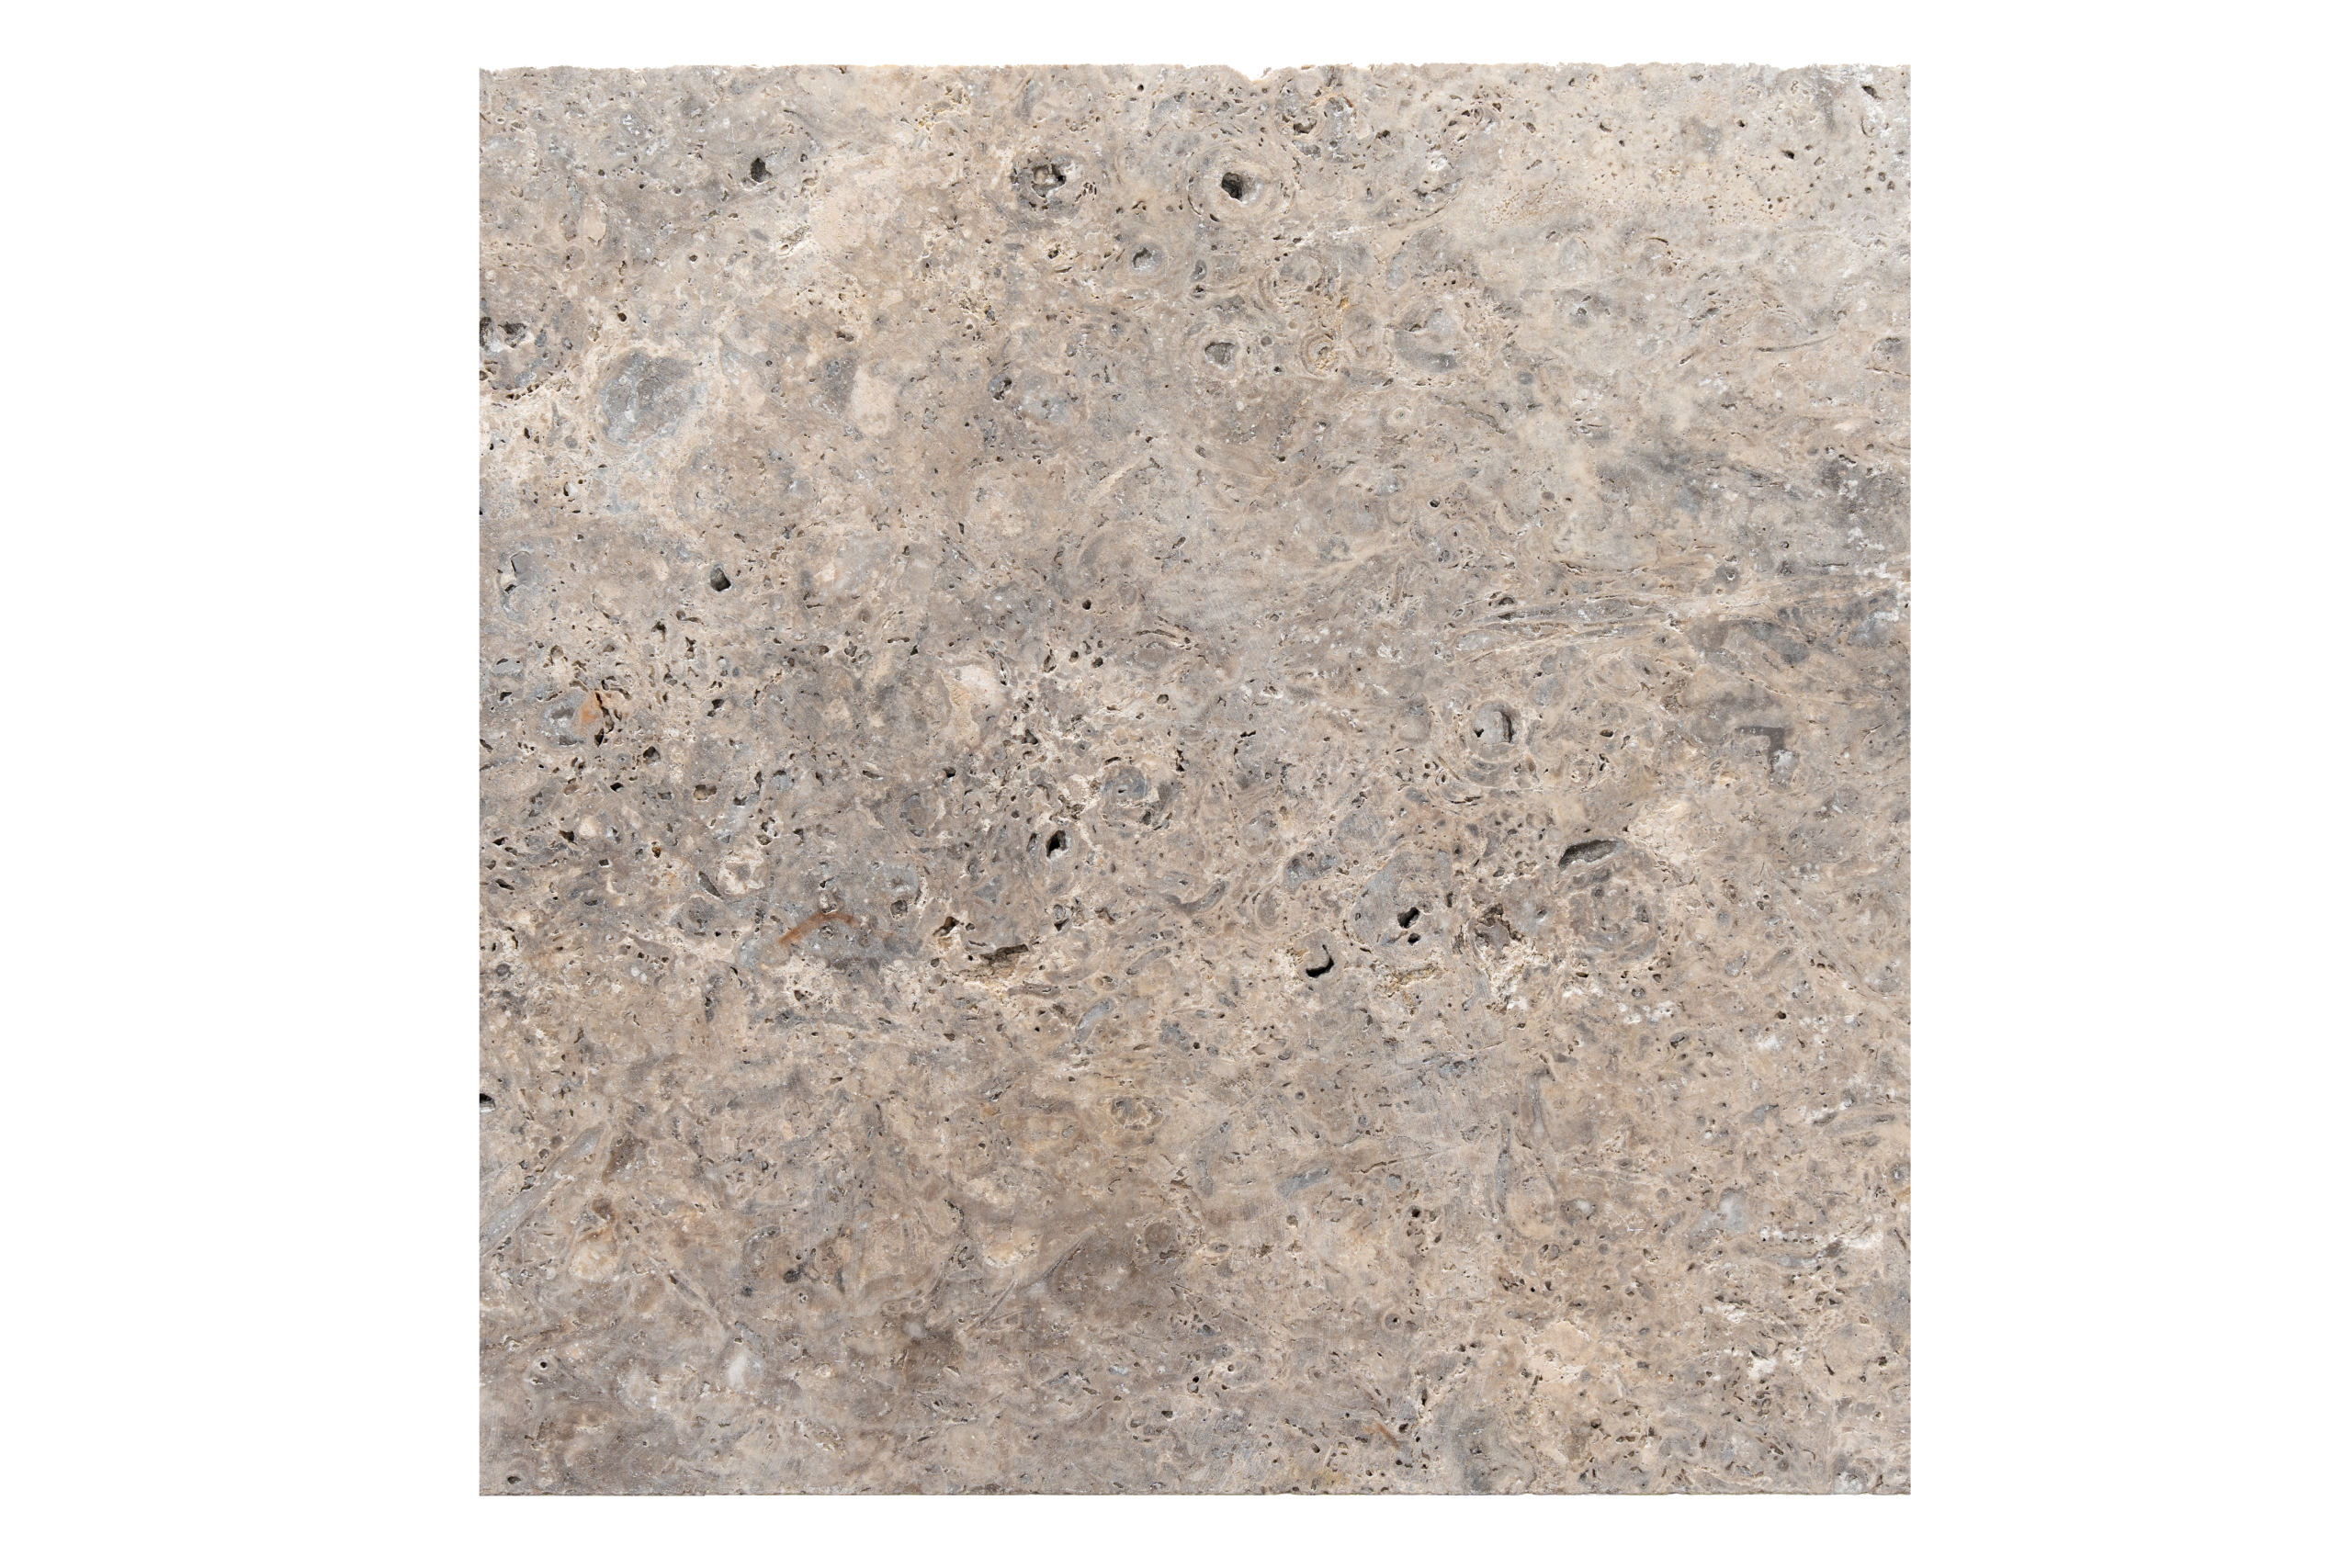
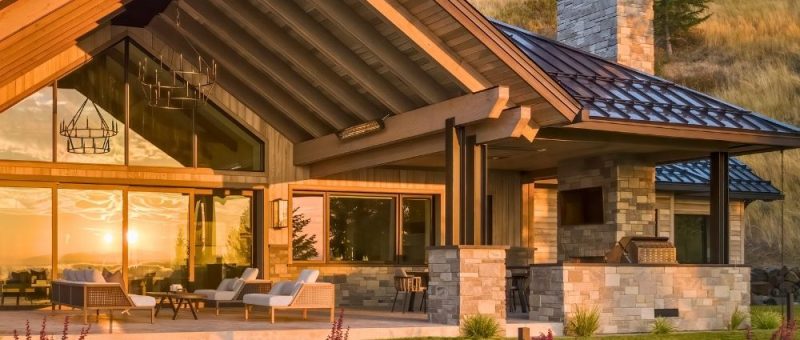
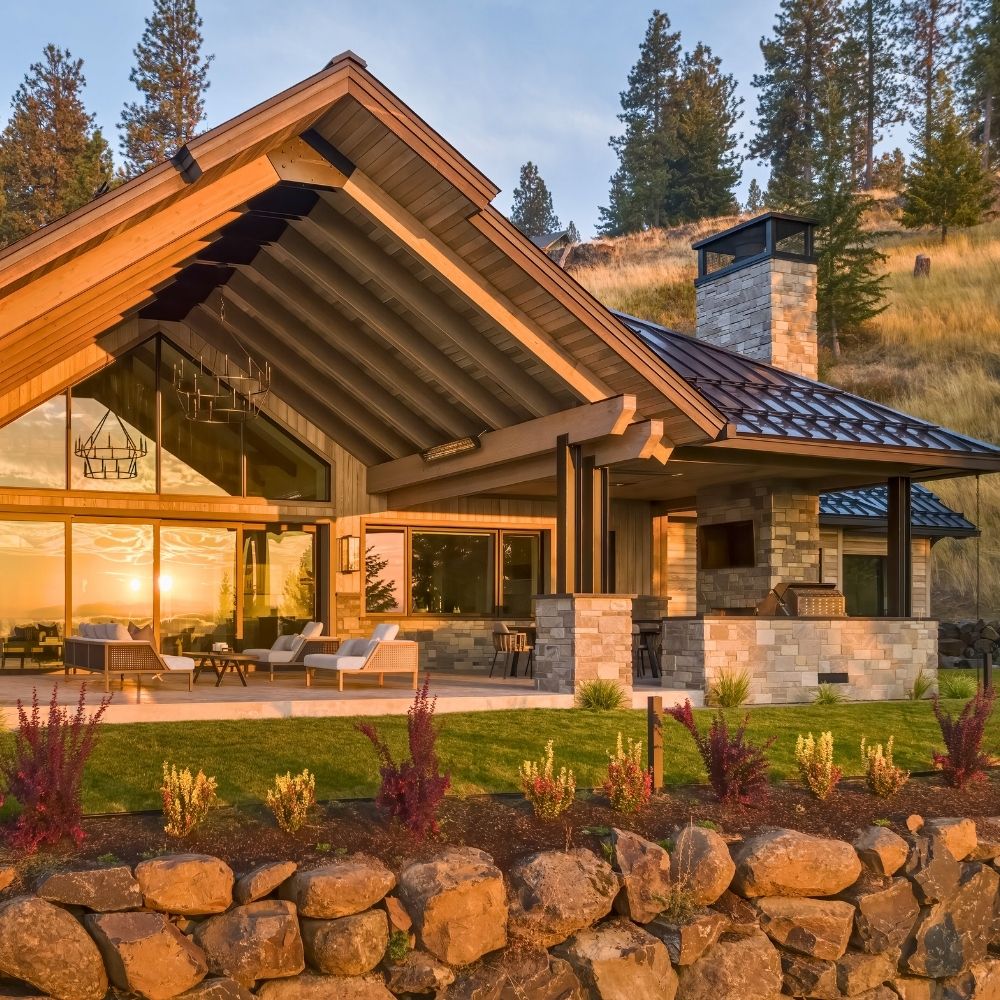
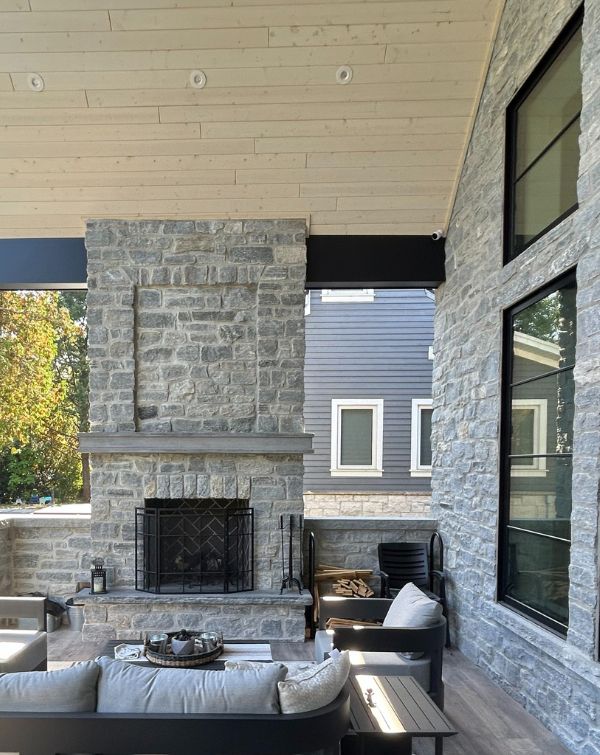
Indoor–Outdoor Flow & Seamless Transitions
Design in 2026 is all about blurring the lines between inside and out. Using consistent masonry materials across patios, living rooms, outdoor kitchens, and interior walls helps create spaces that flow naturally and feel connected to the landscape.
Thin brick, stone veneers, and modular panels make this easier than ever, finding their way into exterior fireplaces, garden walls, built-in seating, walkways, and more. As lifestyles continue to embrace flexibility and outdoor living, stone and brick stand out as the perfect materials to tie these spaces together with style and durability.
As we look toward 2026, one thing is clear: stone and brick continue to prove their staying power. Whether used in modern pairings, earthy palettes, or seamless indoor–outdoor layouts, these materials help create spaces that feel grounded and beautifully enduring. With endless ways to incorporate them, stone and brick continue to offer a versatile foundation for thoughtful, lasting design.