Luxury That Lasts: Adding Value to Your Home with Natural Stone Veneer
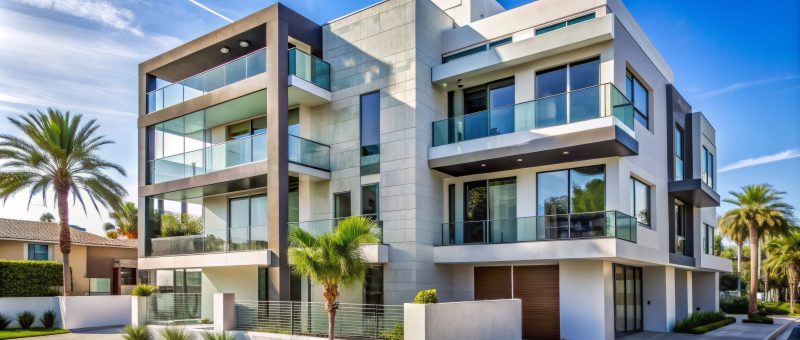
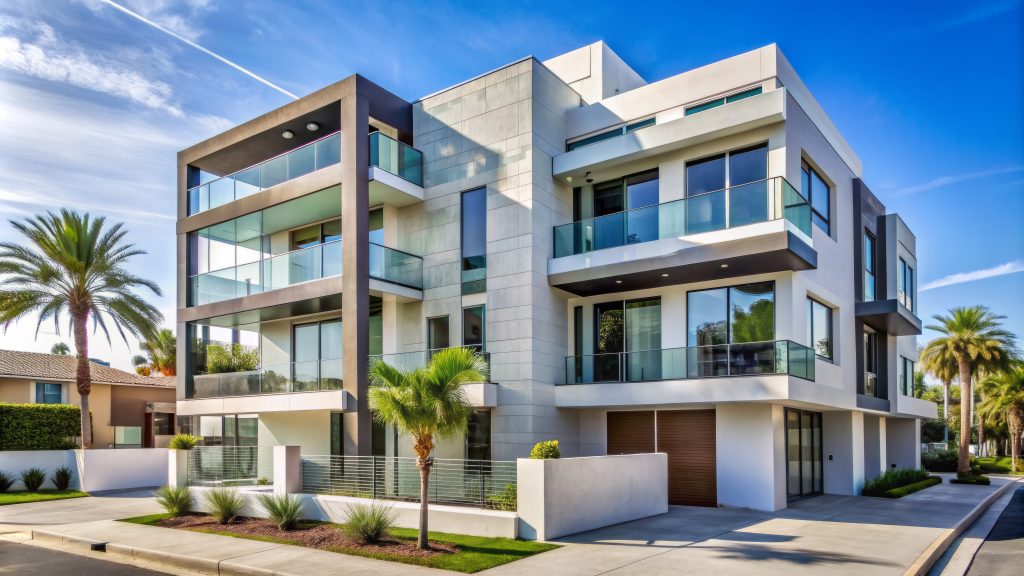
When it comes to upgrading a home, few materials offer the elegance, durability, and financial return of natural stone veneer. Homeowners love it for the curb appeal and long-lasting beauty, while installers appreciate how products like Pangaea® Natural Stone streamline their workflow and reduce jobsite headaches.
From increasing resale value to improving installation efficiency, natural stone veneer offers an impressive return on investment (ROI) across the board.
Lasting Value for Homeowners
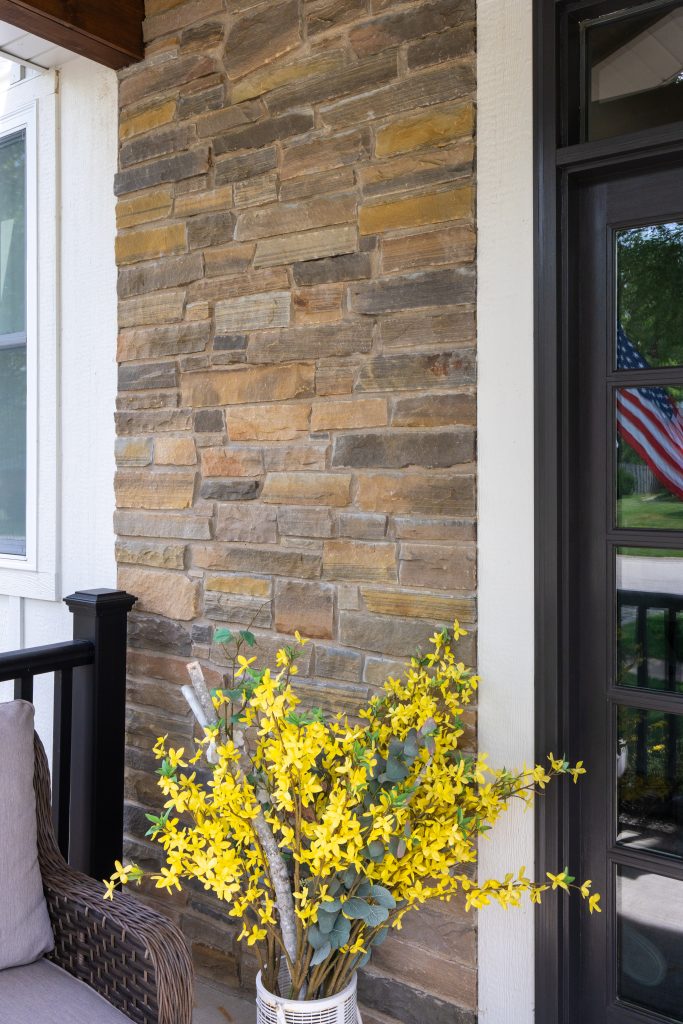
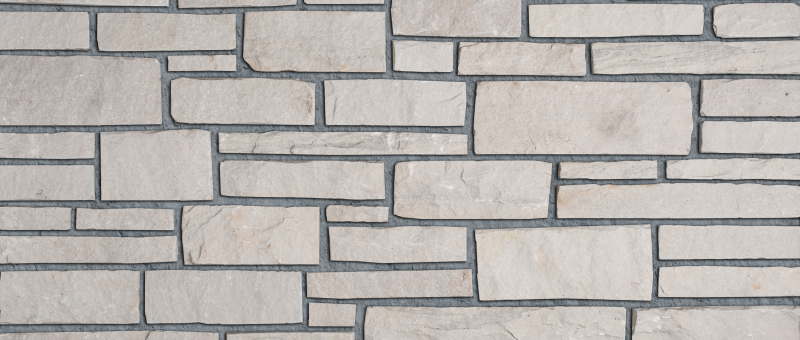
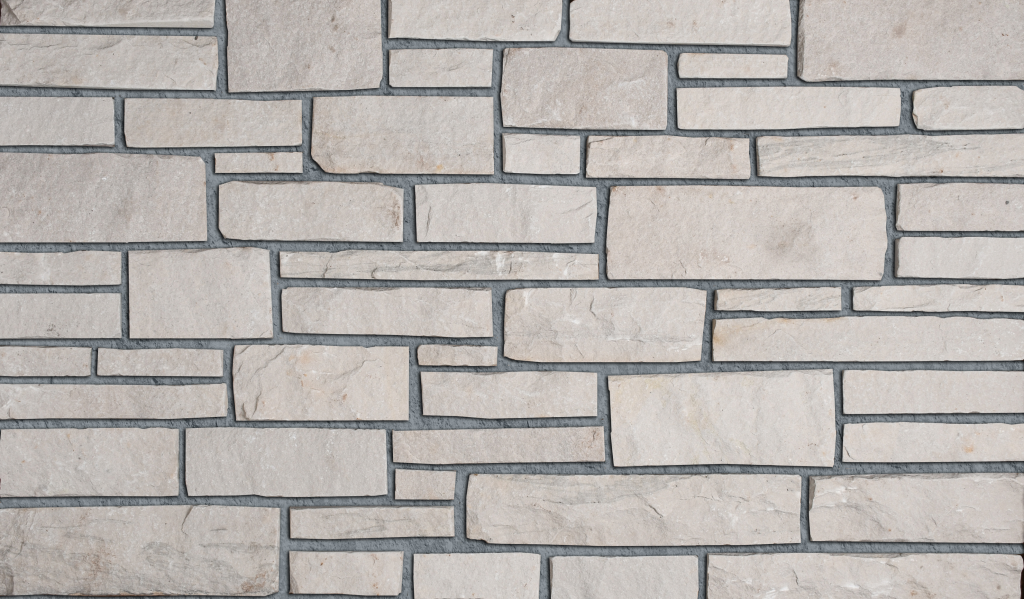
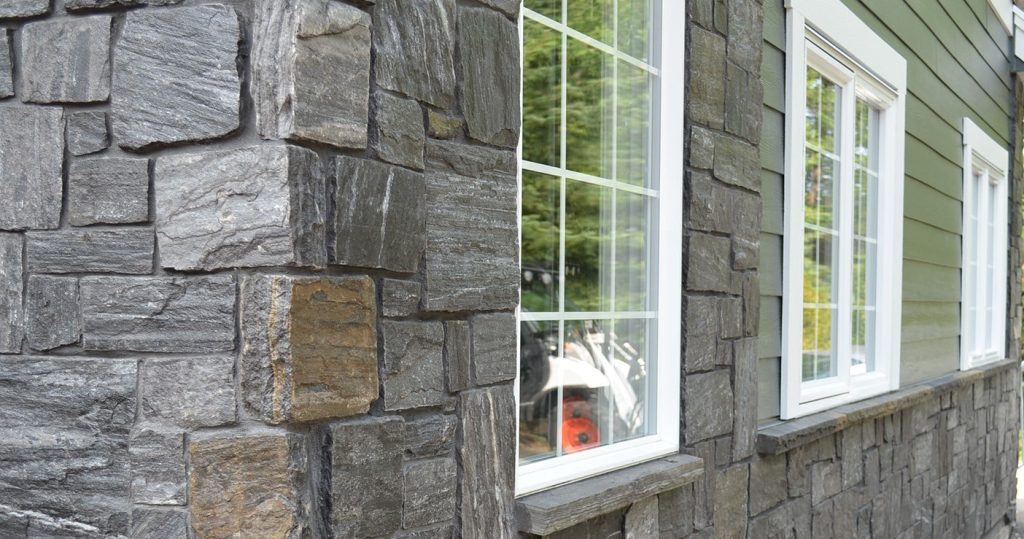
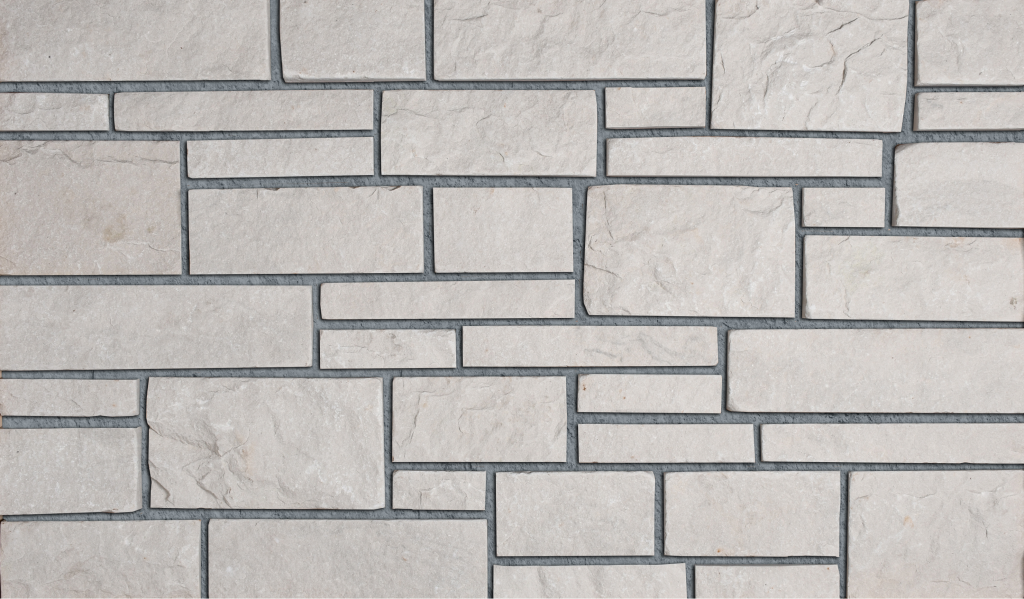
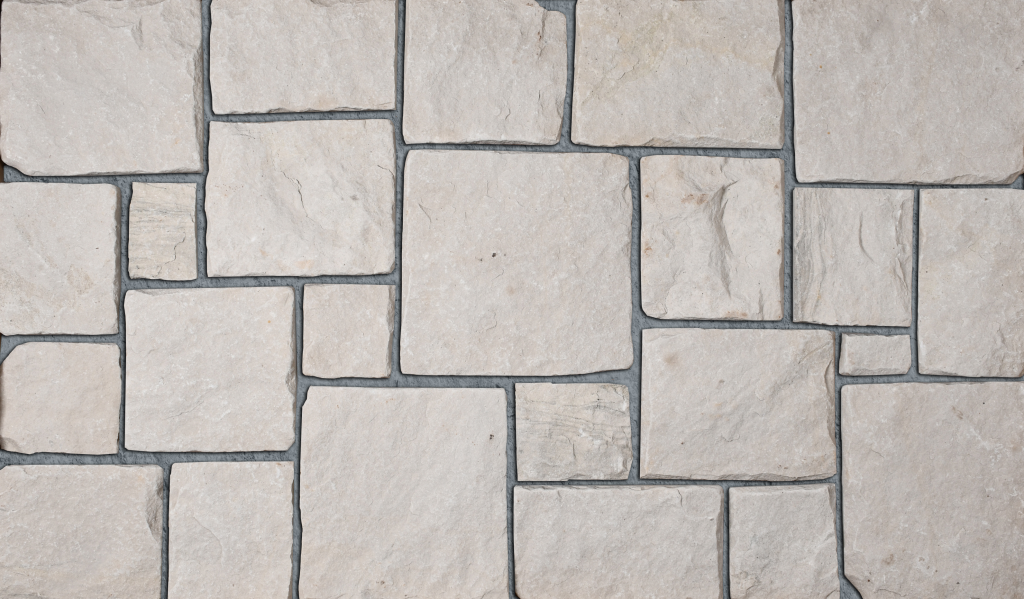
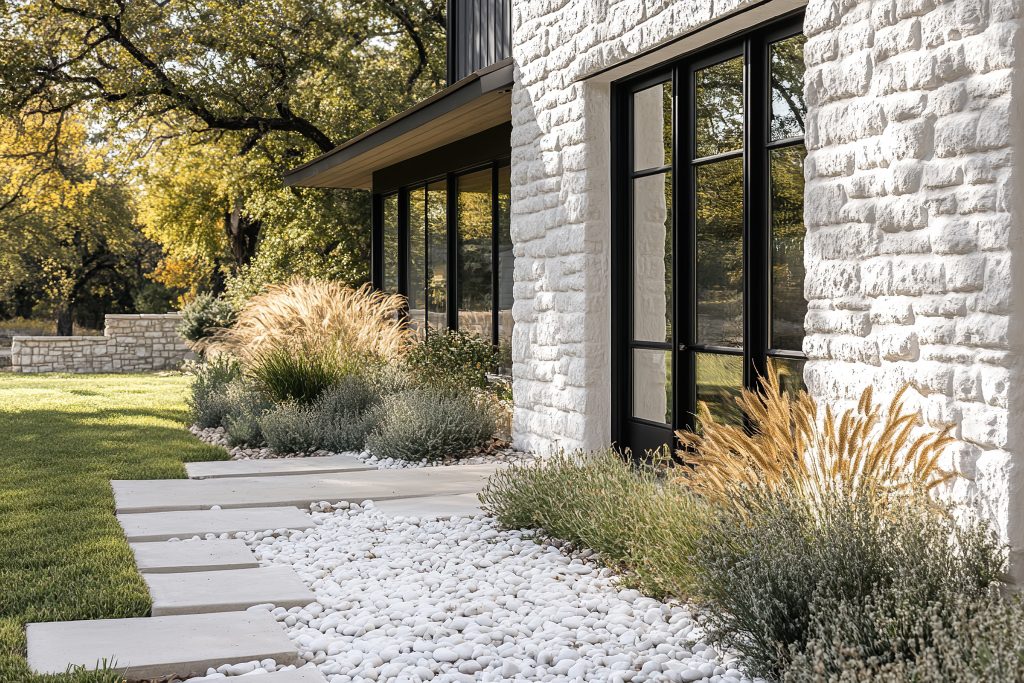
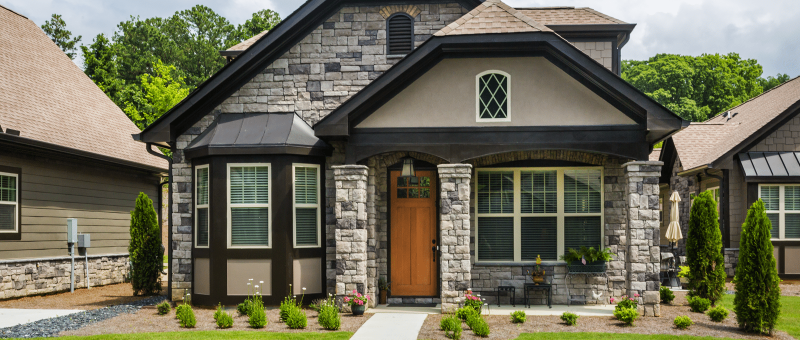
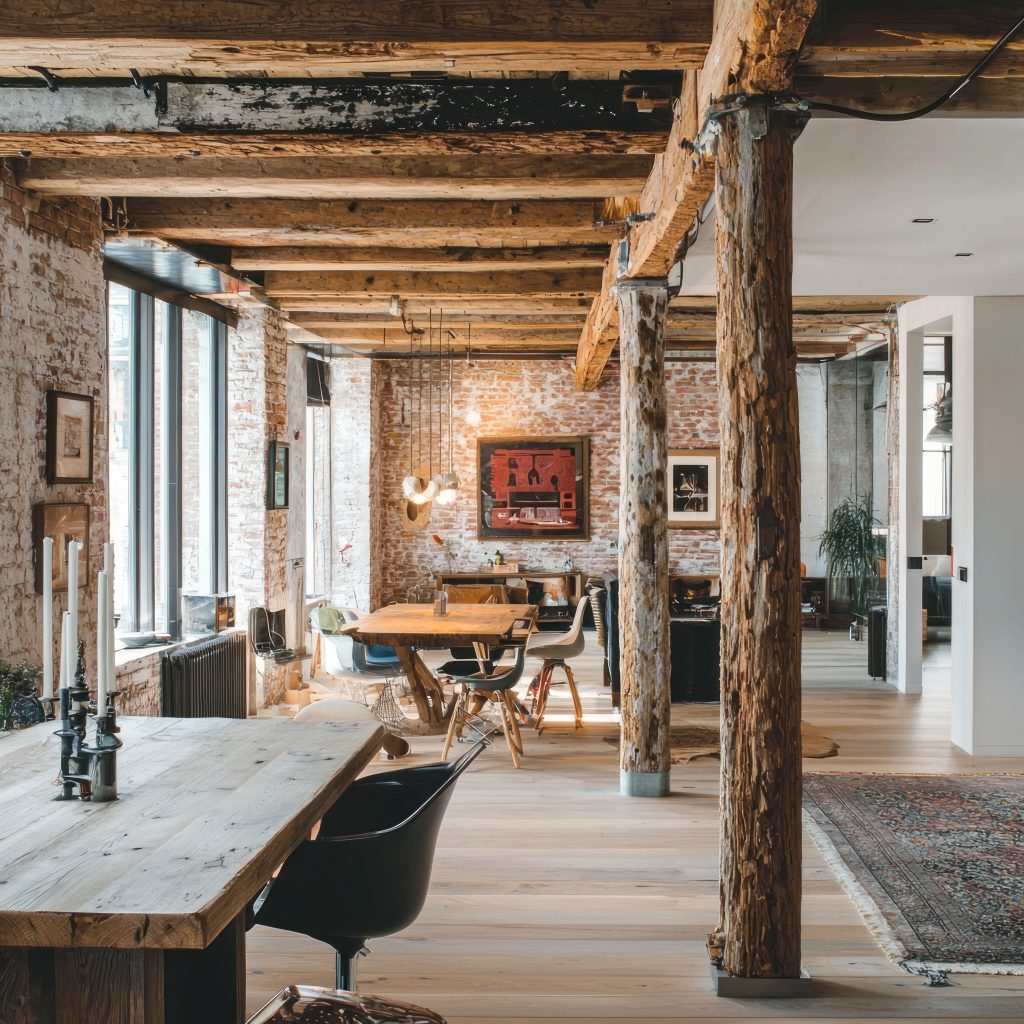
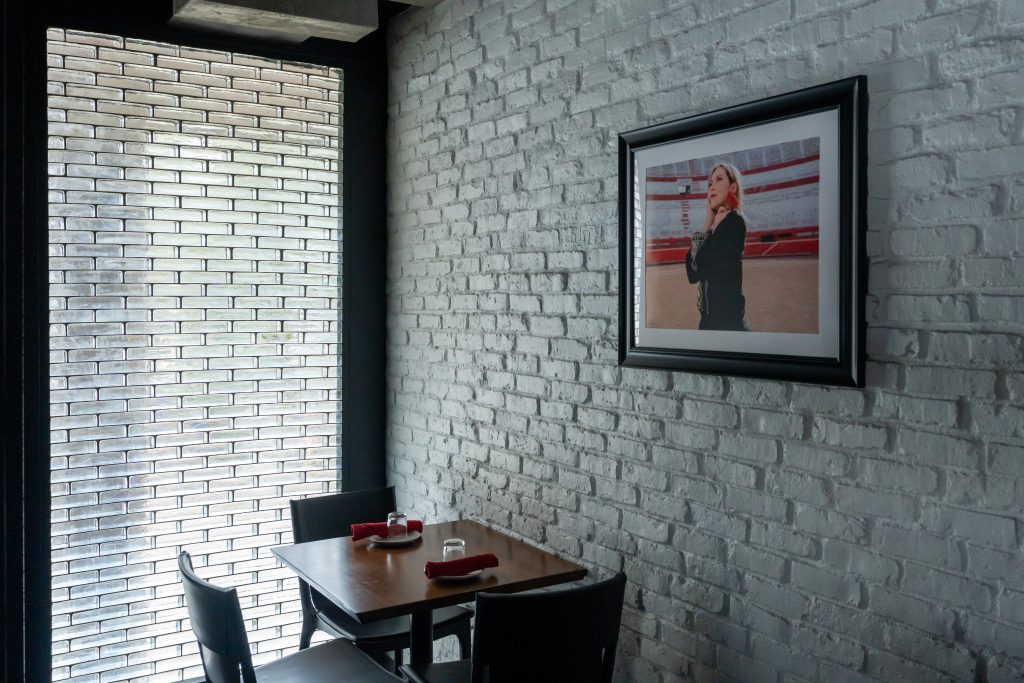
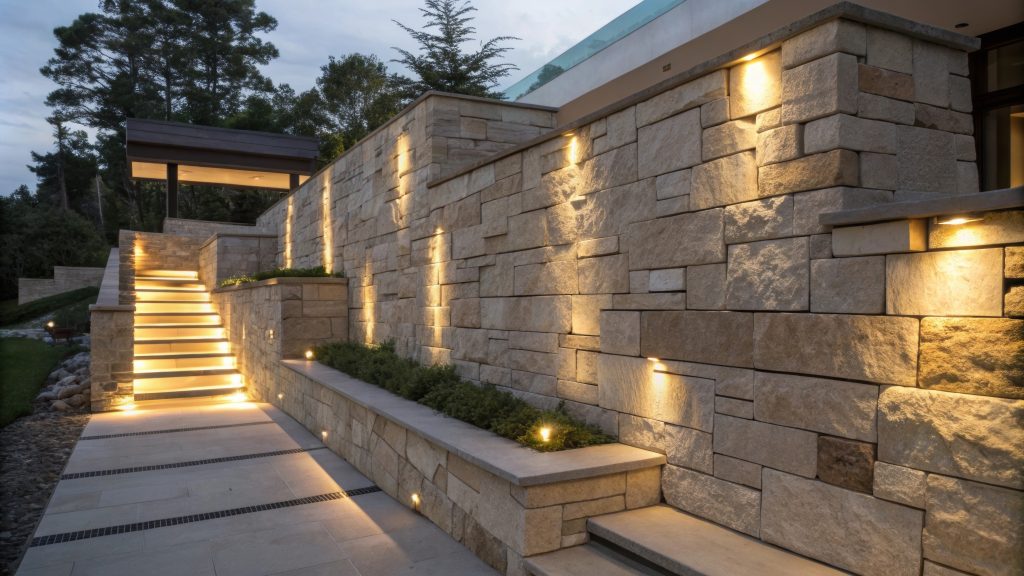
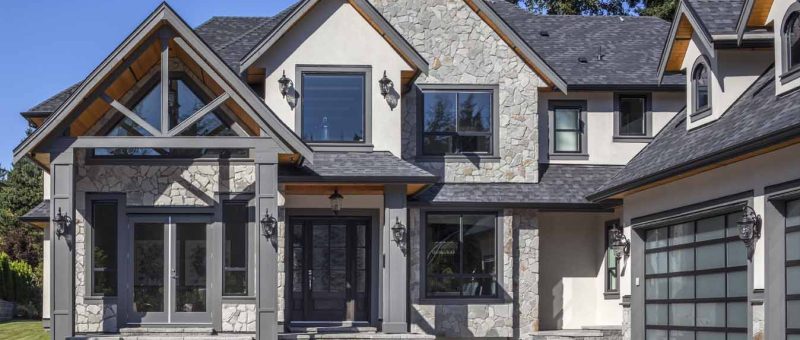
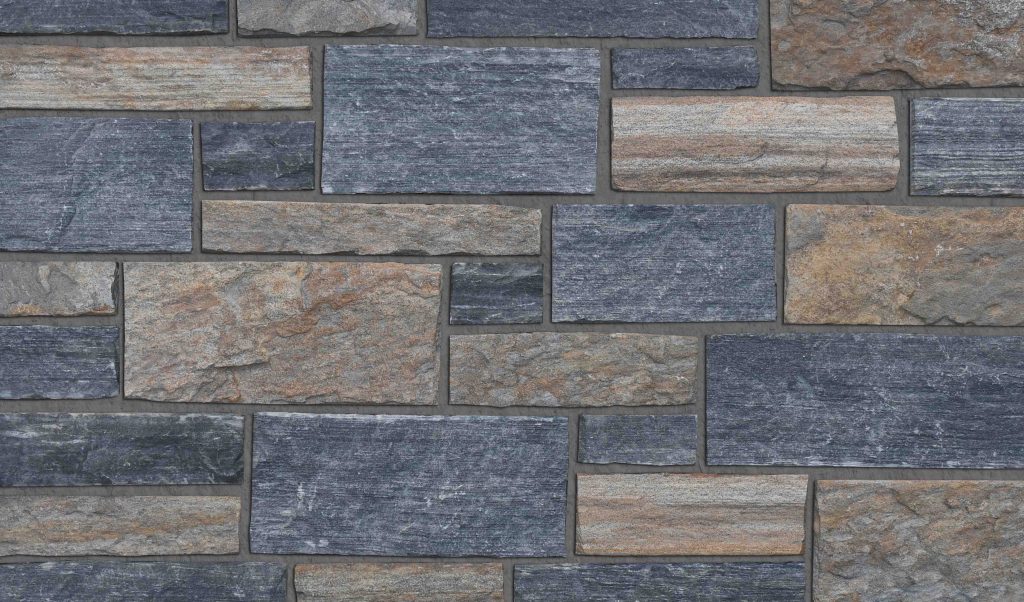
Natural stone veneer provides homeowners with a unique combination of timeless beauty and unmatched durability. Unlike manufactured products that can fade or crack, natural stone’s authentic color and texture remain stunning for decades with minimal maintenance.
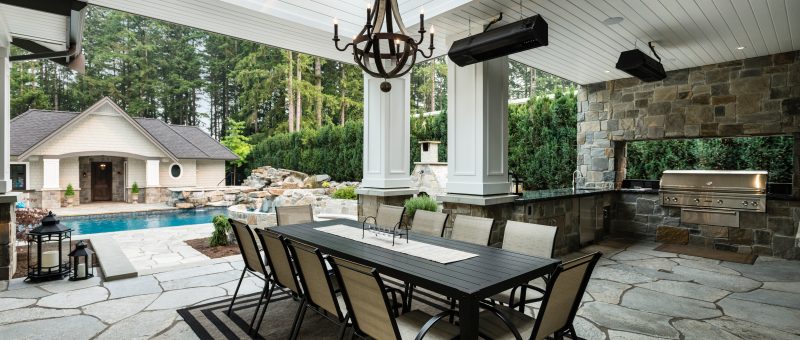
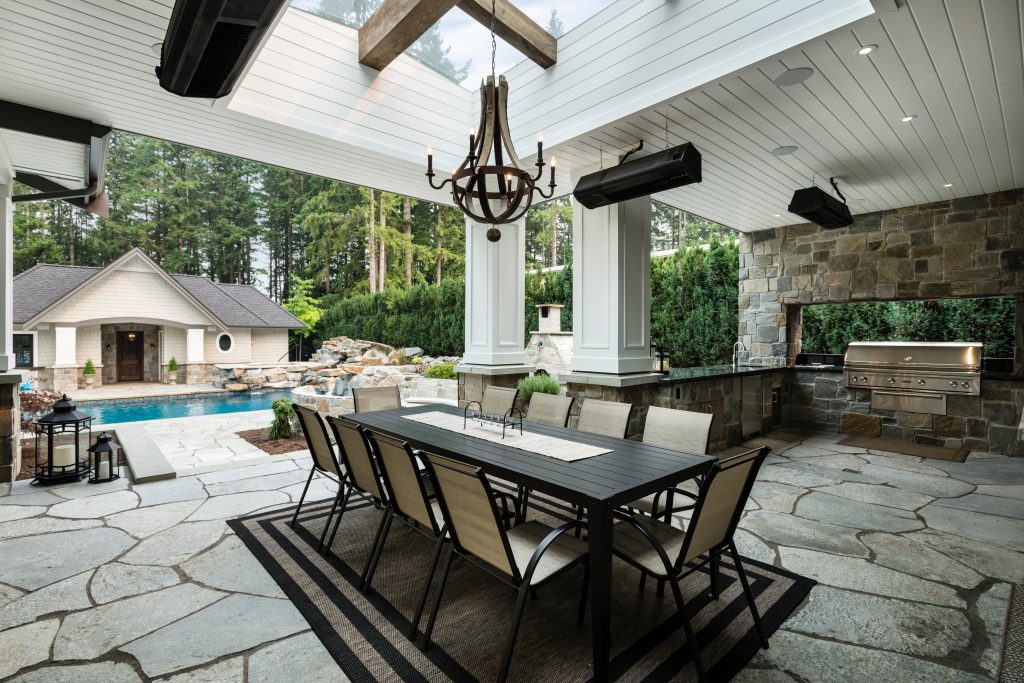
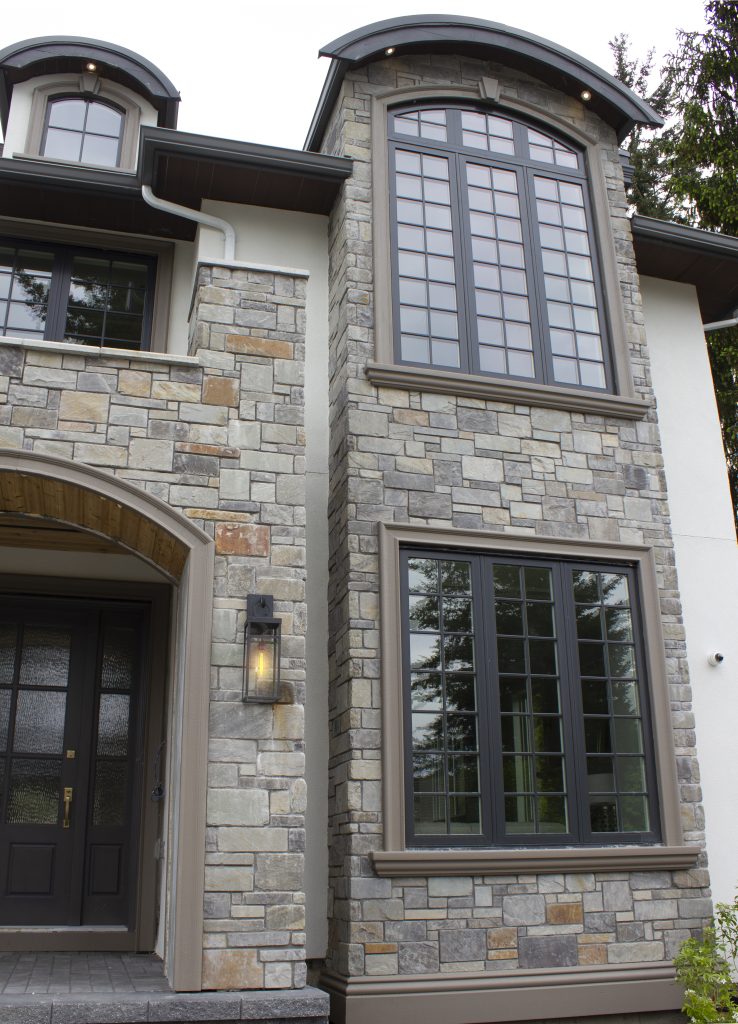
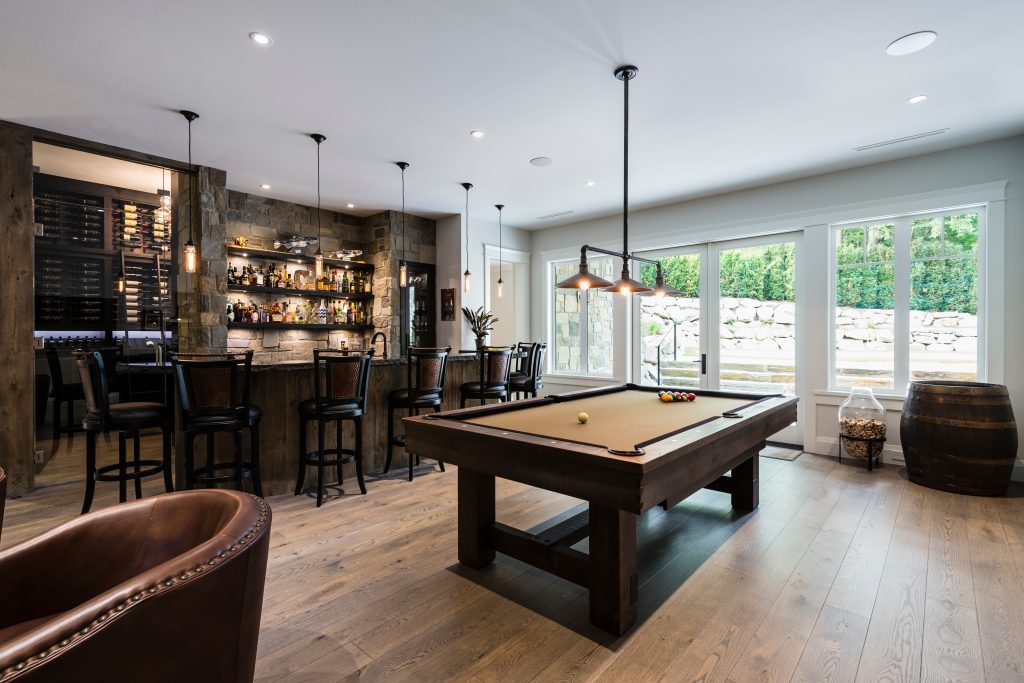
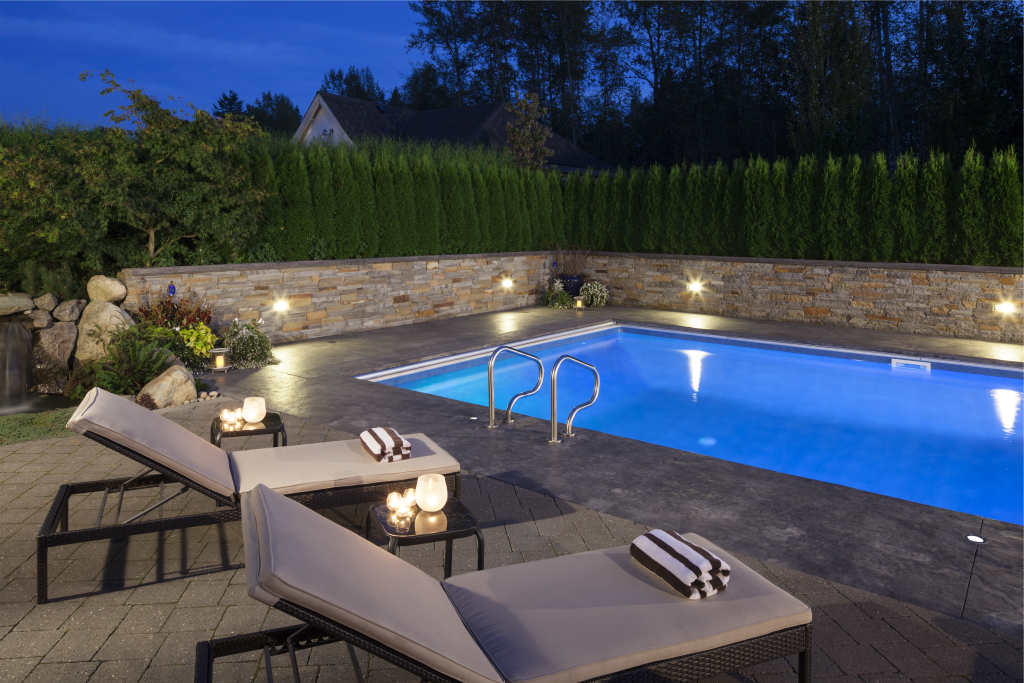
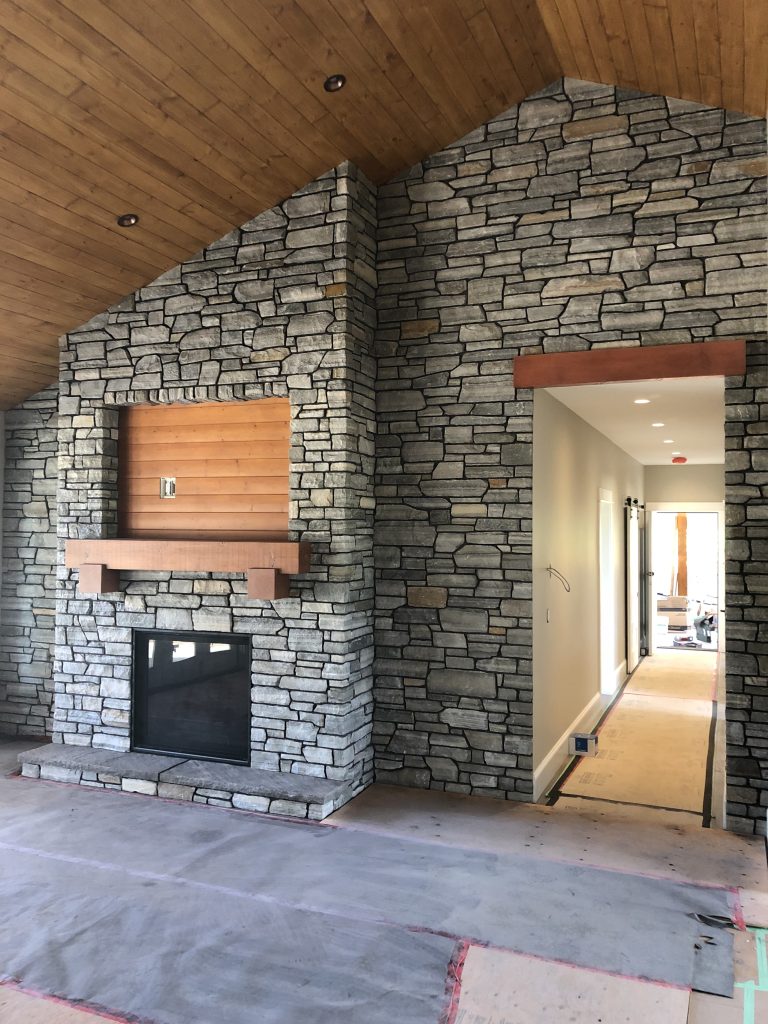
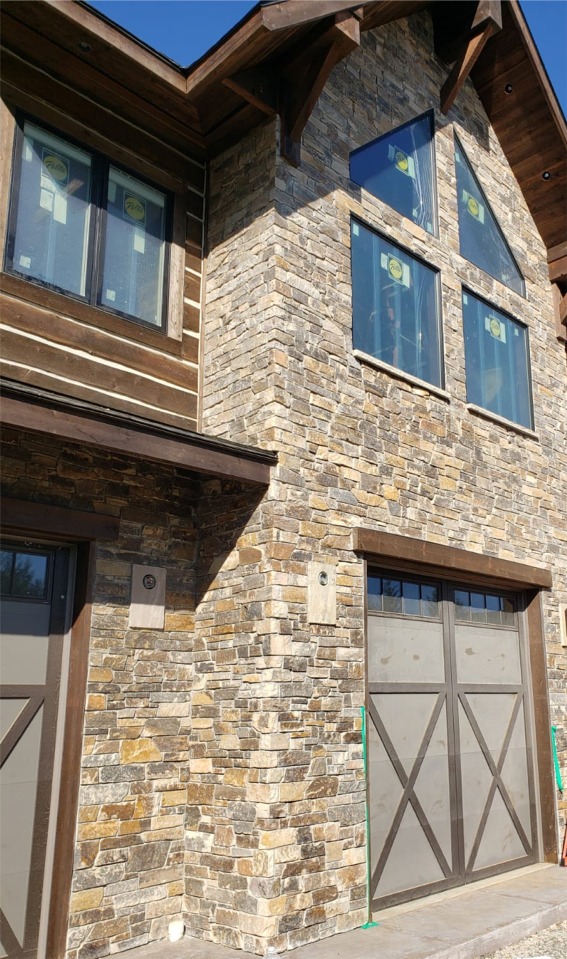
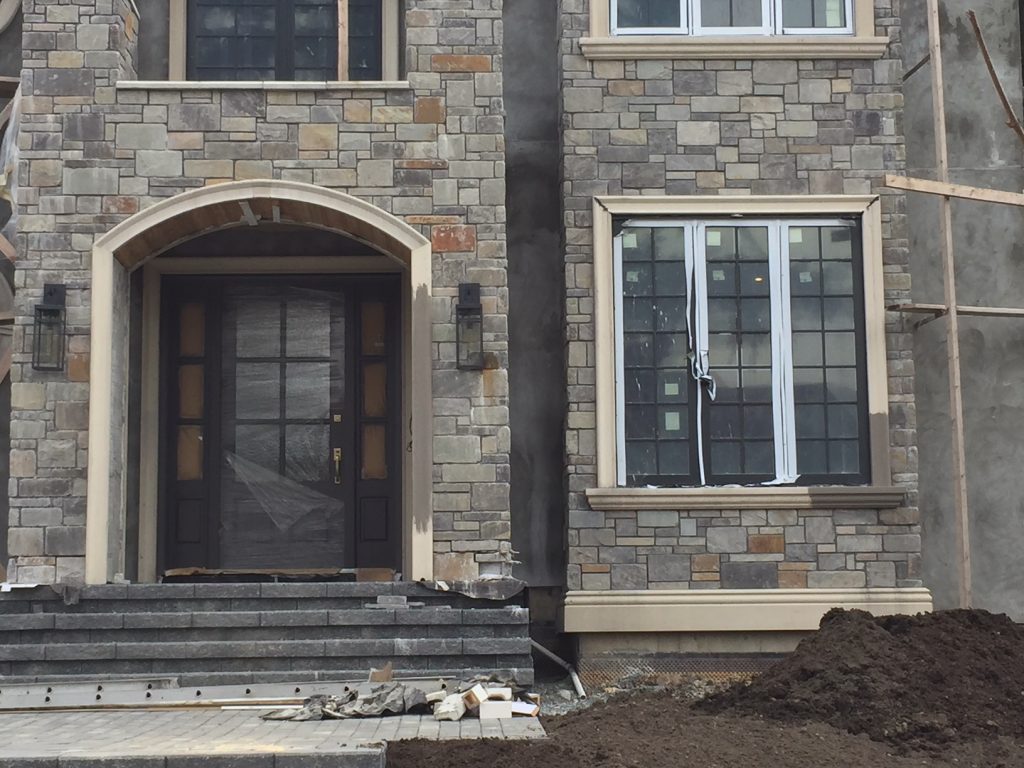
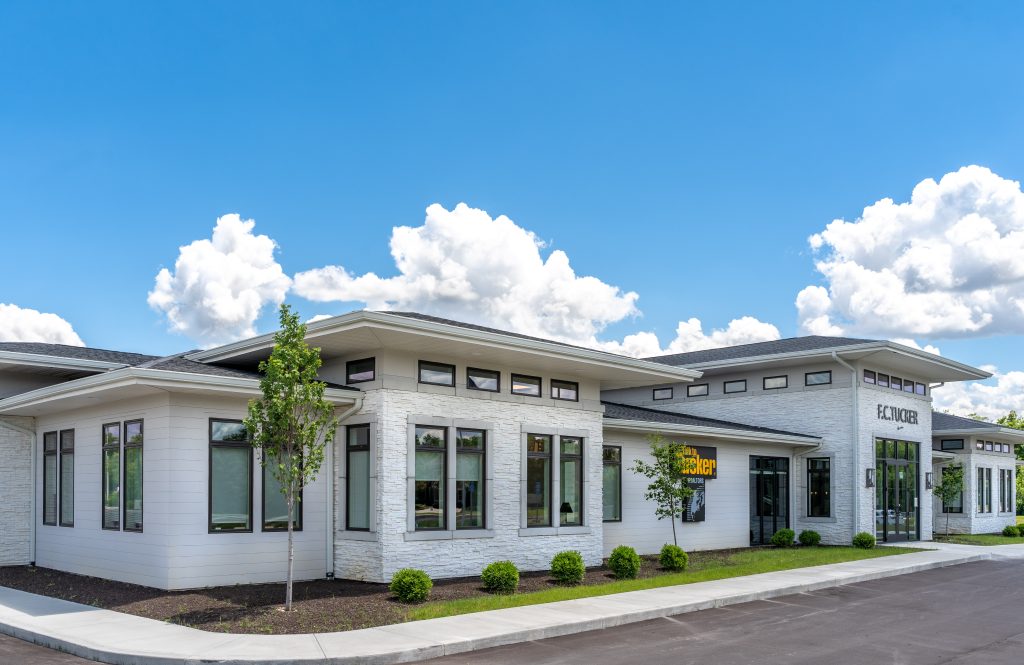
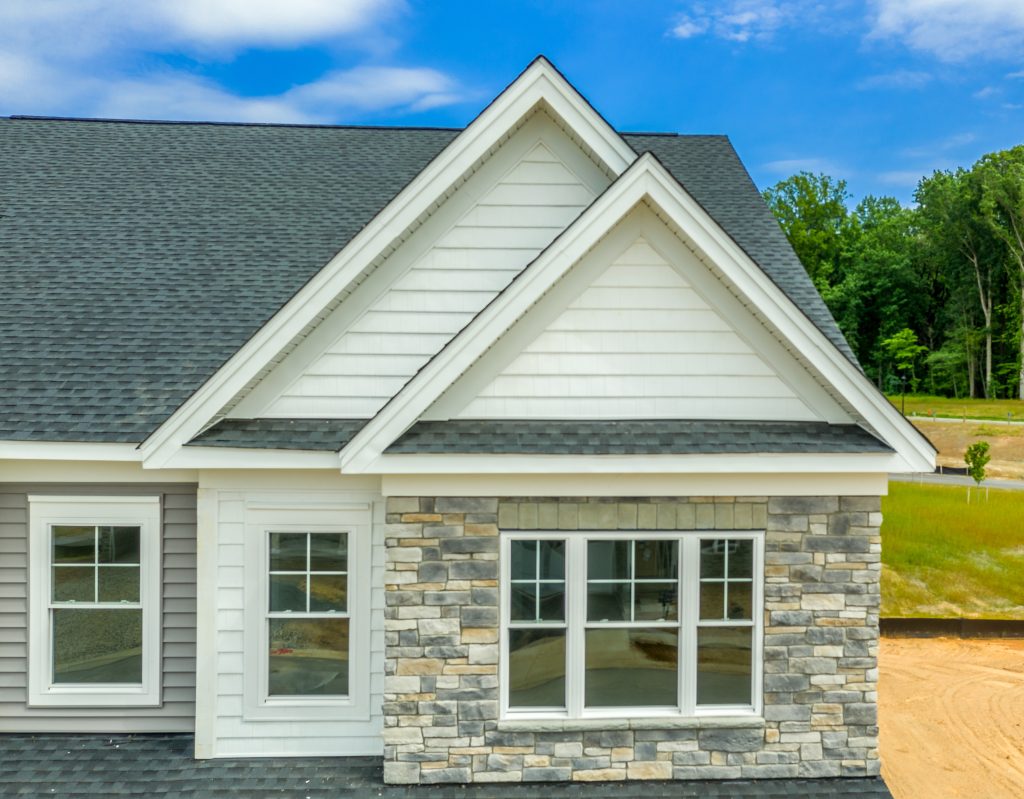
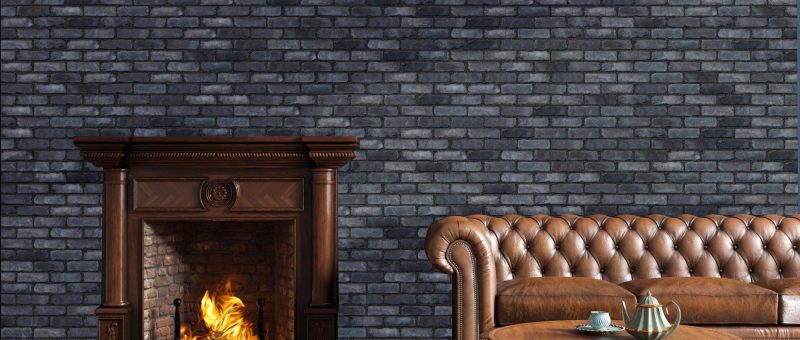
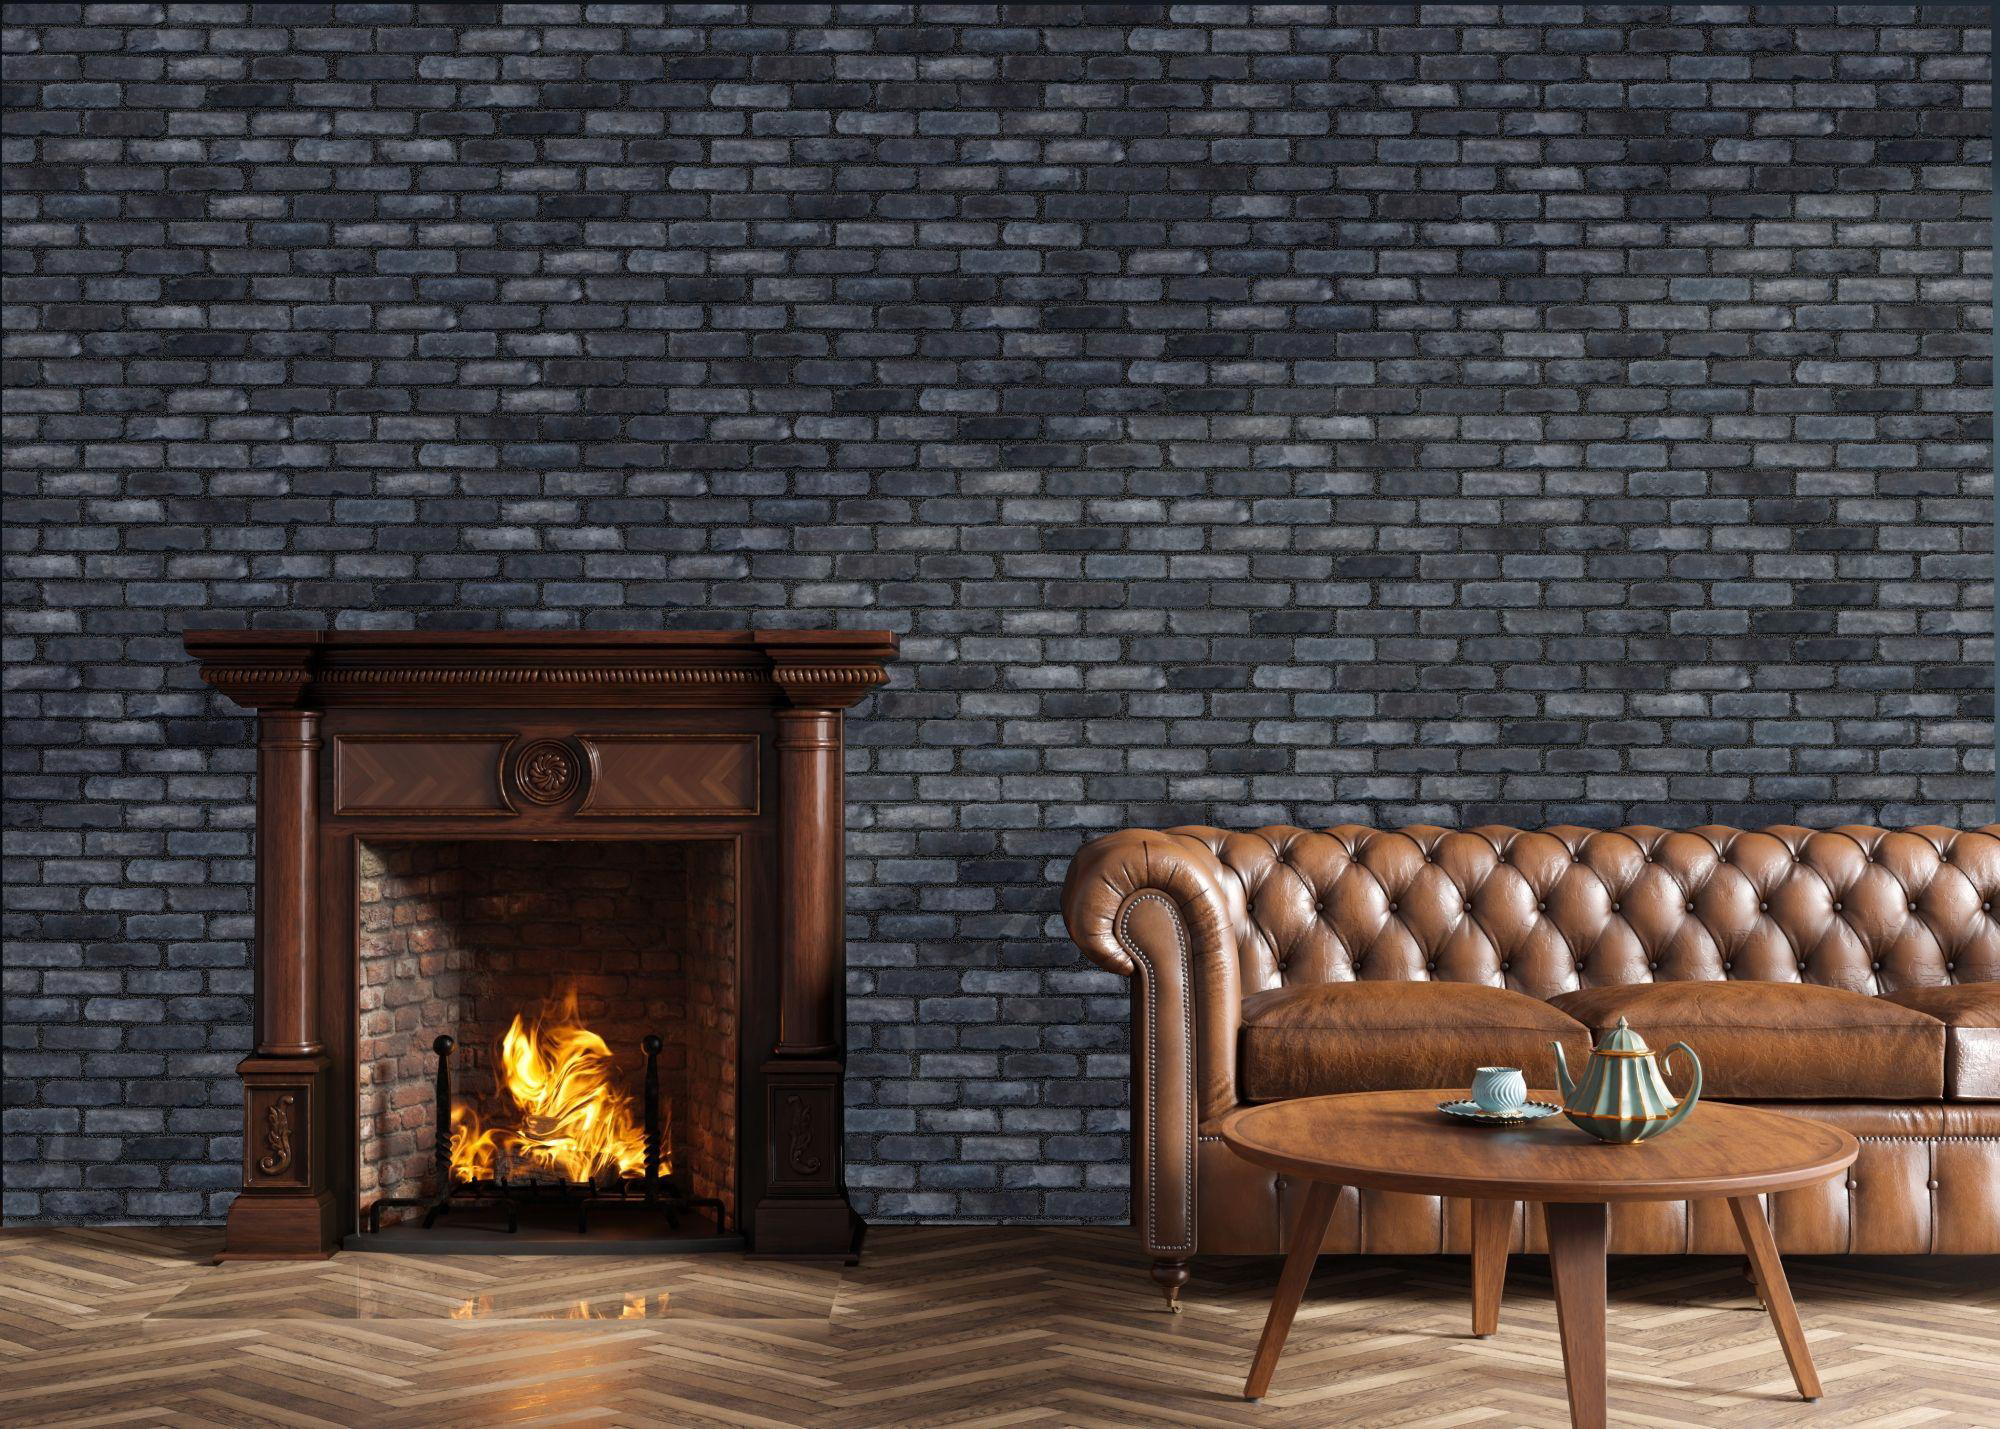
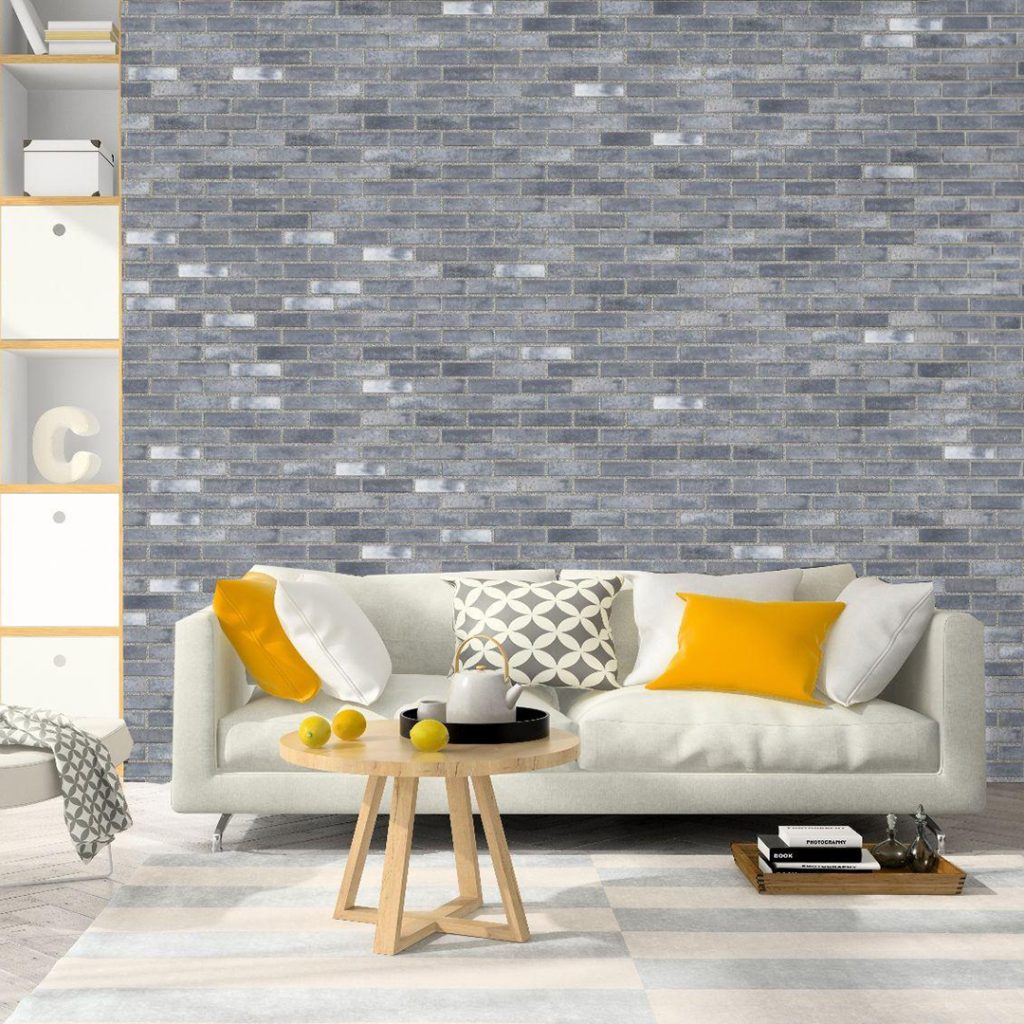
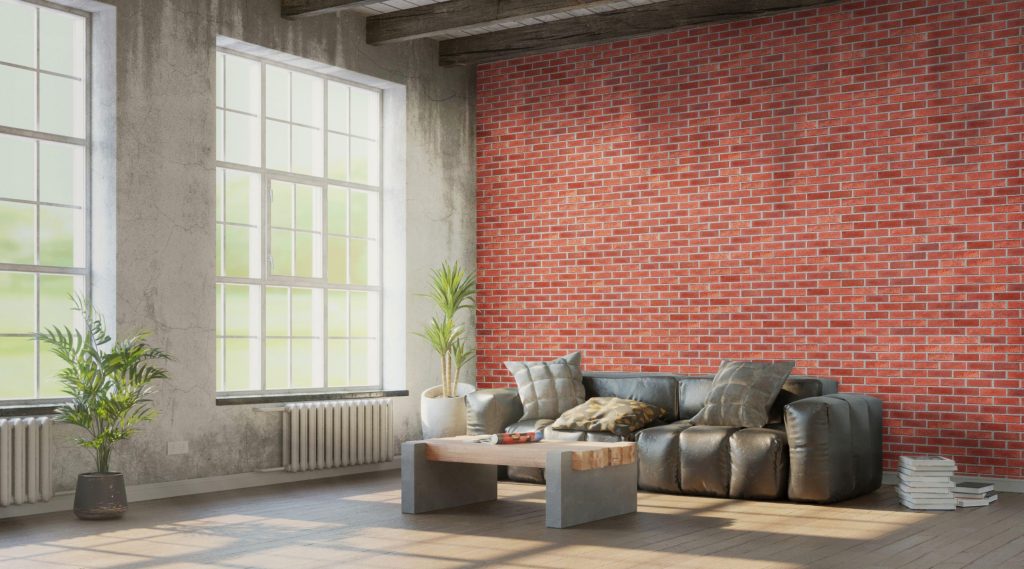
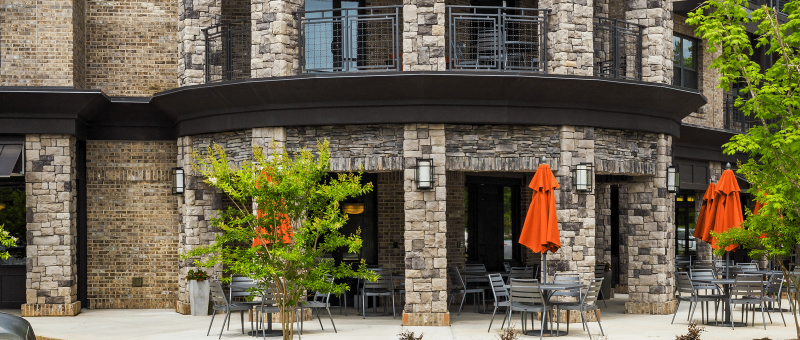
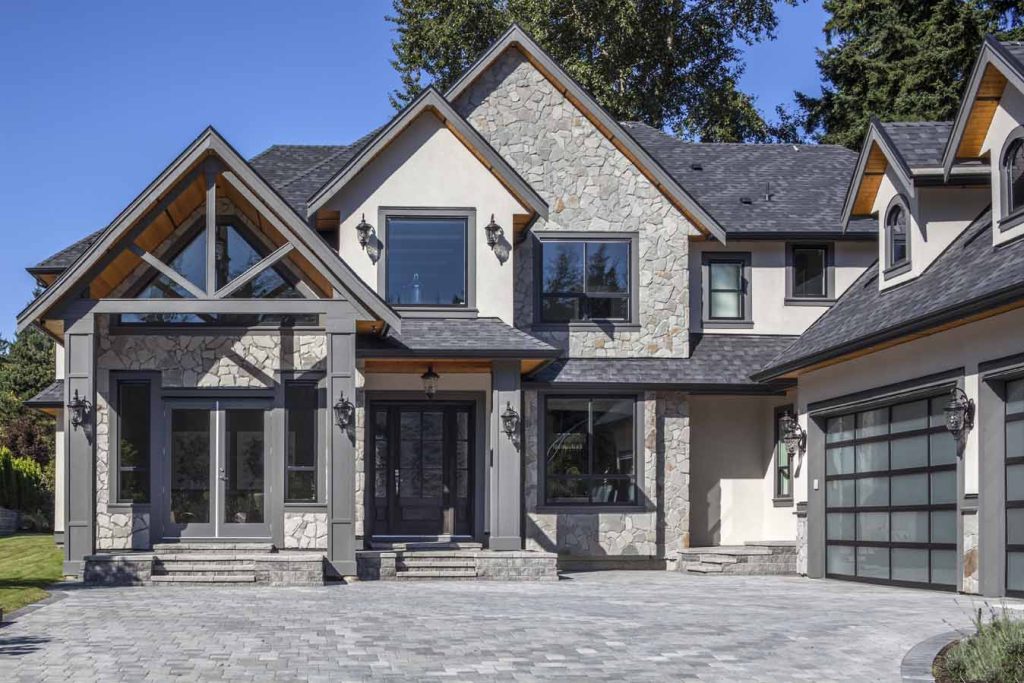
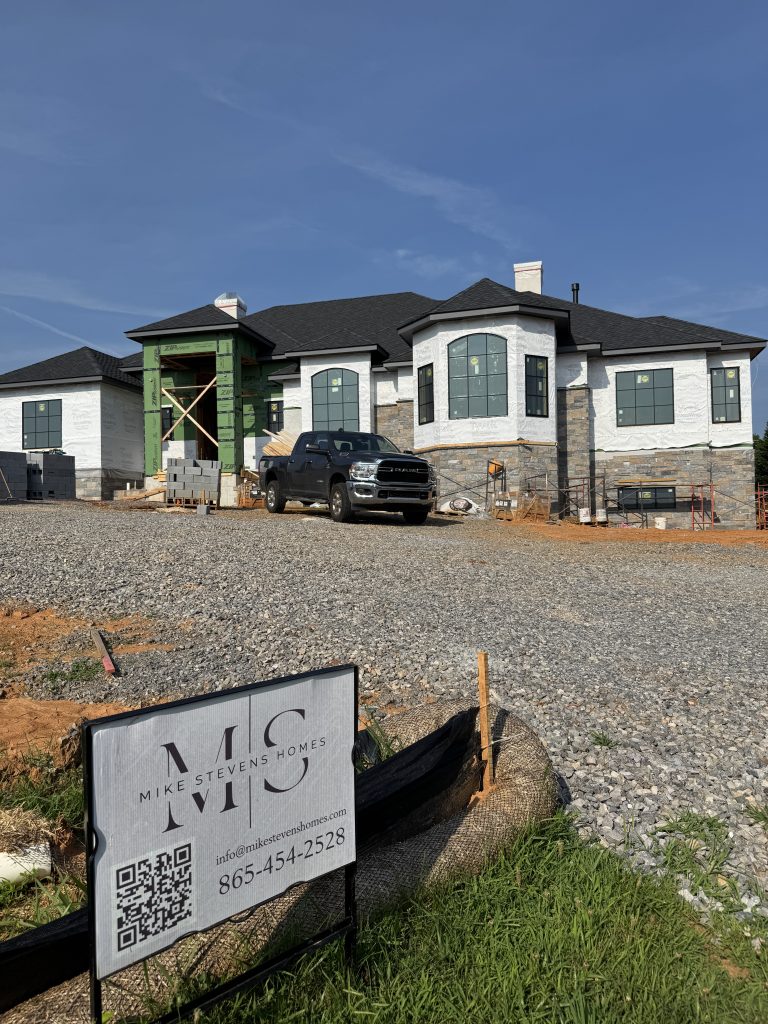
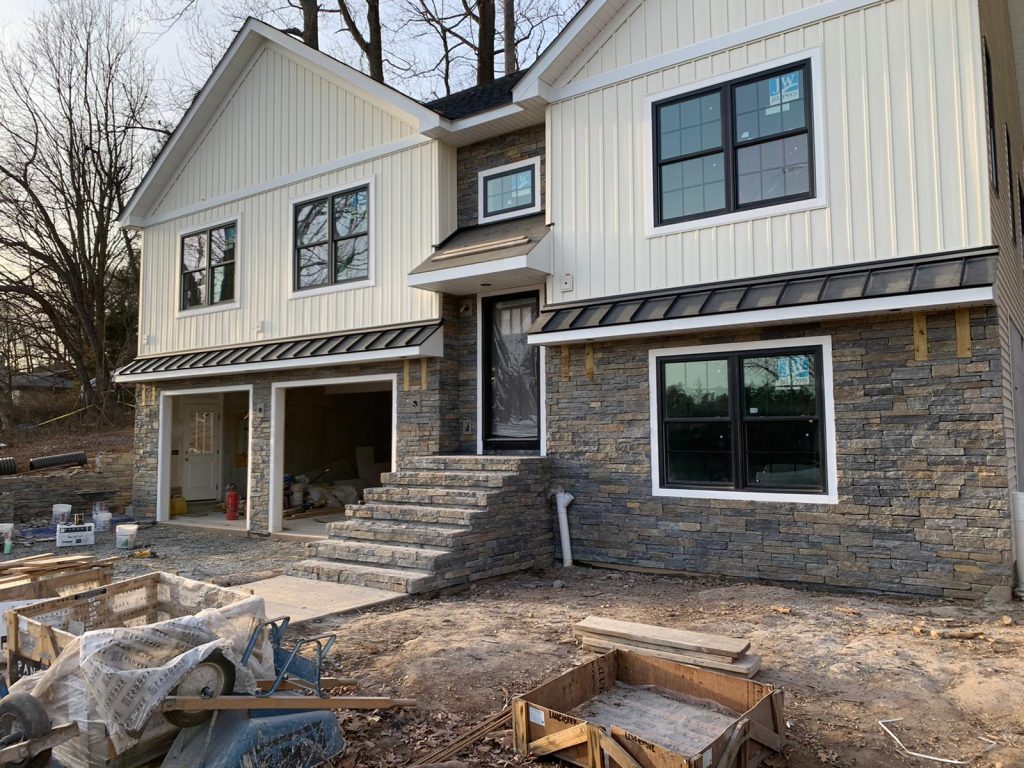
Whether it’s used for a fireplace, accent wall, or exterior façade, natural stone veneer instantly enhances curb appeal, which translates into higher resale value. According to the Remodeling Cost vs. Value Report, stone veneer remains one of the top home upgrades for ROI, often recouping a large portion of the project cost at resale.
Time and Cost Savings for Installers
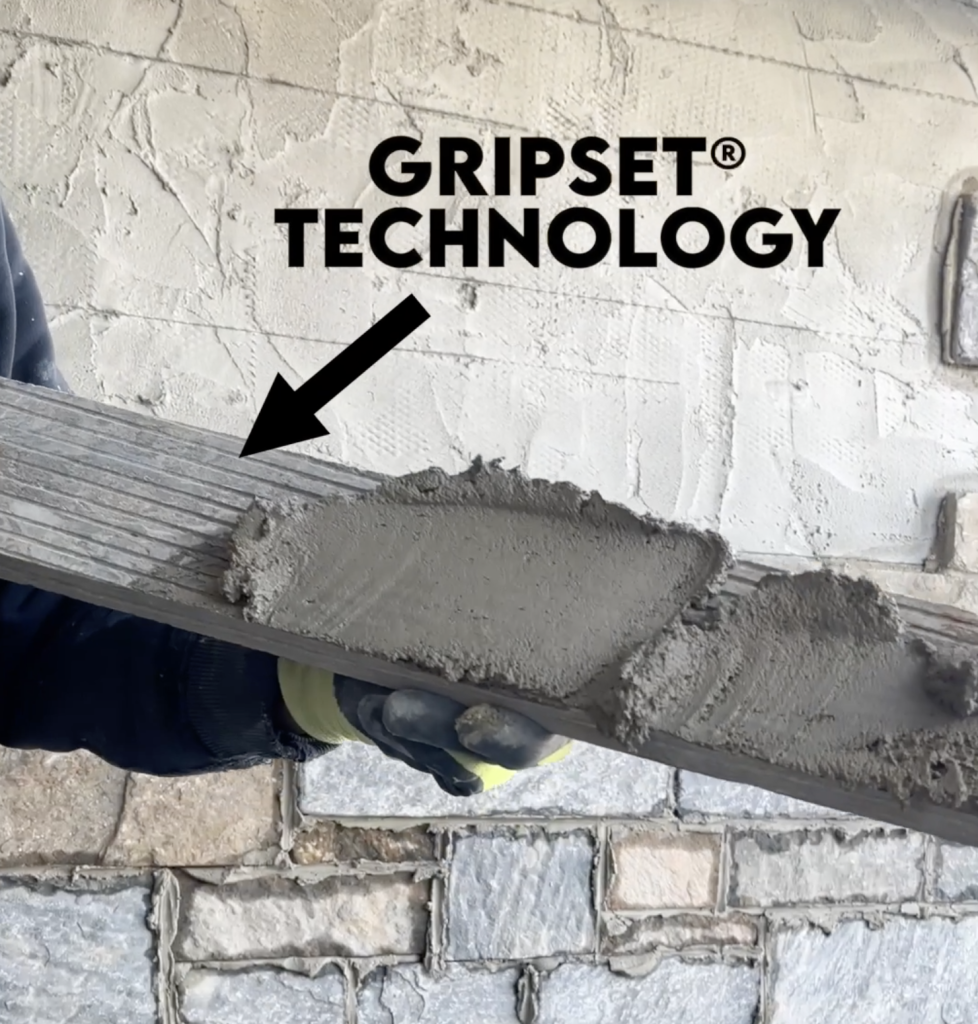
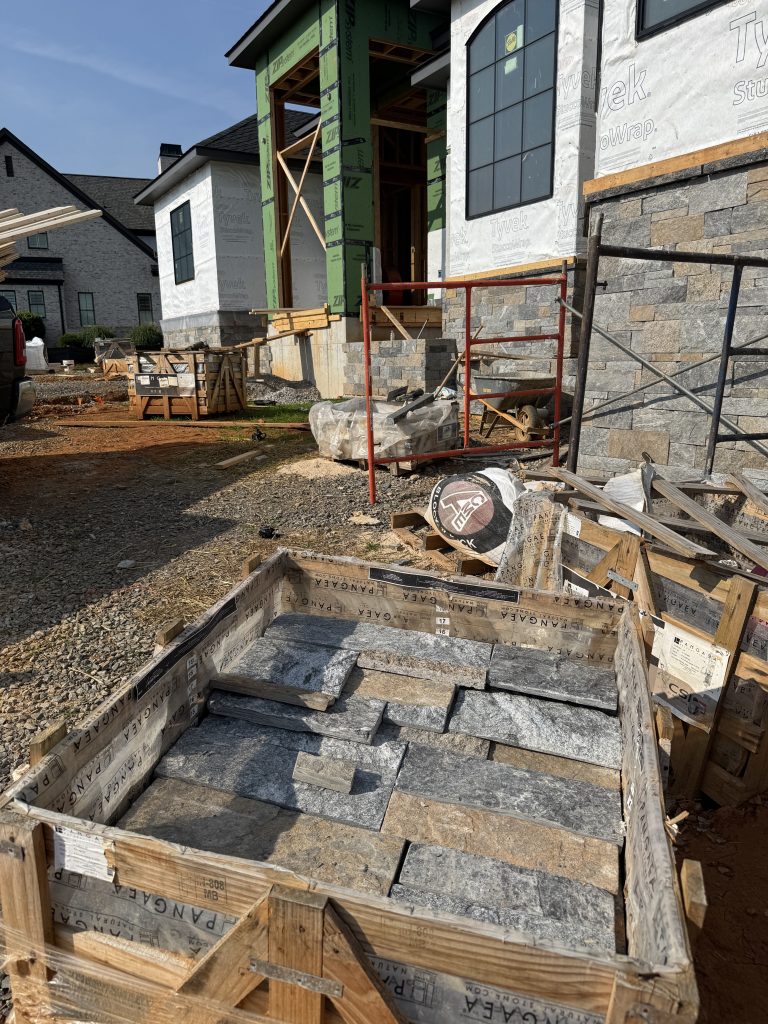
While homeowners see natural stone as an investment in their property, installers see it as an investment in their business efficiency. Pangaea® Natural Stone has been engineered with contractors in mind, offering features that make projects faster, easier, and more profitable.
- Pre-Cut and Pre-Sorted Packaging: Stones are organized by size and shape, reducing sorting time on the jobsite.
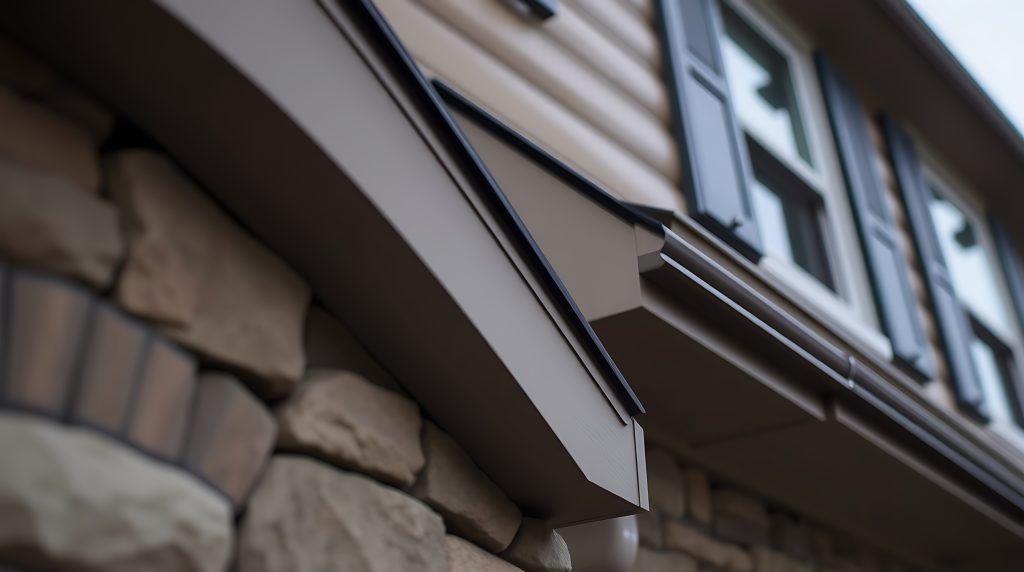
- Consistent Thickness: Uniform sizing makes installation smoother and more efficient, minimizing tricky cuts.
- Reduced Waste: With less trimming required, installers save on both labor time and material waste.
- Fewer Callbacks: High-quality stone means fewer issues after installation, saving money and protecting reputation.
Every minute saved on a job translates into more projects completed per year—an immediate ROI for the installer’s business.
Sustainability and Long-Term Performance
Both homeowners and installers benefit from natural stone’s low-maintenance longevity. Once installed, it doesn’t require costly upkeep or replacements, which reduces long-term expenses for the homeowner while also limiting warranty calls for the installer.
Additionally, Pangaea® Natural Stone is responsibly quarried, providing a sustainable choice that appeals to today’s eco-conscious buyers and builders.
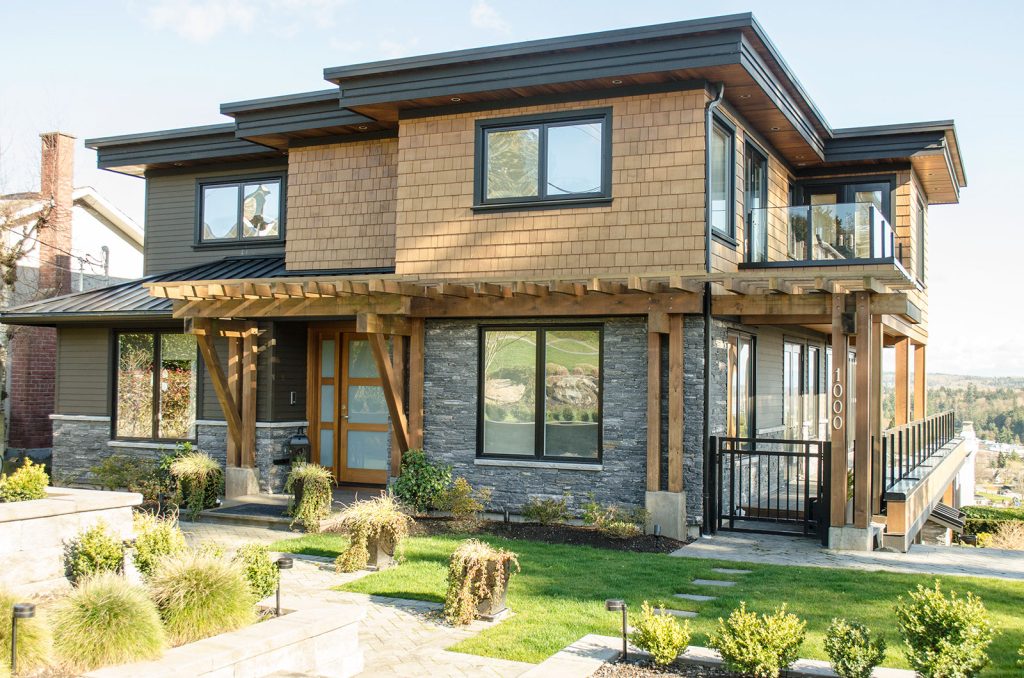
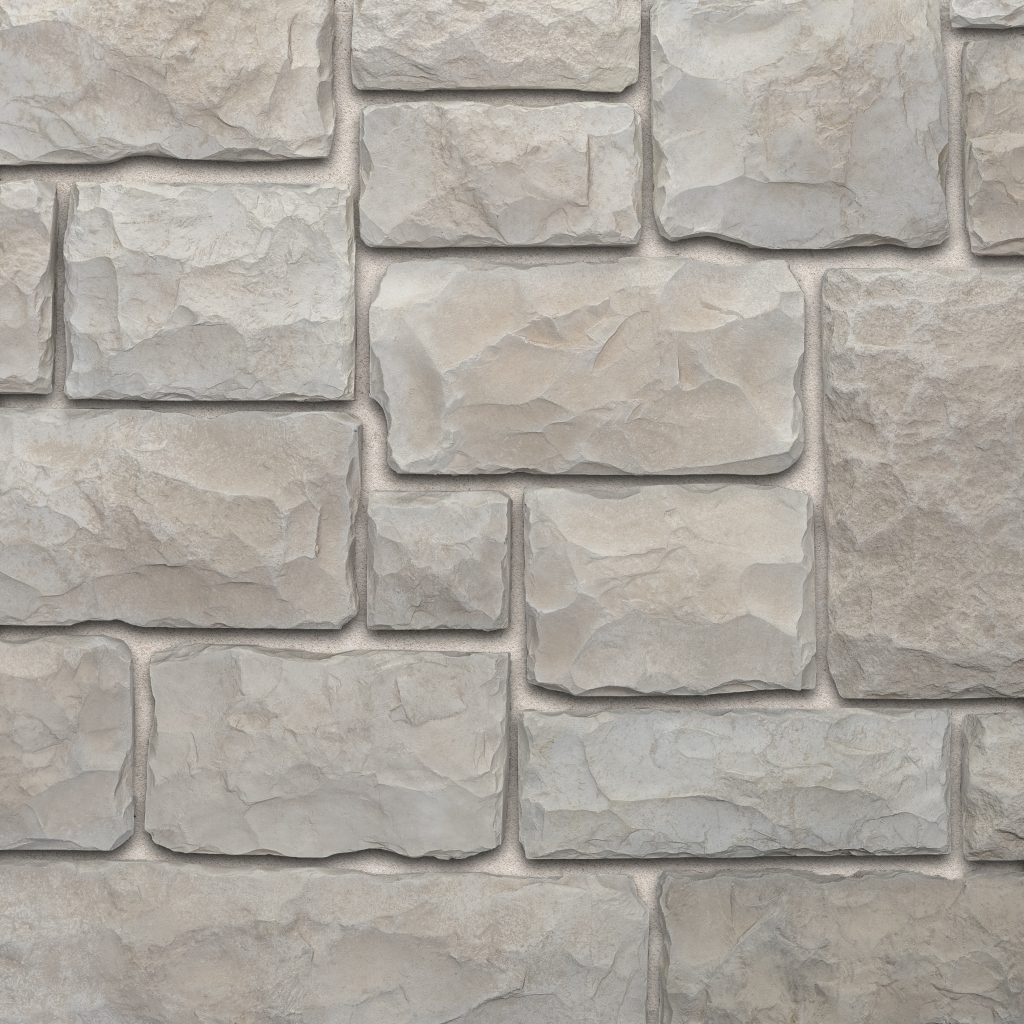
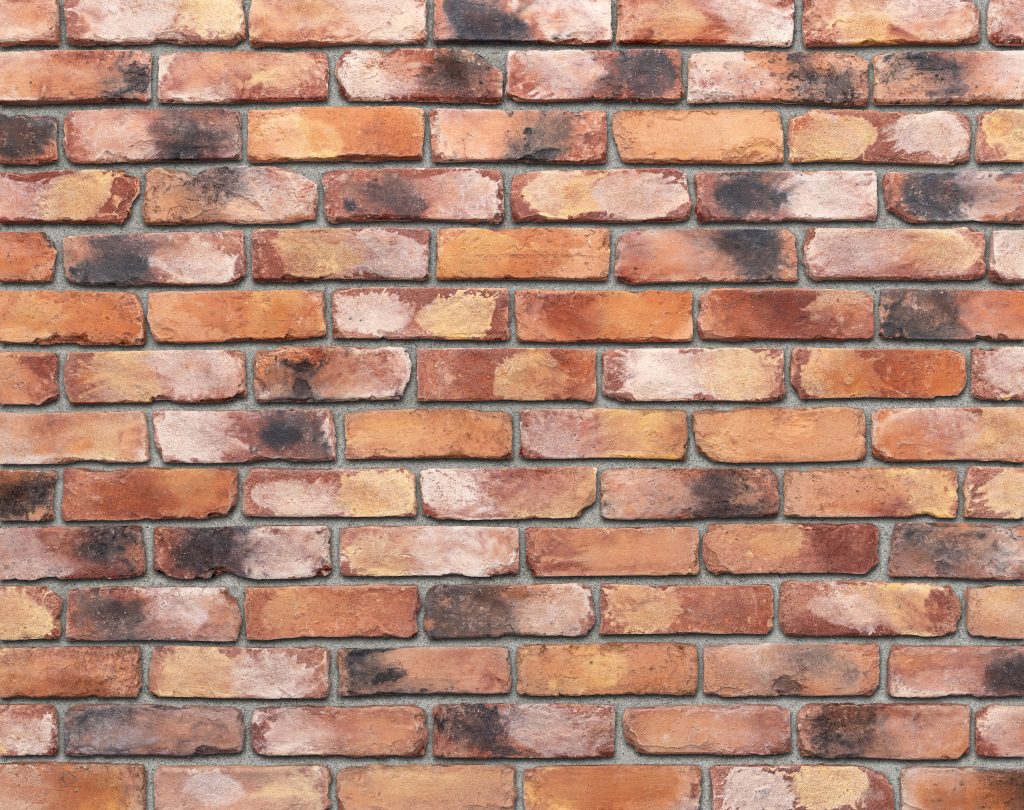
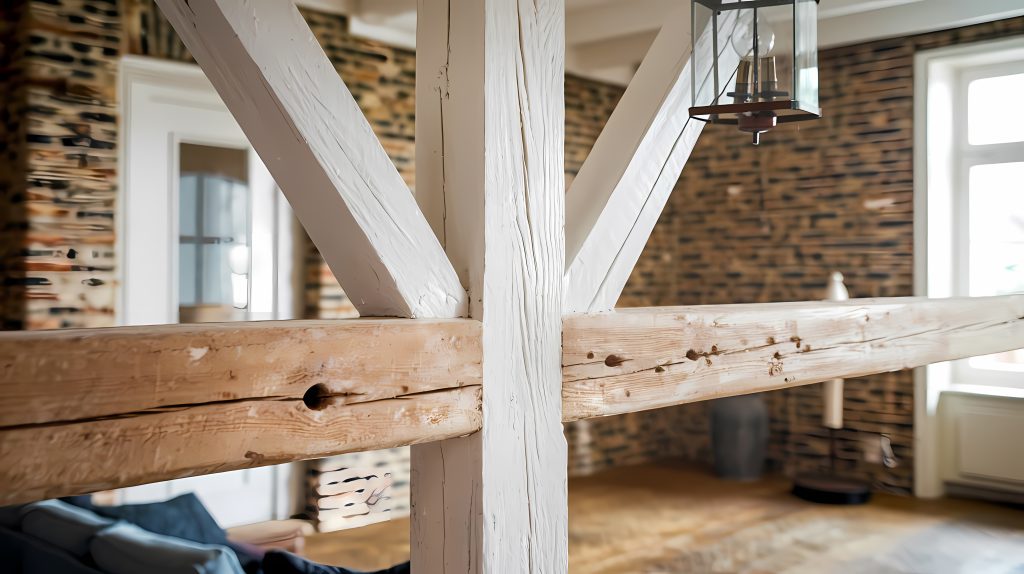
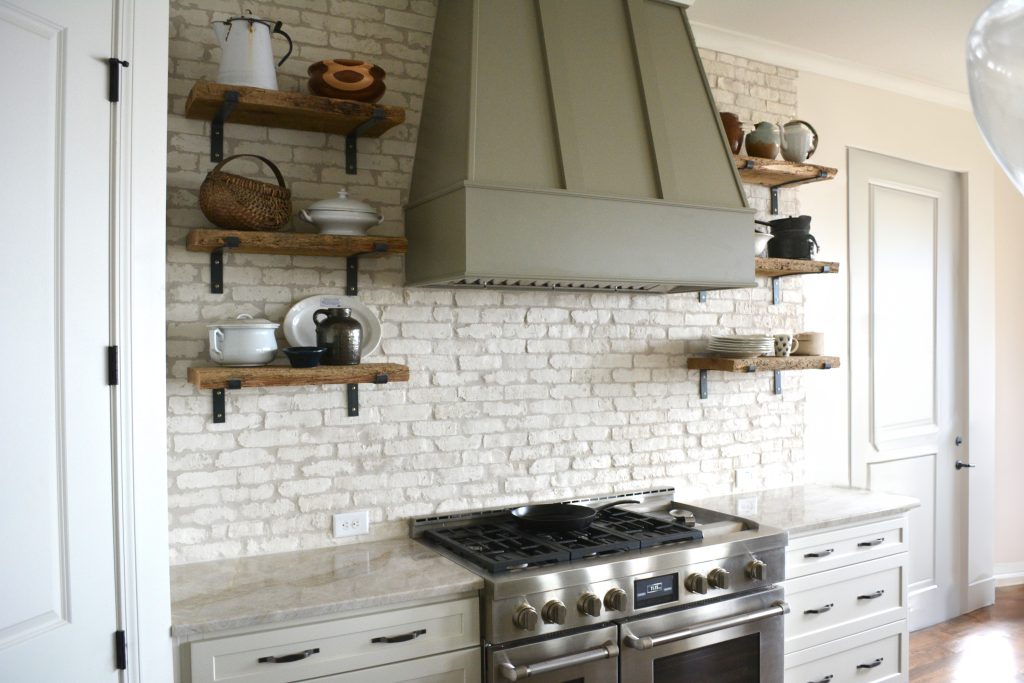
Design Flexibility for Every Project
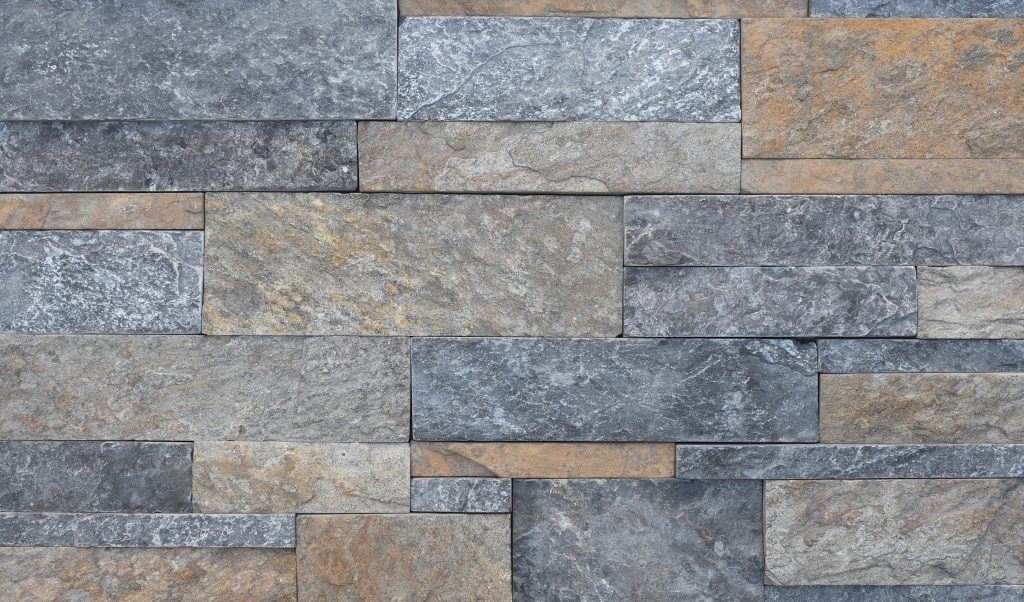
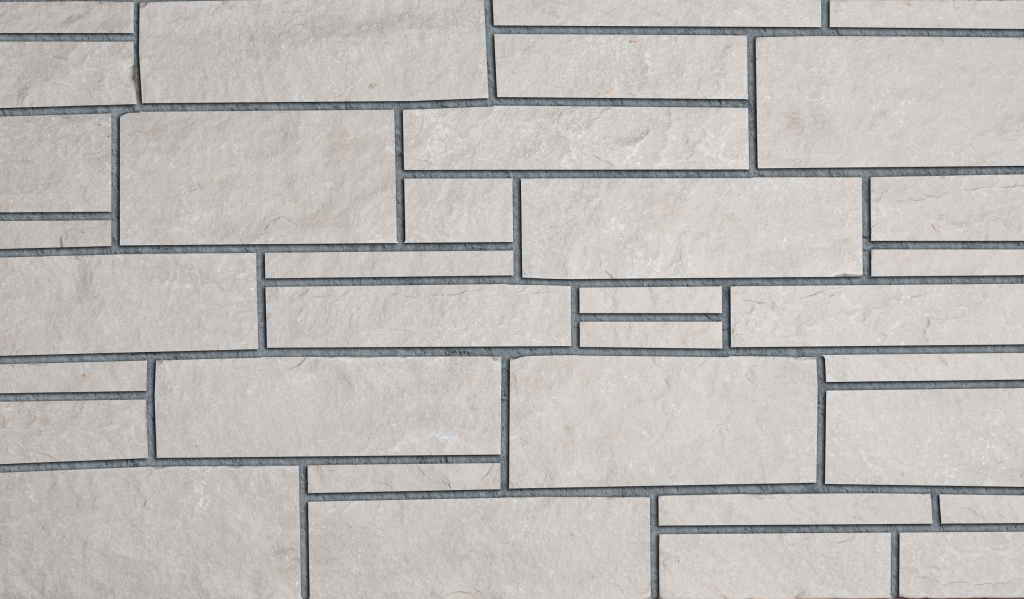
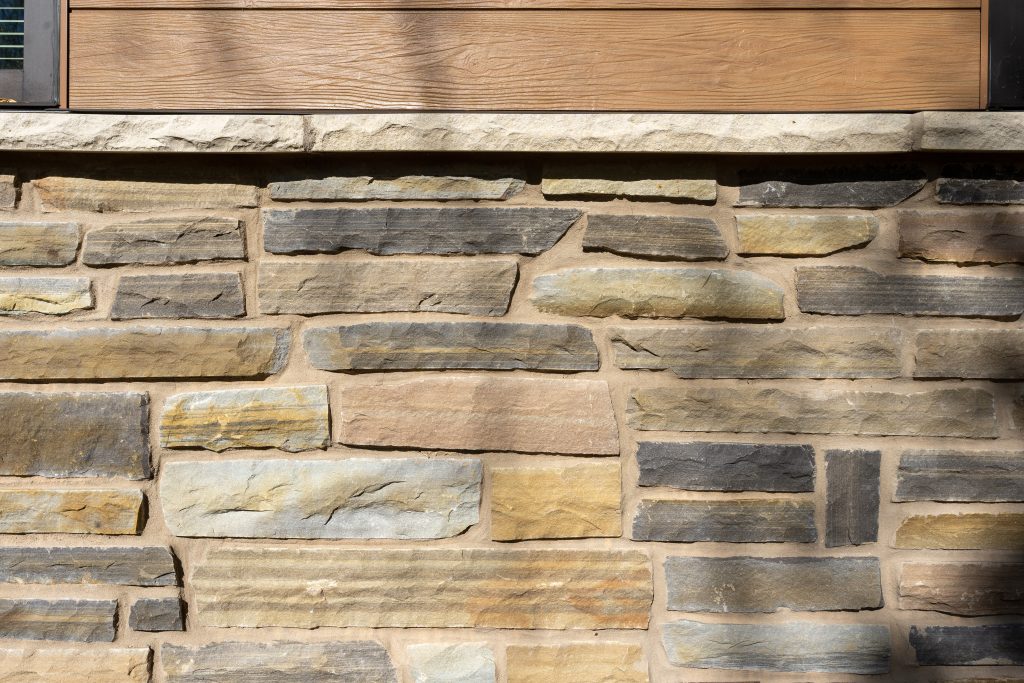
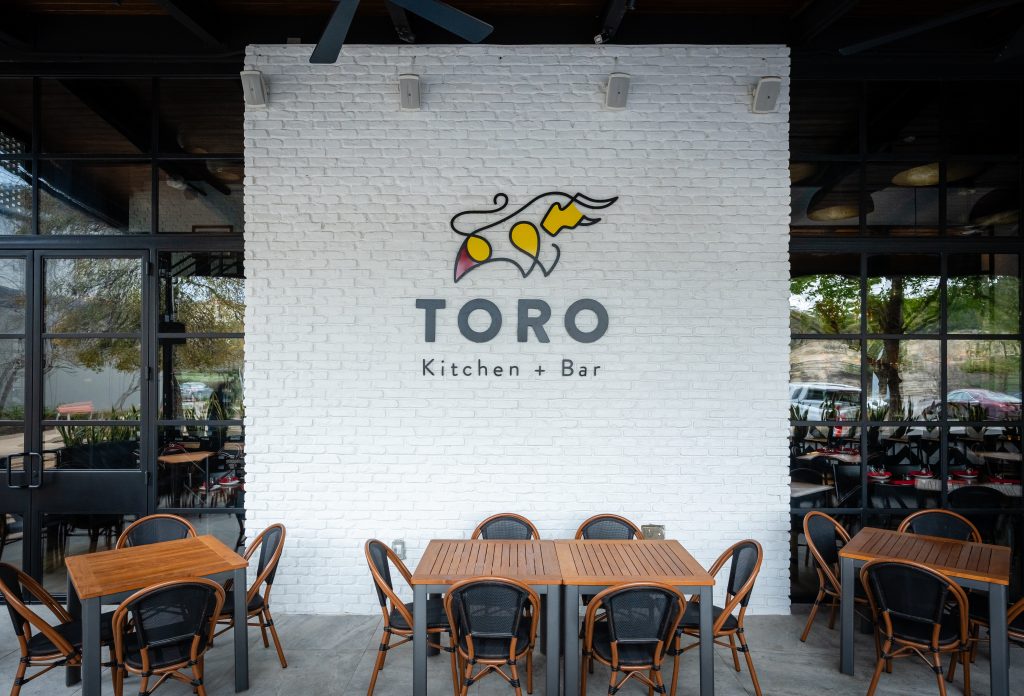
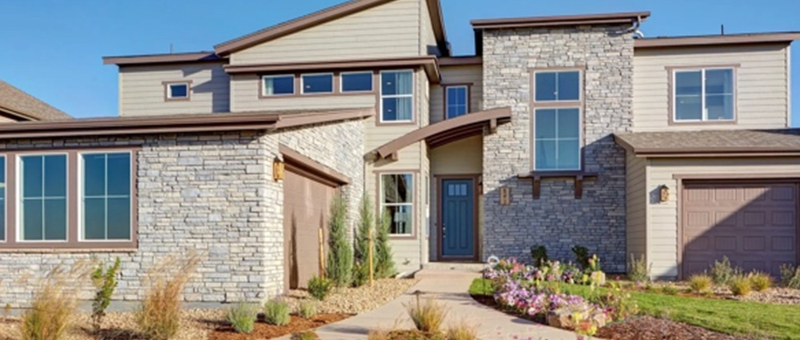
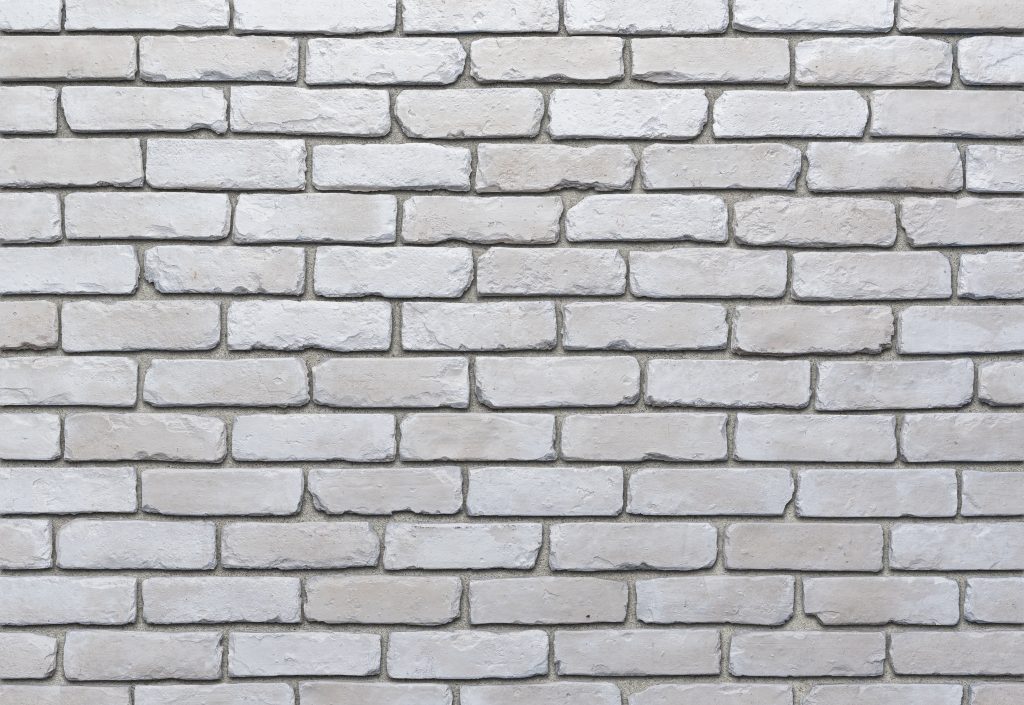
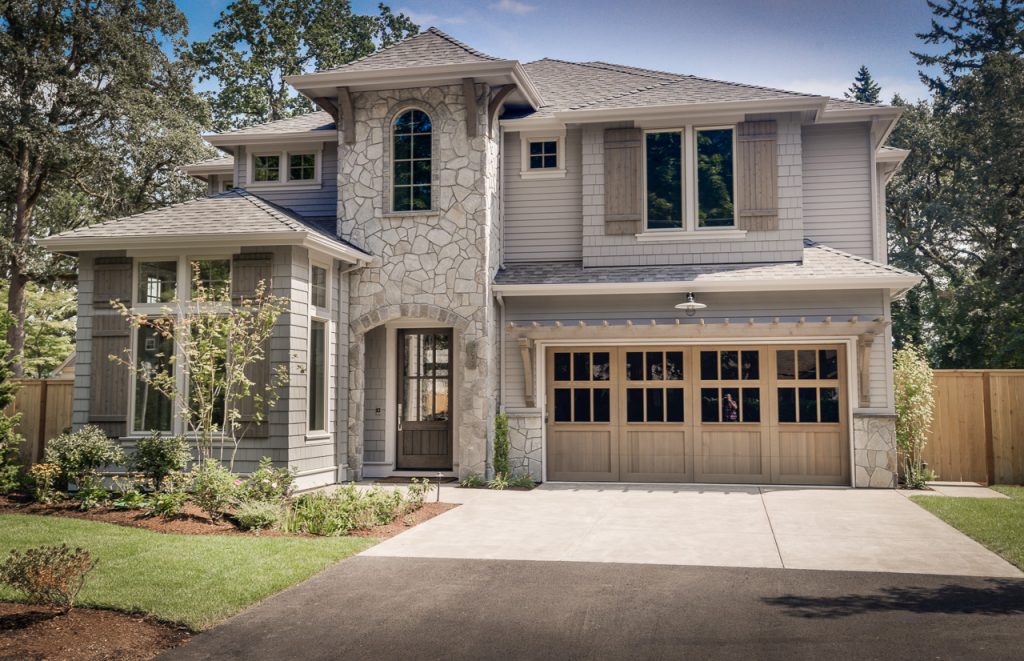
Homeowners appreciate the wide range of colors, cuts, and textures that allow natural stone veneer to fit any architectural style. Installers benefit from this same versatility—it means they can confidently recommend solutions for modern, rustic, or traditional designs, knowing they’ll have the right fit for any project.
The ROI of Natural Stone Veneer: Homeowners and Installers Win
Natural stone veneer offers a rare dual ROI:
For Homeowners:
- Higher property resale value
- Timeless curb appeal and interior beauty
- Energy efficiency and low maintenance
- Long-lasting durability
For Installers:
- Faster installations and reduced labor costs
- Less material waste
- Improved client satisfaction and fewer callbacks
- More profitable project turnaround
Elevate Your Home—or Your Business—with Pangaea Natural Stone
Investing in Pangaea® Natural Stone veneer means homeowners get the luxury and durability of real stone, while installers gain efficiency and profitability with every project. It’s a win-win material that doesn’t just look good—it works smarter.
Luxury that lasts. Value that grows. Efficiency that pays. That’s the power of Pangaea® Natural Stone.
Follow the link below for more industry insights from across the building products world.