Understanding Mortar Types for Stone Veneer: Poly-Modified, Type S, and Type N

Understanding Mortar Types for Stone Veneer: Poly-Modified, Type S, and Type N

Choosing the right mortar for stone veneer is about more than just holding stones in place—it directly affects your project’s durability, ease of installation, and long-term performance. Whether you’re working on an interior fireplace or an exterior wall, the type of mortar you use determines how well the stone adheres, how it weathers over time, and even how it looks once cured.

The three most common mortar types for stone veneer are Poly-Modified Mortar, Type S Mortar, and Type N Mortar. Each offers unique advantages depending on the application, environment, and desired finish.

1. Poly-Modified Mortar: The Modern Adhesion Powerhouse

What it is:
Poly-modified (polymer-modified) mortar is a cement-based mortar enhanced with polymers—plastic-like additives that increase flexibility, bond strength, and water resistance. These modern mortars are often pre-blended, requiring only water for mixing, and are specifically designed for manufactured stone veneer and thin natural stone applications.

Where it’s used:

  • Installations in freeze-thaw climates or wet environments
  • Manufactured stone veneer systems
  • Interior and exterior walls
  • Projects requiring strong adhesion without mechanical support

Benefits:

  • Consistent performance – comes pre-mixed with the right ratio of polymers and sand.
  • Superior bond strength – adheres exceptionally well to substrates like concrete, masonry, or cement board.
  • Flexible – resists cracking from minor substrate movement or temperature changes.
  • Water-resistant – better suited for exterior and high-moisture areas.

Best for:
Modern installations where ease, performance, and longevity are top priorities. Poly-modified mortars are ideal for professional installers who want predictable results and strong adhesion without the need for extra additives.

2. Type S Mortar: Strong, Durable, and Built for the Outdoors

What it is:
Type S mortar is a traditional mix made from Portland cement, sand, and lime, formulated to provide high compressive and tensile strength. It’s the go-to mortar for structural and exterior applications, especially where the stone veneer must withstand the elements.

Where it’s used:

  • Heavier natural stone installations
  • Exterior stone veneer walls
  • Foundations, retaining walls, and chimneys
  • Areas exposed to wind, rain, and freeze-thaw cycles

Benefits:

  • Versatile – suitable for both load-bearing and veneer applications.
  • High strength (1,800 psi minimum) – durable under pressure and impact.
  • Weather-resistant – performs well in exterior conditions.

Best for:
Outdoor projects where strength and durability matter most. Type S is perfect for veneer that needs to stand up to weather extremes or for heavier natural stones that require more structural bonding.

3. Type N Mortar: Smooth, Workable, and Ideal for Interiors

What it is:
Type N mortar is a medium-strength mix of Portland cement, lime, and sand, with a compressive strength around 750 psi. It’s more flexible and workable than Type S, making it a favorite for interior stone veneer, decorative masonry, and projects where extreme strength isn’t required.

Where it’s used:

  • Mild outdoor climates with minimal freeze-thaw exposure
  • Interior stone veneer walls and fireplaces
  • Decorative non-load-bearing applications

Benefits:

  • Attractive finish – great for detailed stonework and visible joints.
  • Easier to work with – smooth and forgiving during installation.
  • More flexible – helps absorb small structural movements without cracking.

Best for:
Interior projects and aesthetic stone installations where workability, appearance, and flexibility are more important than raw strength.

Choosing the Right Mortar for Your Project

Each mortar type has a specific purpose, and selecting the right one ensures a lasting installation:

Mortar TypeStrengthFlexibilityBest Use
Poly-ModifiedHighHighModern veneer systems, interior & exterior
Type SVery HighModerateExterior walls, chimneys, heavy stone
Type NMediumHighInterior veneers, decorative walls

Quick tip:

  • Use Poly-Modified for manufactured stone veneer or when maximum bond strength is critical.
  • Use Type S for heavy-duty exterior applications.
  • Use Type N for interior or decorative work where ease and finish matter most.
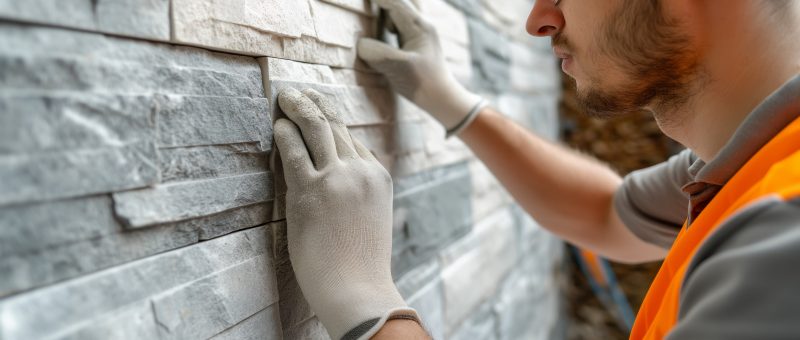
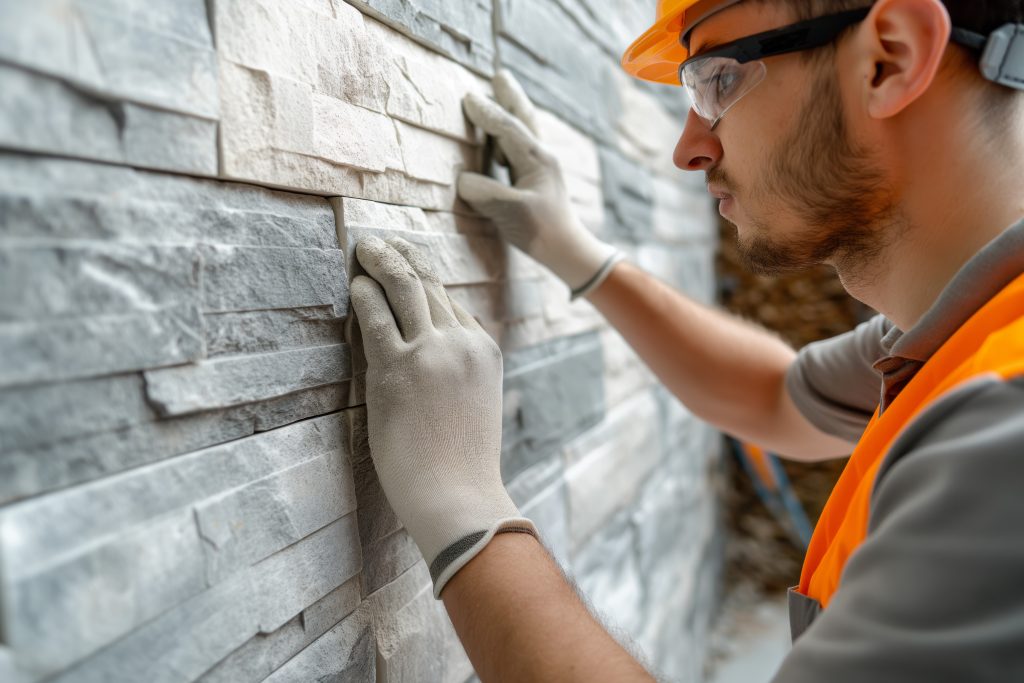
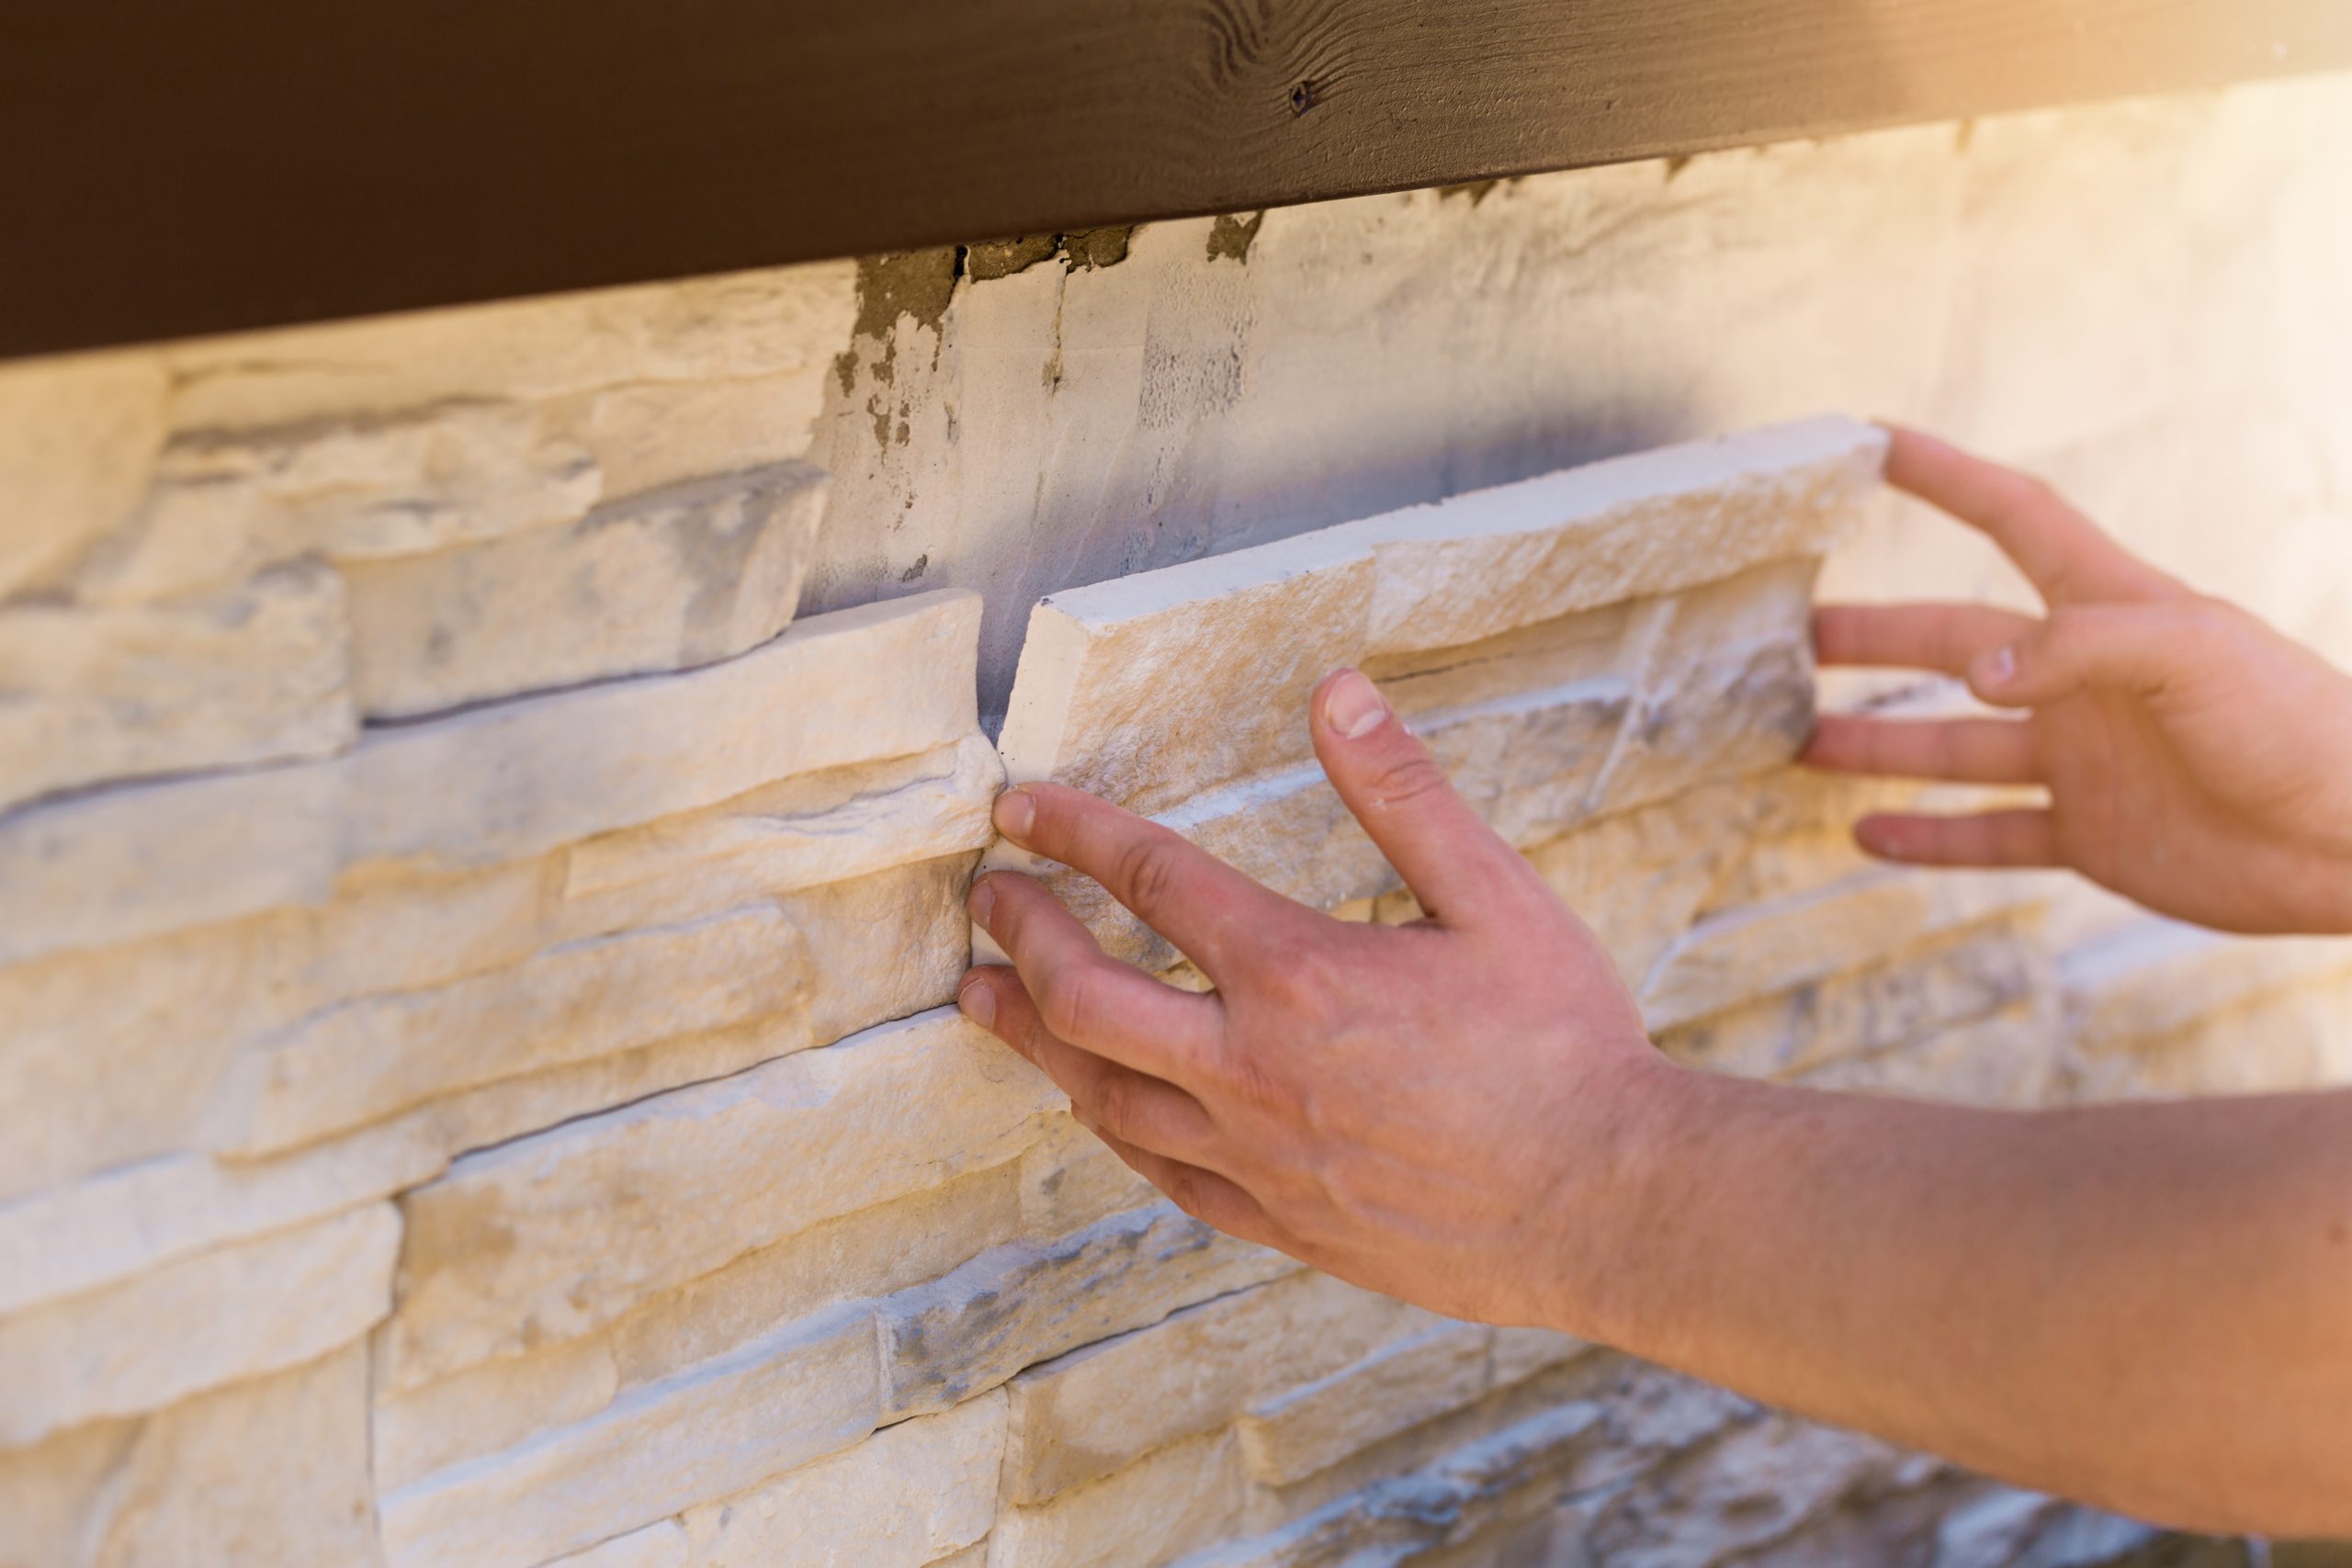
closeup hand of worker plastering cement at wall for building house

Final Thoughts

Mortar may not be the first thing you think about when designing with stone veneer—but it’s the backbone of every successful installation. Understanding the differences between Poly-Modified, Type S, and Type N mortars helps you choose the right mix for both the performance and aesthetic goals of your project.

The right mortar ensures your stone veneer not only looks beautiful on day one, but stays securely in place and weathers gracefully for decades to come.

How Grout Installation Styles Transform the Look of Stone Veneer

How Grout Installation Styles Transform the Look of Stone Veneer

When it comes to designing with stone veneer, most of the attention goes to the stone color, shape, and texture—but there’s another design element that can dramatically change the final look: the grout installation style. The way mortar is applied between your stones can shift the entire aesthetic of a wall from sleek and modern to rustic and old-world.
There are three main types of grout installations used in stone veneer projects: Tight Joint (Dry Stack), Standard (Raked Joint), and Over-Grout (Full Joint). Each creates a distinct appearance and adds its own personality to the design.

1.Tight Joint (Dry Stack) – Clean, Modern, and Minimalist

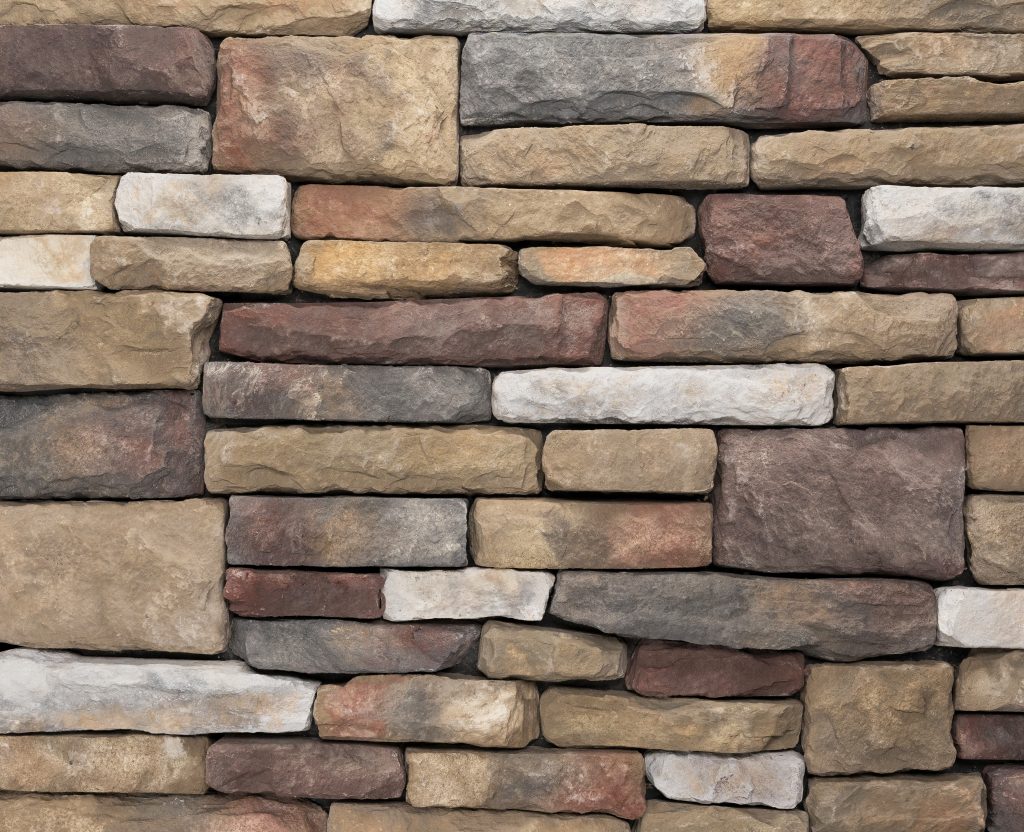
If your goal is a sleek, contemporary look, a tight joint or dry stack installation is the way to go. In this method, stones are set very close together—sometimes touching—with little to no visible mortar. The gaps are minimal, and the emphasis is entirely on the texture and profile of the stone itself.

This style works beautifully with sawn-edge or panelized veneer systems and pairs well with modern architecture, clean lines, and minimalist design palettes. The end result feels refined and architectural—perfect for fireplaces, feature walls, or exterior facades where you want the stone to stand out on its own.

Aesthetic impact:

  • Ideal for modern or transitional designs
  • Sleek and linear
  • Highlights stone shapes and color variation
Toro Stone™ Bighorn / Mountain Ledgestone

2. Standard (Raked Joint) – Balanced and Traditional

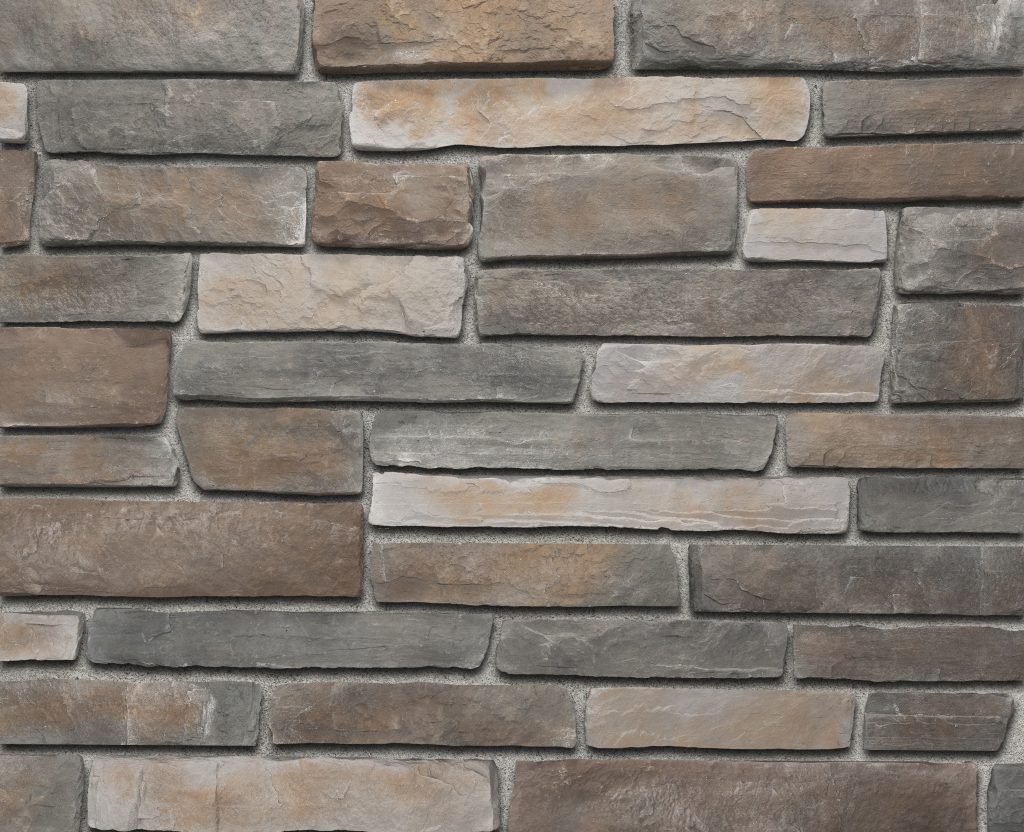
A standard joint, sometimes called a raked joint, is the classic look most people associate with traditional masonry. Here, stones are spaced slightly apart—typically about ⅜ to ½ inch—and the grout is applied between them, then raked back slightly from the stone face.

This technique creates a subtle shadow line that defines each individual stone, giving the wall a sense of structure and rhythm. It’s a versatile style that complements both natural and manufactured stone veneer, and it’s equally at home on the exterior of a Craftsman-style house or the fireplace of a traditional living room.

Aesthetic impact:

  • Perfect for traditional, transitional, or balanced designs.
  • Clean and timeless
  • Emphasizes both the stone and the craftsmanship
Toro Stone™ Alaskan / Mountain Ledgestone

3. Over-Grout (Full Joint) – Rustic and Old-World

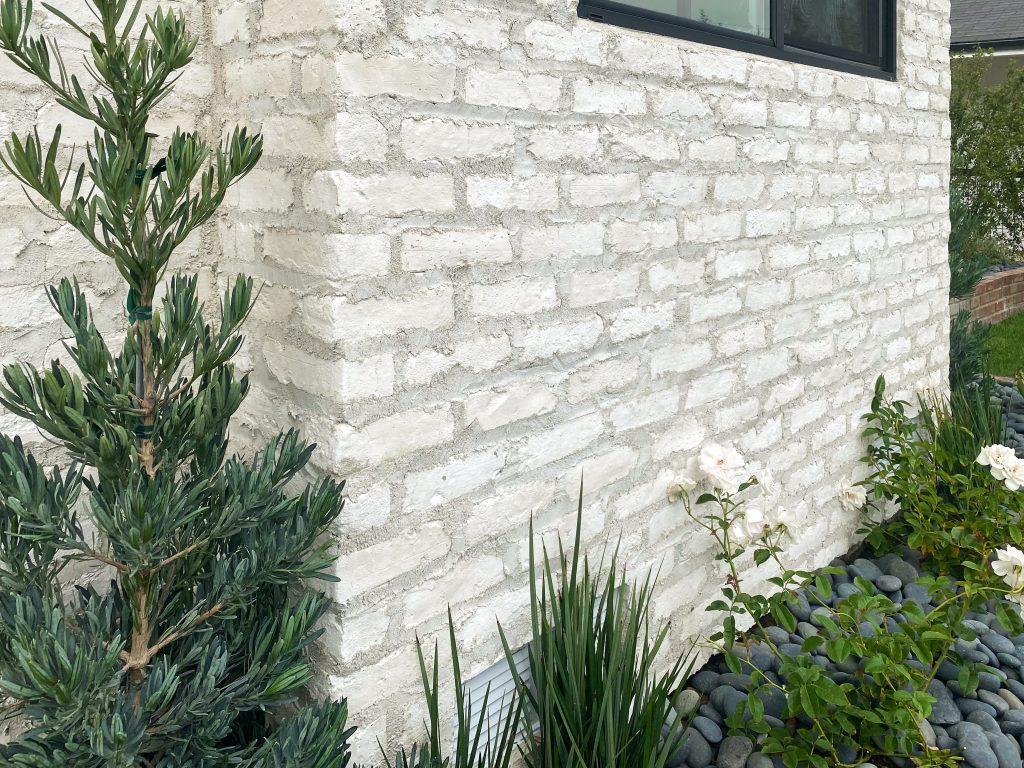
For a rustic, hand-crafted look, the over-grout (or full joint) method is a favorite. In this approach, mortar is applied generously between the stones—often spilling slightly over their edges. The grout may be tooled smooth, brushed, or left irregular depending on the desired finish.

This technique creates a sense of age and authenticity, mimicking the appearance of old European farmhouses, Tuscan villas, or historic cottages. It’s especially striking when paired with irregular or rough-faced stone veneer, creating a warm, textured, and time-worn character.

Aesthetic impact:

  • Best for farmhouse, lodge, or Mediterranean styles
  • Hearty and rustic
  • Adds depth and visual weight
Toro Stone™ Blanc / Reclaimed Brick

Choosing the Right Grout Style for Your Design

The grout style you choose is more than a technical decision—it’s a design choice that shapes the entire feel of your project.

  • Go tight joint for modern simplicity and strong lines.
  • Choose a standard joint for a clean, timeless balance.
  • Opt for an over-grout if you love rustic charm and old-world texture.

Whether you’re designing an outdoor feature wall, a cozy fireplace surround, or a full exterior facade, the grout installation style helps tell your story through stone.

The Return of Linear Brick: Bridging Modern Design with Italian Old World Charm

The Return of Linear Brick: Bridging Modern Design with Italian Old World Charm

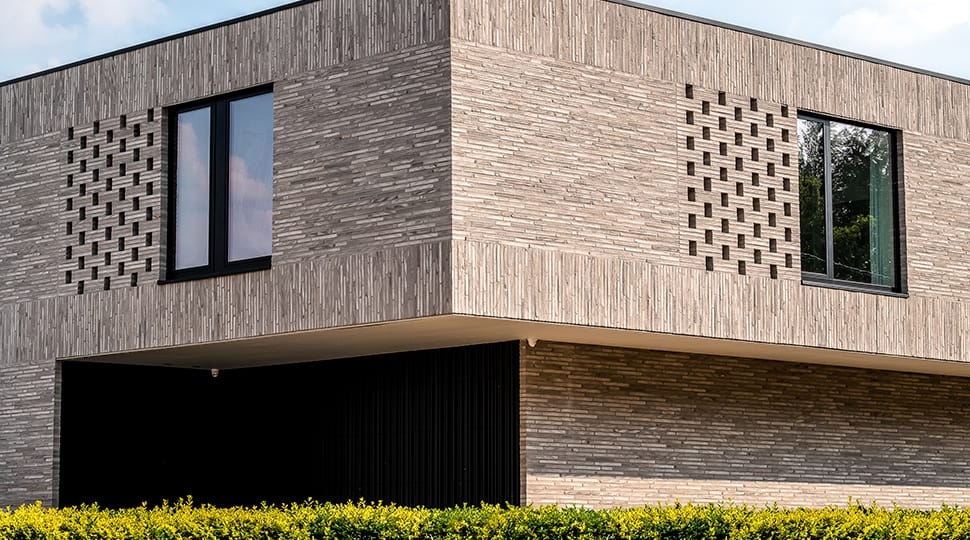
In modern architecture and design, few materials manage to blend timeless appeal with sleek innovation quite like linear brick. Also known as long-format brick, this elongated brick style is reshaping how we approach both interior and exterior design. Surprisingly, its roots trace back to the Old World architecture of Italy, where brick has long been celebrated for its warmth, strength, and charm.

What Is Linear Brick?

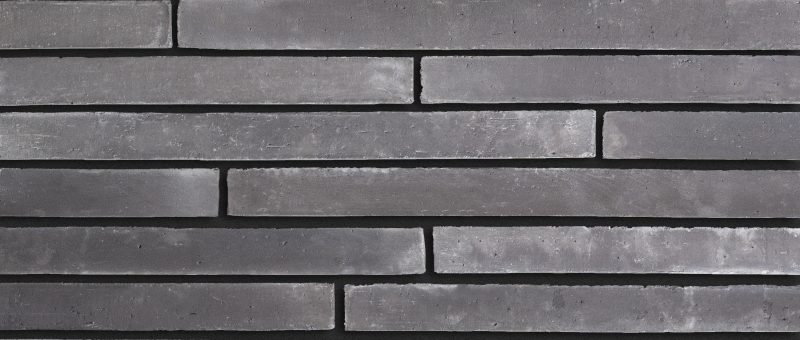
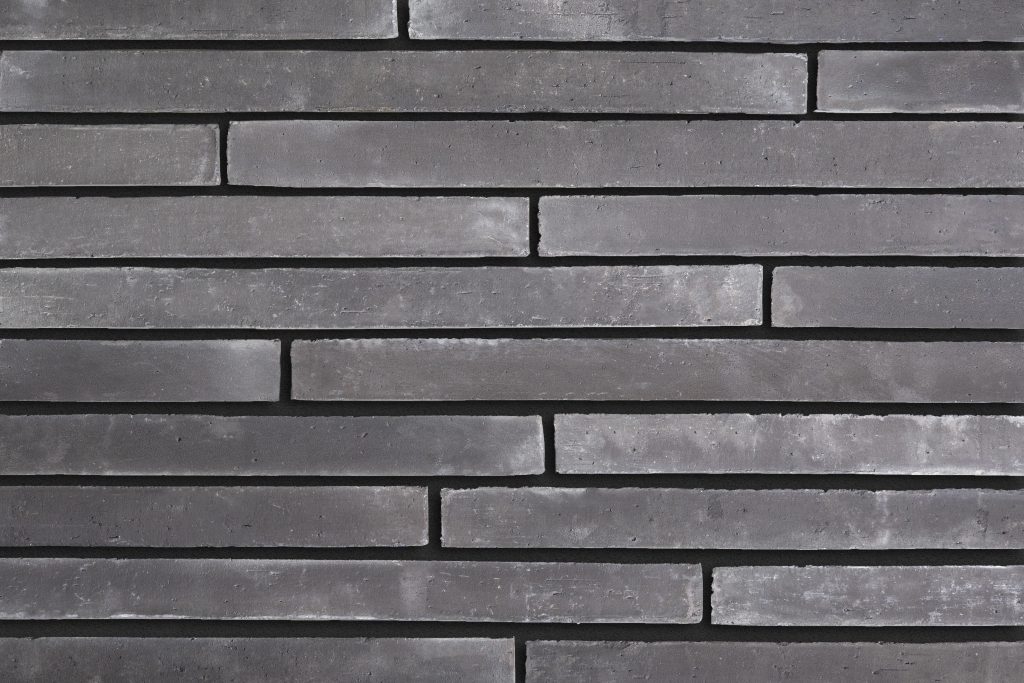
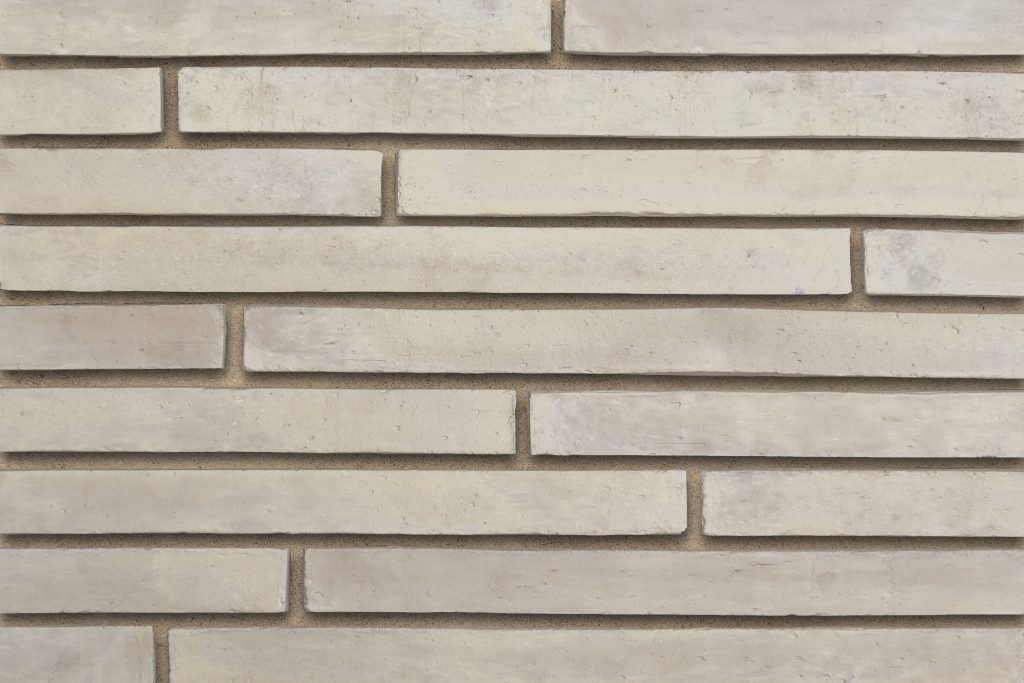
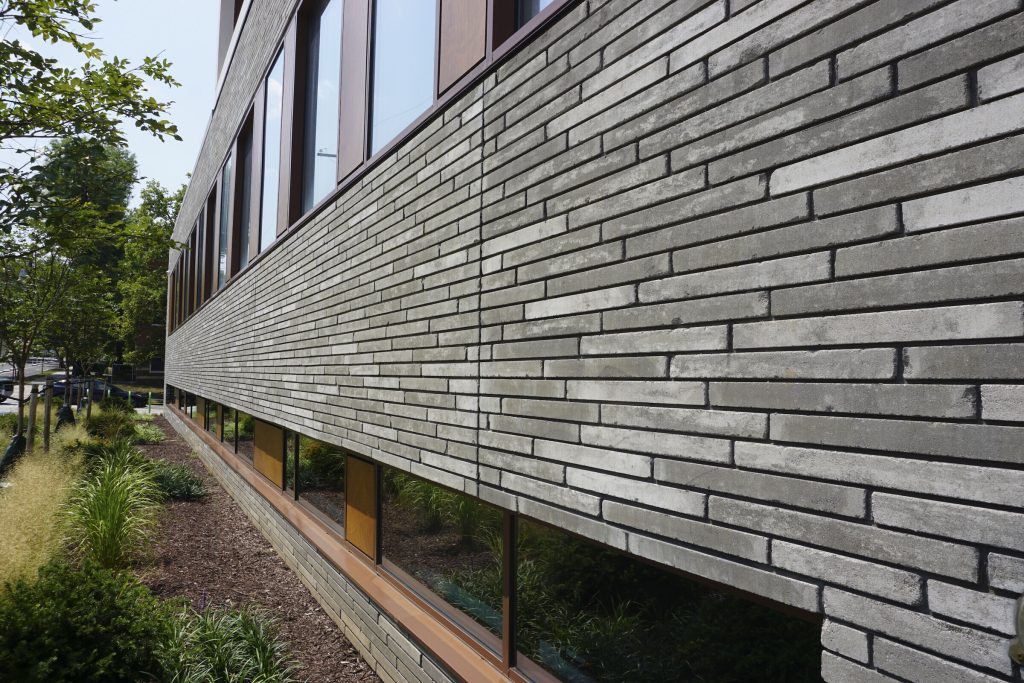
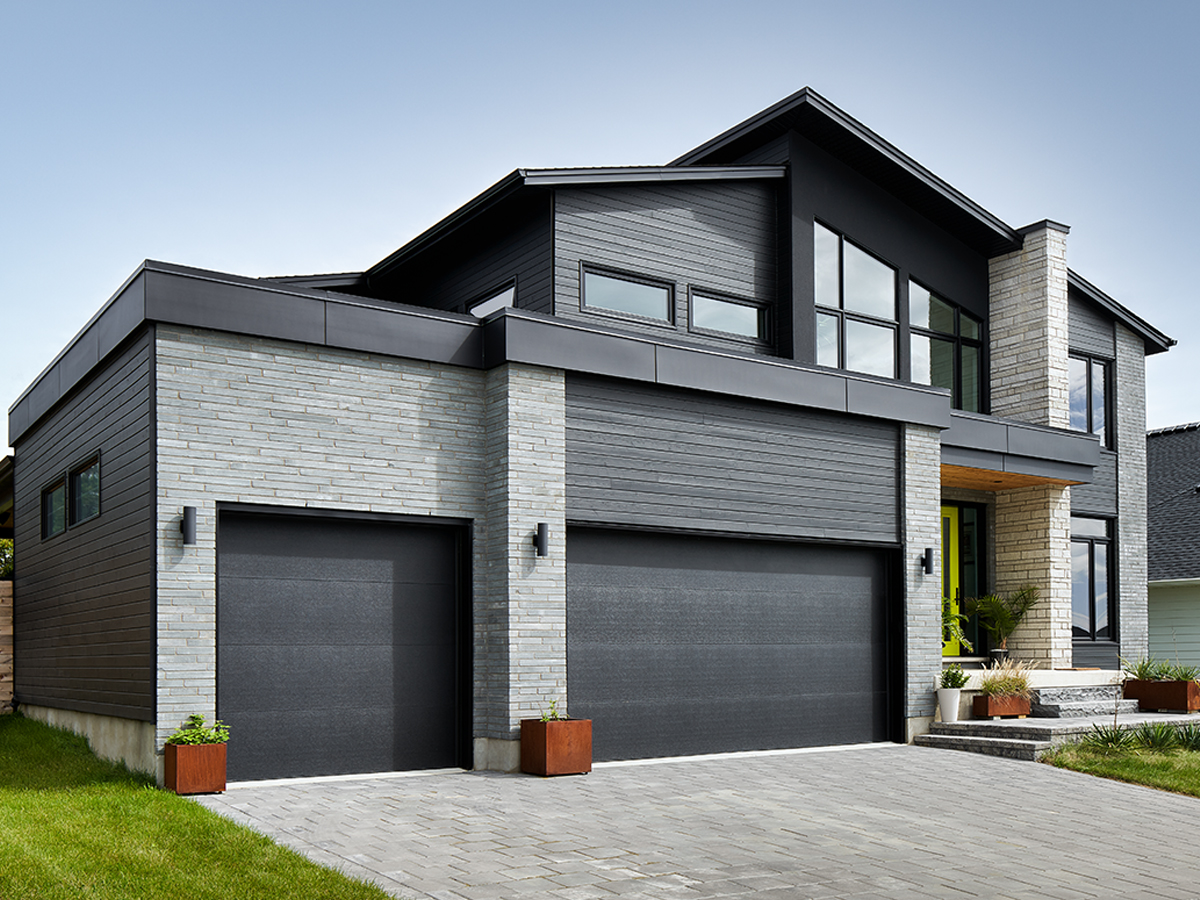
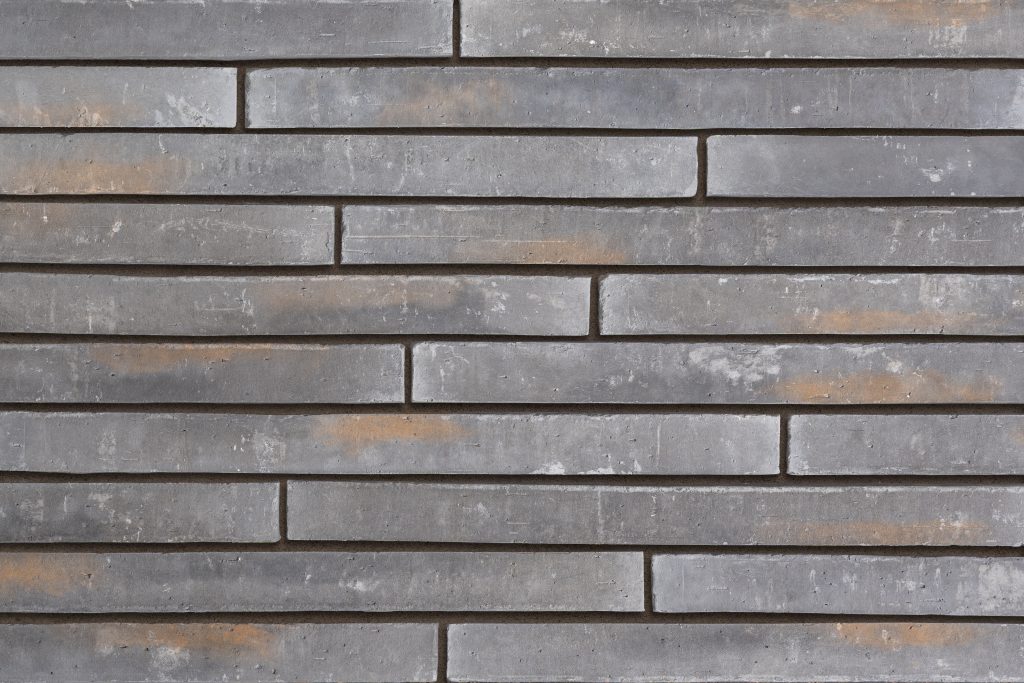
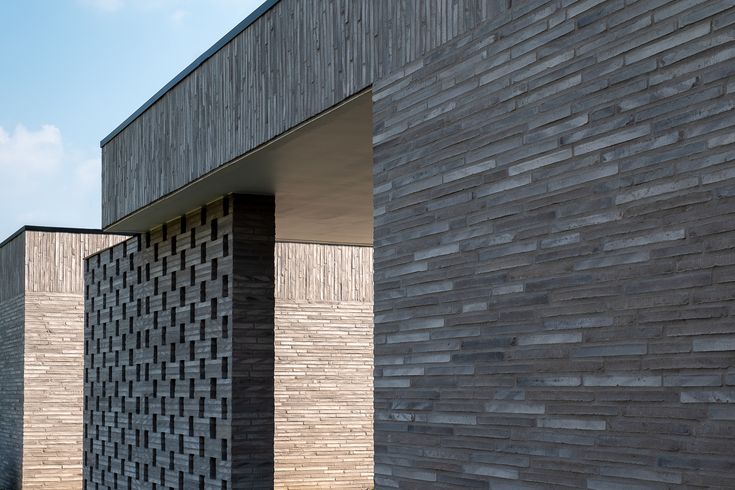
Linear brick (or long brick) is a slender, horizontally-stretched variation of the traditional brick. Often measuring 18–24 inches in length and only 2 inches in height, this format introduces sleek lines and a minimalistic rhythm to walls, both inside and out.

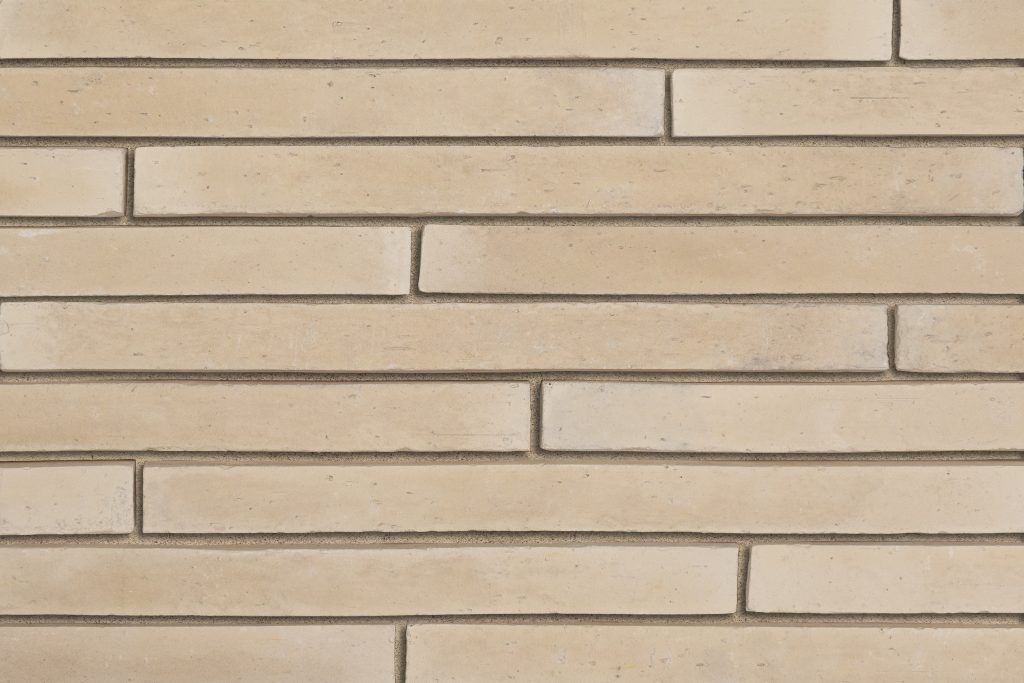
Toro Stone ® Bianco / Linear Brick

Linear Brick in Modern Building Design

Exterior Applications

Used in facades, entryways, and garden walls, linear brick exteriors provide a visually expansive effect. The long horizontal lines subtly guide the eye across the structure, reinforcing a clean, modern aesthetic.

Interior Design Uses

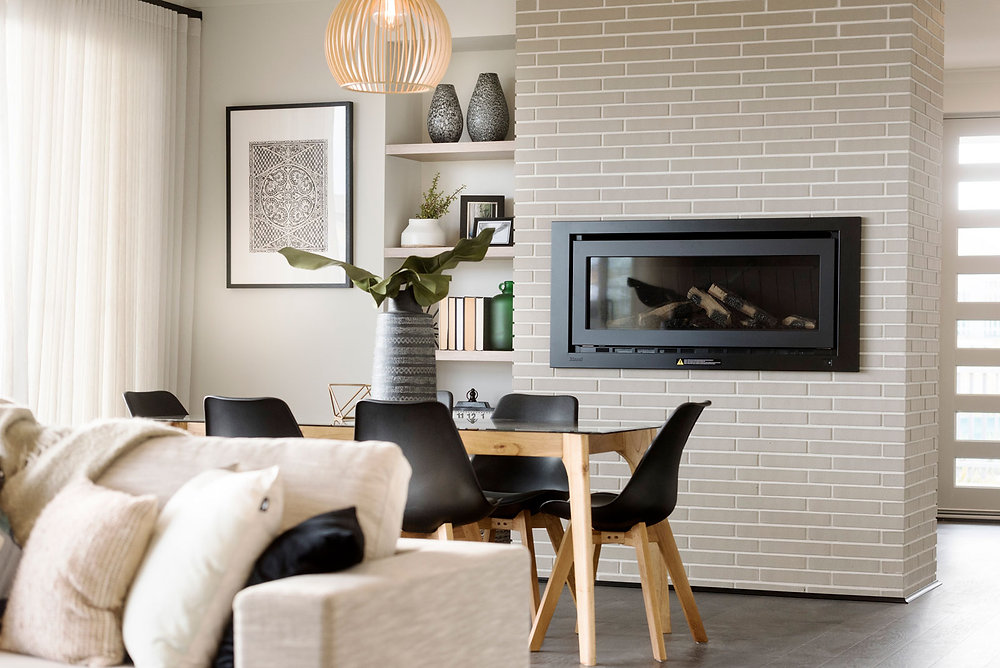
From fireplace surrounds to feature walls and kitchen backsplashes, long bricks bring warmth and texture indoors while maintaining simplicity. Their slender profile is ideal for modern, minimalist interiors.

Linear Brick vs. Old World Italian Brickwork

In Italy, brick construction dates back centuries, particularly in regions like Tuscany and Umbria. These bricks were typically handmade and baked in small batches, resulting in charming imperfections and regional color variation.

Key Characteristics of Old World Italian Brick:

  • Smaller, irregular dimensions
  • Laid in decorative patterns such as herringbone or running bond
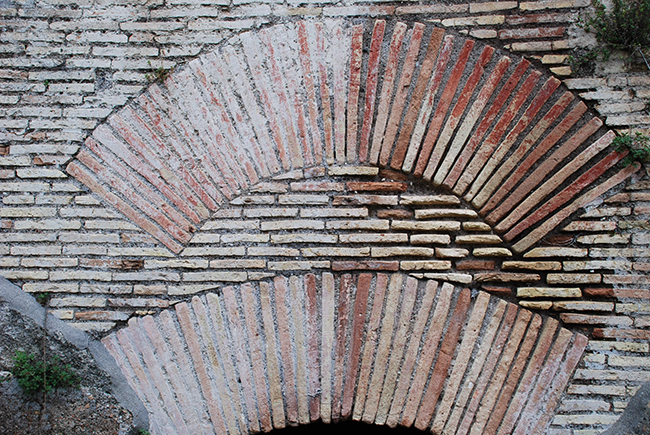
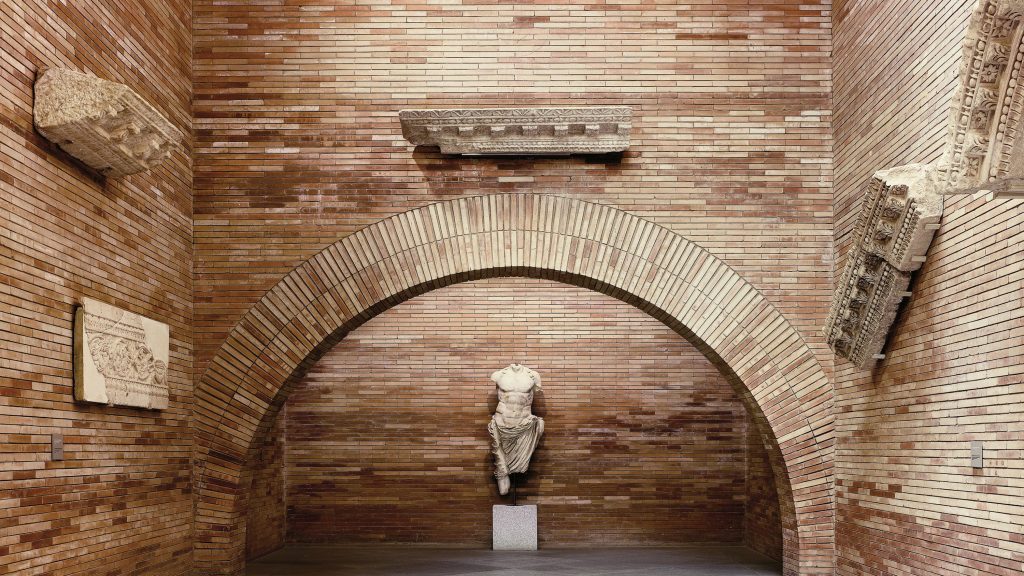
  • Combined with stone or terracotta in arches and facades
  • Used extensively in load-bearing walls, churches, and rural homes

Bridging the Old and the New

Today’s architects are blending the historic charm of Italian masonry with the precision of modern linear brick. By combining traditional textures with long-format layouts, designers are achieving an aesthetic that feels both rooted and refined.

Popular Combinations:

  • Linear brick + natural stone
  • Linear brick + wood paneling
  • Long brick + industrial steel elements

Why Linear Brick Is Gaining Popularity

Architects and designers are embracing linear brick for its:

  • Modern look with timeless appeal
  • Durability and low maintenance
  • Versatile use indoors and outdoors
  • Sustainability and energy efficiency

Whether you’re creating a high-end commercial facade or a warm, modern home interior, linear brick offers a perfect union of old and new—bridging centuries of design innovation.

Conclusion

From the rustic villas of Tuscany to the clean lines of modern architecture, brick continues to inspire. With the rising popularity of linear brick, we see a beautiful evolution that honors tradition while embracing innovation. For builders, designers, and homeowners alike, long-format brick is a smart, stylish, and enduring choice.

From Plant to Wall: The Process Behind Manufactured Stone Veneer

From Plant to Wall: The Process Behind Manufactured Stone Veneer

In the world of masonry and home design, manufactured stone veneer has become a game-changer. With its lightweight profile, stunning realism, and cost efficiency, it’s no wonder that builders, designers, and homeowners are turning to brands like Toro Stone® for both interior and exterior applications.

But how exactly is manufactured stone veneer made? What does the journey look like from the manufacturing plant to your home’s fireplace, façade, or feature wall? Let’s explore the full lifecycle of this innovative material.

Step 1: The Mold Creation – Capturing the Character of Natural Stone

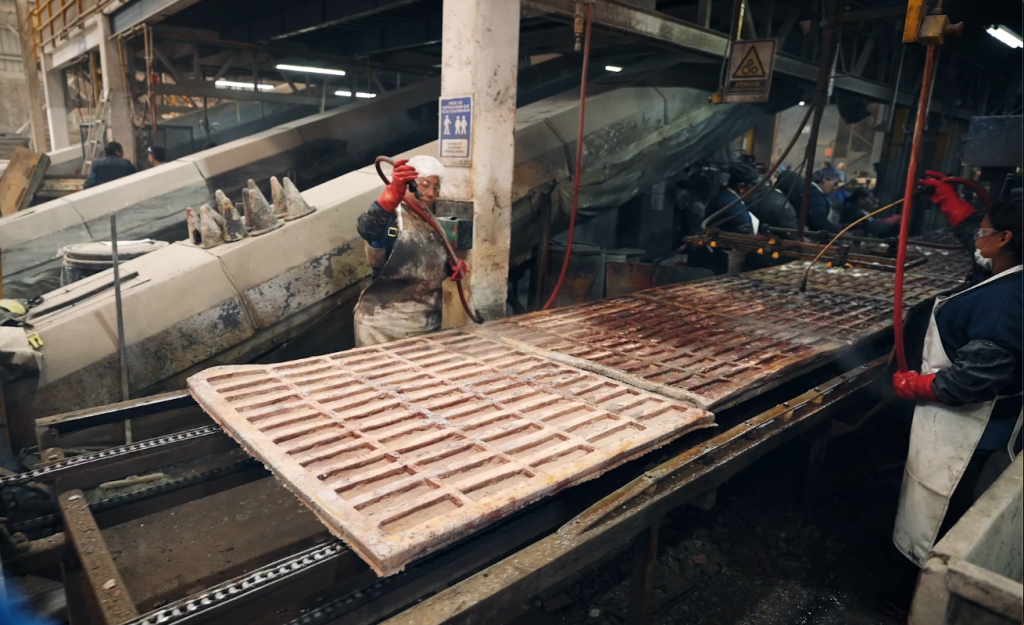
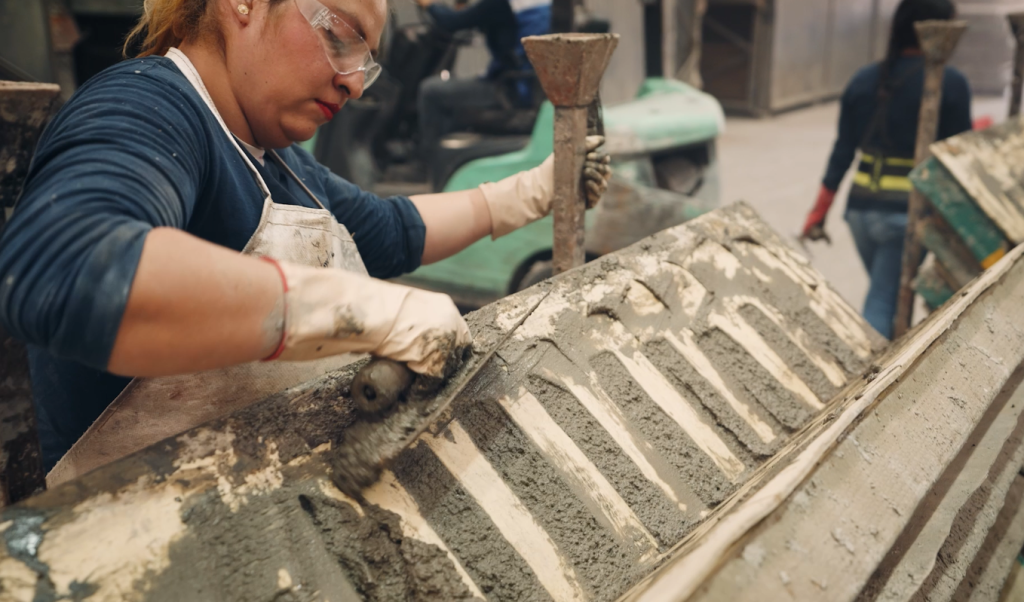
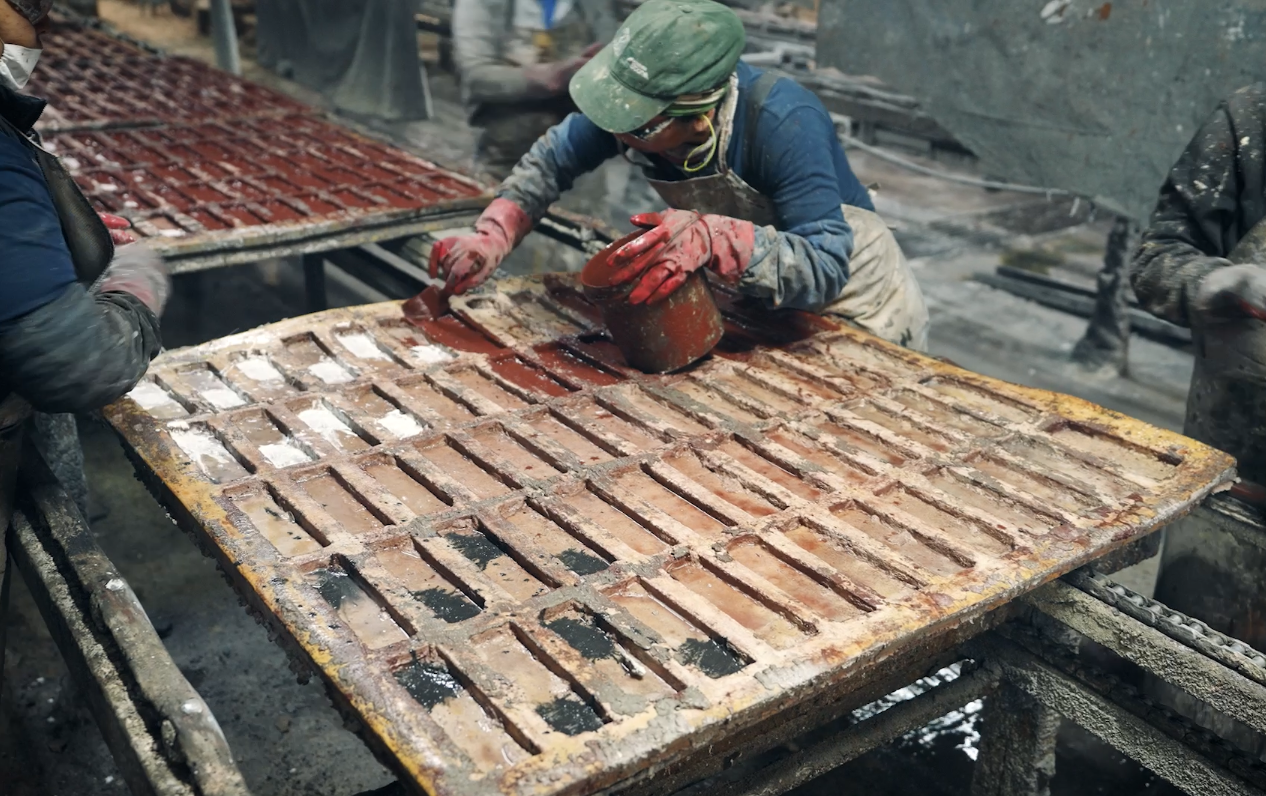
Every piece of manufactured stone veneer starts with a mold. Using hand-selected pieces of natural stone, artisans create rubber or latex molds that capture every detail—ridges, textures, cracks, and veining. This step is essential to achieve the authentic look of real stone, which is a major selling point for discerning homeowners.
Step 2: The Mix – Blending Raw Materials for Strength and Beauty

Once the molds are ready, it’s time to create the stone mix. The blend usually includes:

  • Cement (for strength and durability)
  • Lightweight aggregates (to reduce weight)
  • Iron oxide pigments (to produce realistic colors)
  • Additives (to control curing time and surface quality)

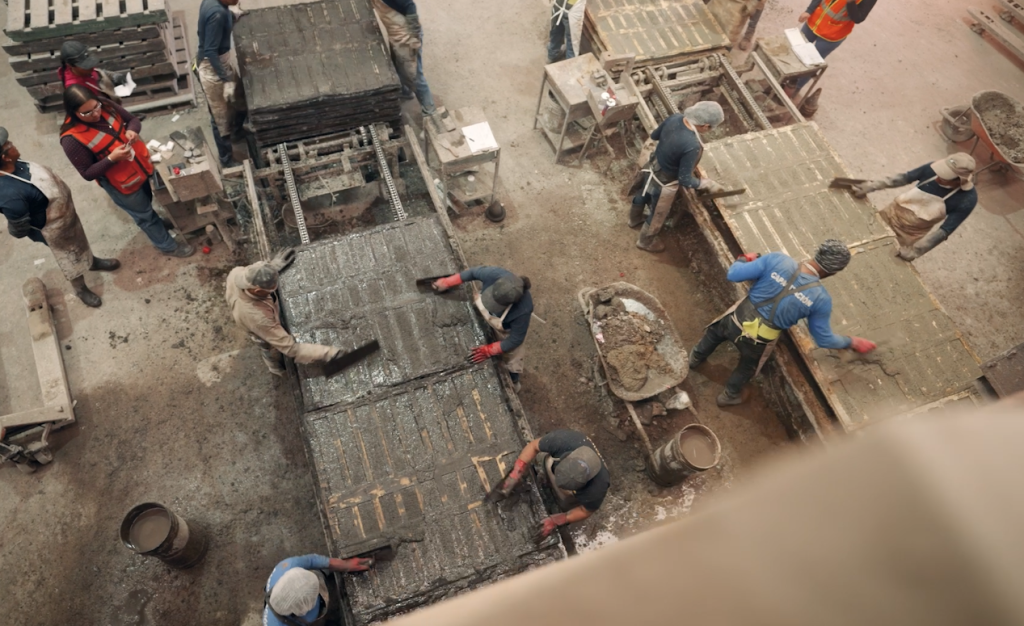
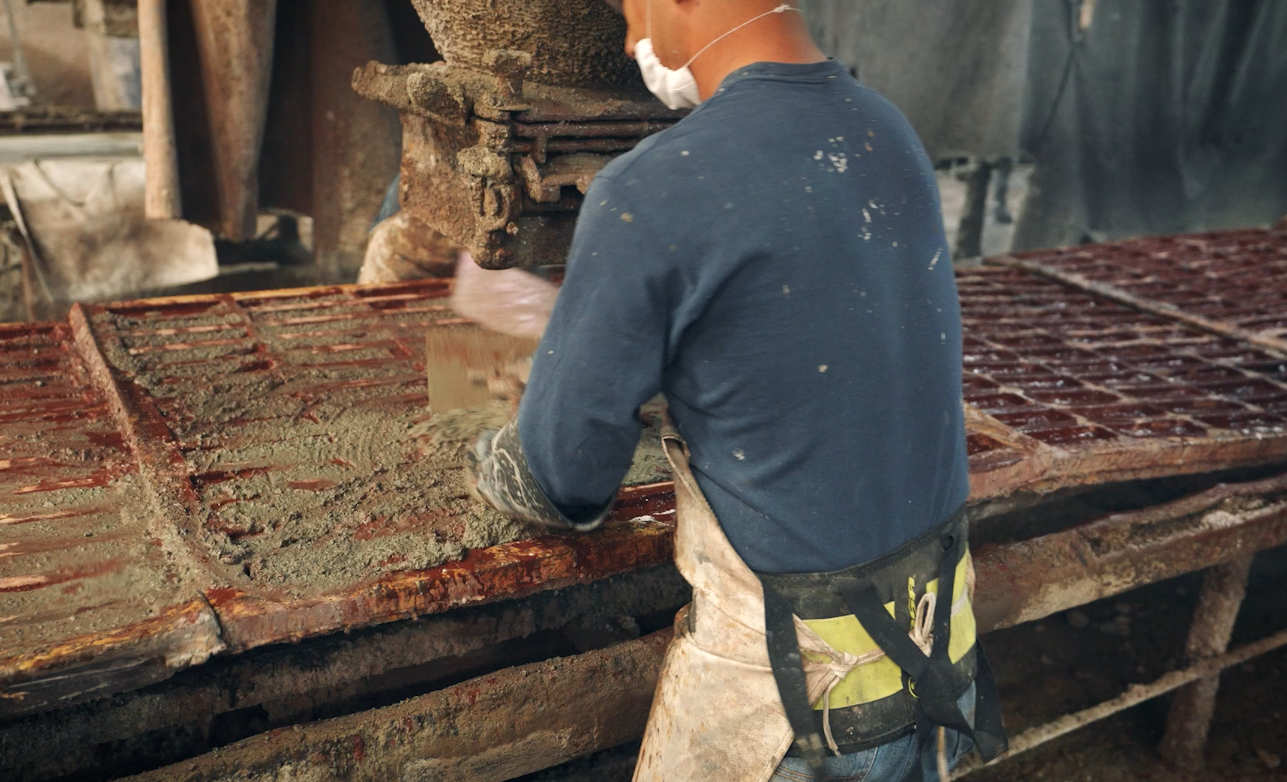
The resulting slurry is poured into the molds and vibrated to eliminate air pockets.

Step 3: Coloring – Bringing Stone to Life

Pigments are added throughout the mix, not just on the surface. This ensures that the color runs through the veneer, increasing fade resistance and realism. Some pieces may also receive hand-painted surface coloring for added variation and depth.

The use of iron oxide pigments to mimic natural stone shades allows manufactures like Toro Stone® to offer a wide range of styles from limestone to fieldstone to ledge stone.

Step 4: Curing – Strength Through Controlled Conditions

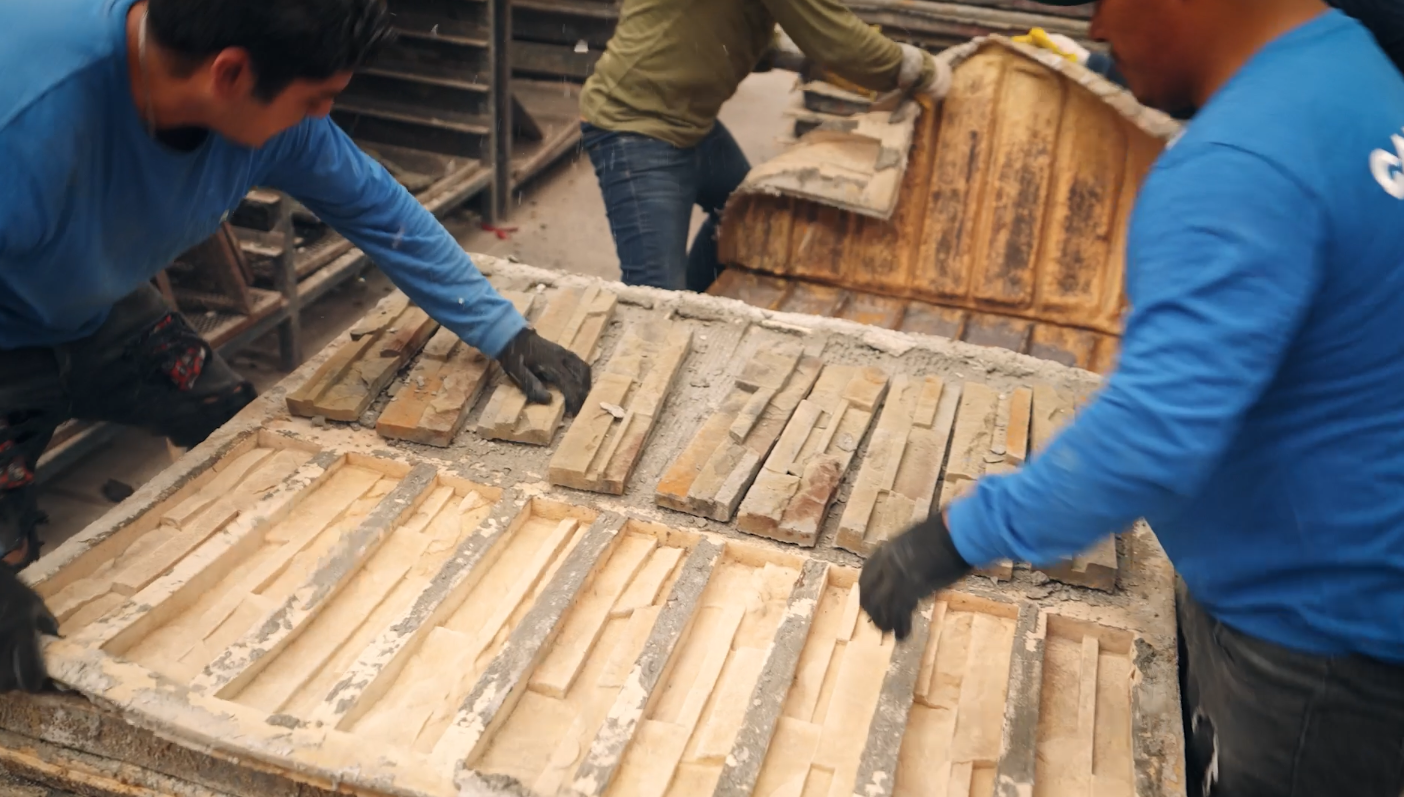
After molding, the pieces are sent to a controlled curing environment. Here, temperature and humidity are carefully regulated to ensure the stone veneer develops its full strength without cracking or warping.

This step is critical to creating a product that performs in all climates and can withstand freeze-thaw cycles, UV exposure, and other environmental stresses.

Step 5: Quality Control – Inspection and Testing

Before being packaged and shipped, every batch undergoes rigorous quality control inspections. This includes:

  • Visual inspections for surface defects
  • Dimensional checks for consistency
  • Strength and color testing

Toro Stone® also adheres to ASTM C1670 standards for manufactured stone veneer, providing peace of mind to builders, architects, and stone masons.

Step 6: Packaging and Shipping – From Plant to Project Site

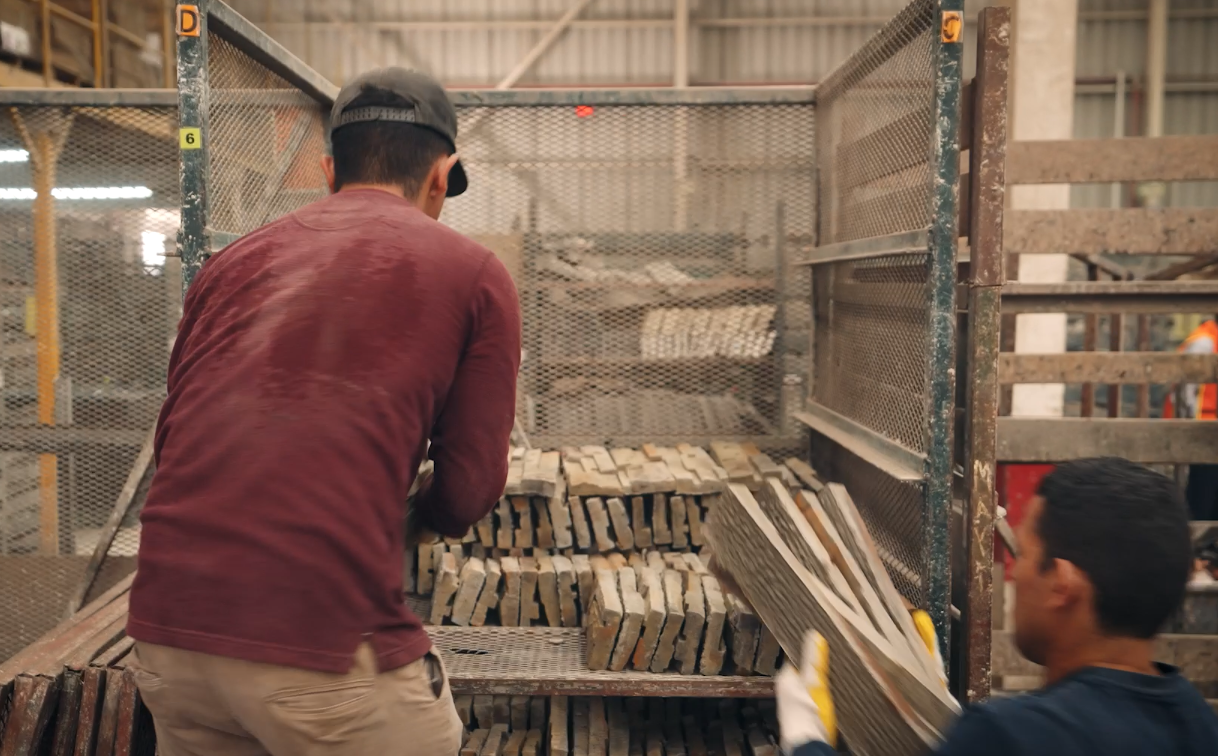
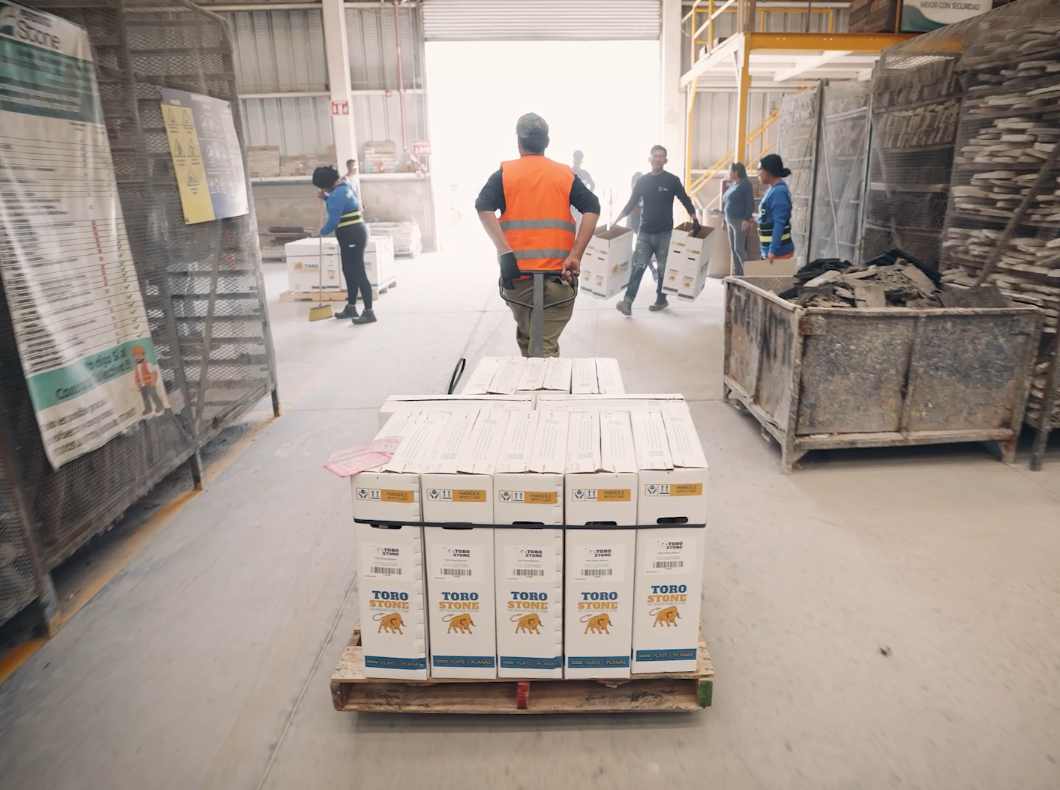
Once approved, the pieces are packaged securely and labeled by product type and color. Their lightweight nature makes them easy to transport and install, reducing shipping costs and labor strain on job sites.

Step 7: Installation – From Skilled Hands to Finished Walls

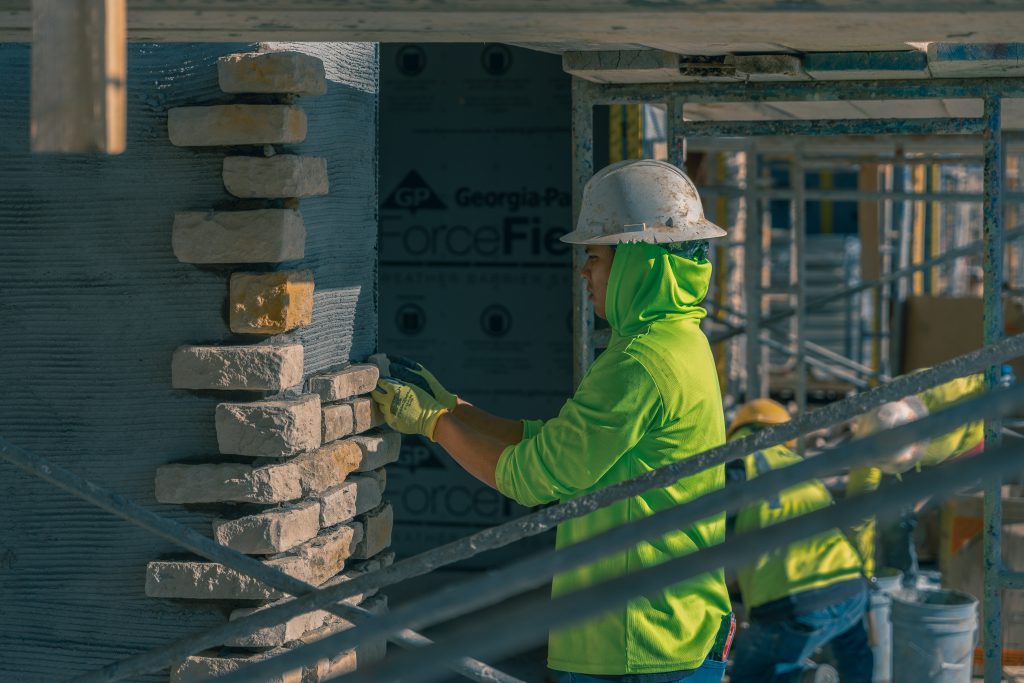
At the job site, masons and contractors install the product using industry-standard methods, including:

  • Metal lath and scratch coat for proper adhesion
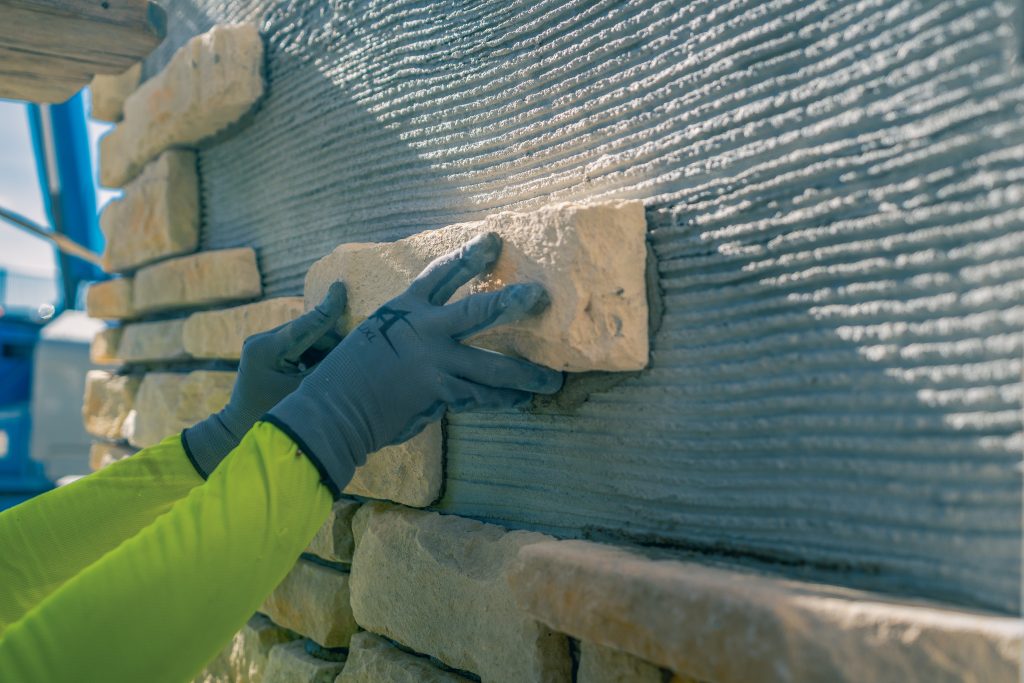
  • Mortar application for joints or seamless dry-stack installs
  • Sealing (optional, depending on exposure)

Manufactured stone veneer is ideal for everything from exterior facades to interior accent walls, fireplaces, columns, and entryways. It provides the charm of natural stone without the structural limitations.

Conclusion: Engineered for Beauty, Designed to Last

The manufacturing process behind stone veneer is equal parts science and craftsmanship. By following this rigorous process—from mold creation to final inspection—companies like Toro Stone® produce materials that meet the highest standards of aesthetics, durability, and sustainability.

Whether you’re a homeowner planning a remodel or a mason choosing a product line, understanding this journey helps you appreciate why manufactured stone veneer is such a smart and stylish investment.

The Do’s and Don’ts of Caring for and Cleaning Your Natural Stone Products 

The Do’s and Don’ts of Caring for and Cleaning Your Natural Stone Products 

Published:

Last Updated:

Author:

You decided to get beautiful, natural stone products on and around your home. Now how do you keep them clean?

You decided to get beautiful, natural stone products on and around your home. Now how do you keep them clean?

You may already know that natural stone is one of the most durable products on earth because it comes from the earth. If you have natural stone veneers or Aura natural stone landscaping products, here are some tips for care and maintenance.

Keep It Simple to Clean Natural Stone

We consulted Instone’s Territory Sales Manager and A-Team member, Jake Alicandro, to find the best ways to care for your natural stone. He says just ol’ soap and water will usually do the trick.

“I always recommend starting slow, and if you need something a little more aggressive, going up from there,” Alicandro says. You can use any type of mild soap detergent, such as dish or hand soap, and mix it with a little water. Wet the stone first, and then use a bristle brush and soap solution to wipe the stone clean.  

The last step is to make sure you rinse thoroughly. “You don’t want to leave any cleaner on there because once it dries up, it can cause hazing on the stone,” he says.

What Not to Do

Alicandro said maintaining natural stone is pretty straightforward. “It’s more a matter of what not to do than what to do,” he says. One big “don’t” to remember is, never use a product with acid, particularly muriatic acid, in it.
“I’ve been to multiple job sites where people put it on, and it literally burns the stone,” says Alicandro. “It turns it brown, like rust spots on granite or any light-colored stone. After spending all this money on getting beautiful natural stone, you don’t want to ruin it.”

He also advises people to steer clear of sealing natural stone. “Natural stone is as tough as it possibly gets. It’s much tougher than a manufactured stone. If you have a patio made of concrete, I’d recommend using a sealer,” says Alicandro. “But for natural stone, I would not recommend using it. You don’t need it, and it can cause problems with the stone.”

Bring on the Power

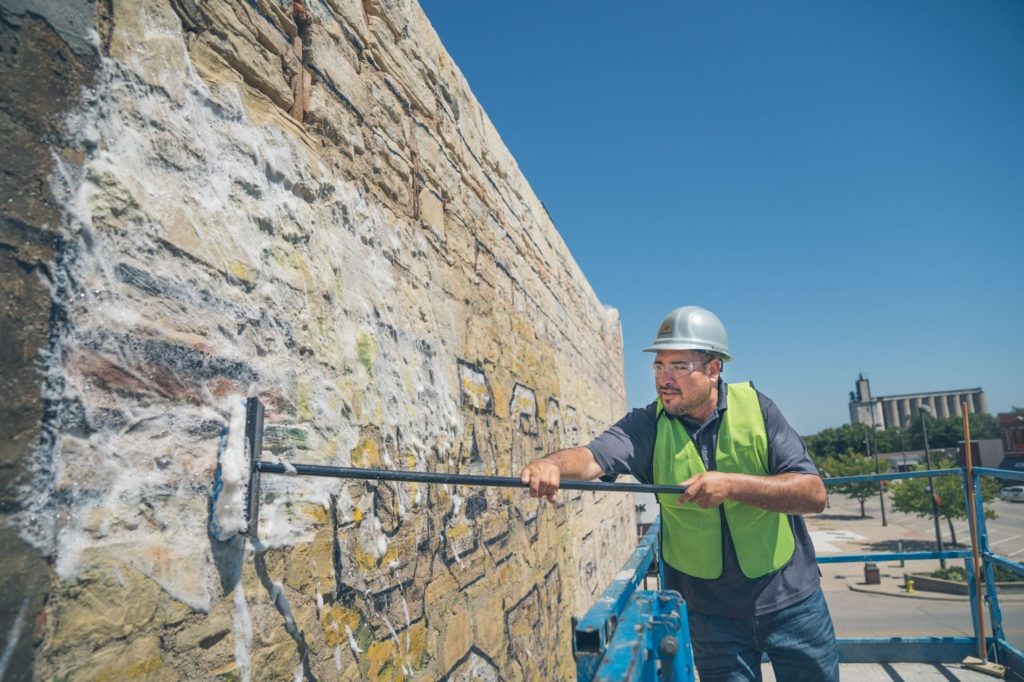
If you need something a little stronger, Alicandro says you can use a power washer to clean natural stone. He says there are two things to watch out for: One is to be cautious of any joints between the stones that are filled with polymeric sand.

“Stay away from that with the power washer because it can cause it to come out,” says Alicandro.

He also warns about the sheer force of your power washer and not to put yourself or anyone else in the path of the stream. “If you put your finger in front of a power washer, that thing will rip your skin open—unfortunately, I know that from experience.”

Conquering Stains, Moss and Efflorescence

Alicandro says there are three issues to look for that require specialized cleaning products beyond soap and water.

The most common issue is staining from food around outdoor kitchens or dining areas. Grease and oil stains are common when cooking and serving food over stone veneers and Aura pavers. Alicandro recommends cleaners such as  Prosoco Restoration Cleaner.

“Restoration cleaners aren’t overly aggressive. They won’t damage the stone.“ There are several different restoration cleaners, so be sure to check to make sure it can be used on your type of stone.

Another issue to watch for is moss and mildew; for that you can use organic cleaners. 

Lastly, an uncommon issue worth noting is efflorescence that can form when moisture is underneath or behind a stone.  

“It can cause a white calcium to come out on the top surface of it and make the stone look streaky,” Alicandro says. For that, he recommends efflorescence cleaners. “You use it by diluting the product, putting it on the stone, and it’ll take off the white, calcium substance,” he says.

Natural stone is an investment worth making, not only for the beauty of the look on your home but also for the easy upkeep, thanks to its durability. With some simple care and maintenance, you can keep your stone veneers and landscaping looking good for years to come.

Summer is the Perfect Time for a Pizza Party with the ISO’ven

Summer is the Perfect Time for a Pizza Party with the ISO’ven

Published:

Last Updated:

Author:

Pizza recipes, cooking tips and more
from our resident pizza experts!

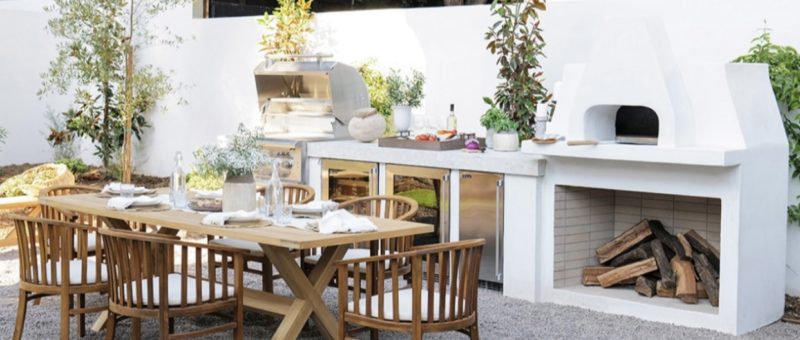
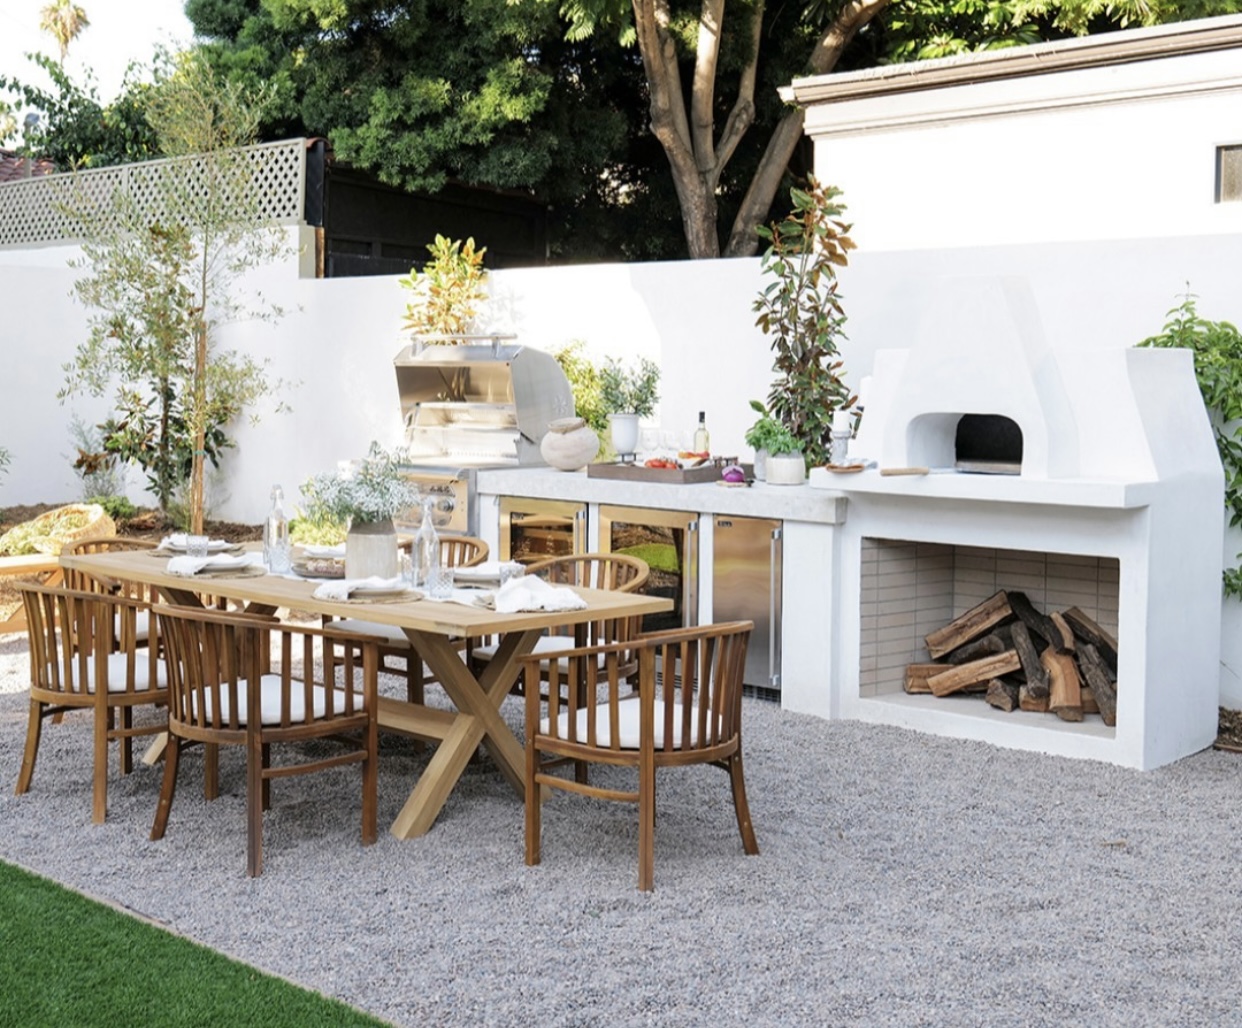
Give your outdoor kitchen a fun upgrade – just in time for outdoor summer parties.  If you want a knockout addition to your back patio space for entertaining friends and family, an outdoor pizza oven is the perfect choice! Here’s what you should know about having a pizza oven:

The Difference is In the Taste

Isokern, the maker of high-end fireplaces, offers the ISO’ven Outdoor Wood Burning Oven, for making pizza and other dishes over a wood burning flame. What makes cooking in the ISO’ven different from your regular indoor oven is the taste.

“The wood-flamed cooking experience is outstanding,” says Instone’s President and CEO, Kevin Grotke, who uses his ISO’ven on a regular basis. “We cook pizzas and do cooking in cast iron skillets to finish off dishes such as macaroni and cheese, lasagna, roast, bullion sauces and red sauces. The richness of flavor from the wood cooking is amazing and so unique. You can make the kind of pizza you would get at a high-end pizzeria in your own backyard.”

The Entertainment Value Alone is Worth It

An outdoor wood-burning pizza oven creates an entire experience for you and your guests.

“It’s a really fun appliance to have,” says Grotke. “It’s a whole event to build the fire, keep the fire going, managing the heat, making the pizza, turning the pizza in the oven while it cooks.”

Not only does the experience set an outdoor oven apart from an indoor oven, but the pizzas cook very quickly – about four minutes when the oven is up to full heat, which is between 750 and 900 degrees as opposed to a conventional indoor oven that maxes out at 500 degrees. 

Building the fire and getting it up to full heat is a ritual in itself, which takes about an hour. It’s the perfect time for a pre-meal happy hour!

Because the fire is in the back of the oven, turning the pizza to cook it evenly becomes an interactive activity that adds to the fun. Since the pizza cooks quickly, guests can make their own individual pizzas and have them ready at about the same time. That’s definitely a pizza party in the making!

Easy Installation

Grotke says the ISO’ven is relatively easy to install because it comes in components. “A medium-skilled DIYer could do it themselves in a couple of hours. Then you would add the stone veneers or whatever finish for the look you want.” He says outdoor cooking and entertaining has definitely become more popular over the last few years. A pizza oven in your backyard can provide a fun focal point for your next party.

 Wood Burn or Gas Starter – Your Choice

While the ISO’ven is intended to burn solid wood fuel, a gas starter is also available. We recommend using cherry, applewood or hickory wood for added flavor.

How to Make a Great Pizza

Our resident pizza expert at Instone, CIO Jim Palatine, offered some tips and recipes for making a great pizza. He says he got into making pizza when he saw a shop that made beautiful granite slabs and decided to have a pizza stone made for himself and to give away to friends. He started experimenting with making pizzas at home and trying recipes from what he refers to as the ultimate pizza recipe book: “The Pizza Bible: The World’s Favorite Pizza Styles.”

He shares some of his best pizza making tips:

The Key to Great Pizza Crust

“The difference between run-of-the-mill pizza and extraordinary pizza comes down to the dough,” says Palatine. “You really want dough that’s been fermented for three days in the refrigerator.  You can make it with any recipe or buy it frozen. Just make sure it is pizza dough, not bread dough. Then put it in the refrigerator and cover it with a film wrap and let it sit for three days. That will give you a really nice elastic texture and it’s easier to make a nice round pizza crust that will have a nice chewy and nutty taste to it. It’s a real game changer.”

Typically, dough is sold in one-pound balls.  Cut the ball in half and make two smaller half-pound balls.  Separate them on a plate dusted with flour, and loosely cover with a plastic bag or anything else so the surface doesn’t dry out.  Leave out at room temperature for at least an hour prior to making pizza.

The Key to Using Ingredients

“Less is more—and use good quality,” Palatine advises. “People often tend to put too much sauce and too many ingredients on a pizza. When you put the sauce on, spread it very thin and sprinkle the other ingredients on. Always use good quality ingredients. If you use mozzarella cheese, use whole milk, don’t skimp with low fat. Get good pepperoni in a natural casing and don’t slice it too thin.”

Some of Jim Palatine’s Favorite Recipes

TIP: Use either corn meal or “Wondra” brand flour, between the pizza peel and the pizza. This enables the dough to slide off pizza peel when putting it into a hot oven.

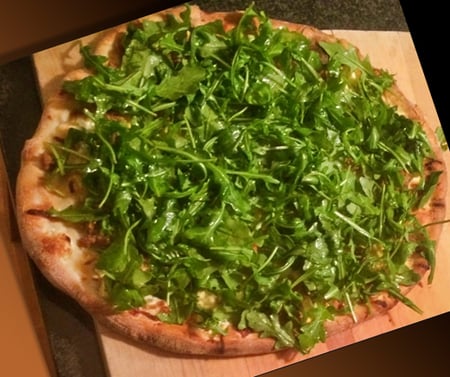
Cheese, Pancetta and Arugula White Pizza (The Palatine Pizza)

  • Have the raw dough in front of you.
  • Put a little bit of extra virgin olive oil and minced garlic down.
  • Add a light coating of shredded mozzarella cheese. Then sprinkle a little feta or goat’s milk cheese.
  • Sprinkle some matchstick slices of pancetta.
  • Cook in the oven until brown and crispy.
  • Dress a bowl of arugula lightly with olive oil and red wine vinegar; put it on top of the hot pizza and let set.

Cheese and Sausage

  • Have the raw dough in front of you.
  • Put down a thin layer of tomato sauce (canned tomatoes in a food processor with salt, pepper and olive oil).
  • Add a light coating of mozzarella cheese.
  • Cut uncased Italian sausage into dime-sized pieces and sprinkle on top.

Cheese and Onion

  • Have the raw dough in front of you.
  • Add a light coating of mozzarella cheese.
  • Add goat’s milk cheese.
  • Sauté onions with a little bit of sugar until brown.
  • Sauté mushrooms.
  • Sprinkle the dough with the onions and mushrooms then drizzle with truffle oil.

TIP: Use cherry, applewood or hickory wood in your wood-burning oven for added flavor.

To learn more about the Isokern ISO’ven Outdoor Wood-Burning Oven, visit the Isokern page on the Instone website.

What’s your favorite pizza recipe?

We want to try it! Send your recipes to the Instone team by filling out the form below!

Instone Presents: InBuilding Design A New Online Show For Pros and the DIYers

Instone Presents: InBuilding Design A New Online Show For Pros and the DIYers

Published:

Last Updated:

Author:

At Instone, we sell rocks. But what does that mean? If you’ve ever wondered, then we have a show for you!

Instone introduces the InBuilding Design Series, a new show that gives you a backstage look at Instone’s products and hot tips for installation for both professionals and at-home do-it-yourselfers (DIY). Plus, there is some fun trivia and we have friendly competitions between the Instone team and their expert guests.

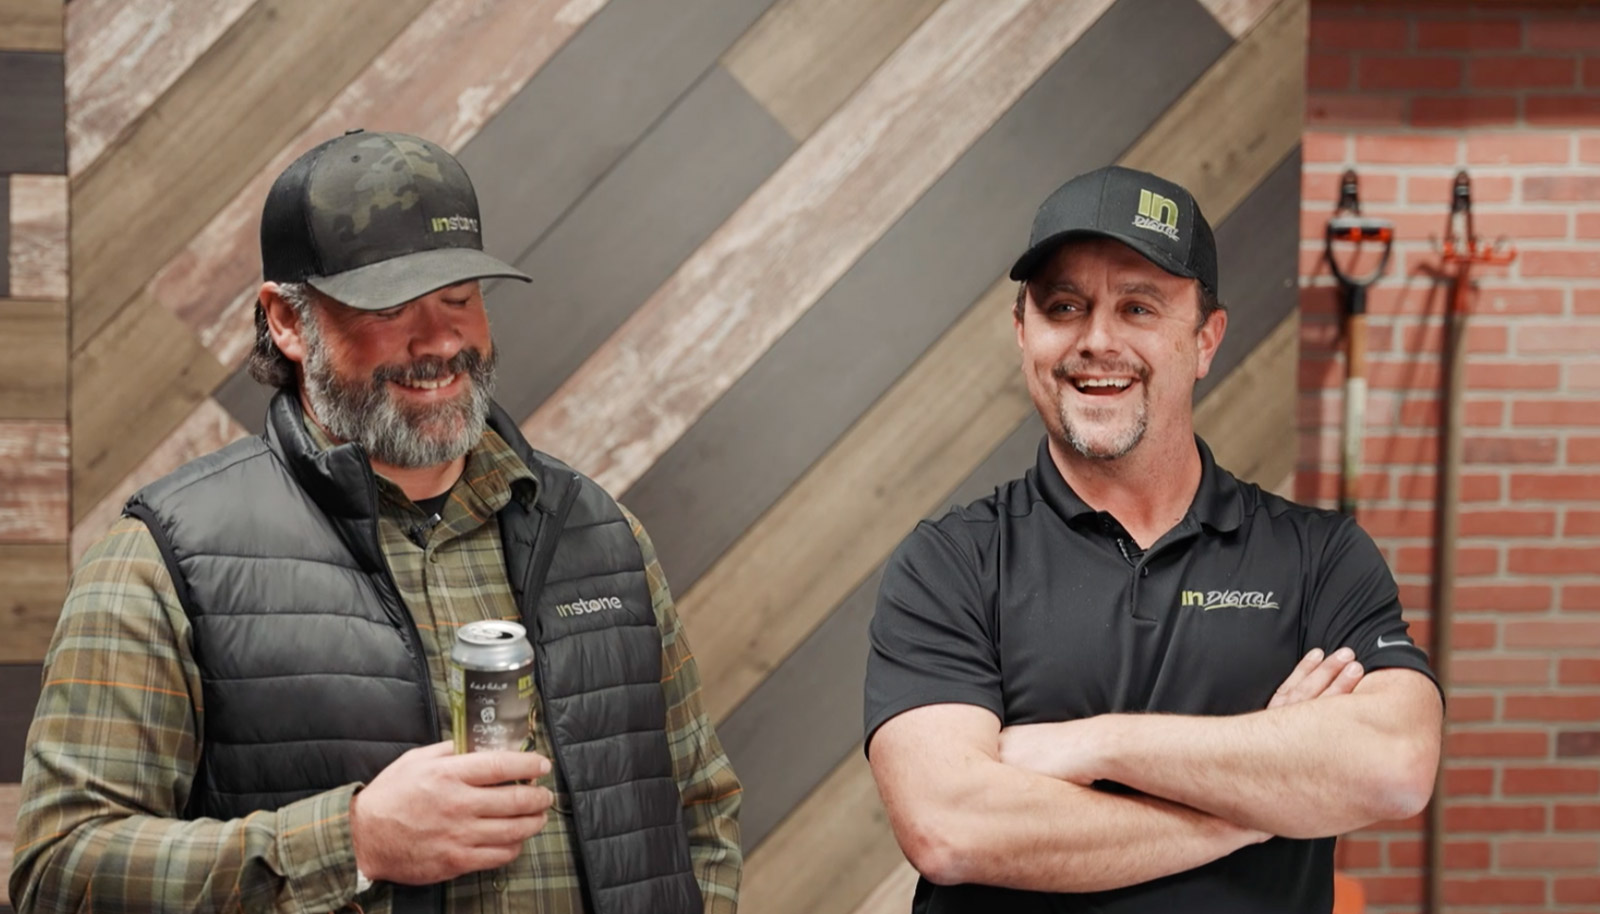
Launching June 23, the show stars Instone’s COO, CMO Rob McKay, as our resident pro, and Video Producer Ken Czechanski as the “new guy” asking the questions you might have been afraid to ask. 

The show’s format is similar to a relaxed afternoon out in the garage sharing a beer with some neighbors.

“At Instone, people always ask what we do for a living, and sometimes it’s hard to explain without getting too technical,” says McKay. “People don’t typically see our type of product in Home Depot like they do paint and flooring. Our goal is to talk about the products in a casual, friendly way over a couple of drinks and demystify the whole thing.”

The show will focus on a separate product for each of the upcoming nine episodes. They also bring in an expert on that product.

“The idea is to provide education, but also keep it light, so it’s entertaining,” says McKay. Guests participate in games, knowledge tests and various challenges around the product. Will they rise to the challenge? You’ll have to tune in to find out! 

The show is designed to appeal to both the professional and the DIYer by providing information about Instone’s products and just being a fun show to watch.

“This isn’t a corporate training video,” says McKay, “The professionals don’t really need training, but they will walk away possibly having learned something about the product they didn’t know—and it’ll be entertaining.”

For Czechanski’s role as “the new guy,” he represents the curious neighbor who might want to know if they could use an Instone product in their DIY project. “I speak for the guy who might be wondering, ‘can I do this myself?'” says Czechanski. “I’m there to fill in the gaps for people who may not understand everything and make sure they say it in layman’s terms.” Czechanski also brings in the comedic element. “I’m an improviser, so I’m used to looking at things differently. I like to bring out who the guests are as people. There’s some good-natured ribbing going on.”

Whether you’re a professional or a homeowner DIYer, the InBuilding Design Series has something for you.

“Ultimately, I want to make the products more accessible for people,” says Czechanski. “I want them to feel more confident about using the products because if I can figure it out in the 15 minutes of the show, then there is hope for everyone!”

And while you’re getting to know Instone’s products, here are some fun facts about the team:

Rob McKay’s Fun Fact: He was Santa Claus and the Easter bunny in his local shopping mall for four years. People lined up and waited for an hour to see him. And he has the photos to prove it!

Ken Czechanski’s Fun Fact: He can sing! We just may ask him to show off those pipes on a future episode!

So crack open a cold one and sit back and enjoy InBuilding Design with your friendly Instone team!

Instone Presents Isokern Fireplace Training

Instone Presents Isokern Fireplace Training

Published:

Last Updated:

Author:

Are you a dealer or sales representative who would like to add Isokern fireplaces to your next quote but you just don’t feel comfortable selling it? Then Instone has your solution!

We offered complimentary training live-streamed on Thursday, June 16 10 a.m. CT / 11 a.m. ET for you to learn everything there is to know about Isokern fireplaces and accessories so you can sell them with confidence.

Together, Rob McKay, Chris Miller and Samantha Espino demystify the process of putting together a complete Isokern system and make you more confident talking about the features and benefits of an Isokern over a traditional fireplace. 

“We’re trying to make the product more familiar,” says McKay. “Our sales reps say, ‘It’s a fireplace, I don’t want to say the wrong thing.’ But they shouldn’t be scared of it. It’s pretty straightforward and we’ll show them how.”

What Is Isokern?

If you don’t know about Isokern fireplaces, they: 

  • Are made from Icelandic volcanic pumice, the most energy-efficient material on earth, which has incredible refractive properties, reflecting heat into the room instead of absorbing it like other site-built concrete, metal, and masonry fireplaces.  They will last a lifetime.
  • Can be installed in less than a day.
  • Are less expensive than traditional masonry fireplaces.
  • Are available in wood-burning and gas, vented and vent-free.
  • Can be set up indoors or outdoors.
  • Come with complementary products like firebrick/fireplace stone, flues, and Isoset mortar.
  • Come in different design styles.

Think of the ways you could add this onto orders for new home construction and additions happening this summer. If you’re selling stone veneer, you can easily add on a fireplace. “It adds more value for you and your customer,” says McKay.  It’s a win-win!

The Training Features Three Segments:

An overview – What are Isokern fireplaces? What are they made of? What are their key selling points?

Competitive analysis – How do Isokern fireplaces compare to similar products on the market and what makes them better?

Quoting how-to – A walk-through of how to work with a blueprint of a home, what measurements to take, and how to put together a quote for a customer.

McKay says this new livestream approach to Instone University training makes it instantly accessible to their sellers and dealers. In addition, the training session will be recorded and available for playback on Instone’s website. “We used to go to a lot of locations and do live training, but a lot of times people forget what they heard. This way, they get the live experience but they can also go back and watch it for things they might have missed or forgotten.”

And of course, it wouldn’t be Instone without the friendly and welcoming attitude they are known for. “We’re very professional, but we’re not buttoned-up,” says McKay. “We’re proud of being the best at what we do, but we also keep it open and very natural. It’s casual in the sense that you can come to us and ask any questions.”

The goal is to establish Instone as a resource for dealers and sales representatives to get to know the product offerings and the best way to sell them so they can better serve their customers. As McKay says, “We want to be the knowledge center of all the products we sell from the product basics to the installation.”

Learn more about
Isokern Fireplaces

Avoid Stone Veneer Failures: Get up to Speed on Building Code Requirements for Rainscreen

Avoid Stone Veneer Failures: Get up to Speed on Building Code Requirements for Rainscreen

Published:

Last Updated:

Author:

For a contractor living in the Eastern half of the U.S. or along the West Coast states, you know the issues you can have with moisture getting into your projects. Rain and humidity can wreak havoc on stone veneers when any bit of moisture settles in behind the masonry and causes a leak or mold situation.

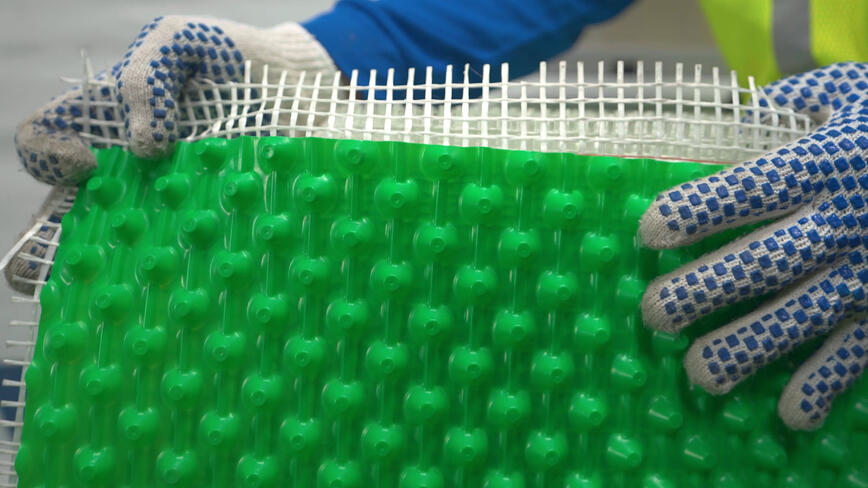
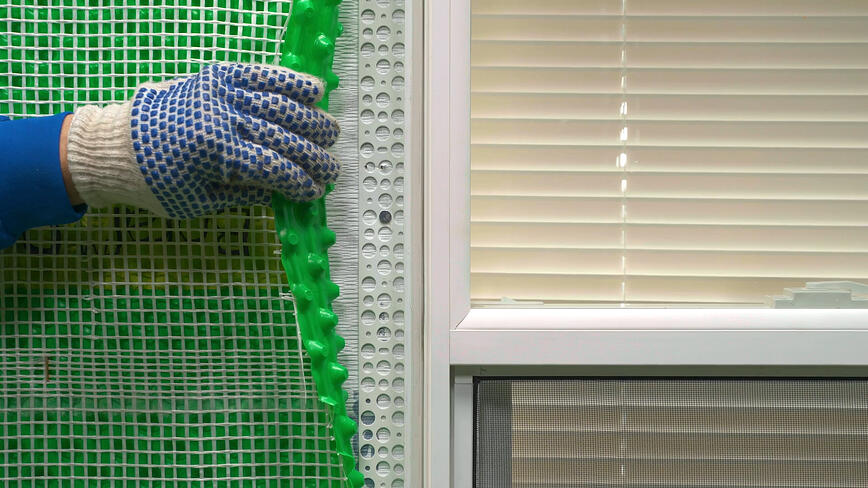
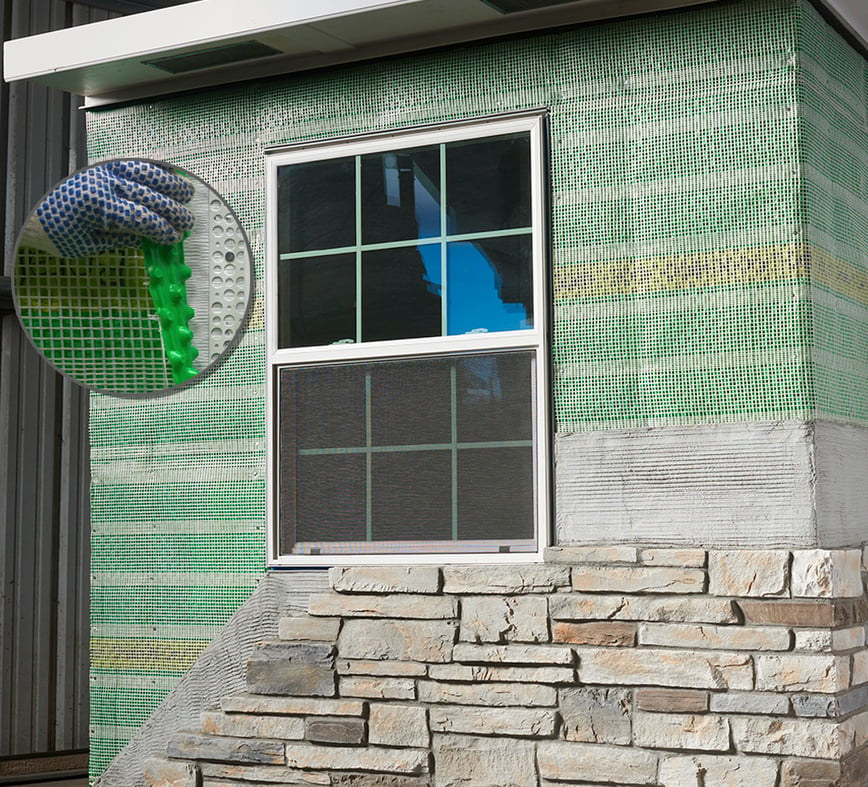
For that reason, the International Building Code passed a requirement for the incorporation of a drainage plane behind stone systems. Frequently referred to as “rainscreen,” this space or drainage material needs to be no less than 3/16 inch depth behind the stone. Rainscreens are available in a range of materials including entangled mesh and plastic or foam products with drainage avenues.

Dell Nolt, field service representative of Westlake Royal Stone Solutions recently provided an educational workshop to professional contractors in order to educate them on this new requirement. He covered the official code, where contractors can find its official language, why it’s important, the materials on the market that are compliant with the code and how to install it.

According to the code, adhered masonry veneer will follow the 2018 Section R703.12​. Its installation will refer to the 2021 Exterior Plaster section:​

  • R703.71—installation of lath and all accessories​
  • R703.7.3—water-resistive barrier including a rain screen drainage space

Best practices to achieve this rainscreen include:

  •     Sheathing​
  •     WRB​
  •     Drainage medium​
  •     Mortar screen/WRB​
  •     Lath​
  •     Scratch coat​
  •     ACMV.

Nolt says there is often a lack of education in the industry when a new code requirement comes out. Contractors just aren’t hearing about it. He hopes Westlake Royal Stone Solutions can be a resource, informing the industry on how to stay compliant with installations.

“We’re trying to help you protect your business so you can utilize this information and pass it on to your clients,” Nolt explains. “As an industry, we want to make sure we’re doing the best thing for our clients so they can enjoy the longevity of the product and it performs as it’s designed to.”

He adds that it’s not hard to understand the logic behind the code. “If you Google stone veneer failure, it doesn’t take long to see a lot of horror stories about drainage issues and stone systems that have leaked for various reasons. We need great moisture management behind these systems to prevent bulk water intrusion or any other capillary failure that results from moisture getting trapped behind the stone system. It eliminates the potential for mold remediation or leak remediation.”

Moisture management is not something new. Nolt says that most contractors are already doing exactly what the code requires and the code is really just catching up with the science that’s been around for a while. “It’s not just unique to stone veneer. If you’re in the exterior cladding business, whether that be stone, cement, board siding or other types of veneer, moisture management is super important,” he says. “The code just makes sure that the industry addresses it from a universal standpoint.”

While this new International Building Code came out in 2021, Nolt says there is always some lag time in the adoption process.  Pennsylvania was the first state to adopt the process but it’s required in all states that fall into the moisture zones on the climate map. This is Moist Climate A, which includes the Eastern half of the U.S. via a line split down Minnesota through the center of Texas and Marine Climate Zone C, which runs along the West Coast and Pacific Northwest including Washington and the California coast. The only states not requiring this code are in Dry Climate Zone B, which includes Nevada and Colorado.

While adding an extra step is not something contractors always want to hear, Nolt says it’s not really that much additional work or monetary inconvenience. “We’re talking about an ancillary type of product. The cost is not significant; it’s really just a few cents on a square foot. The significant cost comes if there is a failure of the product if moisture gets in. So this is really a kind of cheap form of insurance to prevent that.”

There are already products on the market to help contractors address the code and with the new requirement, Dells predicts more products will become available as the demand increases. One product already available is made by Cultured Stone, called Drain-N-Dry™, a pre-rainscreen material that provides moisture drainage, and it has an added feature many others do not provide.

“It has some technology behind it to address air circulation behind the wall system. It creates some airflow to become a ventilated type of system for moisture drainage,” Nolt explains.

For contractors looking for information or solutions to comply with the code requirement, they can contact Instone.

As the old saying goes: An ounce of prevention is worth a pound of cure.” By adhering to the code and adding a rainscreen to stone veneer projects, it helps the industry as a whole ensure against moisture damage and have many happy customers with beautiful stonework on their homes and commercial properties for years to come.

Boost Your Home’s Value with Pangaea® Natural Stone for Added Curb Appeal

Boost Your Home’s Value with Pangaea® Natural Stone for Added Curb Appeal

Published:

Last Updated:

Author:

Curb appeal. We’ve all heard about it, but how do you get it and what’s the best way to increase curb appeal while getting a great return on investment when you decide to sell? The front of your house greets guests and passers-by alike. Its appearance can turn heads or make heads shake. Your house’s exterior beauty, or “curb appeal”, is one of the biggest factors that determine your home’s value and street cred.

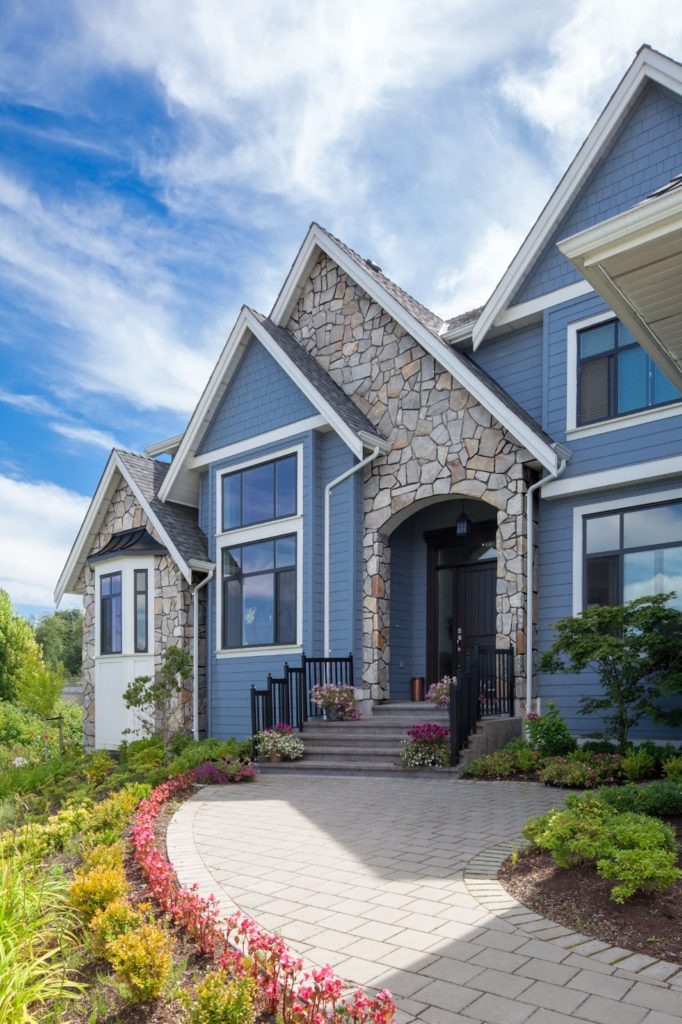
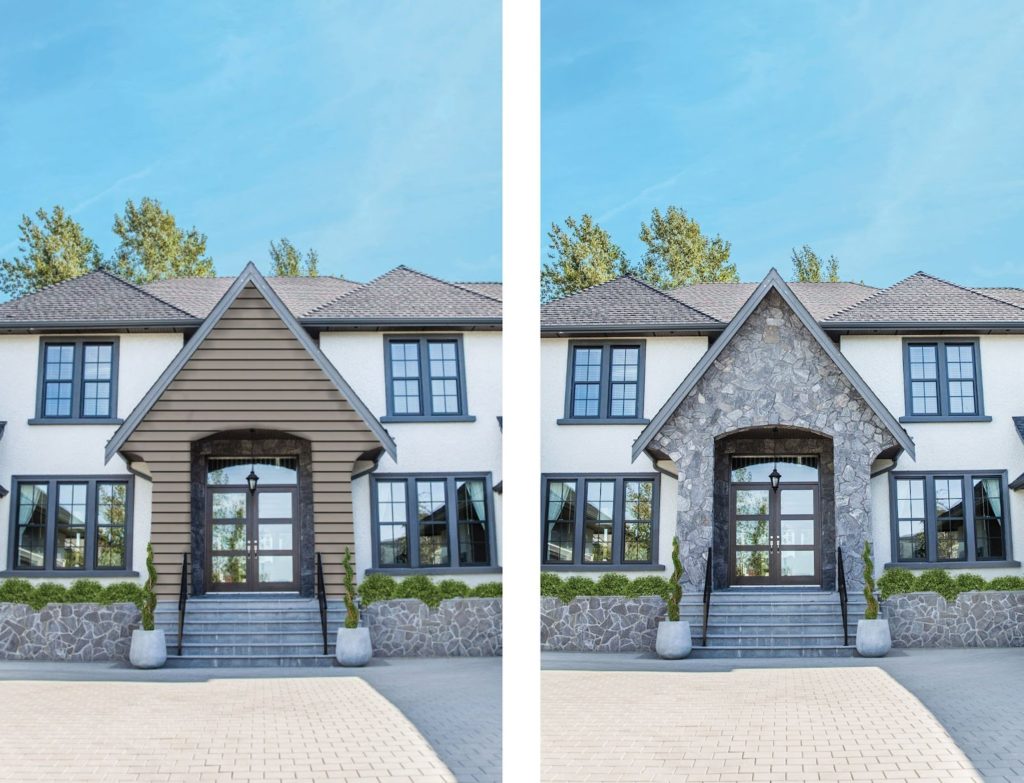
A home’s entrance featuring Pangaea® Cambrian Fieldstone.

Curb appeal is especially important for those considering selling or being compliant with homeowners’ association maintenance regulations. It also plays an important role in just being a responsible neighbor, keeping the neighborhood looking nice, and raising property values.

For a quick and easy way to boost your home’s curb appeal, let us introduce you to natural stone veneer. Our Pangaea ® veneer can instantly add an attractive finish to a home’s entryway, siding, walls and columns. It is made from real stone, cut thin and designed to be affixed to vertical surfaces, giving the appearance of full-bed stones.

What a difference one choice makes. WestCoast® Fieldstone makes the entry stand out!

We spoke with Andrew Everleigh of Environmental Pools, who has completed dozens of home improvement and masonry projects using Pangaea® stone to enhance a home’s appearance. He said one of the biggest reasons to go with Pangaea® was the look of the stone. “The way the stones are cut and the tightness of how they look together. I get a lot of feedback on how people like the simple, modern look that Pangaea® gives them.”

He says the quality is also a benefit, “There’s a lot of thin veneer out there. If someone is looking for a high-end stone veneer, Pangaea® is it.”

The Difference Between Natural Stone and Manufactured Stone

While it may be hard to detect by the untrained eye, there is a difference between natural stone veneer and manufactured (aka cultured) stone. Natural stone comes from Mother Nature herself, quarried from the earth and thinly sliced to make a veneer instead of using a full-bed stone. Because it’s created by nature, it’s naturally sustainable, can withstand weather conditions and gives a unique appearance with textures and tonal variations that look aesthetically beautiful.

Manufactured or cultured stone is man-made and designed to mimic natural stone in appearance. It is usually made of concrete and aggregate materials and is stained or painted to look like natural stone colors. Therefore, it may not be as durable as natural stone and can fade or erode over time or in harsh weather conditions.

The difference may be in cost. While cultured stone may appear to be lower cost upfront because it’s not as durable, it may need to be replaced down the road. Because natural stone is made to last by the earth, the value is in its durability. However, Pangaea® natural stone veneers are comparably priced to cultured stone right at purchase, so it’s a win-win!

How to Use Pangaea® Natural Stone Veneers on Your Home

Everleigh and his team often use Pangaea® for applications where they are not able to do a full-set or full-bed stone; it provides a lighter weight, sleeker finish than bigger stones. It’s also more cost-effective to use veneers versus full-bed stones. While Pangaea® comes in a number of finishes, he said his team uses a lot of Ledgestone and Ashlar and sometimes will mix it with Castlestone for a unique look.

For a homeowner who’s been looking at their same house for a number of years, sometimes it’s hard to know where to make improvements for aesthetic value. That’s where Everleigh’s team or a landscape architect comes in to provide guidance.

“Either our team or a landscape architect would work with the homeowner to create a design and color palette and then we would come in and build it.”

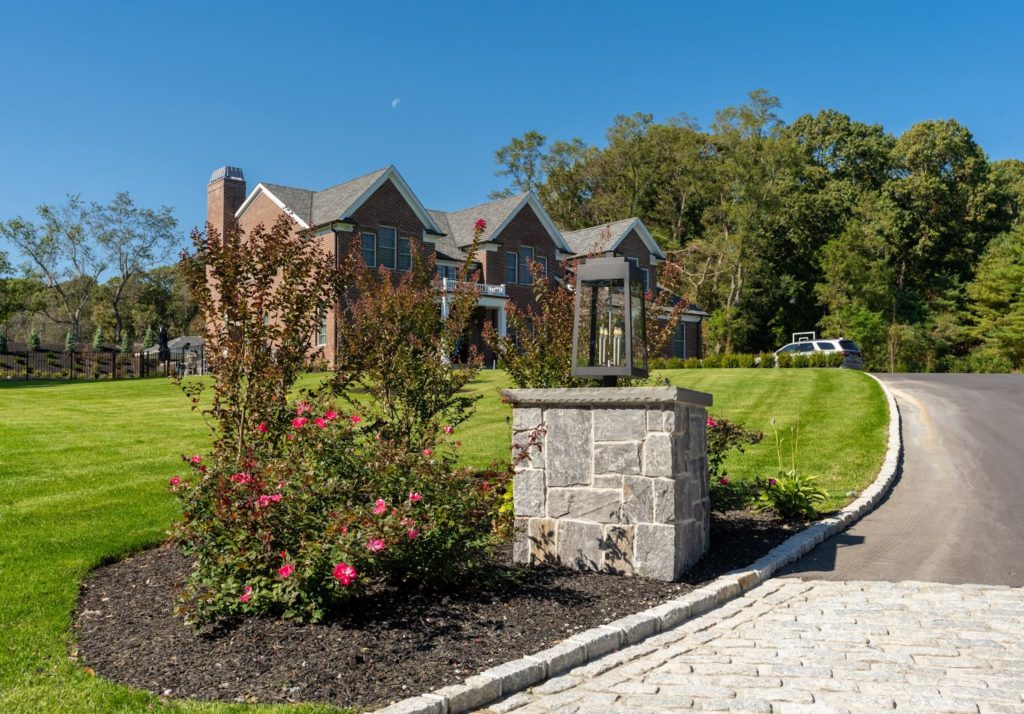
A light post at the entrance to a driveaway featuring Pangaea’s® Diamond River 3 Course Ashlar.

He says the first step is taking a look at the architecture of the home and the overall layout to the outside environment and determining the type of Pangaea® stone that will work best. For example, for more of a country-style, old-fashion feel, they would use the Fieldstone. For a more modern look they would go with a Ledgestone. The homeowner would determine the color palette they like best—greys or tans, or a mixture based on the overall theme of the property.

Everleigh said each area has a prominent type of architecture. New England is generally a lot of grey and brown tones, while more of a Tuscan style may be popular in other areas. He says it’s best to turn to the guidance of an expert rather than DIY to make sure the design matches the architecture of the house. “They can help you narrow down the color and source samples so the homeowner can see and feel the choices available,” he says.

Pangaea® comes in a large variety of color and style options to fit the design you want to create. View our selection here.

Where to Use Natural Stone Veneers to Improve Curb Appeal

One of the benefits of using Pangaea® thin stone veneer is the way stone veneer can transform and upgrade the look of the home. Here are a few ways to use it for better curb appeal:

Entryway: Thin stone veneer can provide a completely new look to your home’s front door area and create interest and contrast.

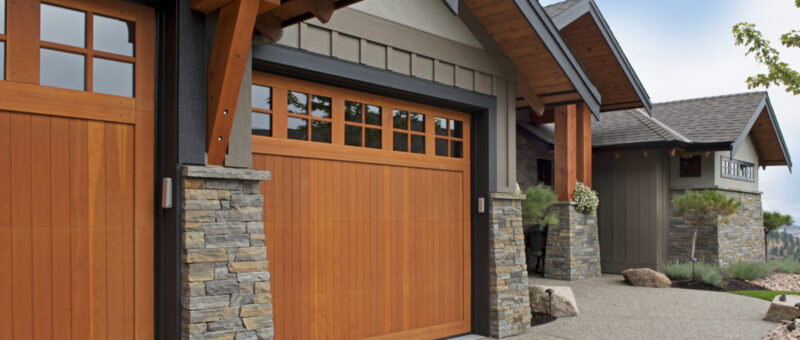
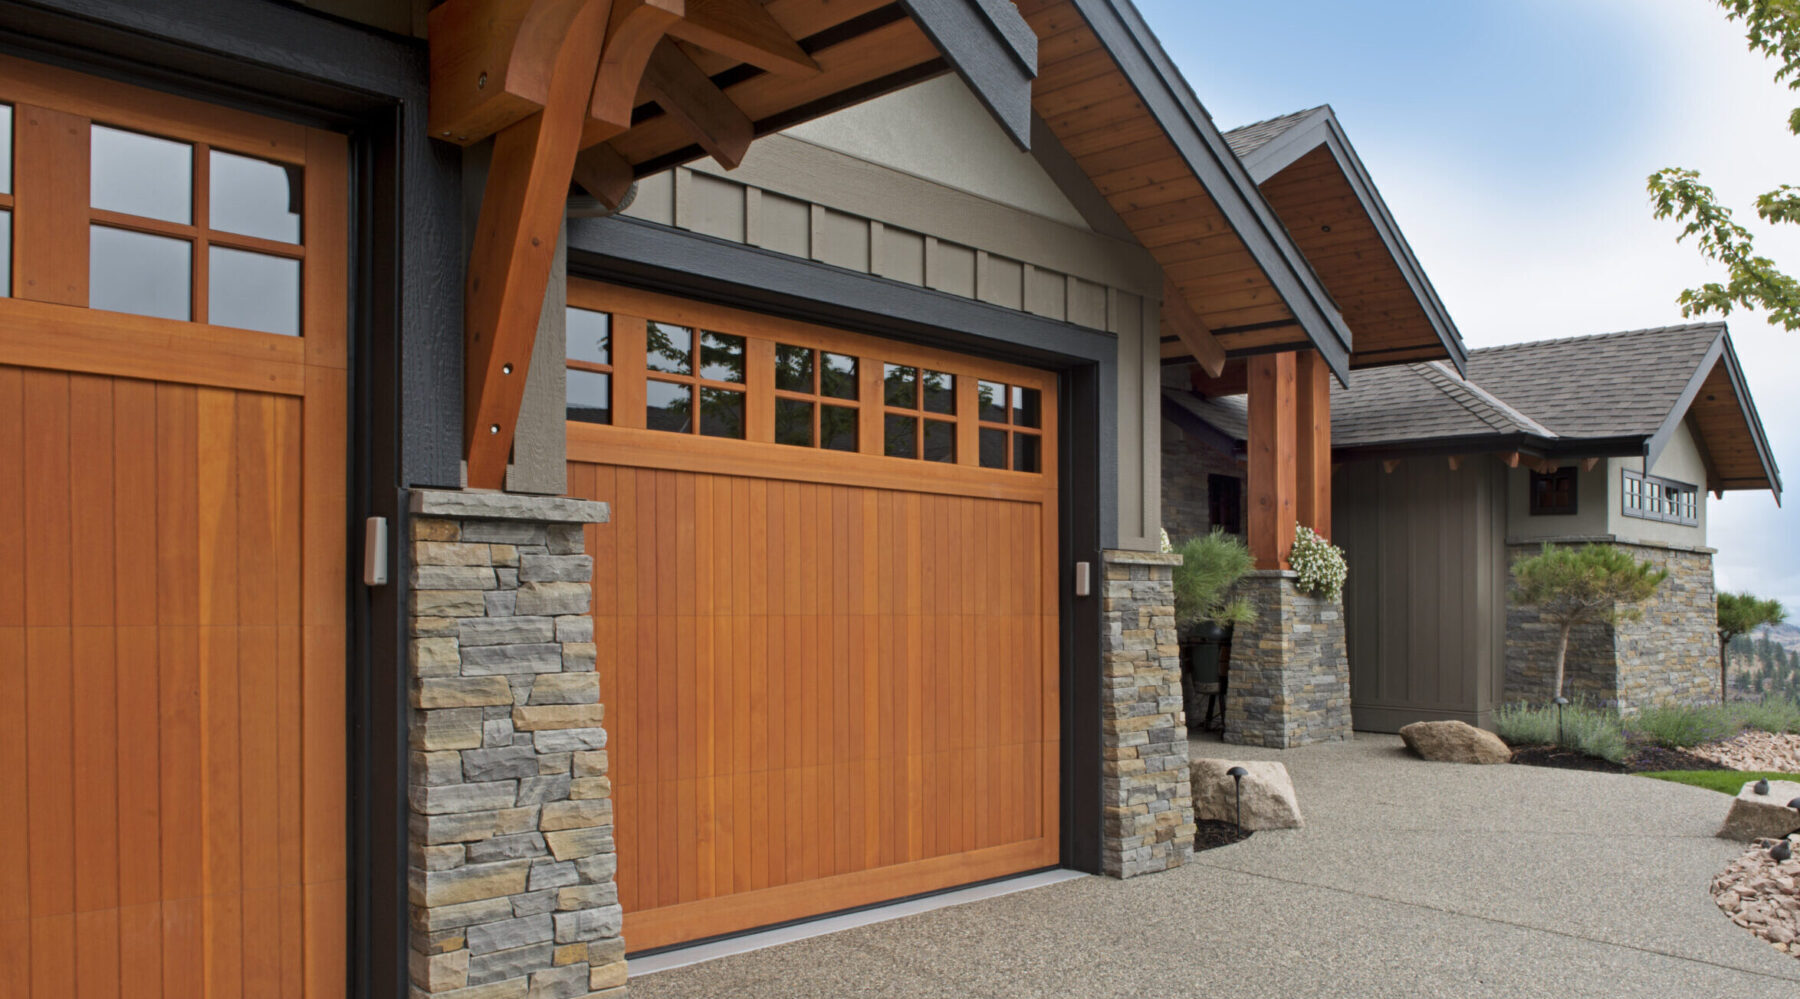
Garage: Cover garage structures for a unique look. You can also match it to your entryway to unify your look throughout your home’s exterior.

Columns: Columns provide a stately look to any home. Ones made from stone veneer provide interest and color to the front of your home.

Stone Walls: Set borders around your home for protection or simply aesthetic value by adhering to walls. Pangaea® thin veneer is easy to install with beautiful results.

Chimney: If your chimney is visible from the front of your house, wrapping it in Pangaea® natural stone veneer will give it visual interest and a rustic look.

Contact us today for more information, to locate a dealer in your region, or to become a Pangaea® dealer.